
In this paper, I present a systematic approach for the parametric design and three-dimensional solid modeling of worm gears using Inventor API technology. The entire development is carried out with the built-in VBA programming language within Autodesk Inventor, enabling accurate computation and precise generation of 3D models. This method significantly reduces repetitive manual work and improves design efficiency. The frequent occurrence of worm gears in mechanical transmission systems demands a fast and reliable design tool, and the solution I propose integrates parameter calculation with direct solid modeling.
1. Introduction
Worm gears are widely used in engineering to transmit motion and power between non‑intersecting, perpendicular shafts. Traditional design of worm gears involves extensive manual calculations, consulting numerous charts and curves, and iterative verification. The manual creation of three-dimensional models is also tedious and error‑prone. Although several CAD systems support parametric modeling, dedicated research on using Inventor API with VBA for worm gears remains limited. I have therefore developed a system that performs the complete parametric design of worm gears and automatically generates their 3D solid models. The system consists of two main modules: a parametric design module and a three-dimensional modeling module. The design module computes all geometrical dimensions based on input service conditions, while the modeling module uses these results to construct the worm and worm wheel solids. The entire workflow is driven by Inventor API and VBA, making the design of worm gears intuitive and fast.
2. System Architecture
The parametric design and 3D modeling system for worm gears is composed of two interconnected modules:
| Module | Function |
|---|---|
| Parametric Design Module | Accepts input parameters (power, speeds, ratio, service life, load condition, materials, etc.) and calculates all geometrical dimensions of the worm and worm wheel. Stores results in a database for subsequent modeling. |
| 3D Modeling Module | Reads the design results and automatically creates the solid model of the worm and the worm wheel in Inventor. This module can also be used independently with manually entered dimensions. |
The entire system is implemented using Inventor API with VBA, allowing seamless integration with the Inventor environment. The parametric design flow for worm gears is illustrated in the flowchart developed during the project, which starts from input parameters, proceeds through strength calculations, geometry determination, and ends with result output that feeds the modeling routines.
3. Inventor API Overview
Application Programming Interface (API) provides a set of functions and objects that allow external programs to access and control Inventor’s functionality. Using the Inventor API, I can add custom features, automate repetitive operations, and optimize algorithms. The VBA environment included with Inventor is an excellent tool for rapid prototyping and development. Through the API, the application I built integrates closely with Autodesk Inventor, enabling it to interact with PDM, NC, and FEM products. The flexibility of the API is key to achieving true parametric modeling of worm gears, as it allows me to create sketches, extrusions, revolves, lofts, and cut operations programmatically.
4. Implementation of the Parametric Design Module
4.1 Input Parameters
The design of worm gears begins with the specification of fundamental service conditions:
| Parameter | Symbol | Unit |
|---|---|---|
| Transmitted power | P | kW |
| Worm or worm wheel speed | n | r/min |
| Speed ratio | i | – |
| Desired service life | Lh | hours |
| Load type (steady, shock, etc.) | – | – |
| Materials of worm and worm wheel | – | – |
Based on these inputs, the module performs strength calculations, selects appropriate geometry parameters, and determines all necessary dimensions.
4.2 Design Flow
The flowchart of the parametric design module starts with reading input data, then proceeds through the following steps:
- Selection of worm gear type (Archimedean, involute, etc.).
- Determination of allowable stresses based on material and heat treatment.
- Calculation of center distance, module, and lead angle.
- Verification against bending and contact stresses.
- Computation of detailed geometric dimensions for both worm and worm wheel.
- Output of results to the database.
4.3 Handling Tabular and Graphical Data
During the design of worm gears, many parameters must be retrieved from standard tables or charts (e.g., tooth form factor, elastic coefficient, etc.). Tables contain discrete data points; I handle them by storing the values in data files and performing linear interpolation when needed. For line charts, I first digitize the curves into discrete points, then derive empirical equations using the least‑squares method. For example, the tooth form factor YF for worm gears is a function of the equivalent number of teeth. The interpolation function is implemented as a subroutine that reads the table and returns the interpolated value.
4.4 Design Results
The output of the parametric design module includes all dimensions required for 3D modeling of worm gears:
| Component | Dimension |
|---|---|
| Worm | Reference diameter, d1 |
| Lead angle, γ | |
| Addendum circle diameter, da1 | |
| Dedendum circle diameter, df1 | |
| Axial pitch, px | |
| Face width, b1 | |
| Worm wheel | Reference diameter, d2 |
| Addendum circle diameter, da2 | |
| Throat diameter, dt2 | |
| Face width, b2 | |
| Number of teeth, z2 | |
| Module, m (axial for worm, transverse for wheel) |
After the design results are computed, the user can click a button to select the worm wheel structure (e.g., integral, shrunk‑on rim), then click “3D Modeling” to automatically generate the solids. Alternatively, the design data can be saved to a file for later use.
5. Implementation of the 3D Parametric Modeling Module
5.1 Parametric Modeling of the Worm
5.1.1 Mathematical Model of the Worm
I adopt the Archimedean worm profile, where a trapezoidal cross‑section is swept along a helical path. The helical curve is defined by the parametric equations:
$$ x(t) = \frac{m q}{2} \cos(t) $$
$$ y(t) = \frac{m q}{2} \sin(t) $$
$$ z(t) = \frac{m z_1 t}{2 \pi} $$
where:
| m | axial module |
| q | diameter coefficient (q = d1 / m) |
| z1 | number of worm threads |
| t | parameter representing the angle of rotation (radians) |
For a worm with multiple threads, the helix is repeated z1 times with a phase shift of 2π/z1.
5.1.2 Generating the Helix Using Splines
In Inventor, I create the helical curve by fitting a spline through a set of points calculated from the parametric equations. The parameter t is incremented in steps of 0.005 radians (or smaller for higher accuracy). For each step, the three-dimensional coordinates are computed, and a point is added to a collection. Once all points are collected, a spline curve is created using the FitPointSpline method. This yields a very accurate representation of the true helix for worm gears.
5.1.3 Worm Solid Modeling Procedure
The modeling steps for the worm are as follows:
- Create a new part document in Inventor.
- Define a work plane and sketch the trapezoidal tooth profile.
- Generate the helical spline as described above.
- Use the Sweep feature with the tooth profile as the section and the helix as the path, selecting a cut operation if the blank is already a cylinder, or a base solid additive sweep.
- Repeat the sweep for each thread if multi‑start.
- Add the cylindrical hub, keyway, and other details as needed.
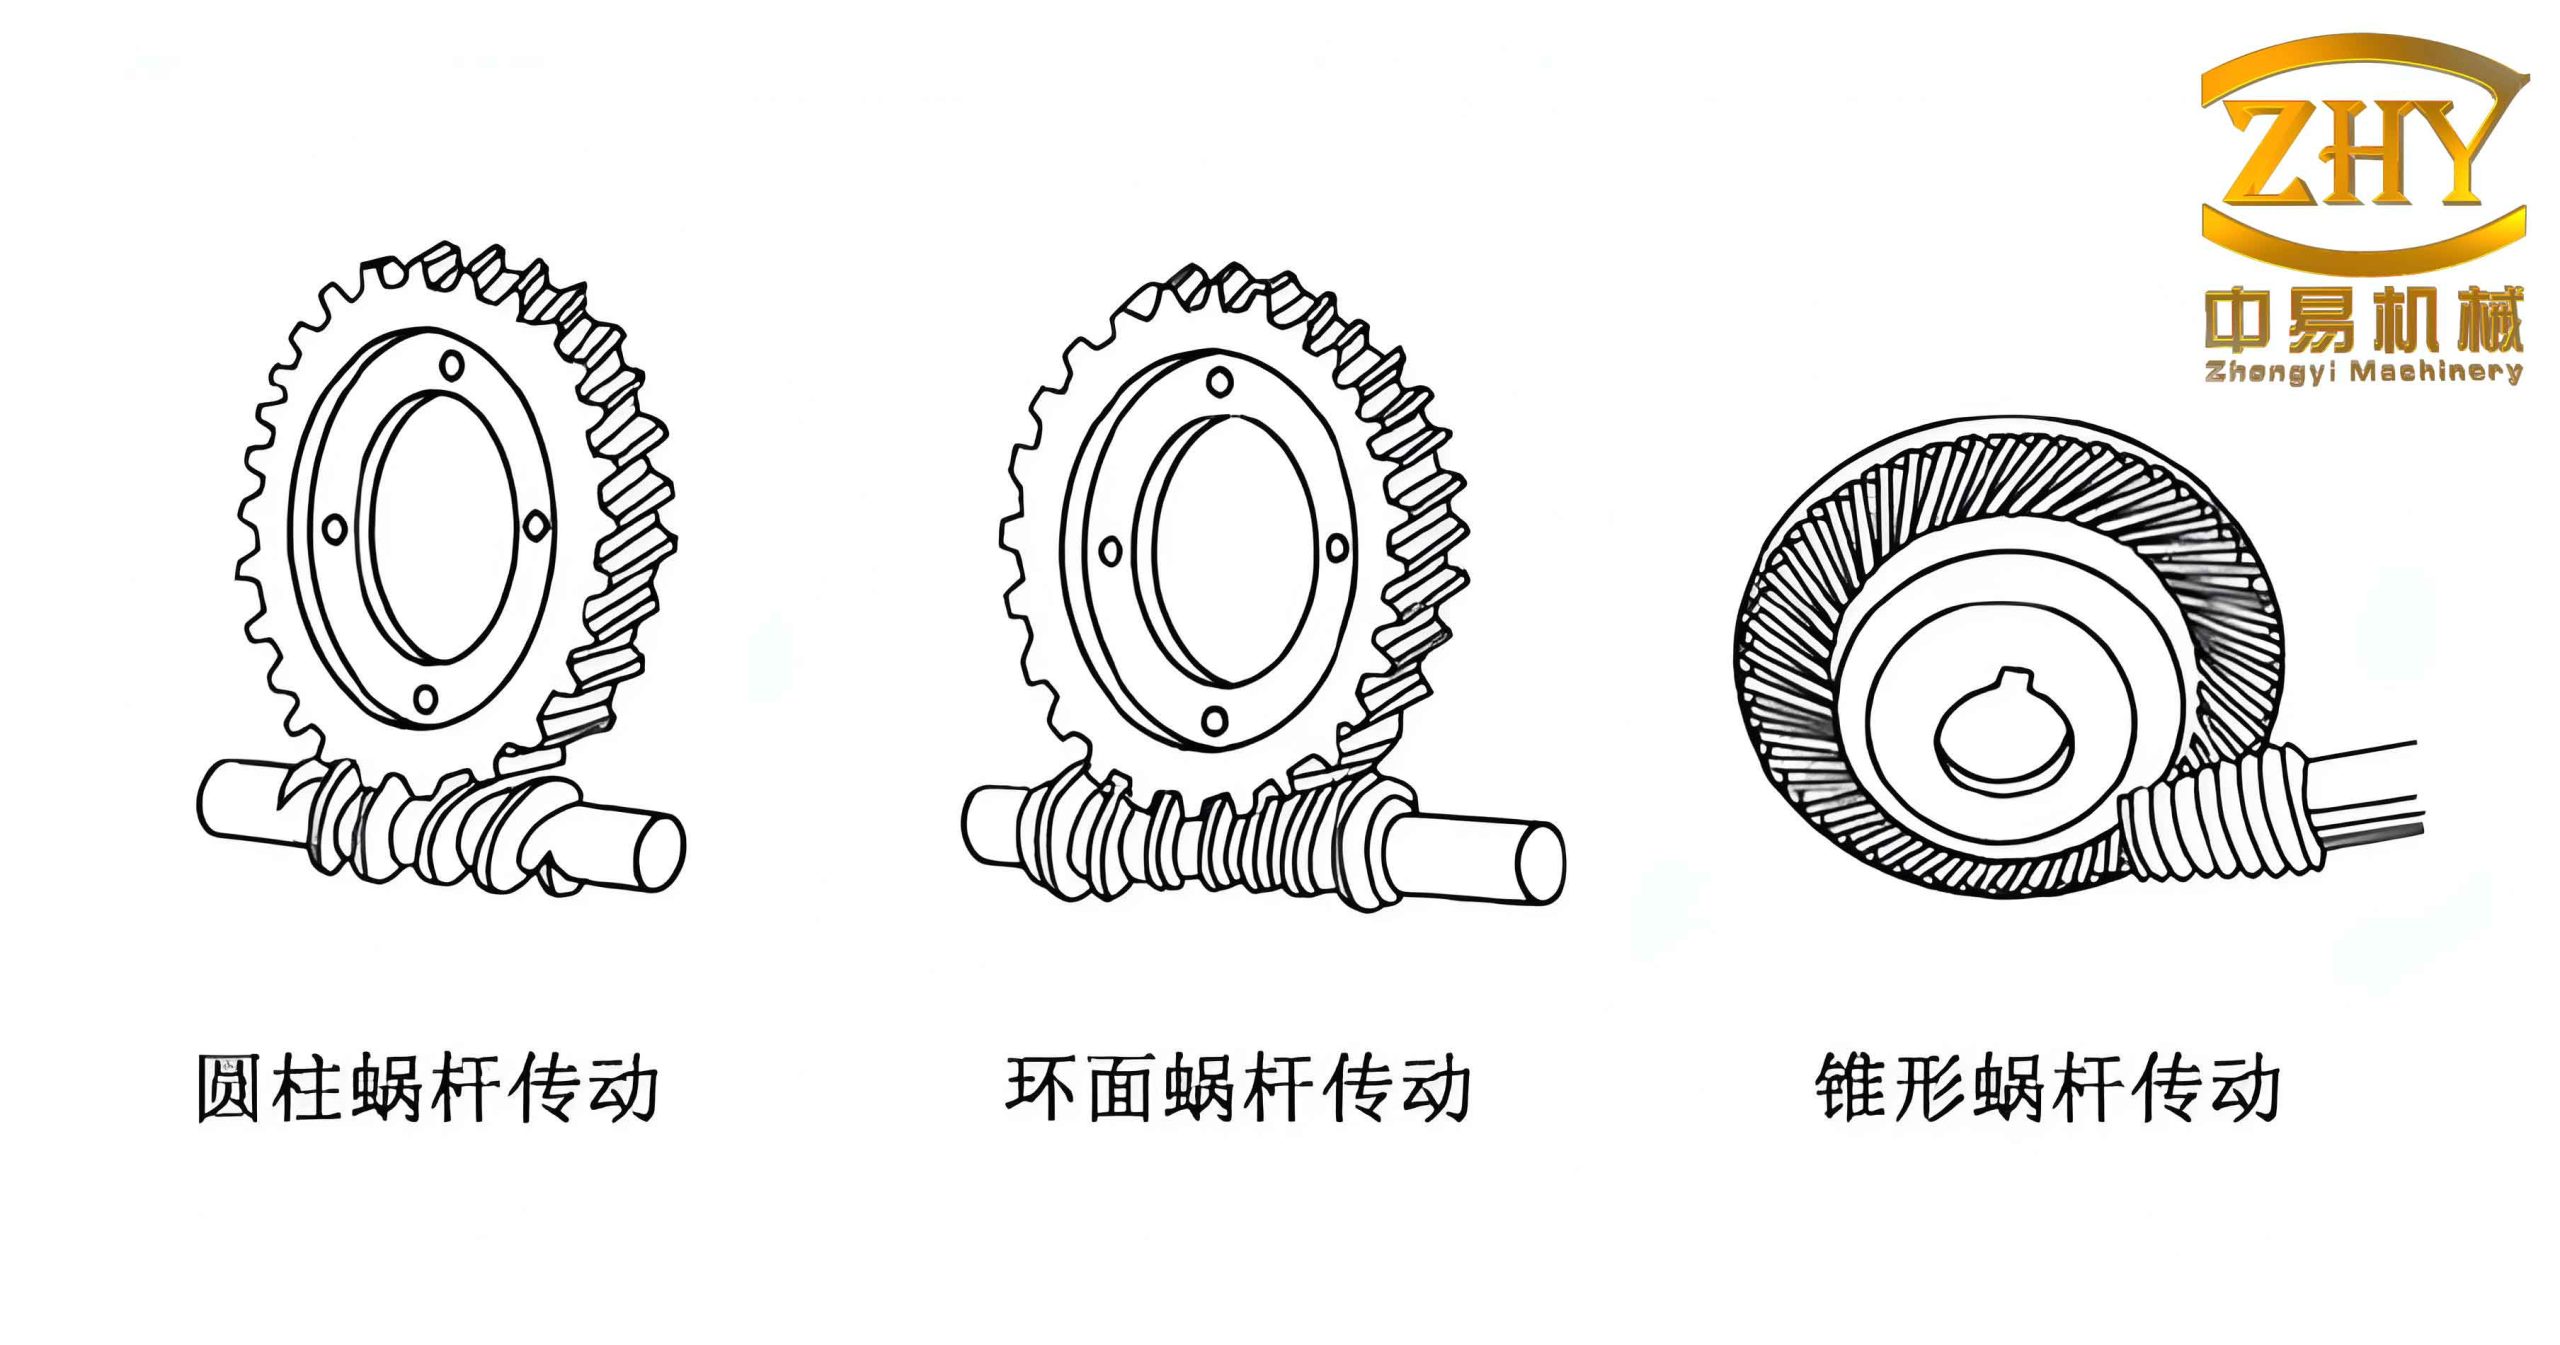
5.2 Parametric Modeling of the Worm Wheel
5.2.1 Mathematical Model of the Involute Tooth Profile
The worm wheel (gear) has involute teeth in the transverse plane. The involute curve is defined by the parametric equations in a 2D sketch coordinate system:
$$ X(\theta) = R_b \cos\theta + R_b \theta \sin\theta $$
$$ Y(\theta) = R_b \sin\theta – R_b \theta \cos\theta $$
where:
| Rb | base circle radius |
| θ | angle parameter (radians) from the start of the involute |
The parameter θ ranges from 0 to θmax, where θmax corresponds to the addendum circle radius Ra. The relationship is:
$$ \theta_{\max} = \sqrt{\left(\frac{R_a}{R_b}\right)^2 – 1} $$
5.2.2 Generating the Tooth Profile
In a 2D sketch, I calculate multiple points along the involute by incrementing θ in small steps (e.g., 0.01 rad). A spline is fitted through these points to create one flank of the tooth. The opposite flank is obtained by mirroring the curve about a line that passes through the center of the gear and bisects the tooth space. The angle of this mirror line (φ) is derived from the base circle tooth thickness:
$$ \varphi = \frac{\pi}{2z_2} + \text{inv}(\alpha) $$
where inv(α) = tanα − α is the involute function, and α is the pressure angle (typically 20°).
5.2.3 Generating the Worm Wheel Helix
The worm wheel has a helical tooth surface that matches the worm helix. The mean helix line on the pitch cylinder is given by:
$$ x(\psi) = \frac{d_2}{2} \cos\psi $$
$$ y(\psi) = \frac{d_2}{2} \sin\psi $$
$$ z(\psi) = b_2 \cdot \frac{\psi}{2\pi} \cdot \tan\beta $$
where:
| d2 | pitch diameter of worm wheel |
| b2 | face width |
| β | helix angle (β = γ for worm, same lead angle) |
| ψ | angular parameter |
Only half of the helix is generated first (ψ from 0 to π), then the other half is created by symmetry with ψ replaced by −ψ in the z formula. A spline through computed points yields the full helix.
5.2.4 Worm Wheel Solid Modeling Procedure
The modeling follows these steps:
- Create a new part and define a sketch plane for the gear blank (a cylinder or a pre‑turned shape).
- Create the 2D involute tooth profile and the mirror line. Use the Mirror command to form the full tooth space.
- Create a helical spline on a 3D cylinder representing the pitch surface.
- Use the Cut or Loft feature to remove material along the helix, replicating the worm gear tooth geometry. In practice, the Sweep operation with a cut along the helical path is the most direct method.
- Pattern the tooth cut around the circumference (z2 times).
- Add the hub, rim, and any keyways.
6. Partial Program Code
To illustrate the implementation, I provide excerpts of the VBA code used in the system for worm gears. The first subroutine reads tabulated data for the tooth form factor and performs linear interpolation:
Public Sub GetToothFormFactor(a As Single, b As Single)
    Dim aa(1 To 11, 1 To 2) As Single
    Open "C:\data\yf.txt" For Input As #1
    For i = 1 To 11
        For j = 1 To 2
            Input #1, aa(i, j)
        Next j
    Next i
    Close #1
    For i = 1 To 10
        If a = aa(i, 1) Then
            b = aa(i, 2)
        ElseIf a > aa(i, 1) And a <= aa(i + 1, 1) Then
            b = aa(i, 2) + (aa(i + 1, 2) - aa(i, 2)) / (aa(i + 1, 1) - aa(i, 1)) * (a - aa(i, 1))
        End If
    Next i
End Sub
The second code snippet shows how the involute points are generated in the 3D modeling module for worm gears:
Dim oFitPointsU As ObjectCollection
Set oFitPointsU = ThisApplication.TransientObjects.CreateFaceCollection()
Dim NN As Integer: NN = 20
ReDim oPointsU(0 To NN) As Point2d
Dim theta As Double
For i = 0 To NN
    theta = i * theta_max / NN
    oPointsU(i).X = Rb * (Cos(theta) + theta * Sin(theta))
    oPointsU(i).Y = Rb * (Sin(theta) - theta * Cos(theta))
Next i
Call oFitPointsU.Add(oPointsU)
7. Conclusion
I have successfully developed a comprehensive system for the parametric design and three-dimensional modeling of worm gears using Inventor API and VBA. The system integrates optimization and drawing processes, significantly reducing design time while improving the accuracy of both calculations and geometric models. By automating the tedious steps involved in designing worm gears, the system shortens product development cycles and lays a solid foundation for the informatization of worm gear manufacturing. This approach is of great practical significance for enhancing product competitiveness and accelerating research and development of worm gear drives.