
Cold precision forging of straight spur gear is a process that aims to obtain complete tooth profiles without subsequent machining or with only minimal finishing. However, the technical difficulties are significant, primarily due to high deformation resistance, difficulty in filling the tooth cavity, and large forming loads. The use of a floating die has been recognized as an effective method to alleviate these issues. In this study, we investigate the influence of floating die techniques on the cold precision forging of a straight spur gear that features a central hexagonal through-hole. The gear has 18 teeth, a module of 2.5 mm, and a hexagonal hole. We conduct numerical simulations using the finite element software DEFORM-3D to analyze three different floating die processes: (1) floating die only, (2) floating die combined with axial flow splitting, and (3) two-step forging consisting of floating die preforming followed by floating die with axial flow splitting in the final stage. The filling quality and forming loads are compared in detail.
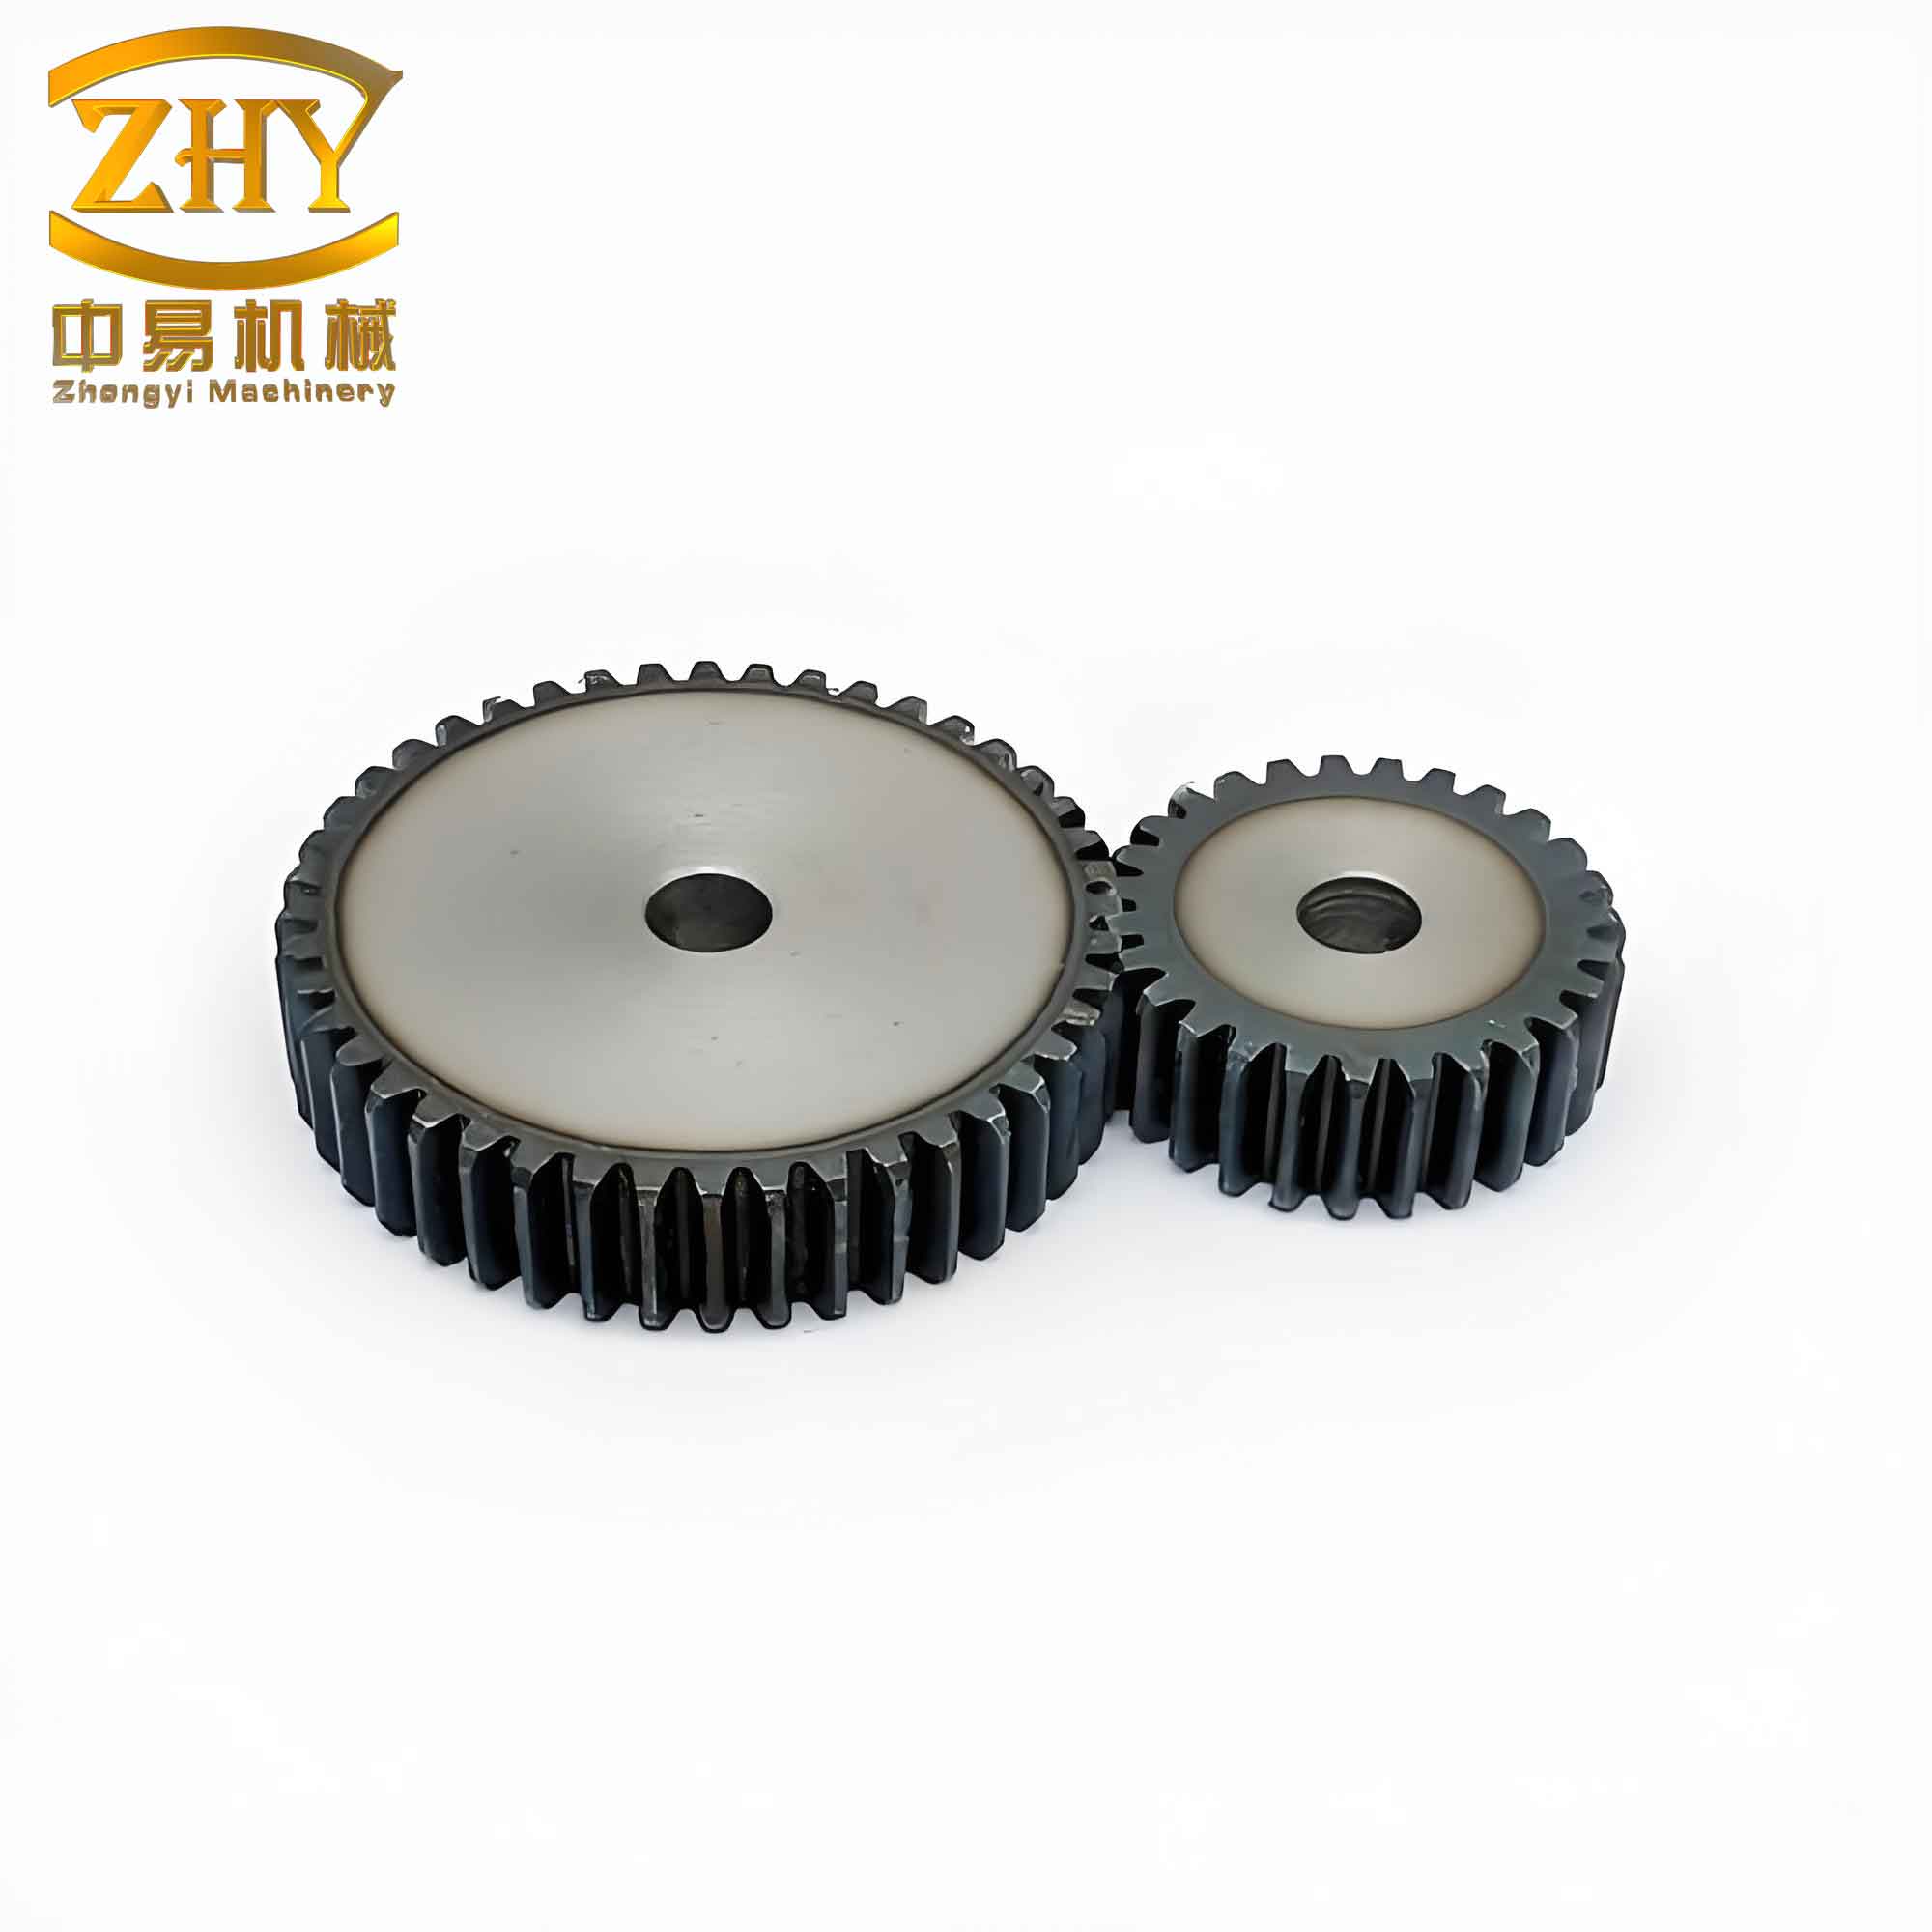
Below, we present the analysis of filling resistance, the effect of floating die on filling ability, and the numerical simulation results for each process.
1. Analysis of Filling Resistance
Cold precision forging of a straight spur gear resembles radial extrusion. In the initial stage, axial friction influences material flow; in the final stage, radial friction becomes the dominant factor affecting flow. Over the entire tooth width, radial friction acts on the material. The material in the middle region only experiences resistance from the tooth cavity walls, while material in contact with the upper and lower die surfaces experiences additional friction from those surfaces. Consequently, the filling resistance near the top and bottom corners is greater than in the middle, as illustrated conceptually by the distribution of radial friction forces.
The radial friction force distribution can be described by the following relationship. Let $\tau$ be the shear friction stress, $\mu$ the friction coefficient, and $\sigma_n$ the normal stress. The friction force per unit area is given by:
$$ f = \mu \sigma_n $$
However, since the normal stress varies with position, the actual friction distribution is complex. In the tooth cavity, the material must overcome both the friction from the die walls and the geometric constraints. The upper and lower ends of the tooth are particularly difficult to fill because the material there is subjected to additional frictional resistance from the horizontal die surfaces.
2. Effect of Floating Die on Filling Ability
In conventional forging where the die is stationary, the upper punch moves downward at velocity $V_s$, applying a force $F_s$ on the billet surface. Because the die does not move, the billet experiences an upward friction force, causing a loss of axial pressure. As the upper punch continues downward, the upper part of the billet yields more easily and exhibits better filling ability. In contrast, when the floating die moves downward at the same velocity as the upper punch ($V_f = V_s$), the friction force exerted by the die on the billet is directed downward. This results in a larger pressure on the lower part of the billet. Therefore, deformation initiates in the lower region first. This difference in friction direction fundamentally alters the filling sequence and quality.
The axial pressure distribution under floating die conditions can be approximated by considering equilibrium. Let $p(z)$ be the axial pressure at a height $z$ measured from the bottom. For a floating die moving with the punch, the friction force acts downward on the billet, so the pressure increases toward the bottom. A simplified model yields:
$$ p(z) = p_0 + \frac{4 \mu \sigma_r}{D} (H – z) $$
where $p_0$ is the pressure at the top (applied by the punch), $\sigma_r$ is the radial stress, $D$ is the billet diameter, and $H$ is the billet height. This indicates that the lower part experiences higher axial pressure, promoting earlier filling of the lower tooth region.
3. Numerical Simulation and Results
3.1 Process Schemes
We propose three floating die processes for cold precision forging of the straight spur gear with a hexagonal through-hole:
- Scheme 1: Floating die only – the die and upper punch move downward at the same speed ($V_f = V_s$).
- Scheme 2: Floating die combined with axial flow splitting – the upper punch has a central hole (diameter 25 mm) to allow material to flow into the hole, reducing forming load.
- Scheme 3: Two-step forging: first, floating die preforming (same as Scheme 1) is stopped when the load reaches a preset value, then the preformed billet is inverted and forged again using a floating die with a larger axial splitting hole (diameter 28 mm) in the upper punch.
3.2 Finite Element Model
Based on the constant volume principle, we use an annular billet with outer diameter 38 mm, inner diameter 24 mm, and height 19.5 mm. Simulations are performed using DEFORM-3D with the rigid-plastic finite element method. Due to symmetry, only one half of the billet is modeled. The billet material is AISI-1045, and all dies are treated as rigid bodies. The initial temperature is 20°C. The mesh is refined around the periphery where most deformation occurs. The shear friction model is used with a friction factor of 0.12. The downward velocity of both the upper punch and floating die is set to 5 mm/s.
| Parameter | Value |
|---|---|
| Billet outer diameter | 38 mm |
| Billet inner diameter | 24 mm |
| Billet height | 19.5 mm |
| Gear modulus | 2.5 mm |
| Number of teeth | 18 |
| Hexagonal hole (circumscribed circle diameter) | ~24 mm |
| Friction factor | 0.12 |
| Punch/die velocity | 5 mm/s |
3.3 Results and Discussion
3.3.1 Effective Strain Distribution
For Scheme 1, the maximum effective strain is uniformly distributed at the tooth root. The central part of the tooth and the region near the hexagonal hole undergo upsetting with small material rotation, resulting in lower effective strain. However, the material at the tooth periphery flows along curved paths to fill the cavity, encountering large angular changes and high friction, leading to severe deformation and high effective strain at the root.
For Scheme 2, the maximum effective strain appears in the transition region between the splitting hole and the tooth profile. Here, the billet is extruded upward into the hole and simultaneously flows into the tooth cavity, causing large deformation. The friction between the billet and the upper punch also contributes to the high strain.
For Scheme 3, the maximum effective strain also occurs at the tooth root, similar to Scheme 1, because the preforming step is identical. The final forging mainly improves the filling of the upper tooth region. The transition zone near the splitting hole shows slightly elevated strain but not as high as in Scheme 2 because the larger splitting hole (28 mm) reduces resistance.
3.3.2 Filling Comparison
In Scheme 1, the floating die causes the lower part of the billet to fill first, while the upper part of the tooth remains slightly unfilled. The tooth profile is not fully saturated, especially at the top corners.
In Scheme 2, the axial splitting hole creates a local loading condition. The normal stress along the loading direction decreases as the loaded area expands. Although the floating die promotes bottom filling, the axial pressure near the lower die is still relatively low, so the upper tooth region fills first, followed by the lower region. The overall filling is good, but the splitting hole is filled to a considerable height.
In Scheme 3, by inverting the preformed billet, the better-filled lower part (from preforming) becomes the upper part in the final stage, and vice versa. This compensates for the insufficient filling at the top. Both the upper and lower tooth ends are well filled, and the splitting hole does not rise excessively. Scheme 3 thus provides the best tooth filling among the three.
3.3.3 Load Comparison
The load-stroke curves for the three schemes are shown below. Scheme 1 (floating die only) reaches a peak load of 5280 kN (simulated on half model: 2640 kN × 2). This high load requires large press capacity and may reduce die life. The curve has three stages: an initial rapid rise as the punch contacts the billet, a steady increase during tooth formation, and a sharp rise when the billet surface contacts the die extensively, reducing free surfaces. According to the ideal deformation resistance formula:
$$ P = y \ln\left(\frac{R}{1-R}\right) $$
where $y$ is the nominal flow stress and $R$ is the relative area reduction. As free surfaces diminish, $R$ increases, causing the load to surge.
Scheme 2 achieves a peak load of 3680 kN, a reduction of 30.3% compared to Scheme 1. The splitting hole allows excess metal to flow inward, effectively reducing the load. The load increase in the final stage is gentler due to the hole’s pressure-relief effect.
Scheme 3 uses a two-step approach. The preforming step is stopped at a load of 2940 kN, and the final forging reaches a peak of 3000 kN. The total peak load is 3000 kN, which is 43.2% lower than Scheme 1. The preforming accumulates material in the tooth cavity, and the final step with splitting hole only fills the corners, resulting in a significantly lower load and a flatter load-stroke curve toward the end.
| Process Scheme | Peak Load (kN) | Reduction (%) |
|---|---|---|
| Floating die only (Scheme 1) | 5280 | – |
| Floating die + axial splitting (Scheme 2) | 3680 | 30.3 |
| Preforming + final forging with axial splitting (Scheme 3) | 3000 | 43.2 |
4. Conclusion
Through numerical simulation using DEFORM-3D, we have analyzed the influence of various floating die processes on the cold precision forging of a straight spur gear with a hexagonal hole. The following conclusions are drawn:
- Analysis of filling resistance and friction distribution explains why the tooth corners near the top and bottom are difficult to fill. The floating die alters the friction direction, promoting filling from the bottom when the die moves with the punch.
- The floating die only process (Scheme 1) yields adequate filling but at a high forming load of 5280 kN.
- The floating die combined with axial flow splitting (Scheme 2) not only improves tooth filling but also reduces the peak load by 30.3% compared to Scheme 1.
- The two-step process using floating die preforming followed by floating die with axial splitting (Scheme 3) provides excellent tooth filling at both ends and achieves a 43.2% load reduction, making it the most effective technique among the three investigated.
These findings demonstrate that the proper combination of floating die and axial material flow can significantly enhance the formability of straight spur gear cold forging, reducing both load and die wear while ensuring complete tooth filling.