
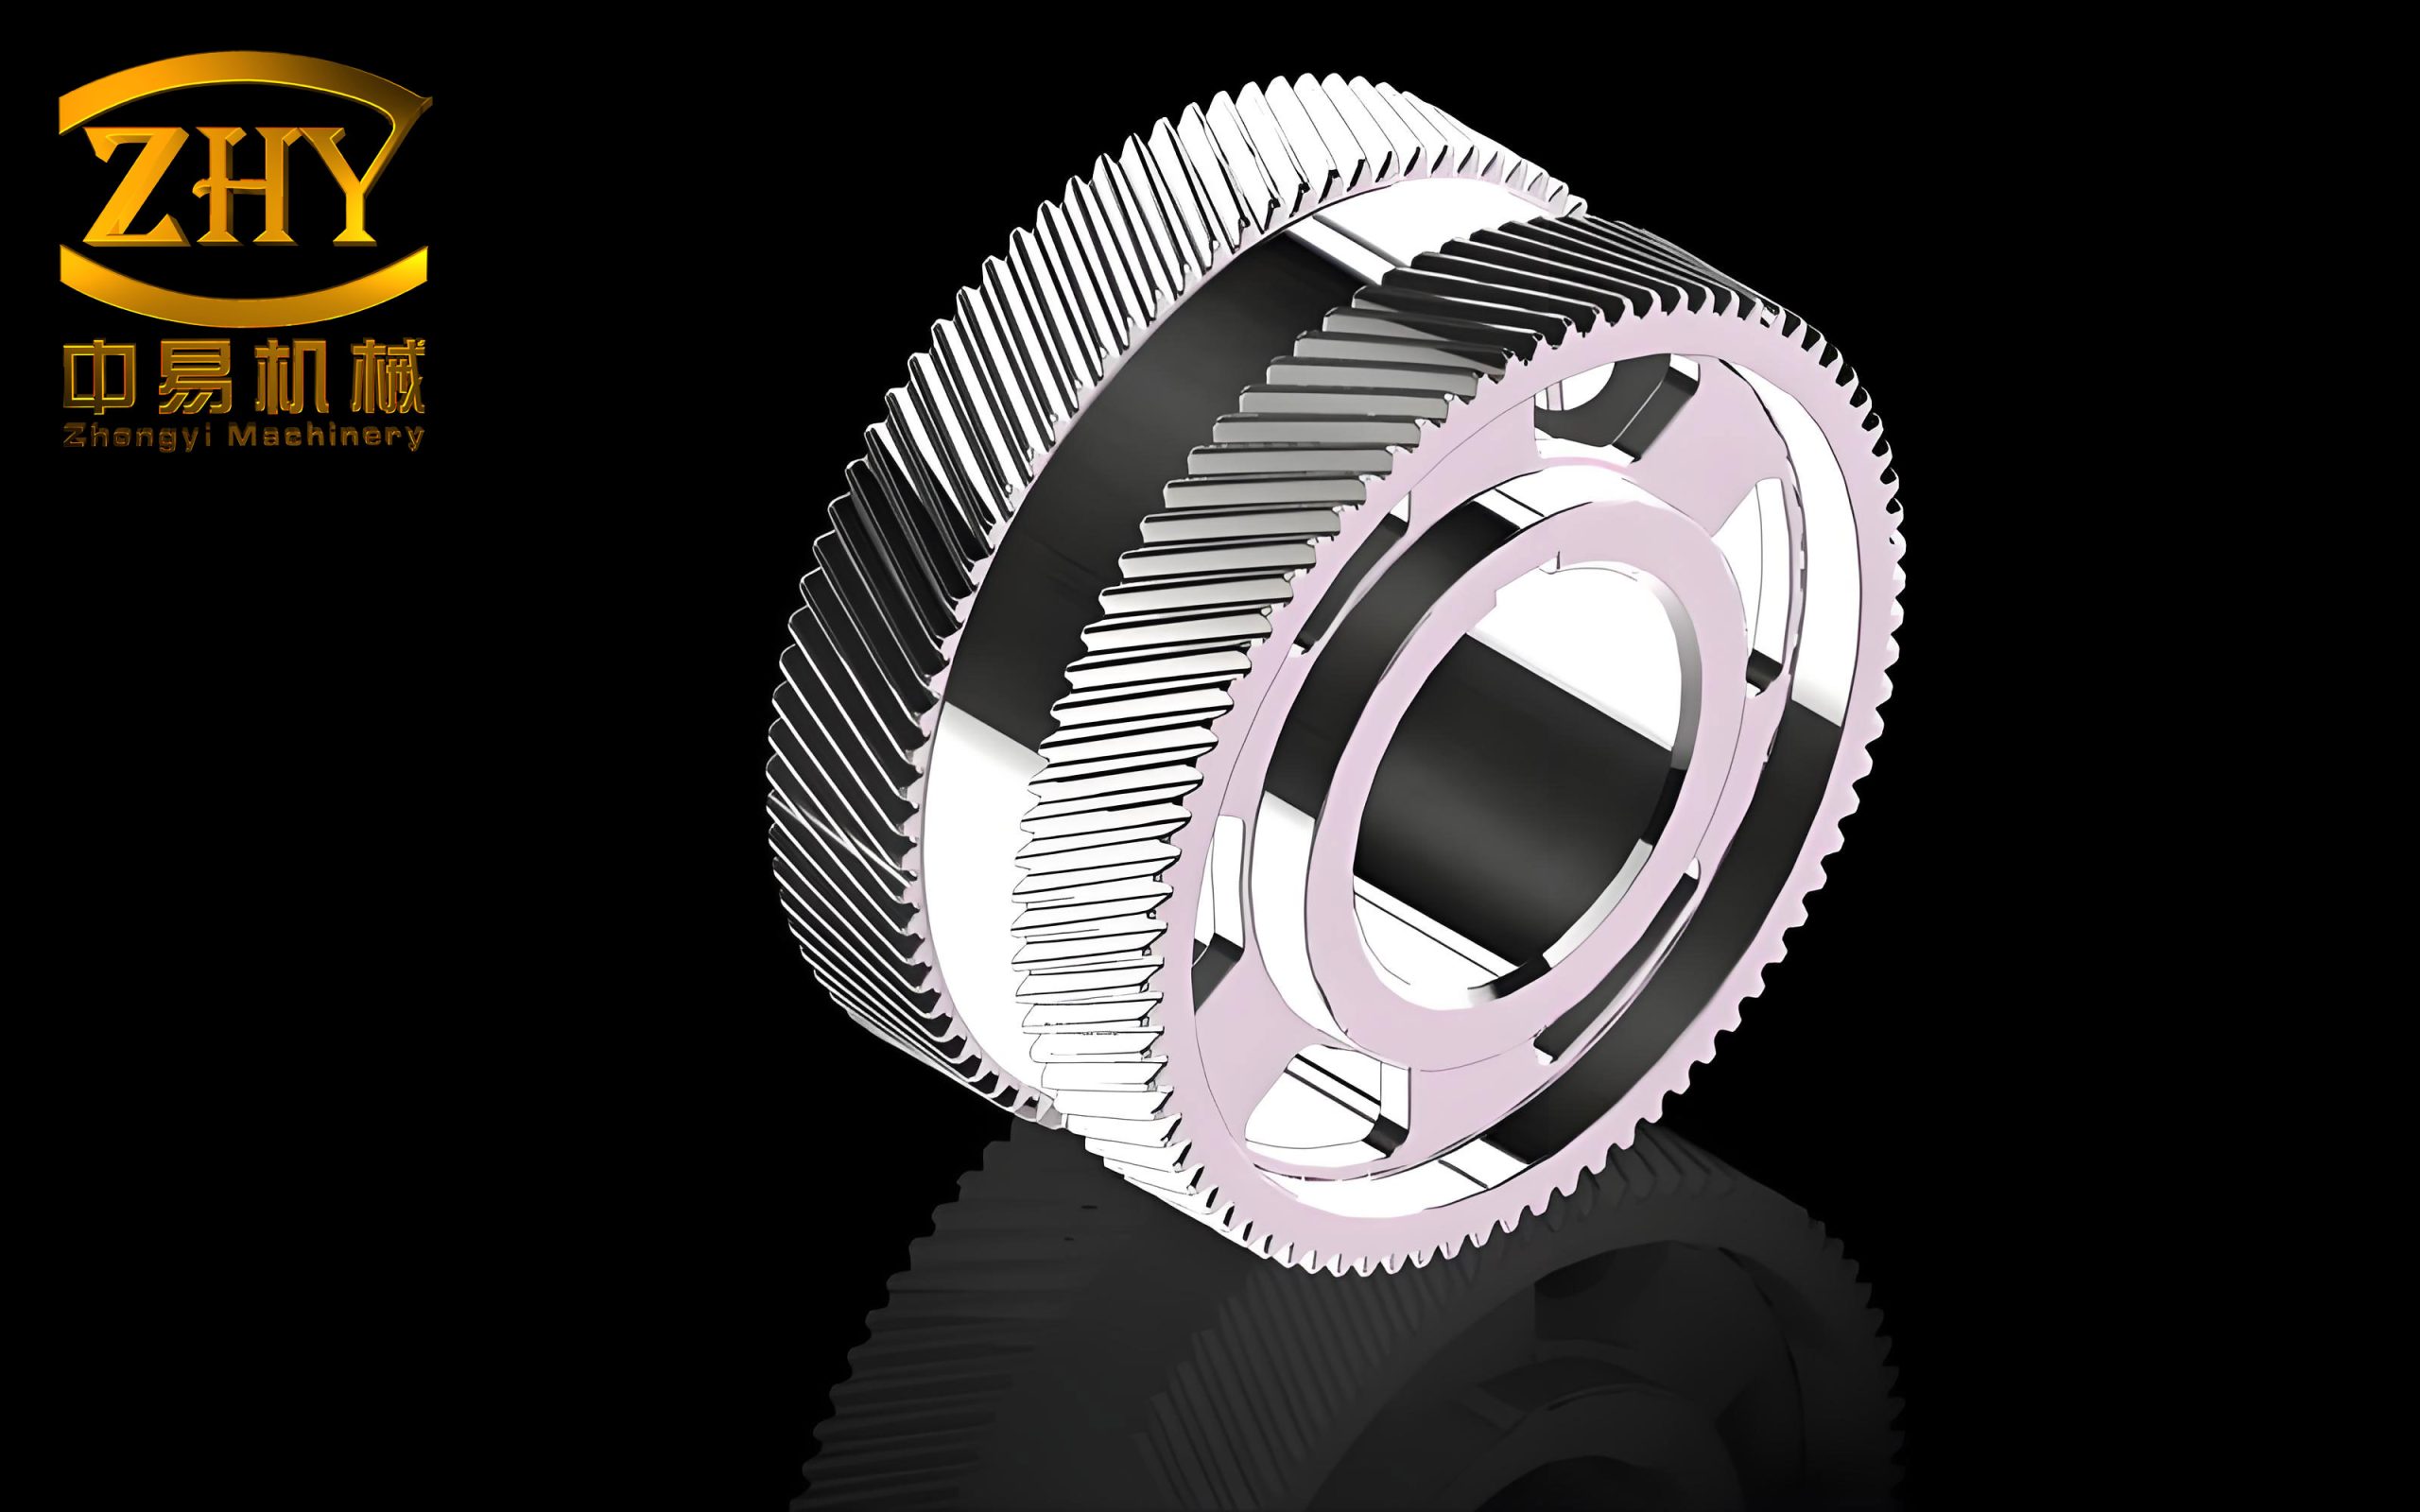
In the field of heavy machinery transmission, herringbone gears are widely adopted due to their ability to eliminate axial thrust and transmit high torque. However, when designing compact structures such as the large hard-faced A1100 herringbone gearbox used in plate mill drives, a keyless interference fit is often required to save space and reduce weight. This introduces a critical challenge: ensuring the precise angular alignment between the two halves of the assembled herringbone gear. In this article, I share our proven methodology for achieving accurate centering and azimuthal positioning of split herringbone gears without relying on traditional keys or splines.
The conventional approach for split herringbone gears uses a keyway and scribed lines to align the two halves. However, for keyless connections, no keyway exists, and the alignment must be achieved through dedicated tooling and precision machining. The assembly temperature during hot-fitting must not exceed 230 °C to avoid softening the hardened tooth flanks. Therefore, the heating process is short, and the alignment must be performed quickly and accurately. Over years of practice, we have developed a robust process that guarantees a measured misalignment error less than 0.15 mm, far superior to the typical error of scribing methods.
1. Manufacturing Process Overview
The basic manufacturing flow for the two halves of the herringbone gear is summarized in the table below. Every step is designed to control dimensional consistency within 0.02 mm for bore diameter, tooth thickness, and height.
| Step | Operation | Key Tolerance / Note |
|---|---|---|
| 1 | Rough turning | – |
| 2 | Nondestructive testing (NDT) | – |
| 3 | Normalizing | – |
| 4 | Semi-finish turning | – |
| 5 | NDT again | – |
| 6 | Layout marking & drilling | – |
| 7 | Rough hobbing | – |
| 8 | Carburizing | Case depth specification |
| 9 | Turning after carburizing | – |
| 10 | Quenching & tempering | Hardness control |
| 11 | Finish turning | – |
| 12 | Grinding (general) | – |
| 13 | Semi-finish hobbing | – |
| 14 | Gear grinding | Tooth profile accuracy |
| 15 | Boring / drilling | – |
| 16 | Trial assembly & inspection | Check bore concentricity |
| 17 | Hot assembly (shrink fit) | Temperature ≤230 °C |
Throughout the process, we must ensure that the two halves of the herringbone gear are manufactured as a matched set. The bore diameter, tooth thickness, and overall height of each half are kept within 0.02 mm of each other. After gear grinding, two precise dowel holes (Ø30 mm) are drilled and reamed at diametrically opposite positions (180° apart) on the inner end faces. The location of these holes is determined using a CNC boring machine equipped with an edge finder (also called a probe or skiving feeler).
2. Determining the Location of the Dowel Holes
After the gear teeth are ground to final geometry, we mount one half of the herringbone gear on the CNC boring table. Using the edge finder, we locate the center point of a tooth top (or root) on a specific tooth. By contacting the left and right flanks of the same tooth, we determine the centerline of that tooth. The intersection of this centerline with the bore axis defines the reference line for the dowel holes. On this line, at a distance L from the bore center, we drill and ream two holes (180° apart). The same operation is repeated on the other half of the herringbone gear with identical parameters.
This procedure ensures that when the two halves are later joined by the dowel pins, the tooth spaces of the left-hand and right-hand helices are rotationally aligned. The distance L is chosen so that the dowel pins do not interfere with the bore or the tooth root. Typically, L is set near the pitch circle or at a location that gives maximum lever arm for alignment without weakening the gear body.
3. Assembly and Inspection of Alignment Error
After the dowel holes are made, we insert the two temporary dowel pins into the lower half of the herringbone gear. Then we lower the upper half onto the pins. At this stage, the two halves are lightly assembled (no shrink fit yet) so that we can measure the angular alignment of the herringbone teeth. The assembled unit is then clamped on the CNC boring machine.
The inspection method uses the edge finder to measure two symmetrical points on the left-hand and right-hand helical teeth. Let us define coordinates as follows:
- Point 1: a reference point on the left-hand helix, coordinates (x₁, y₁, z₁).
- Point 2: a corresponding point on the right-hand helix, coordinates (x₂, y₂, z₂).
We set the CNC boring machine so that:
$$ |x_1| = |x_2| $$
$$ |z_1| = |z_2| $$
Then we measure the y-coordinates using the edge finder. The misalignment error is simply the difference:
$$ \delta = |y_1 – y_2| $$
Ideally, δ should be zero. In practice, we have consistently achieved δ < 0.15 mm. This value is far below the typical scatter of scribing methods (0.5–1.0 mm).
The following table shows actual measured data from a recent project for a large herringbone gear (bore diameter 500 mm, module 20, helix angle 30°).
| Measurement | x (mm) | y (mm) | z (mm) |
|---|---|---|---|
| Point 1 (left helix) | 150.00 | 102.35 | 200.00 |
| Point 2 (right helix) | 150.00 | 102.48 | 200.00 |
| Calculated misalignment δ = 0.13 mm | |||
If the measured δ exceeds the acceptable limit (typically 0.15 mm for most applications), we can adjust the dowel hole positions by reaming to a slightly larger diameter and using oversized pins, or by reworking the hole location. However, with careful machining, such corrections are rarely needed.
4. Hot Assembly Procedure
Once the alignment is verified, we proceed to the final hot assembly. The lower half of the herringbone gear is heated in a controlled furnace. The heating temperature is calculated based on the required interference fit. For a typical interference of 0.15–0.25 mm on a bore diameter D, the required temperature rise ΔT is given by:
$$ \Delta T = \frac{\text{interference}}{\alpha \cdot D} $$
where α is the linear thermal expansion coefficient of steel (≈ 12×10⁻⁶ /°C). For example, with D = 500 mm and interference = 0.20 mm:
$$ \Delta T = \frac{0.20}{12 \times 10^{-6} \times 500} \approx 33.3\,^\circ\mathrm{C} $$
If the ambient temperature is 25 °C, the heating temperature should be about 58 °C. However, to allow for heat loss and handling time, we often heat to 80–100 °C, well below the 230 °C limit that would affect the case hardness. In practice, we never exceed 200 °C to provide a safety margin.
After reaching the target temperature, the lower half is quickly removed from the furnace and placed vertically on a clean base. The two dowel pins (with 15° chamfer at the top end to facilitate entry) are inserted into the lower half. The upper half (at room temperature) is then lowered onto the pins. Because the dowel pins are already in place, the herringbone gear halves are automatically aligned within the previously measured tolerance. The assembly cools and shrinks onto the shaft or onto the mating half, creating a secure interference fit.
It is essential that the dowel pins are made of the same material as the gear (or a material with similar thermal expansion) and are slightly undersized relative to the dowel holes to allow easy insertion during hot assembly. After the assembly cools, the pins become locked in place; they may be left in as permanent alignment aids or removed if the design permits.
5. Advantages of the Proposed Method
This precision alignment method for keyless herringbone gears offers several benefits:
- High accuracy: Typical misalignment < 0.15 mm, versus 0.5–1 mm with scribing.
- Repeatable: The process is CNC-controlled and independent of operator skill.
- No keyway stress concentrations: The torque is transmitted purely by interference, which is ideal for high-torque applications.
- Fast hot assembly: The dowel pins guide the upper half, reducing the need for manual adjustment during the short heating window.
- Preservation of tooth hardness: Since heating is kept well below 230 °C, the carburized case hardness (typically 58–62 HRC) is unaffected.
The following table summarizes the key parameters and results from our implementation on several projects:
| Parameter | Value / Range |
|---|---|
| Bore diameter D | 300 – 800 mm |
| Module | 16 – 25 |
| Helix angle | 25° – 35° |
| Interference fit | 0.10 – 0.30 mm |
| Heating temperature | 80 – 200 °C |
| Maximum allowed temperature (hardness limit) | 230 °C |
| Measured misalignment δ after assembly | 0.05 – 0.15 mm |
| Number of dowel pins | 2 (180° apart) |
| Dowel pin diameter | Ø30 mm |
| Dowel pin chamfer | 15° |
6. Conclusion
In summary, the precision alignment method for keyless herringbone gear assemblies described here has been proven in production to achieve a centering accuracy of better than 0.15 mm. The approach combines careful machining of two precision dowel holes using a CNC boring machine and edge finder, followed by a controlled hot assembly where the dowel pins serve as instant guides. The entire process respects the thermal limits required to preserve the hardened tooth surfaces. By eliminating the need for keys or splines, the herringbone gear can be designed more compactly and with higher torque capacity. This technique has been successfully applied in large rolling mill drives and other heavy machinery where reliability and precision are paramount. I believe that any manufacturer dealing with split herringbone gears can benefit from adopting this systematic alignment methodology.