
The manufacturing industry has long sought efficient and cost-effective methods for producing straight bevel gear precision forging molds. These gears are critical components in automotive differentials and engines, requiring high strength and low production cost. Traditional cutting methods, while functional, demand expensive specialized machinery and suffer from low productivity. This thesis addresses these challenges by developing a specialized CAD/CAM system for straight bevel gear mold electrodes, leveraging the powerful secondary development capabilities of UG (Unigraphics) software. The work presented here focuses on parametric modeling, automated tool path generation, and the integration of these processes into a cohesive software suite designed to streamline the production of straight bevel gear mold electrodes.
1. Introduction and Background
Straight bevel gears are essential for transmitting motion and power between intersecting axes, most commonly at a 90-degree angle. They are ubiquitous in automotive differentials, power tools, and various industrial machinery. The demand for these gears is characterized by the need for high strength, durability, and low manufacturing costs. While traditional cutting methods like gear planning are well-established, they present significant drawbacks. The gear planer, for instance, requires meticulous adjustment of machine parameters, is labor-intensive, and has a lengthy production preparation cycle. This makes it difficult to achieve the desired levels of digitalization and automation in the manufacturing process.
Precision forging has emerged as a superior alternative for manufacturing straight bevel gears. This process offers several advantages, including higher gear strength due to favorable grain flow, reduced material waste, and the potential for cost-effective mass production. The key to precision forging lies in the quality of the mold, which is typically manufactured using Electrical Discharge Machining (EDM). The electrode used in EDM is a critical component, as its shape directly determines the final geometry of the forged gear. Since the mold electrode must replicate the gear’s tooth profile, its own manufacturing process is a significant bottleneck. Often, these electrodes are fabricated using the same gear planers used for cutting gears, inheriting the same limitations of complex setup and lengthy production times. This research aims to overcome these limitations by implementing a CAD/CAM solution specifically for the design and machining of straight bevel gear mold electrodes.
The core objective of this thesis is to research and develop a dedicated CAD/CAM system for straight bevel gear mold electrodes. The system is built upon the UG platform, utilizing its robust feature-based modeling and computer-aided manufacturing capabilities. Through secondary development, we have created a user-friendly interface that automates the entire process from gear parameter input to the generation of CNC tool paths. This system significantly reduces the time and expertise required to produce these critical components, thereby shortening the overall production preparation cycle and lowering costs.
2. Mathematical Modeling of Straight Bevel Gears
A thorough understanding of the gear’s geometry is the foundation for any CAD/CAM system. For straight bevel gears, this involves choosing an appropriate mathematical model for the tooth profile. The theoretical perfect profile is the spherical involute.
2.1 Spherical Involute and Its Approximation
In an ideal scenario, the tooth profile of a straight bevel gear is a spherical involute. This surface is generated by a point on a line of a plane that rolls without slipping over a base cone. While theoretically precise, working with spherical involutes in a CAD environment is complex because they do not unfold into a plane. To simplify this, engineering practice commonly uses the tooth profile on the back cone, known as the back cone involute, as an approximation.
As shown in typical gear theory texts, the back cone is tangent to the sphere at the pitch circle of the gear. When projecting the theoretical tooth profile points from the sphere to this tangent cone, a small error is introduced. This error is proportional to the ratio of the module to the outer cone distance. For standard gear parameter ranges, where the module \( m \) and outer cone distance \( R \) satisfy \( m/R < 1/30 \), the error is negligible for engineering purposes. This approximation is valid and widely adopted because it allows for the use of standard planar involute curves, which are much simpler to generate and manipulate in a 3D CAD environment. This approximation is a cornerstone of our modeling strategy for straight bevel gear mold electrodes.
2.2 Parameters of Involute Straight Bevel Gear
To achieve parametric modeling, all gear dimensions must be linked to a set of fundamental parameters through mathematical relationships. The primary input parameters are the module \( m_e \), number of pinion teeth \( Z_1 \), number of gear teeth \( Z_2 \), pressure angle \( \alpha \), addendum coefficient \( h^* \), and clearance coefficient \( c^* \). From these, all other necessary dimensions are calculated.
| Parameter Name | Symbol | Formula |
|---|---|---|
| Module | \( m_e \) | User Input |
| Number of Pinion Teeth | \( Z_1 \) | User Input |
| Number of Gear Teeth | \( Z_2 \) | User Input |
| Pressure Angle | \( \alpha \) | User Input |
| Addendum Coefficient | \( h^* \) | User Input |
| Clearance Coefficient | \( c^* \) | User Input |
| Face Width | \( B \) | User Input |
| Addendum | \( h_a \) | \( h_a = h^* m_e \) |
| Dedendum | \( h_f \) | \( h_f = (h^* + c^*) m_e \) |
| Pitch Cone Angle | \( \delta \) | \( \delta = \arctan(Z_1 / Z_2) \) |
| Pitch Diameter | \( d \) | \( d = m_e Z_1 \) |
| Outer Cone Distance | \( R_e \) | \( R_e = 0.5 m_e \sqrt{Z_1^2 + Z_2^2} \) |
| Equivalent Gear Pitch Radius | \( r_v \) | \( r_v = d / (2 \cos \delta) \) |
| Equivalent Gear Base Radius | \( r_{vb} \) | \( r_{vb} = r_v \cos \alpha \) |
2.3 Mathematical Model of Rounded (Circle-Lapped) Straight Bevel Gears
The rounded, or circle-lapped, straight bevel gear is manufactured using a specialized high-efficiency process. This type of gear is characterized by having a tooth profile that is an arc of a circle rather than an involute. This design, while not perfectly conjugate, provides excellent strength and is particularly suited for high-torque, low-speed applications like those found in automotive differentials.
As shown in the image, the tooth profile of a straight bevel gear mold electrode is a complex 3D surface that must be accurately machined. The parabolic curve shown in the figure represents the desired tooth flank modification for optimal contact patterns.
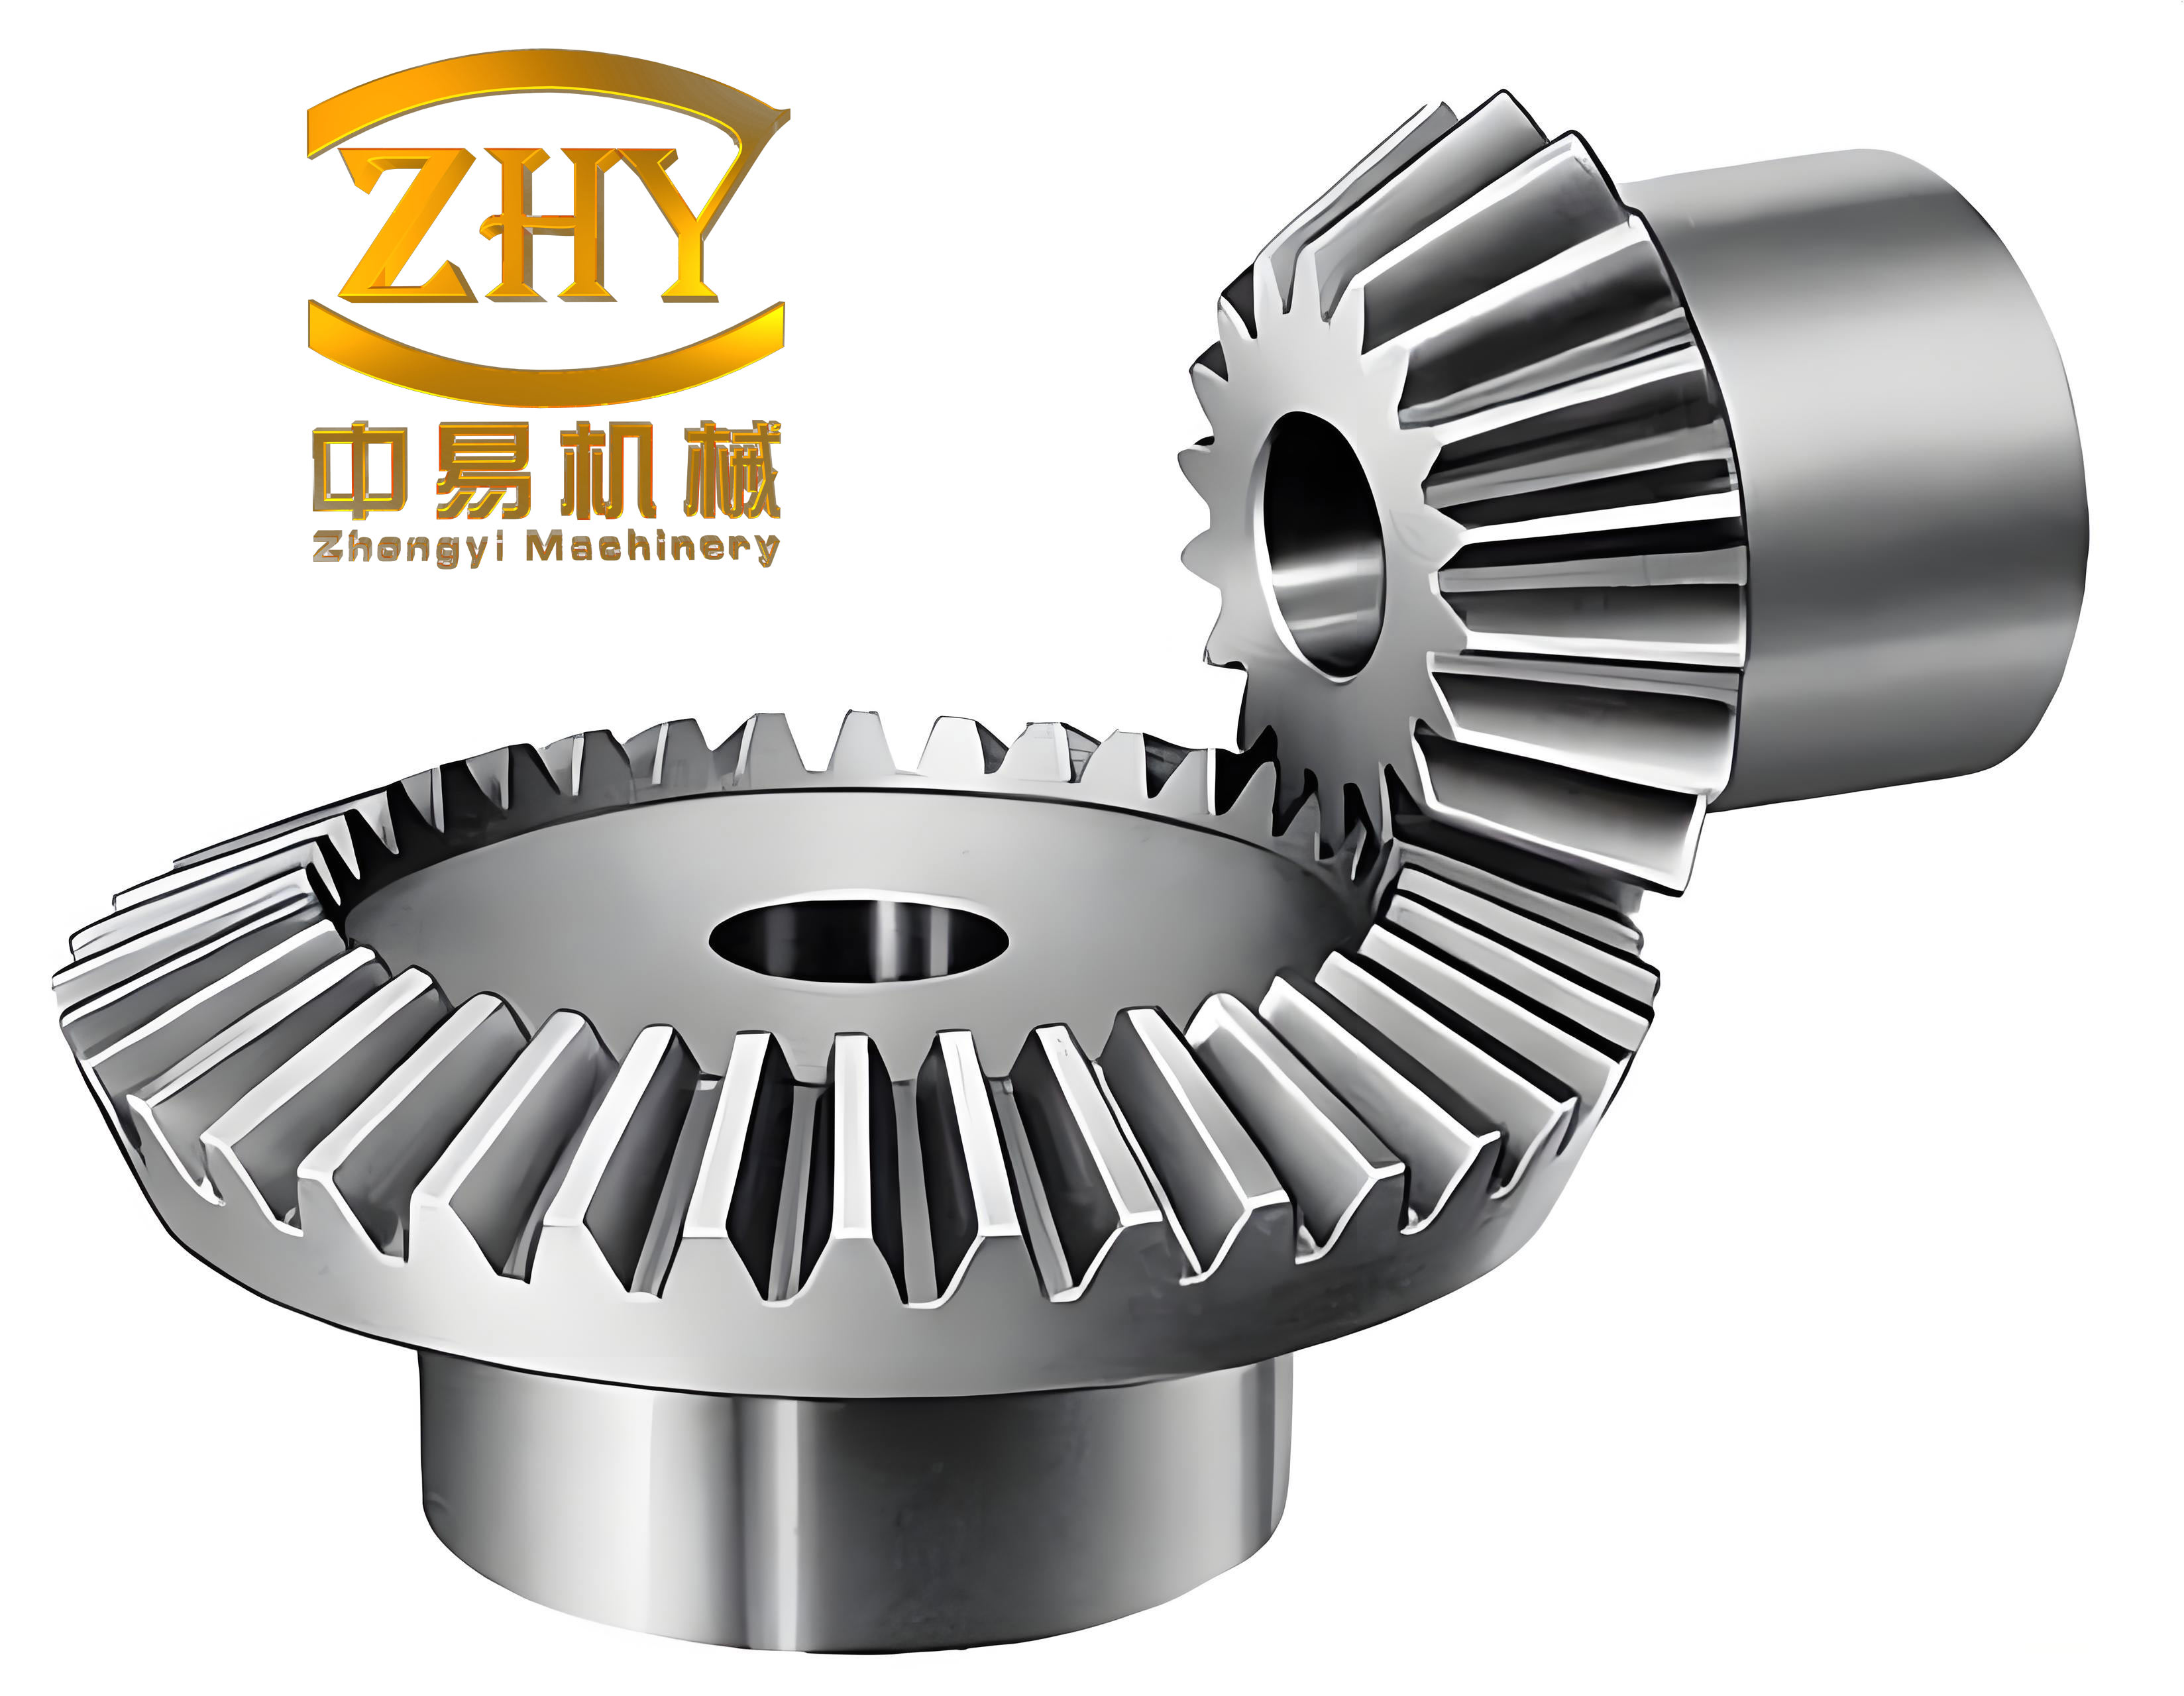
To model this gear, we focus on the equivalent cylindrical gear obtained by developing the back cone. The curvature radius of the circular arc tooth profile on the equivalent gear is a critical parameter. Based on research and design practices for this type of gear, the radius of curvature \( \rho \) can be calculated from the pitch radii \( R_1 \) and \( R_2 \) of the equivalent gears, considering the need to minimize transmission ratio fluctuation while maintaining strength. The most common formulas used in practice are empirical and are designed to ensure that the gears mesh smoothly despite the non-conjugate tooth profile.
Let \( R_1 \) and \( R_2 \) be the pitch radii of the equivalent gear. Then the radius for the pinion tooth arc profile, \( \rho_1 \), is calculated as:
$$ \rho_1 = \frac{3 \sin \alpha \cdot R_1^2 \cdot R_2}{R_1^2 + R_2^2} $$
Similarly, the tooth thickness is another critical dimension that is determined based on strength calculations. The parameters for a rounded straight bevel gear are similar to those of the involute gear but with the critical addition of the arc radius. We have established a parametric relationship table for this type of gear as well, ensuring all dimensions are driven by the user-specified module, tooth counts, and pressure angle. This allows for the automatic generation of the 3D solid model without manual calculation of intermediate dimensions.
2.4 Crowned (Barreled) Tooth Modeling
To improve the performance and durability of straight bevel gears, the tooth lengthwise shape is often modified to be slightly crowned, or barreled. This modification localizes the contact area, reducing sensitivity to gear misalignment caused by manufacturing errors or shaft deflection under load. This helps prevent stress concentration at the tooth ends and reduces noise during operation.
The recommended amount of crowning, denoted as \( S_\Delta \), is typically a small fraction of the module, roughly \( 0.004 \) to \( 0.005 \) times the module \( m \). In our modeling approach, this crowning is achieved by using a curved guide line for the scanning operation that creates the tooth surface. The curve is designed to ensure the contact point is located at the center or, more preferably, at one-third of the face width from the small end. The guide curve shown in Figure 2.4 is a conceptual representation of this crowning, where the amount of crown is represented by \( S_\Delta \). This technique allows us to create a crowned gear model automatically by inputting the desired crowning amount.
3. CAD Module: Parametric Design and Development
The CAD module is the core of our system, enabling users to automatically generate a precise 3D solid model of a straight bevel gear mold electrode by simply inputting key design parameters through a dialog box. This is achieved through a process of parametric modeling, where the model geometry is driven by mathematical relationships and user-defined inputs. The entire workflow is illustrated in the flowchart, emphasizing the steps from parameter input to the final solid model.
3.1 Parametric Design of the Involute Gear
The process for creating the involute straight bevel gear starts with an input dialog box designed using UG/Open UIStyler. The user is prompted to input the fundamental design parameters: the number of pinion teeth \( Z_1 \), the number of gear teeth \( Z_2 \), the large-end module \( m_e \), the pressure angle \( \alpha \), the clearance coefficient \( c^* \), the addendum coefficient \( h^* \), the crowning amount \( S_s \), and the face width \( B \). These values are stored in a structured data type, \( \text{ModelGearDesign} \), which is passed to the modeling functions. To ensure the integrity of the model, the input data is validated. For example, the module is checked against the standard module series, and tooth counts are checked to be integers.
Once the parameters are validated, the system proceeds to create the 3D model. The key steps are as follows:
1. Creating the Involute Curve: The involute tooth profile on the back cone is the key to accurate modeling. The geometric equation for a standard involute curve in the XY plane is:
$$ x_t = r_{vb} \cdot (\cos(s) + s \cdot \sin(s)) $$
$$ y_t = r_{vb} \cdot (\sin(s) – s \cdot \cos(s)) $$
Here, \( s \) is the rolling angle in radians, ranging from 0 to the maximum generating angle. Using the UG Open API function \( \text{UF_MODL_create_law} \), this curve is generated in a user-defined coordinate system.
2. Creating the Tooth Space Curve: A single tooth space is bounded by two involute curves. To generate the complete 3D geometry of a single tooth space, it is necessary to have the 2D cross-section of the tooth space. This includes the involute curves, a transition curve at the root, and an arc along the root circle. The transition curve is critical to avoid stress concentration and is constructed using a novel double-arc method. This involves creating an arc tangent to the involute at its start point and another arc tangent to both the first arc and the tooth root circle.
3. Creating the Tooth Space Surface: The 3D surface of the tooth space is generated by sweeping the 2D tooth space curve along guide lines. The guide lines are created to connect points on the tooth space curve to the apex of the pitch cone. Using the \( \text{UF_MODL_create_sweep} \) function, the tooth space profile is swept along these guide lines to create a solid “solid” body representing the empty space of a single tooth.
4. Constructing the Full Gear Model: The final step is to create the gear blank body, which is a cone, and then subtract the tooth space bodies from it. The gear blank is created using the \( \text{UF_MODL_create_revolution} \) function. A single tooth space is subtracted from the blank. This cut-out feature is then patterned around the gear axis by the number of teeth using the array function \( \text{UF_MODL_create_rect_slot} \) to obtain the final complete straight bevel gear solid model.
3.2 Parametric Design of the Rounded Gear
The parametric design of the rounded straight bevel gear follows a similar workflow but with a simpler curve creation process. The design input dialog box is similar to that of the involute gear. The key difference is the creation of the tooth space profile. Instead of an involute equation, the tooth profile is created as an arc in the sketch plane. The diameter and center of this arc are determined by the gear parameters, specifically using formula for curvature radius calculated in the previous section.
The modeling steps are as follows:
- Generate the tooth space profile on the back cone. This includes arcs representing the tooth flank, a root fillet, and a root circle arc.
- Create the guide lines for sweeping. The lines connect the profile to the cone apex.
- Use the sweep operation to create the 3D tooth space body.
- Create the gear blank and subtract the tooth space body, then pattern it to get the complete gear model.
This process allows for the efficient and automatic generation of the rounded straight bevel gear mold electrode, which is difficult and time-consuming to model manually.
4. CAM Module: Tool Path Generation and Development
The CAM module is designed to automate the generation of CNC tool paths for manufacturing the straight bevel gear mold electrode. This module integrates seamlessly with the CAD model, allowing users to proceed directly from design to manufacturing within the same environment. Traditional manufacturing of this component is done on gear planers, which is a bottleneck. The CAM module we developed leverages standard 3-axis CNC milling, which is more flexible and offers better surface finish.
The overall NC programming process is shown in the flowchart. The module includes several key sub-modules: a tool setup module, a machining strategy selection module, a cutting parameter module, and a tool path generation module.
4.1 Tool Setup and Customization
In the CAM module, we have developed a tool database and setup interface. The tool selection is critical for efficient machining. The developed system is a dialog box for tool definition. This allows the user to define a tool specifically for the mold electrode machining operation. The input parameters include the tool shank length, the tool diameter, and the corner radius. The tool shape is defined by the diameter and the corner radius. For instance, a ball-end mill can be a tool where the corner radius is half of the diameter. The system creates a tool in the UG machining environment with the specified parameters, making it available for the subsequent operations. The tool diagram illustrates the parameters: shank length, diameter, and corner radius.
4.2 Machining Strategy Selection
The selection of the machining strategy is crucial for balancing efficiency and surface quality. We have developed a dialog box that allows users to choose between different machining methods and cut patterns.
- Machining Methods: The system offers two primary methods:
- Contour Mill: This method is used for roughing and finishing of steep walls. It removes material in a layer-by-layer fashion, which is excellent for controlling tool load.
- Fixed Contour: This is a surface-based machining strategy, which is ideal for finishing complex free-form surfaces like the tooth profile.
- Cut Patterns: For the tool path pattern, the user can select from options like:
- Parallel Cut: This generates tool paths that are parallel to a specified angle. It is useful for flat or gently sloping surfaces and can be efficient for roughing.
- Circular Cut: This generates tool paths that follow spirals or concentric circles around the part. It is often more efficient for complex molds as it reduces tool retractions.
This allows the user to tailor the machining process to the specific geometry of the electrode, ensuring a high-quality finish and efficient material removal.
4.3 Cutting Parameter Definition
Setting the correct cutting parameters is essential for tool life and part quality. The cutting parameters are defined in a dedicated dialog box. The parameters include:
- Depth of Cut (t): The thickness of material removed in a single pass.
- Step Width (L): The distance between adjacent tool paths. This is often defined as a percentage of the tool diameter.
- Spindle Speed (n): The rotational speed of the spindle in revolutions per minute.
- Feed Rate (Vf): The speed at which the tool moves through the material.
The user must input these values based on their experience, tool manufacturer recommendations, and the material being machined. The system also automatically calculates some values, like the spindle speed, using formulas:
$$ n = \frac{1000 V_c}{\pi D} $$
Where \( V_c \) is the cutting speed in meters per minute, and \( D \) is the tool diameter. The module provides a comprehensive interface for all these settings.
4.4 Tool Path Generation: Roughing and Finishing
The tool path generation module is the core of the CAM system. It is developed using the GRIP (Graphics Interactive Programming) language, which is deeply integrated into the UG CAM environment. This module creates the necessary machining operations and generates the tool paths automatically.
1. Roughing Tool Path: The roughing operation is designed to quickly remove the bulk of the material from the gear blank. The strategy chosen is the “Cavity Mill” operation within the “mill_contour” template in UG. This operation uses a 3-axis volume milling method that efficiently removes the material between the teeth. The stepover and depth of cut for roughing are typically larger to increase speed. The system automatically generates the tool path and simulates the material removal.
2. Finishing Tool Path: For the finishing operation, which is critical for the surface quality of the tooth profile, we use the “Fixed Contour” operation, specifically a “Surface Area” drive method. This allows the system to follow the complex curves of the tooth space more accurately. The user must select the tooth surfaces to be machined using a graphical selection dialog box. The system controls the tool axis orientation (typically set to 0 degrees tilt and 0 degrees lead) and the projection vector (perpendicular to the surface). With a finer stepover value, the finishing tool path ensures a high-quality surface finish, minimizing the need for additional polishing.
5. System Design, Implementation, and Case Study
To test and validate the developed system, we have carried out a comprehensive case study. The system requires the user to first load a straight bevel gear mold electrode model, which is the output of the CAD module.
5.1 System Architecture and Features
The developed system is integrated into the UG environment as a custom menu. This menu is created using the UG/Open MenuScript language. The menu is named “直齿锥齿轮模具电极 CAD/CAM 系统”, which in English is “Straight Bevel Gear Mold Electrode CAD/CAM System”. The menu structure consists of three main options:
- Involute Straight Bevel Gear Mold Electrode Design
- Rounded Straight Bevel Gear Mold Electrode Design
- Straight Bevel Gear Mold Electrode CAM
This menu structure provides a clear and logical flow for the user, guiding them through the design and manufacturing process.
5.2 System Requirements and Environment
The system is developed and tested within a specific software and hardware environment. The target platform is a standard PC with a minimum of a Pentium 4 1.6 GHz processor and 512 MB of RAM. The software environment includes:
- Operating System: Windows 2000/XP
- Development Tools: Microsoft Visual C++ 6.0
- Base Software: UG NX4.0
This setup ensures that the secondary developed code using UG/Open API and GRIP runs reliably and efficiently.
5.3 Case Study: Design and Manufacturing of an Automotive Straight Bevel Gear Mold Electrode
To illustrate the functionality of the developed system, we present a practical application example using parameters for an automotive differential gear. The parameters of the pinion gear are as follows:
| Parameter | Value |
|---|---|
| Number of pinion teeth ( \( Z_1 \) ) | 10 |
| Number of gear teeth ( \( Z_2 \) ) | 16 |
| Large-end Module ( \( m_e \) ) | 3.75 mm |
| Pressure Angle ( \( \alpha \) ) | 22.5° |
| Clearance coefficient ( \( c^* \) ) | 0.2 |
| Addendum coefficient ( \( h^* \) ) | 0.8 |
| Face width ( \( B \) ) | 12 mm |
Step 1: Model Creation. The user launches the system and clicks on “Involute Straight Bevel Gear Mold Electrode Design”. This triggers a dialog box to be displayed. The user inputs all the values from Table 2. The system validates the data and automatically creates the 3D solid model of the gear electrode.
Step 2: Entering the CAM Module. Once the model is created, the user clicks on “Straight Bevel Gear Mold Electrode CAM” from the main menu. The system enters the UG Machining application with the gear model loaded. The user is presented with the straight bevel gear mold electrode CAM interface.
Step 3: Coordinate System Adjustment. Before generating tool paths, the user must define the appropriate machining coordinate system. The system provides a button to adjust this, aligning the Z-axis with the axis of the electrode to facilitate 3-axis machining. This step is crucial for proper tool orientation and path calculation.
Step 4: Tool and Cutting Parameter Setup. The user defines the cutting tool. For finishing, a ball-end mill with a radius of 2 mm is selected as the tool. The shank length and other dimensions are set. Then the machining strategy is specified: it is set to a “Zig-Zag” pattern for efficient multi-directional cutting. The cutting parameters are set: the cut depth is left for the system to determine based on the operation, while the step over is set to 0.05 mm to achieve a fine finish on the gear tooth profiles. The spindle speed, feed rate, and all other necessary parameters are set in their respective dialog boxes.
Step 5: Generating the Roughing Tool Path. The user clicks the “Generate Roughing Tool Path” button. The system automatically creates a “Cavity Mill” operation and generates the tool path to remove the bulk of the material. This tool path is checked for gouges and excess material.
Step 6: Generating the Finishing Tool Path. The user clicks “Generate Finishing Tool Path”. The system prompts the user to select the machining area. In this case, a single tooth space is selected, as shown in the selection dialog. After the selection is confirmed, the user clicks “Generate Tool Path”, and the system generates a “Area Milling” tool path. The generated tool path follows the selected tooth surface, providing the final precise cut. This process can be repeated for each tooth space, ensuring uniformity and precision across all teeth in the straight bevel gear mold electrode.
This case study successfully demonstrates the entire workflow of the developed system, from parameter input to the generation of precision tool paths. The straight bevel gear mold electrode is designed and programmed for manufacturing with minimal manual intervention, a significant improvement over traditional methods.
6. Conclusion and Future Work
This thesis successfully developed a specialized CAD/CAM system for the design and manufacture of straight bevel gear mold electrodes. The system integrates automatic 3D modeling and CNC tool path generation, addressing the critical manufacturing bottleneck associated with traditional gear planing methods. The key contributions of this work are:
1. Parameterized Modeling: We developed a robust parameterized modeling module that can automatically generate the complex 3D geometry of both involute and rounded straight bevel gears. By simplifying the theoretical spherical involute to a back-cone involute, we achieved a model that is both geometrically accurate and computationally efficient for the purpose of mold electrode manufacturing.
2. Automated CAM Programming: We created an automated CAM module using the GRIP language. This module simplifies the NC programming process by providing dedicated tools and dialog boxes for the manufacturing of these specific parts. It reduces the complexity of the process and allows even less experienced programmers to generate efficient and reliable tool paths.
3. Integration and Practicality: The CAD and CAM modules are seamlessly integrated into the UG platform, creating a unified workflow from design to manufacturing. The case study confirmed that the system is intuitive and efficient, significantly reducing the production preparation cycle for straight bevel gear mold electrodes.
Looking ahead, several areas for future research and development have been identified.
1. Enhanced Modeling Capabilities: The current system focuses on gears with a 90-degree shaft angle. Future work could extend this to other shaft angles to broaden the applicability of the system.
2. Incorporation of Forging and EDM Factors: The current electrode model is an exact replica of the final gear. However, to achieve the true precision of the forge die and the final gear, future research should incorporate factors like material shrinkage, thermal expansion, and EDM discharge gap allowances into the electrode model.
3. Tool Path Validation and Optimization: Future work should include robust tool path simulation and validation to prevent collisions and gouges before actual machining. Additionally, optimization of the tool path can further improve machining efficiency and tool life.
4. Post-Processing Development: The current system generates tool paths in the UG native format. To be fully useful in an industrial production environment, a comprehensive post-processing module needs to be developed to convert these tool paths into G-code specific to various machine tool controllers.
In conclusion, this research has laid a solid foundation for a comprehensive and practical solution for the manufacturing of precision forging dies for straight bevel gears. The developed system is a testament to the power of integrating domain-specific knowledge with robust CAD/CAM platforms like UG, and it provides significant benefits in terms of reducing lead time, lowering costs, and improving the quality of straight bevel gear manufacturing.