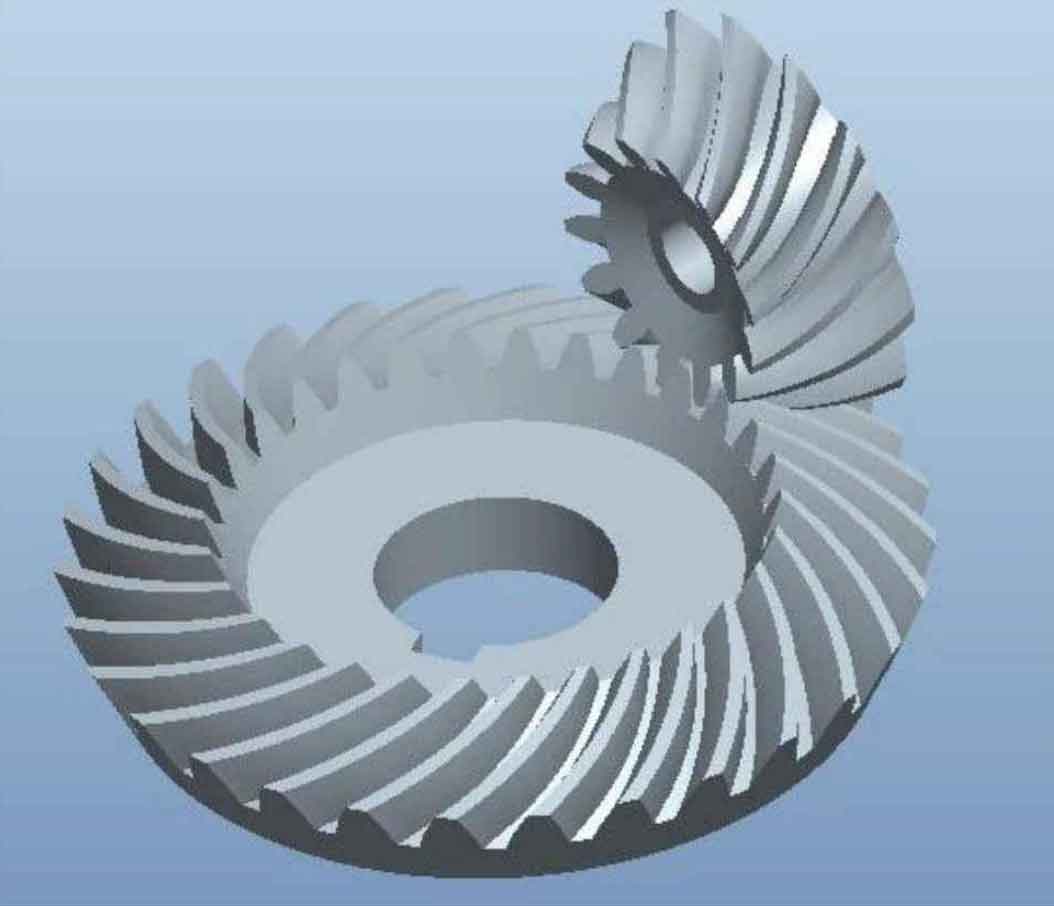
Due to the inevitable tooth surface deviation caused by machining error and heat treatment deformation, the optimal mating tooth surface obtained by the previous active design method based on theoretical tooth surface must be accurately machined, and the tooth surfaces of both large and small wheels must be corrected. In actual production, only the small gear tooth surface with less teeth and shorter processing time is corrected, and the gear tooth surface error is ignored, which needs to be corrected again. When the first correction is made, the small gear tooth surface has approached the target tooth surface, and the second correction becomes empirical adjustment based on the impression, which is time-consuming, labor-consuming, and inaccurate. Therefore, based on the previous paper, an active design method of cycloid hypoid gear tooth surface based on actual tooth surface is proposed. This method is applied to the trial production stage of gears, comprehensively considering the tooth surface deviation caused by machining error and heat treatment deformation of the large and small wheel tooth surfaces. The expected meshing performance can be obtained only by modifying the small wheel tooth surface once, which is beneficial to shortening the trial production cycle, It also provides a new way to actively control the meshing performance of both sides of the “Austrian” cycloid hypoid gear, which cannot be refined after heat treatment.

Firstly, based on the measured discrete coordinate point data of the tooth surface, the bicubic non-uniform rational B-spline (NURBS) surface is used to fit the discrete points, and the parameterized surface that is highly close to the actual tooth surface can be expressed explicitly, that is, the digital tooth surface, is obtained. According to the spatial meshing theory, the meshing simulation analysis of the actual tooth surface is carried out. Compared with the traditional roll inspection test, the transmission error curve can be obtained while the actual contact mark is obtained, It comprehensively reflects the meshing information of the actual tooth surface; And this method also avoids the problem of inconsistent inspection and evaluation criteria caused by theoretical tooth surface simulation analysis and actual tooth surface rolling inspection verification. Then, the main ideas and steps of the active design method of cycloid hypoid gear tooth surface based on the actual tooth surface are given. Finally, an example is given to illustrate the above method in detail.
Based on the measured discrete coordinate point data of cycloid hypoid gear, the digital tooth surface of cycloid hypoid gear with a height close to the actual tooth surface is fitted, and the accuracy of tooth surface fitting is verified. The data point fitting of the measured tooth surface of cycloid hypoid gear and the TCA general computer program are compiled. If it is integrated into the data processing program of the gear measurement center, and the TCA of the actual tooth surface is used to replace the traditional roll inspection, the meshing information of the actual tooth surface can be reflected more comprehensively, which makes up for the deficiency that the traditional roll inspection test can only obtain the contact mark and cannot obtain the transmission error, and lays a foundation for the subsequent high-precision dynamic characteristic analysis, And it avoids the problem that the inspection and evaluation criteria are inconsistent when the theoretical tooth surface is used for simulation analysis and then verified by the actual tooth surface rolling inspection. An active design method of cycloid hypoid gear tooth surface based on actual tooth surface is proposed. This method comprehensively considers the deviation of large and small gear tooth surfaces caused by machining error and heat treatment deformation. The expected meshing performance can be obtained only by modifying the small gear tooth surface once, which is very beneficial to shortening the trial production cycle. This meshing performance analysis and active design method based on the actual tooth surface not only saves the inspection equipment, but also shortens the production cycle. Because of the universality of the above calculation process, it is also applicable to other types of gear transmission after promotion.
