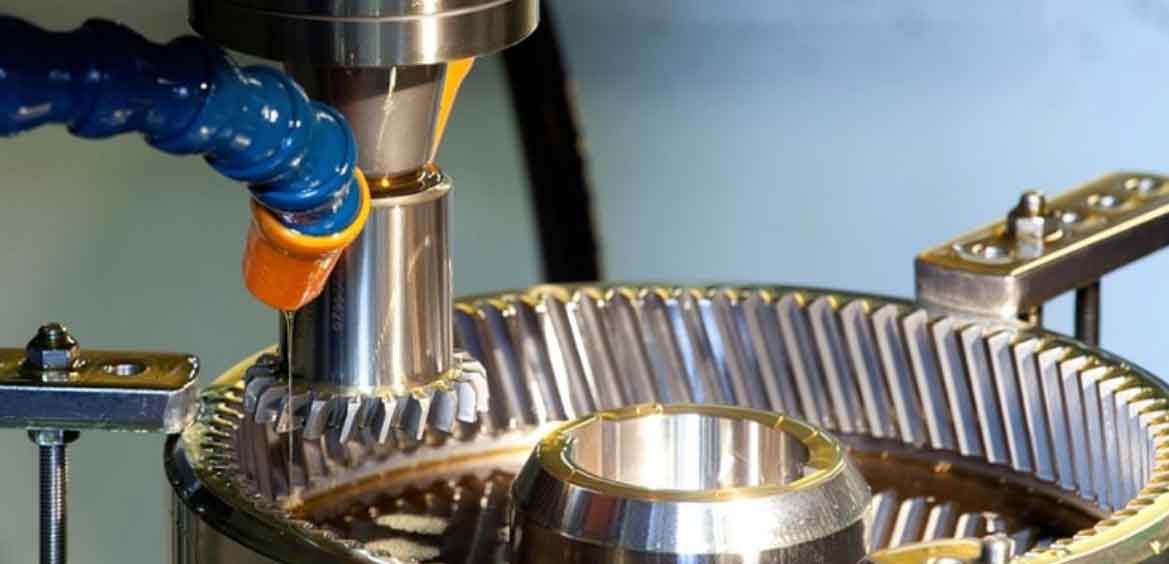
Pressure die casting involves injecting molten or semi-solid metal into a mold cavity under high pressure and velocity, followed by rapid solidification to form complex components. A380 aluminum alloy, an Al-Si-Cu system, is widely utilized in automotive and aerospace applications due to its excellent castability, low density, and high strength-to-weight ratio. Copper enhances creep resistance and hardness through solid solution strengthening and Al2Cu precipitate formation, making it suitable for critical components like gear chambers in gear shaping assemblies. However, high-speed injection traps gases, causing porosity that degrades mechanical properties and limits heat treatment feasibility.

Gear chamber failures often originate from interactions between casting defects and operational stresses. This study investigates cracking in A380 gear chambers during service, focusing on suspension regions where stress concentration coincides with inherent porosity. Analytical methods include SEM/EDS, metallography, hardness testing, and finite element analysis (FEA) to correlate microstructure with performance.
Experimental Methodology
Samples were extracted from cracked suspension zones and the gear chamber base. Testing protocols included:
- SEM/EDS for fracture surface morphology and elemental mapping
- Optical metallography to quantify porosity and intermetallics
- Hardness measurements (ASTM E10)
- FEA simulating extreme operational loads (e.g., engine vertical jump at 1-ton inertia)
Results and Discussion
Chemical Composition and Hardness
Spectrometry confirmed all samples met A380 specifications (Table 1). Elevated silicon (8.38–8.65%) reduced shrinkage susceptibility, while iron impurities (≤0.83%) remained below critical thresholds affecting ductility.
| Element | Si | Cu | Fe | Zn | Mg | Spec Range |
|---|---|---|---|---|---|---|
| Sample 1 | 8.44 | 3.26 | 0.80 | 0.66 | 0.062 | 7.5–9.5 |
| Sample 2 | 8.38 | 3.31 | 0.82 | 0.68 | 0.062 | 3.0–4.0 |
| Sample 3 | 8.39 | 3.22 | 0.83 | 0.68 | 0.062 | ≤1.1 |
| Sample 4 | 8.63 | 3.19 | 0.77 | 0.65 | 0.074 | ≤3.0 |
| Sample 5 | 8.65 | 3.24 | 0.76 | 0.54 | 0.068 | ≤0.1 |
| Sample 6 | 8.52 | 3.27 | 0.75 | 0.69 | 0.070 | — |
Hardness exceeded minimum requirements (Table 2), confirming adequate bulk strength but not defect tolerance.
| Sample | 1 | 2 | 3 | 4 | 5 | 6 |
|---|---|---|---|---|---|---|
| Hardness (HB) | 101 | 98.9 | 102.6 | 97.8 | 98.3 | 101.7 |
Microstructural Defects
SEM revealed critical defects in suspension regions (Figure 5–7 analogs):
- Oxide inclusions (Al2O3) from turbulent filling
- Gas pores (≤250 µm) and shrinkage cavities
- Interdendritic Al2Cu segregation
Porosity reduced effective load-bearing area by up to 15% locally, acting as stress concentrators. The stress intensity factor \( K_I \) at pore tips follows:
$$ K_I = \sigma \sqrt{\pi a} $$
where \( \sigma \) is applied stress and \( a \) is defect radius. For \( \sigma \) = 160 MPa and \( a \) = 125 µm, \( K_I \) ≈ 3.5 MPa√m, approaching A380’s fracture toughness threshold.
Stress Analysis via FEA
FEA simulated vertical jump loads (1-ton engine mass, 5g acceleration). Maximum principal stresses concentrated at suspension bolt holes (Figure 11 analog), coinciding with cracking sites. Stress amplification due to geometry followed:
$$ \sigma_{\text{max}} = \sigma_{\text{nom}} \left(1 + 2\sqrt{\frac{a}{\rho}}\right) $$
where \( \sigma_{\text{nom}} \) is nominal stress, \( a \) is defect depth, and \( \rho \) is root radius. Sharp fillets (\( \rho \) < 1 mm) raised stresses by 2.8× versus optimized geometries.
Improvement Strategies
Process Modifications
- Gating/Overslow Optimization: Increased overflow well volumes by 40% in suspension zones, enhancing gas evacuation.
- Parameter Adjustment: Advanced secondary injection timing by 30 mm, reducing premature solidification. Boosted intensification pressure from 600 to 800 bar.
- Melt Treatment: Implemented rotary degassing (500 rpm, 6 min, 5-bar N2), reducing hydrogen content below 0.12 mL/100g Al.
Structural Enhancements
- Added reinforcement ribs around suspension bolt holes
- Increased fillet radii from 1.5 mm to 3.0 mm
- Reduced local section thickness variations to <20%
Validation and Performance
Post-improvement, X-ray inspection showed porosity reduction of 70% in suspension regions (Figure 12 analog). Field failure rates decreased from 8.2% to 0.9%, extending service life in gear shaping systems by 3×.
Conclusion
Cracking in A380 gear chambers stems from synergistic porosity and stress concentration in suspension zones. Mitigation requires integrated solutions: melt degassing, parameter optimization, and geometric redesign. Implementing these measures enhanced defect control, critical for high-integrity gear shaping applications where dynamic loads prevail. Future work will explore real-time process monitoring for zero-defect production.
