
In the field of heavy machinery manufacturing, the production of large module herringbone gear shafts presents significant challenges, particularly concerning the final heat treatment processes that define their operational durability and reliability. As a practicing engineer specializing in thermal processing, I have frequently encountered and analyzed quality issues arising from the intermediate frequency (IF) surface hardening of these critical components. The prevalent problems of insufficient and non-uniform surface hardness, coupled with the catastrophic occurrence of quenching cracks, not only compromise the performance and service life of the gear but also lead to substantial economic losses for manufacturers. This article delves into a comprehensive root-cause analysis of these defects based on observations from production environments processing herringbone gear shafts with modules in the range of m_n = 20 to 30 mm. Furthermore, it proposes a systematized framework for process optimization, supported by thermodynamic models and empirical data, to enhance the quality and consistency of the hardening process.
The standard manufacturing sequence for a high-strength herringbone gear shaft begins with forging, followed by rough machining and through-hardening (quenching and tempering) to achieve a core hardness in the range of 250-290 HB. After this preparatory treatment, the gear teeth are precision machined to their final profile. The critical last step is the localized surface hardening of the tooth flanks and root fillets using an IF induction process, aiming for a hardened case depth and a surface hardness of 50-55 HRC. The ultimate goal is to produce a component with a tough, shock-absorbing core and extremely wear-resistant surface layers on the teeth.
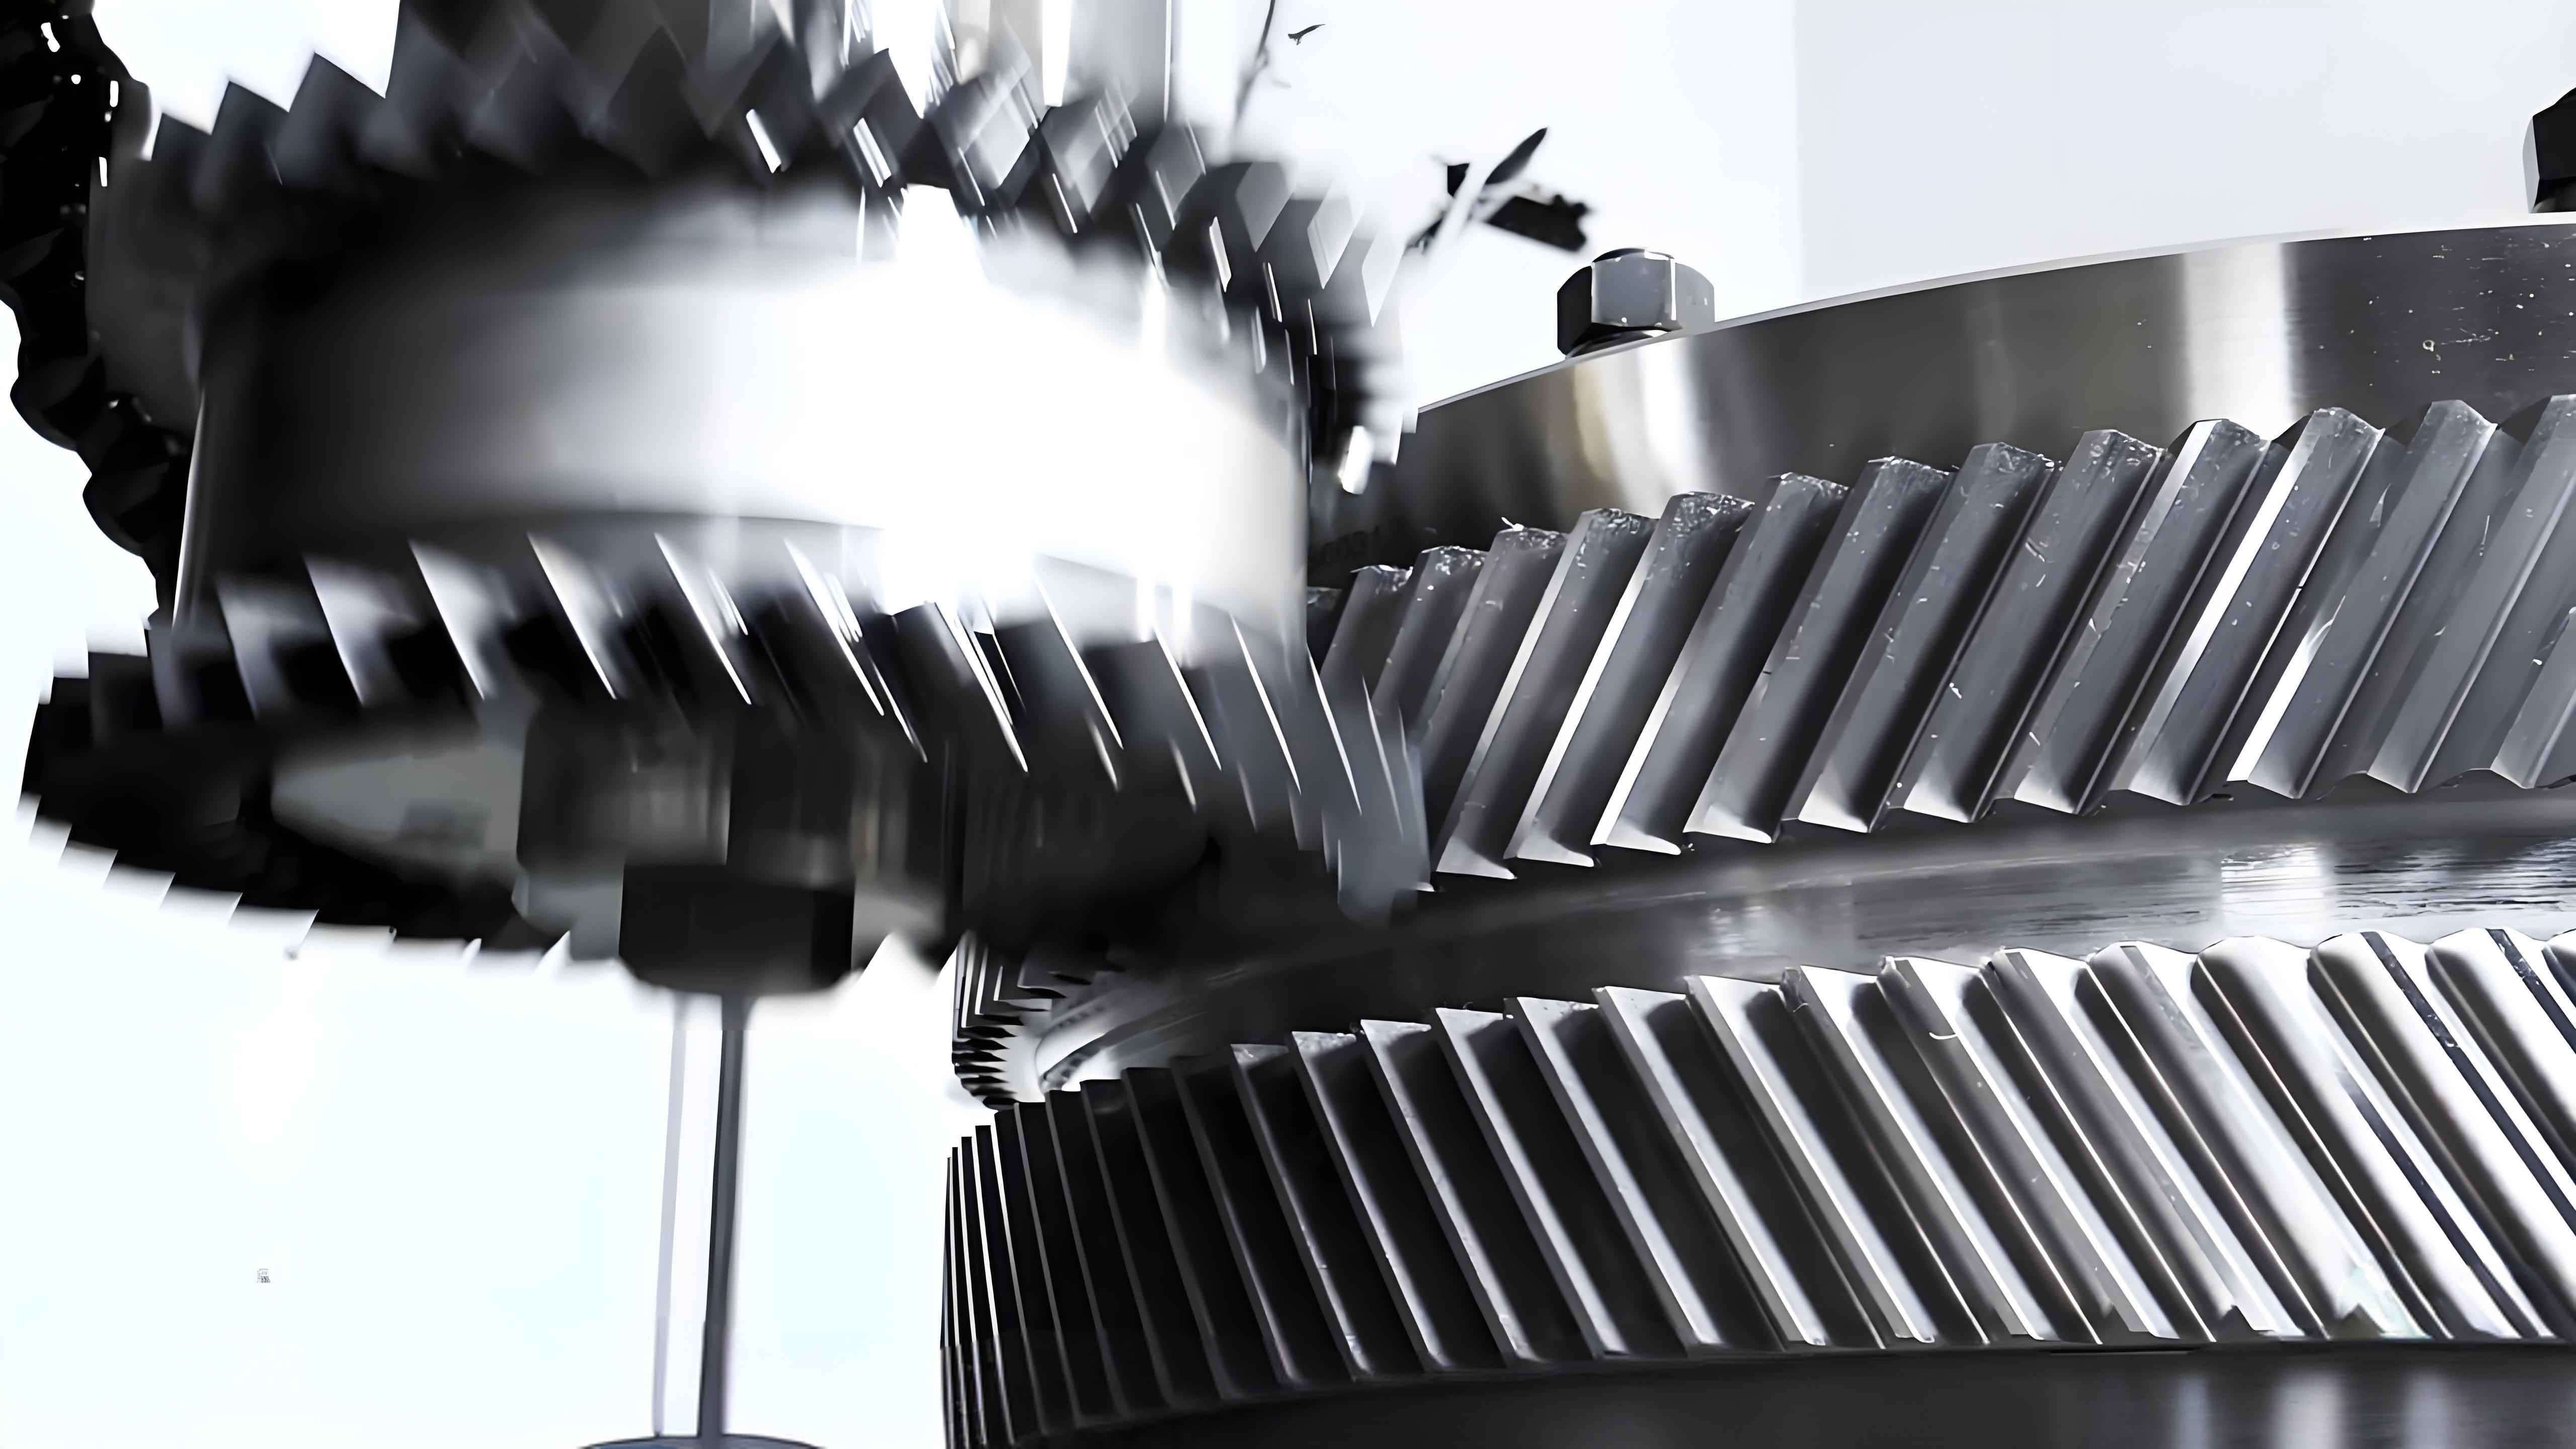
The specific hardening process under investigation utilizes a vertical quenching machine equipped with a traversing inductor. This inductor is profiled to mirror the normal cross-section of the tooth space (the “flank-and-root” contour method). As the inductor moves along the tooth length, it progressively heats the root and adjacent flanks of the herringbone gear tooth, followed immediately by a spray quench. Typical electrical parameters recorded from production runs are summarized in Table 1.
| Parameter | Value | Unit |
|---|---|---|
| Output Power (P) | ~180 | kW |
| Frequency (f) | ~8000 | Hz |
| Voltage (V) | ~750 | V |
| Traverse Speed (v) | ~110 | mm/min |
| Quenchant | Polymer aqueous solution (~10% concentration) | |
Despite operating within these nominal parameters, the resulting quality is often inconsistent. The primary defects observed are:
- Hardness Deficiency and Non-Uniformity: Hardness measurements reveal significant scatter. Variations exist between different teeth on the same shaft, between the two flanks of a single herringbone gear tooth, and even across different areas of the same flank. Hardness can range from the specification of 50-55 HRC down to as low as 35-40 HRC in soft spots.
- Quenching Cracks: Following the low-temperature tempering process (typically at 150-180°C), a pattern of cracks frequently appears. These cracks initiate at the tip edges of one or several teeth and propagate vertically downwards into the upper portion of the flank and across the tooth tip face. Crack spacing is roughly 5-10 mm, with individual cracks extending about 10-20 mm on the flank and 5-8 mm on the tip face.
Root Cause Analysis of Hardness and Cracking Defects
The fundamental cause of both hardness non-uniformity and cracking lies in the control of the thermal cycle during induction heating and the subsequent cooling phase. For a successful transformation, the surface layer must be heated above the austenitization temperature (Ac3) to form a homogeneous austenite phase, which then transforms into hard martensite upon rapid cooling. Any deviation from this ideal cycle leads to defects.
Thermodynamic Model for Induction Heating
The temperature field T(x,t) generated during scanning induction heating can be described by the heat conduction equation with an internal heat generation term. For a one-dimensional approximation into the depth (x) of the herringbone gear tooth flank:
$$ \rho c_p \frac{\partial T}{\partial t} = k \frac{\partial^2 T}{\partial x^2} + Q(x,t) $$
where $\rho$ is density, $c_p$ is specific heat, $k$ is thermal conductivity, and $Q(x,t)$ is the volumetric heat generation rate from eddy currents. The power density $Q$ is critically dependent on the air gap $d$ between the inductor and the workpiece surface, following a relationship approximated by:
$$ Q \propto P_0 \cdot \exp(-x / \delta) $$
with the reference power $P_0$ being inversely proportional to $d^2$, and $\delta$ being the current penetration depth, $\delta \propto 1/\sqrt{f}$. A non-uniform air gap $d(\theta)$ along the tooth profile (where $\theta$ is the angular position) directly causes a non-uniform $Q(\theta)$, leading to localized underheating or overheating.
Cause of Hardness Non-Uniformity: If the air gap on one flank of the herringbone gear is excessively large, the local power density $Q$ drops. The surface may not reach the full austenitization temperature, resulting in incomplete transformation. Upon quenching, this area forms a mixture of pearlitic/ferritic structures instead of martensite, yielding low hardness. Conversely, to compensate for a large gap on one side by slowing the traverse speed or increasing power, the opposite flank with a smaller gap will overheat, potentially causing grain growth and other issues. Furthermore, instability in the guiding mechanism of the quenching machine can cause dynamic variation in the air gap during scanning, creating “soft streaks” or “hard streaks” along the tooth length. The thermal conditions leading to different microstructures are summarized in Table 2.
| Local Surface Temperature | Cooling Rate | Resulting Microstructure | Expected Hardness (HRC) | Defect Type |
|---|---|---|---|---|
| T < Ac1 | Any | Tempered sorbitte (from core) | ~35-40 | Severe Underheating |
| Ac1 < T < Ac3 | Fast | Incomplete martensite + ferrite | 40-48 | Underheating |
| T ≥ Ac3 (Optimal) | Fast (> Critical) | Fine Martensite | 50-55 | Target |
| T >> Ac3 (Excessive) | Fast | Coarse Martensite | May be high, but prone to crack | Overheating |
| T ≥ Ac3 | Slow (< Critical) | Pearlite/Bainite | < 45 | Insufficient Quench |
Mechanism of Quenching Crack Formation
The cracking observed in the herringbone gear shafts is a classic case of quenching cracks exacerbated by the tempering process. The sequence is as follows:
- Overheating and Stress Generation: Localized overheating, often at the sharp tip edge and upper flank (where heat dissipation is poorer due to smaller cross-section), leads to a deeper austenitized zone. Upon quenching, this area transforms to a thicker layer of martensite. The volumetric expansion associated with the martensitic transformation ($\gamma \rightarrow \alpha’$) creates high compressive stresses on the surface and high tensile stresses in the subsurface region.
- Stress State and Crack Initiation: In an ideal, uniformly heated case, surface compressive stresses are beneficial. However, severe localized overheating can create steep thermal and transformation stress gradients. If the combined tensile stress in a subsurface layer exceeds the fracture strength of the untempered, brittle martensite at that temperature, micro-cracks may initiate during the final stage of cooling. These micro-cracks are often not visible immediately after quenching.
- Crack Propagation During Tempering: The subsequent low-temperature tempering is typically the stage where cracks become macroscopic. When the herringbone gear shaft is placed into a furnace at 150-180°C, the surface layers heat up rapidly. The still-cold core constrains the thermal expansion of the hot surface, converting the residual surface compressive stress into tensile stress. This additional tensile stress, superimposed on the existing residual stresses and micro-cracks from quenching, provides the driving force for crack propagation. The cracks typically start at stress concentrators like the tip edge and propagate along paths of highest stress intensity.
The stress evolution can be conceptually modeled. The thermal stress $\sigma_{th}$ during heating for tempering is proportional to the temperature gradient:
$$ \sigma_{th} \propto E \cdot \alpha \cdot \Delta T $$
where $E$ is Young’s modulus, $\alpha$ is the coefficient of thermal expansion, and $\Delta T$ is the temperature difference between surface and core. When $\sigma_{th} + \sigma_{residual} \geq \sigma_{fracture}(T)$, cracking occurs. A slow, controlled heating rate during tempering minimizes $\Delta T$ and thus $\sigma_{th}$.
Integrated Optimization Strategy for Improved Hardening Quality
Addressing the defects requires a holistic approach focusing on inductor design, process control, and thermal management. The following measures, derived from thermodynamic principles and practical engineering, form a robust optimization strategy.
1. Precision Inductor Design and Manufacturing
The inductor is the most critical tool. For a herringbone gear, the inductor must precisely conform to the complex, three-dimensional flank-and-root profile. Recommendations are:
- Manufacturing Method: Use CNC milling or EDM from solid copper plate to achieve high geometric accuracy, followed by brazing and precision grinding/polishing. This is superior to hand-formed inductors.
- Air Gap Specification: Establish and maintain a consistent air gap. For large module gears, a gap of 2.5-3.5 mm on the flanks and 1.5-2.5 mm at the root is often optimal. This must be validated via simulation or trials. The relationship between gap (d), power (P), and surface temperature (T_s) can be approximated as:
$$ T_s \approx \frac{K \cdot P}{v \cdot d^n} $$
where K is a constant, v is traverse speed, and n is an exponent (typically between 1.5 and 2). A uniform d is essential for uniform T_s.
2. Dynamic Process Parameter Control
Instead of fixed parameters, implement adaptive control based on real-time monitoring.
- Power Modulation: Use a programmable power supply to adjust output power (P) in sync with the traversing inductor’s position. For example, power can be slightly reduced when heating the tip region of the herringbone gear tooth to prevent overheating, and increased slightly in the root region where heat sinks into more mass. A simplified control scheme could be:
$$ P(\theta) = P_{base} \cdot [1 – C \cdot (R(\theta) – R_{min})] $$
where $R(\theta)$ is the local radius of curvature (smaller at the tip), $R_{min}$ is the minimum radius, and $C$ is a damping constant determined empirically. - Traverse Speed Optimization: Similarly, the traverse speed (v) can be varied. A slightly faster speed past the tip region helps control heat input. The critical parameter is the energy input per unit length, $E_l = P/v$.
3. Enhanced Quenching and Tempering Protocols
- Quenchant Management: For the polymer solution, strictly control concentration and temperature. A slightly higher concentration (e.g., 12-15%) can reduce the severity of cooling (lower H-value) and decrease thermal shock, mitigating crack initiation without significantly compromising hardness for medium-carbon steels. The cooling intensity can be related to the Grossmann number (H) which is a function of concentration and agitation.
- Controlled Tempering: Eliminate the practice of loading cold gears directly into a hot tempering furnace. Implement a two-stage heating process:
- Load gears into a furnace at or near room temperature.
- Program a slow heating rate (e.g., 50-100°C/h) up to the tempering temperature. This minimizes $\Delta T$ and the associated thermal stress $\sigma_{th}$.
- Use furnace baffles or place gears away from direct radiation/flame impingement to avoid localized rapid heating.
- Intermediate Self-Tempering: Optimize the quenching stop temperature. By allowing the residual heat from the core to flow back into the hardened case immediately after spraying stops, a degree of “self-tempering” occurs. This tempers the martensite slightly, increasing its toughness and reducing brittleness before the final furnace temper. The target surface temperature after self-tempering should be around 200-250°C, which can be monitored with a pyrometer.
4. Machine Tool and Material Quality Assurance
- Machine Rigidity: Upgrade or meticulously maintain the guiding mechanism (the “dial and guide rod”) of the vertical quenching bed to ensure absolutely straight and vibration-free traversal of the inductor along the herringbone gear tooth. Any wobble or deviation translates directly into a variable air gap.
- Material Homogeneity: Ensure the steel grade used for the herringbone gear shaft (e.g., 42CrMo4, 34CrNiMo6) has minimal chemical segregation and non-metallic inclusions. Specifications should include stringent limits for elements like phosphorus and sulfur, and require fine, uniformly distributed grain size after forging and core hardening. A homogeneous starting structure (tempered martensite/sorbitte) responds more predictably to induction hardening than a banded or segregated structure.
Quantitative Framework for Process Validation
To implement and validate the optimized process, the following quantitative checks and models should be established.
Hardness Prediction Model
The final hardness (HV) can be correlated to the achieved cooling rate at 700°C ($\dot{T}_{700}$) and the peak temperature ($T_{peak}$). An empirical model for medium-carbon low-alloy steels could take the form:
$$ HRC = A \cdot \arctan(B \cdot \dot{T}_{700}) + C \cdot (T_{peak} – Ac3) – D $$
where A, B, C, D are material-specific constants determined from dilatometry experiments. This model helps in setting process windows.
Process Parameter Window Table
Based on the analysis, a recommended parameter window for a typical 42CrMo4 herringbone gear shaft (m_n=24) is proposed in Table 3.
| Parameter | Conventional Range | Optimized Target & Control Method | Rationale |
|---|---|---|---|
| Inductor Air Gap (d) | Variable, 2-5 mm | Constant 3.0 ±0.2 mm (flank), 2.0 ±0.2 mm (root). Achieved via CNC-machined inductor and rigid guide. | Ensures uniform power density Q(x,t) and heating. |
| Traverse Speed (v) | Fixed, ~110 mm/min | Variable: 130 mm/min at tip region, 100 mm/min at root region. Programmed via CNC path. | Compensates for differential heat sinking; maintains constant energy input per unit volume. |
| Output Power (P) | Fixed, ~180 kW | Modulated: 170 kW at tip, 190 kW at root. Synchronized with traverse program. | Prevents tip overheating and root underheating. |
| Quenchant | ~10% Polymer, ambient temp. | 12-14% Polymer, temperature controlled 25-35°C. Uniform spray pressure. | Reduces cooling severity (H-value) to lower thermal stress while maintaining martensite transformation. |
| Quench Stop / Self-Temp | Not controlled | Stop spray at surface temp ~250°C (IR monitored). Allow 30-60s dwell before final quench. | Promotes self-tempering of martensite, reduces brittleness and residual stress before furnace temper. |
| Tempering Heating Rate | Fast (furnace at set temp) | Controlled: Load cold, heat at 80°C/h to 170°C, hold 4-6 hours. | Minimizes thermal stress ($\sigma_{th}$) during reheating, preventing crack propagation from quench micro-cracks. |
In conclusion, the quality issues in intermediate frequency surface hardening of large module herringbone gear shafts are not random failures but direct consequences of deviations in the thermal-mechanical-metallurgical cycle. The interplay between inductor geometry, scanning parameters, and post-heat treatment handling dictates the final outcome. By shifting from a static, empirical process to a dynamically controlled one grounded in the principles of heat transfer, phase transformations, and stress analysis, manufacturers can achieve a dramatic improvement in consistency and reliability. The proposed integrated strategy—encompassing precision inductor design, adaptive power control, optimized quenching, and stress-managed tempering—provides a actionable roadmap for eliminating hardness non-uniformity and quenching cracks, thereby enhancing the performance and longevity of these vital power transmission components in heavy machinery.