Abstract: The elastic deformation of molds during the cold precision forging process of spur gears, which affects the forming accuracy of the gears. Based on the radial shunt method, steel billets with different pressure relief hole diameters were designed, and a finite element model for billet plastic deformation and mold stress analysis was established to investigate the influence of various pressure relief hole diameters on mold elastic deformation.

1. Introduction
Spur gears are crucial components in automotive transmissions, and their dimensional accuracy, surface quality, and comprehensive mechanical properties significantly impact transmission performance. During the plastic forming process, factors such as billet material properties and mold elastic deformation characteristics can affect gear dimensional accuracy. This study aims to reduce mold elastic deformation by investigating methods to decrease forging loads.
2. Methodology
2.1 Numerical Model Establishment
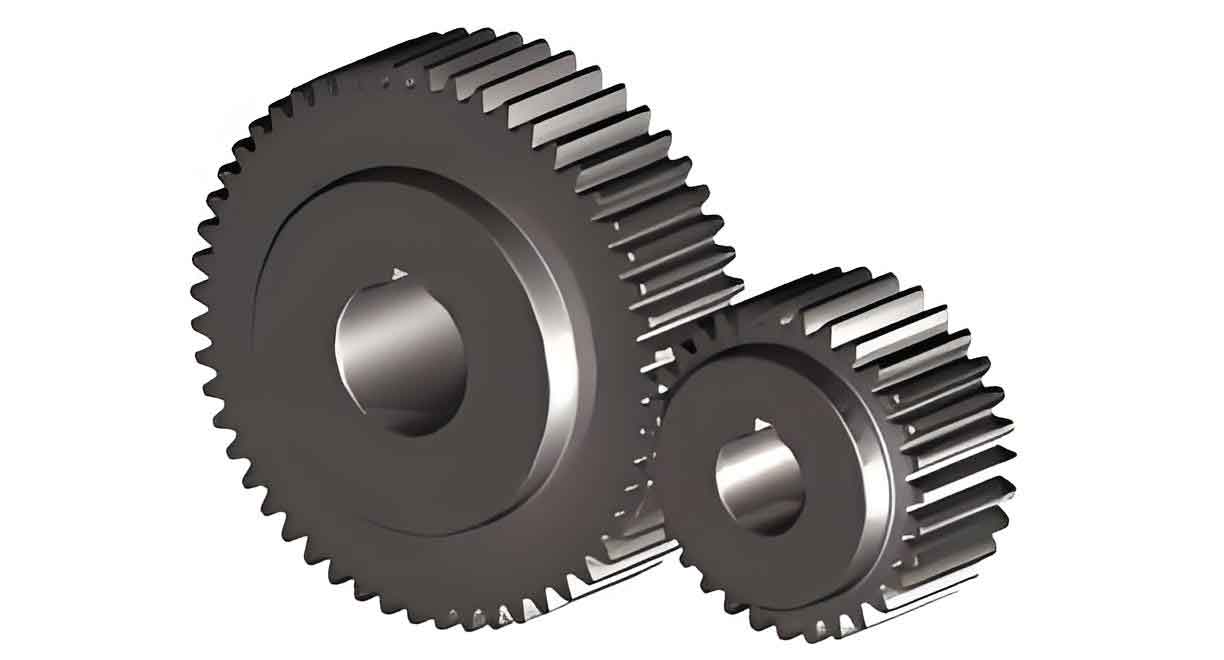
To analyze mold elastic deformation, a spur gear was selected as the forging object, with the following basic parameters: module = 3 mm, number of teeth = 24, pressure angle = 20°, tooth width = 10 mm, tooth tip diameter = Φ78 mm, and tooth root diameter = Φ64.5 mm. A radial shunt method was employed to reduce forging loads and save upsetting time by incorporating pressure relief holes in non-tooth profile areas of the billet.
Table 1. Material Properties of Billets and Molds
| Material | Elastic Modulus / (×10^5 MPa) | Poisson’s Ratio | Yield Strength / MPa |
|---|---|---|---|
| 20CrMnTiH Steel | 2.07 | 0.25 | 835 |
| H13 Steel | 2.10 | 0.30 | 1750 |
3. Numerical Simulation Results Analysis
3.1 Forming Loads with Different Pressure Relief Hole Diameters
| Pressure Relief Hole Diameter (Φ) | Maximum Forming Load (kN) |
|---|---|
| 0 mm | 8589 |
| 5 mm | 8689 |
| 10 mm | 8551 |
| 15 mm | 8484 |
| 20 mm | 8217 |
The forming load gradually increases with stroke, and the trend is more gradual with larger pressure relief hole diameters. The maximum forming load decreases after initially increasing with pressure relief hole diameter, reaching a minimum at Φ20 mm.
3.2 Mold Stress Distribution with Different Pressure Relief Hole Diameters
The equivalent stress distribution in tooth dies varies with pressure relief hole diameter, but the peak stress occurs near the tooth tip region in all cases.
4. Discussion
The results indicate that mold elastic deformation first increases and then decreases with pressure relief hole diameter, reaching a minimum at Φ20 mm. Tooth profile correction based on mold cavity elastic deformation reduces forging elastic deformation by 28.6%. Experiments with three sets of billets with different pressure relief hole diameters confirm the simulation results, demonstrating that reducing mold elastic deformation improves spur gear dimensional accuracy.
5. Conclusion
This study investigated the influence of pressure relief hole diameter on mold elastic deformation during cold precision forging of spur gears. By incorporating pressure relief holes and optimizing their diameter, the elastic deformation of the mold can be minimized, leading to improved spur gear dimensional accuracy. Future work will focus on further refining the design of pressure relief holes and exploring additional methods to enhance forming accuracy.
