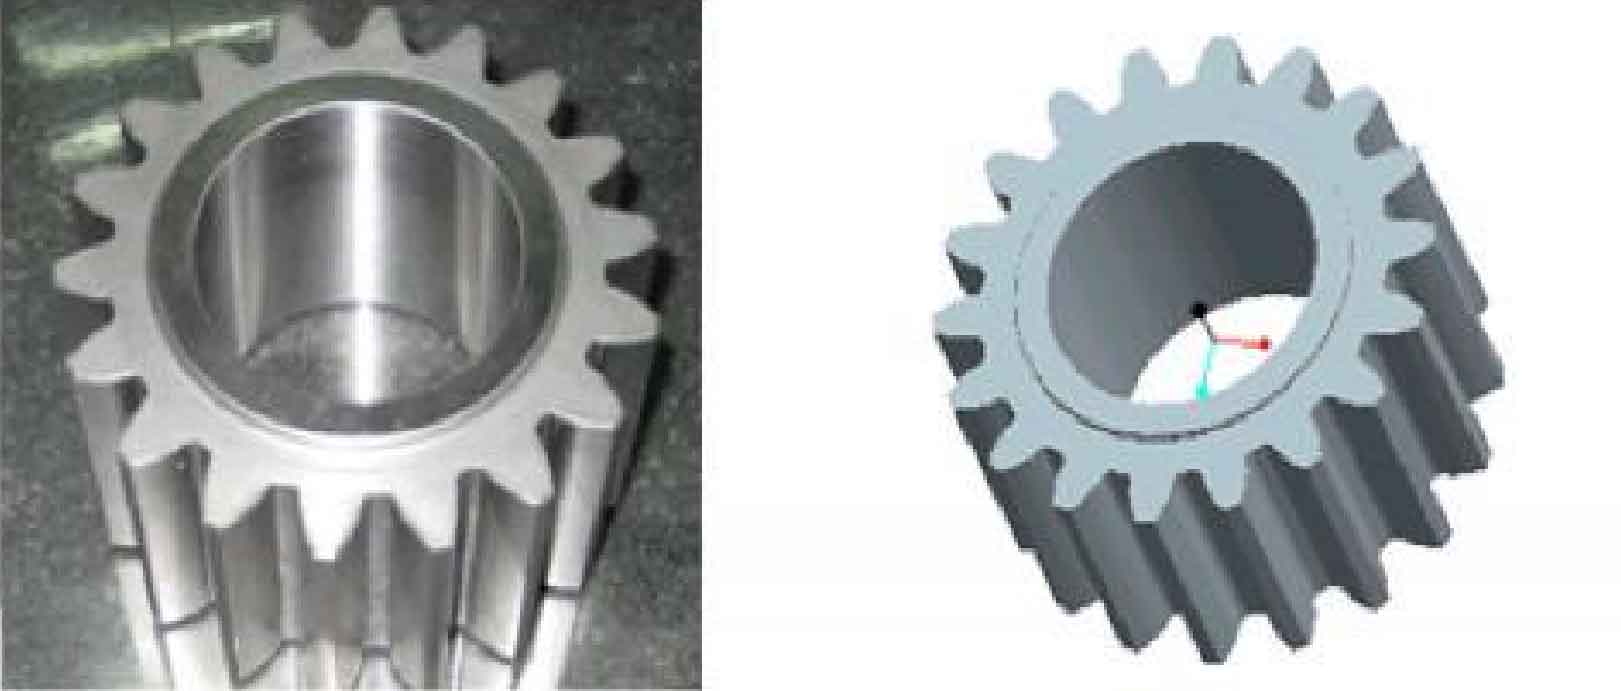
The primary link of physical reverse engineering is reverse engineering point cloud data acquisition, also known as the digitization of physical surface. The acquisition methods of object surface 3D data in reverse engineering can be divided into two categories: contact and non-contact. Contact type can be divided into point trigger type and continuous type. Point trigger type data acquisition, such as ordinary CMM measurement, has a low acquisition speed, which is generally only suitable for the surface shape detection of involute cylindrical spur gear or the occasion where less data is required for Surface Digitization; Continuous data acquisition, such as contact scanning measurement, has fast acquisition speed, so it can be used to collect large-scale data contact measurement. In contact measurement, the probe is used to directly contact the workpiece surface, so its measurement accuracy is high and anti-interference is good.
Because the involute cylindrical spur gear is a transmission part and needs to be matched during operation, the tooth profile accuracy is required to be high. Therefore, the contact measurement method is selected to collect the point cloud data of involute cylindrical spur gear reverse engineering. The selected global image movable bridge CMM is equipped with PC-DMIS general measurement software and qs-gear involute cylindrical spur gear special software. Its measurement will be beneficial to reduce the measurement error and ensure the reverse accuracy. The maximum allowable indication error of length measurement is (2.5 + L / 400) μ M, the spatial measurement accuracy can reach (3.5 + L / 300) μ M, but the detection efficiency is not high.
It is proposed to use the combination of point trigger and continuous measurement. The data detection principle is:
① Go along the characteristic direction of involute cylindrical spur gear tooth profile and pick along the normal direction;
② Important parts (indexing circle) shall be accurate and multi-purpose, and appropriate points shall be taken for secondary parts (boss and end face);
③ Dense sampling in complex parts and sparse sampling in simple parts;
④ The external data shall be collected first, and then the internal data shall be collected.
The corresponding implementation method is: using the point trigger measurement method, arbitrarily take 4 points on the contour line of the boss outer circle and the contour line of the tooth root circle on one side of the end face of the involute cylindrical spur gear (the measurement software needs 4 points to determine a circle) to measure the diameter of the boss outer circle and the diameter of the tooth root circle; Take 4 points arbitrarily on the end face on the other side to measure the tooth width of involute cylindrical spur gear; The continuous geometric trajectory point scanning method is adopted, and the points are uniformly dotted along the tooth direction at the arc chamfer of the tooth profile, tooth top and tooth root and the shaft hole according to a certain sampling point density. In this way, the grid points of the involute cylindrical spur gear required for subsequent modeling are measured.

