
Nutation reducers use a small-angle wobbling motion between two bevel gears to obtain a high transmission ratio in a compact axial envelope. This arrangement is attractive for robot wrist joints and other space-constrained precision drives. Its critical element is a pair of double circular-arc spiral bevel gears: the normal tooth profile is formed by convex and concave circular arcs rather than an involute, and the tooth trace is helical. The contact pattern, contact stress, loaded contact ratio, and load sharing between teeth therefore differ from those of conventional spiral bevel gear pairs and directly govern load capacity, smoothness, and fatigue life.
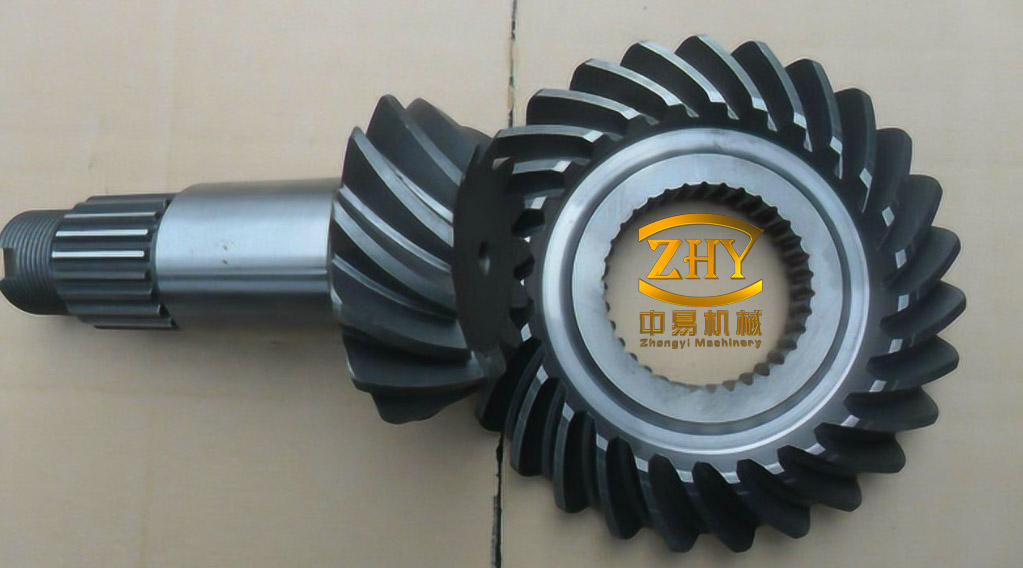
Tooth geometry and gear pair
For the double circular-arc spiral bevel gear pair, an imaginary crown gear is placed between the external and internal bevel gears and is conjugate to both. The crown gear carries the standard double circular-arc normal profile specified in GB/T 12759—1991, and its tooth trace is a helix with spiral angle β. A normal-profile coordinate frame \(S_n\) is attached to the crown gear, with \(x_n\) along the profile symmetry line and \(y_n\) along the pitch line. The profile is composed of eight circular-arc segments, each described by
$$
\mathbf{r}_{ni}=
\begin{pmatrix}
x_{ni}\\ y_{ni}\\ z_{ni}
\end{pmatrix}
=
\begin{pmatrix}
r_i\sin\alpha_i+E_i\\
r_i\cos\alpha_i+F_i\\
0
\end{pmatrix},
\qquad i=1,\ldots,8,
$$
where \(r_i\), \(\alpha_i\), and \((E_i,F_i)\) are the radius, angular parameter, and center coordinates of segment \(i\). Sweeping this profile along the helical tooth trace and transforming from crown-gear coordinates to each gear gives the external and internal tooth surfaces:
$$
\mathbf{r}_{w}=\mathbf{M}_{w}^{c}\mathbf{r}_{c},
\qquad
\mathbf{r}_{n}=\mathbf{M}_{n}^{c}\mathbf{r}_{c},
$$
where \(\mathbf{r}_{c}\) is the crown-gear surface and \(\mathbf{M}_{w}^{c}\), \(\mathbf{M}_{n}^{c}\) are coordinate transformation matrices that include the gear pair geometry and the nutation angle. The resulting surface points were used to build the solid models of the external and internal gears and to assemble the meshing pair.
| Parameter | External bevel gear | Internal bevel gear |
|---|---|---|
| Number of teeth | 26 | 28 |
| Toe modulus (mm) | 2 | 2 |
| Nutation angle (°) | 5 | 5 |
| Spiral angle (°) | 25 | 25 |
| Pitch cone angle (°) | 47.19 | 127.81 |
| Cone distance (mm) | 60 | 60 |
| Face width (mm) | 8 | 8 |
| Addendum (mm) | 1.8 | 1.8 |
| Dedendum (mm) | 2.15 | 2.15 |
Loaded finite-element model
A quasi-static contact analysis was performed in the static structural module of Ansys Workbench. Seven tooth pairs were retained in the model so that enough teeth remained in contact while keeping the computational cost manageable. The middle tooth pair was then followed through a complete mesh cycle. Both gears were assigned a density of 7,850 kg/m³, an elastic modulus of \(2.1\times10^{5}\) MPa, and a Poisson ratio of 0.3. The tooth surfaces formed the contact pair, with a friction coefficient of 0.1.
The external gear was fully constrained. The internal gear was allowed to rotate only about its own axis, with all other degrees of freedom restrained. A torque of 120 N·m was applied to the internal gear and increased linearly from zero to the full value to improve convergence. Free tetrahedral meshing produced 187,370 elements and 278,426 nodes.
Contact sequence within one mesh cycle
The loaded contact pattern does not remain on a single flank throughout the mesh cycle. For the middle tooth pair, the cycle begins with a single contact zone on the convex flank near the heel, or large end. This zone moves along the face width as the transmitted load rises. A second contact zone then appears on the concave flank near the heel while the convex-flank contact approaches the toe, or small end. At this stage the tooth carries two simultaneous contact zones, one on each working flank.
The middle of the two-zone stage is the most favorable part of the cycle. The total contact area reaches its maximum, the load is shared between the convex and concave flanks, and the instantaneous maximum contact stress falls to a local minimum. After the convex flank separates, only the concave flank remains loaded. Its contact zone continues to move toward the toe, and the instantaneous maximum contact stress rises to the cycle peak just before the tooth leaves mesh.
The contact sequence is therefore single-zone, two-zone, and single-zone again. The highest stress occurs on the concave flank near the toe, making this region the contact-fatigue danger point. Wear and pitting are correspondingly more likely near the small end than in the middle of the face width.
Effect of load on loaded contact ratio and load sharing
The loaded contact ratio was defined from the rotation of the driving gear. If one tooth pair completes its mesh cycle over a rotation \(\Delta\varphi\), and successive tooth pairs enter mesh with a rotation difference \(\Delta\lambda\), the contact ratio is
$$
\varepsilon=\frac{\Delta T}{\Delta t}
=\frac{\Delta\varphi}{\Delta\lambda},
$$
where \(\Delta T\) is the duration of one tooth-pair cycle and \(\Delta t\) is the interval between the entries of adjacent pairs. At the baseline torque of 120 N·m, the finite-element contact-force history gave \(\varepsilon=2.307\). The same calculation was repeated at 50 N·m and 150 N·m.
Load sharing was expressed by the coefficient
$$
C=\frac{F_j}{\sum_{j=1}^{n}F_j},
$$
where \(F_j\) is the contact force on tooth \(j\) and \(n\) is the number of teeth in contact at that instant. For the middle tooth pair, the peak value of \(C\) was extracted over one mesh cycle.
| Torque \(M\) (N·m) | Loaded contact ratio \(\varepsilon\) | Peak load-sharing coefficient \(C_{\max}\) |
|---|---|---|
| 50 | 1.923 | 1.000 |
| 120 | 2.307 | 0.859 |
| 150 | 2.538 | 0.788 |
Increasing torque raises the loaded contact ratio: elastic deformation extends the contact into neighboring teeth, so more teeth participate in carrying the load. At 50 N·m the peak coefficient reaches 1.000, meaning that at some instant the middle tooth carries the entire contact load. At 120 N·m and 150 N·m the peak falls to 0.859 and 0.788, respectively. The general shape of the load-sharing curve is unchanged, but its peak is reduced. Within the studied load range, higher load therefore improves the uniformity of load sharing and favors smoother transmission, although the absolute contact stress still rises with load.
Installation error sensitivity
Two installation errors were considered independently: an axial offset \(\Delta C\) of the internal gear along its centerline, and a nutation-angle error \(\Delta\alpha\). The baseline torque was 120 N·m, and the error magnitudes were \(\pm0.05\) mm and \(\pm0.05^\circ\). The resulting contact-zone shifts and stress trends are summarized below. The “transition region” refers to the part of the tooth surface between the convex and concave arc segments.
| Error | Contact-zone shift | Maximum contact stress and force | Peak load-sharing coefficient |
|---|---|---|---|
| \(\Delta C=+0.05\) mm | Both flanks shift toward the transition region | Decrease | Lower and flatter |
| \(\Delta C=-0.05\) mm | Convex flank toward addendum; concave flank toward dedendum | Increase | Higher and steeper |
| \(\Delta\alpha=+0.05^\circ\) | Convex flank toward addendum; concave flank toward dedendum | Increase | Higher and steeper |
| \(\Delta\alpha=-0.05^\circ\) | Both flanks shift toward the transition region | Decrease | Lower and flatter |
Positive axial offset moves the two gears apart and shifts both contact zones toward the transition region. Negative axial offset moves them closer and drives the convex-flank contact toward the addendum and the concave-flank contact toward the dedendum. The nutation-angle error acts in the opposite sense: a positive angle moves the gears closer and produces the same addendum–dedendum shift, while a negative angle moves them apart and returns both contact zones toward the transition region.
These geometric shifts change the proximity of the contact zone to the tooth edges. Negative axial offset and positive nutation-angle error push the contact toward the edges, reduce the effective contact area, and raise both the maximum contact stress and the maximum contact force. Positive axial offset and negative nutation-angle error centralize the contact and lower these quantities. The load-sharing results follow the same pattern: negative offset and positive angle produce larger peak coefficients and steeper variation over the mesh cycle, whereas positive offset and negative angle produce lower peaks and smoother variation.
Design implications
For the 26/28-tooth pair with a 5° nutation angle, 25° spiral angle, and 2 mm toe modulus, the two-zone contact stage is a useful design feature rather than an incidental effect. It increases the loaded contact area and lowers the local stress when both flanks share the load. Tooth geometry and timing should therefore preserve this two-zone stage under nominal load instead of allowing the contact to collapse prematurely onto a single flank or onto an edge.
The concave flank near the toe is the strength-critical location in the baseline case. Geometry details, edge relief, and surface treatment in this region deserve particular attention in a production design. The assembly tolerance should also be specified by sign as well as magnitude: within the \(\pm0.05\) mm and \(\pm0.05^\circ\) range examined, negative axial offset and positive nutation-angle error are the more damaging combinations because they promote edge contact and higher load concentration. Positive axial offset and negative nutation-angle error improve load sharing in this range, but they should not be allowed to move the contact beyond the opposite edge.
The results are quasi-static and isothermal, with a constant friction coefficient and idealized tooth surfaces. They do not resolve lubricant-film effects, friction heating, dynamic excitation, wear, or manufacturing topography. The loaded contact ratio and load-sharing coefficient should therefore be verified at the intended service load, since both depend on elastic deformation and on the actual installation state of the spiral bevel gear pair.