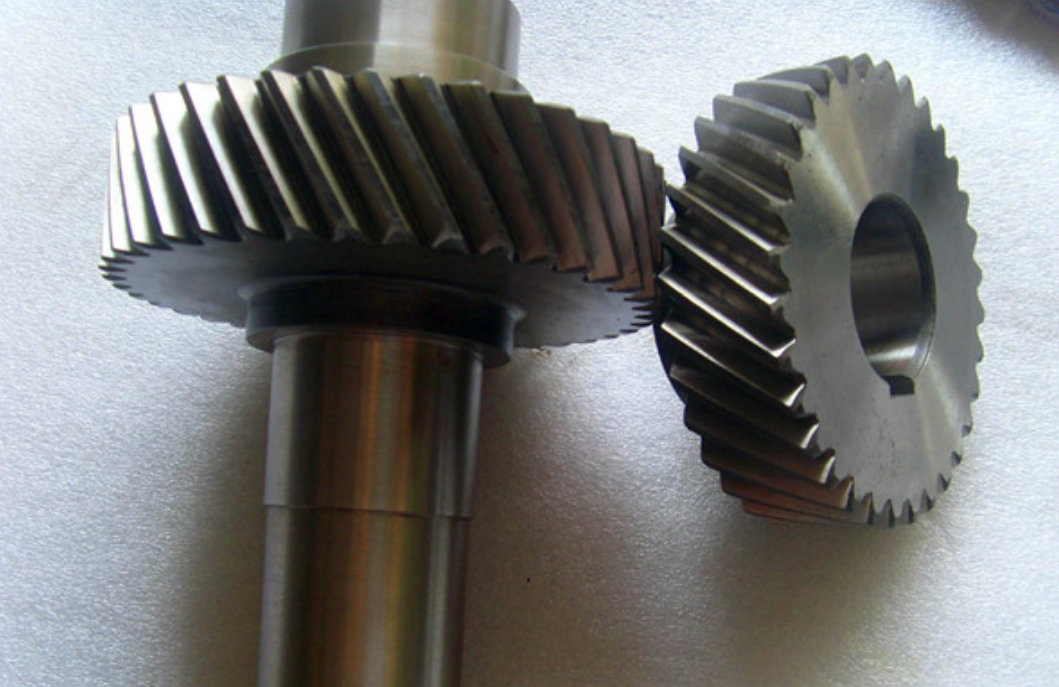
Helical gears are critical components in aerospace transmission systems, where high-speed and heavy-load conditions demand superior meshing performance and durability. This study focuses on optimizing helical gear pairs in an aero reducer through tooth modification, utilizing KISSsoft software to evaluate pre- and post-modification characteristics. Key parameters such as tooth strength, transmission error, load distribution, and sliding ratio are analyzed to validate the effectiveness of modification strategies.

1. Evaluation Metrics for Helical Gear Modification
1.1 Tooth Strength
The contact stress ($\sigma_H$) and bending stress ($\sigma_F$) of helical gears are calculated using ISO 6336 standards:
Contact stress:
$$\sigma_H = Z_{E}Z_{H}Z_{\epsilon}Z_{\beta}\sqrt{\frac{F_t K_A K_V K_{H\beta} K_{H\alpha}}{b d_1} \cdot \frac{u+1}{u}}$$
Bending stress:
$$\sigma_F = \frac{F_t K_A K_V K_{F\beta} K_{F\alpha}}{b m_n} Y_{\epsilon} Y_{\beta} Y_J$$
1.2 Transmission Error
Transmission error (TE) quantifies rotational synchronization between meshing gears:
$$TE = \theta_1 – \theta_2 \cdot i$$
where $i$ is the gear ratio, and $\theta_1$, $\theta_2$ represent angular displacements.
1.3 Load Distribution
Modified load distribution factor $K_{H\beta}$ accounts for misalignment compensation:
$$K_{H\beta} = 1 + \frac{C_{\gamma} \cdot \Delta y}{\sigma_{Hlim}}$$
1.4 Sliding Ratio
The sliding ratio ($\xi$) between meshing teeth is defined as:
$$\xi = \frac{v_{s1} – v_{s2}}{v_t}$$
where $v_{s1}$, $v_{s2}$ are sliding velocities, and $v_t$ is the tangential velocity.
2. Helical Gear Modification Methodology
2.1 Profile Modification
Optimal profile modification reduces edge loading and stress concentration:
$$\Delta_{max} = \frac{K_A F_t / b}{\xi_a C_{\gamma}}$$
where $\xi_a$ is transverse contact ratio and $C_{\gamma}$ is mesh stiffness.
2.2 Lead Modification
Crowning compensates for shaft deflection and misalignment:
$$C_a = 0.5 F_{\beta xcv}$$
where $F_{\beta xcv}$ represents inherent lead deviation.
| Parameter | Pinion (Z3) | Gear (Z4) |
|---|---|---|
| Profile Modification (μm) | 7 | 7 |
| Start Diameter (mm) | φ60.519 | φ117.352 |
| Crowning (μm) | 8 | 8 |
3. Case Study: Aero Reducer Helical Gears
3.1 Gear Specifications
| Parameter | Pinion (Z3) | Gear (Z4) |
|---|---|---|
| Normal Module (mm) | 1.75 | |
| Teeth Number | 33 | 67 |
| Pressure Angle (°) | 22.5 | |
| Helix Angle (°) | 12.7 | |
| Face Width (mm) | 37 | 33 |
3.2 Performance Comparison
| Parameter | Original | Modified | Improvement |
|---|---|---|---|
| Contact Stress (MPa) | 1,064.93 | 1,012.88 | 4.9% |
| Bending Stress (MPa) | 420.15 | 379.34 | 9.7% |
| Transmission Error (μm) | 1.19 | 0.42 | 64.7% |
| Dynamic Factor ($K_V$) | 1.503 | 1.338 | 11.0% |
4. Results and Discussion
Modified helical gears demonstrate significant improvements:
- Stress redistribution eliminates edge loading (peak contact pressure reduced by 4.9%)
- Smoothed transmission error curve reduces vibration excitation
- Uniform load distribution across tooth face width
- Balanced sliding ratio between mating gears ($\xi$ = -1.2~1.1)
5. Conclusion
Proper modification of helical gears in aero reducers enhances load capacity and meshing performance through:
- Optimized stress distribution via profile modification
- Misalignment compensation through lead crowning
- Dynamic behavior improvement with reduced TE
The KISSsoft-based analysis methodology provides reliable predictions, as validated through experimental contact pattern verification. This approach enables efficient design optimization for high-performance helical gear systems in aerospace applications.
