Introduction
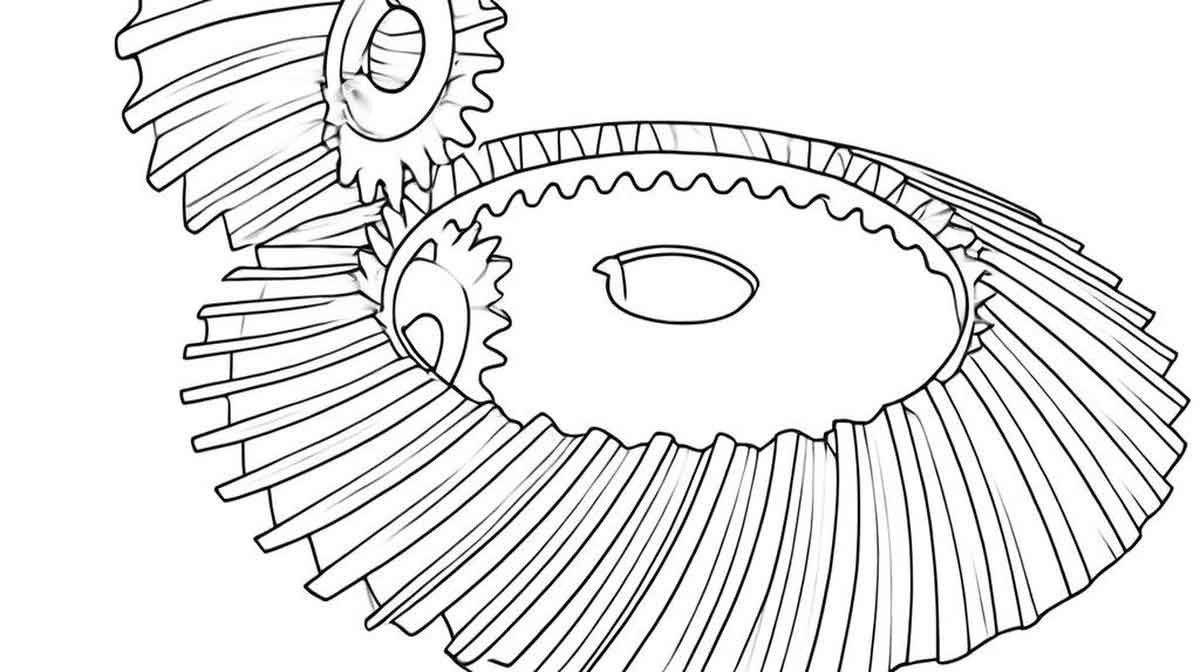
Spiral bevel gear is critical components in mechanical transmission systems due to their high load-bearing capacity, smooth motion transfer, and efficiency. Among these, logarithmic spiral bevel gear exhibit superior performance under high-speed and heavy-load conditions. This study focuses on the structural design, parameterized modeling, and mechanical analysis of logarithmic spiral bevel gear using SolidWorks and its Simulation module. By integrating C programming for parameterization and nonlinear finite element analysis (FEA), this work establishes a robust framework for optimizing gear performance under varying torque loads.

Structural Design of Logarithmic Spiral Bevel Gear
Material Properties
The selected material for the spiral bevel gear is P91 chromium-molybdenum alloy steel. Its mechanical properties, crucial for stress and deformation analysis, are summarized in Table 1.
Table 1: Mechanical properties of P91 chromium-molybdenum alloy steel
| Property | Value |
|---|---|
| Elastic modulus (GPa) | 210 |
| Poisson’s ratio | 0.28 |
| Shear modulus (GPa) | 79 |
| Density (kg/m³) | 7,700 |
| Tensile strength (MPa) | 723.8 |
| Yield strength (MPa) | 620.4 |
| Thermal expansion (1/K) | 1.3×10⁻⁶ |
Geometric Parameters
A parametric modeling approach was implemented using SolidWorks and a custom C-based program, GearTeq, to automate gear design. Key geometric parameters, including module, number of teeth, spiral angle, and pressure angle, were defined through an interactive interface. The formulas governing the geometry are:Pitch diameter: d1=m⋅zcosδPitch diameter: d1=cosδm⋅zWorking tooth height: h=m⋅(2ha∗+c∗)Working tooth height: h=m⋅(2ha∗+c∗)Spiral angle adjustment: β=arctan(tanαcosγ)Spiral angle adjustment: β=arctan(cosγtanα)
Table 2: Geometric parameters of the logarithmic spiral bevel gear pair
| Parameter | Pinion | Gear |
|---|---|---|
| Number of teeth (zz) | 18 | 36 |
| Module (mm, mm) | 2.5 | 2.5 |
| Spiral angle (ββ, °) | 35 (Right) | 35 (Left) |
| Pitch diameter (dd, mm) | 45 | 90 |
| Face width (bb, mm) | 12.7 | 12.7 |
Finite Element Analysis and Mechanical Performance
Meshing and Boundary Conditions
The FEA model was generated using SolidWorks Simulation. A hybrid meshing strategy was adopted: coarse grids for non-critical regions and refined grids (1.5 mm element size) at the gear meshing zone. The final mesh comprised 158,106 elements and 234,797 nodes. Boundary conditions included:
- Pinion: Rotational freedom retained; torque applied along the axis.
- Gear: Fully constrained.
- Friction coefficient: 0.1.
Stress Analysis Under Torque Loads
Static stress analysis was performed for torque values of 50, 100, 150, and 200 N·m. The von Mises stress distribution and maximum stress values are summarized in Table 3.
Table 3: Stress analysis results under varying torque loads
| Torque (N·m) | Max Stress (MPa) | Min Stress (MPa) | Avg Stress (MPa) |
|---|---|---|---|
| 50 | 420.2 | 0.1769 | 38.98 |
| 100 | 644.2 | 0.2503 | 70.73 |
| 150 | 1,227.0 | 0.3677 | 104.10 |
| 200 | 4,704.0 | 0.4542 | 138.50 |
The stress concentration occurred at the tooth root and meshing regions (Figure 1). For torques exceeding 60.5 N·m, the maximum stress surpassed the yield strength (620.4 MPa), leading to plastic deformation.
![Stress distribution under 100 N·m torque (representative image)]
Refined Torque Analysis
To identify the safe operational range, additional simulations were conducted for torques between 50–100 N·m. The results are shown in Table 4.
Table 4: Stress analysis for refined torque range
| Torque (N·m) | Max Stress (MPa) |
|---|---|
| 60 | 456.9 |
| 60.5 | 447.0 |
| 61 | 2,640.0 |
| 65 | 736.2 |
At 60.5 N·m, the maximum stress (447.0 MPa) remained below the yield limit, confirming structural integrity.
Contact Strength Validation
The contact stress (σHσH) was calculated using:σH=ZEKAKVKHβZR300Tmaxbd12IT1TmaxσH=ZEKAKVKHβZRbd12I300TmaxTmaxT1
Table 5: Contact stress parameters
| Parameter | Value |
|---|---|
| Elastic coefficient (ZEZE) | 189.8 |
| Dynamic factor (KVKV) | 1.0 |
| Load distribution (KHβKHβ) | 1.8 |
| Surface factor (ZRZR) | 0.85 |
For T1=60.5T1=60.5 N·m, the calculated allowable contact stress was 484 MPa, exceeding the simulated maximum (447 MPa). This validated the gear’s safety under the specified load.
Strain Analysis
Displacement analysis revealed that maximum deformation occurred at the tooth tip (Table 6). Higher torques reduced displacement growth rates due to material hardening effects.
Table 6: Displacement under varying torque loads
| Torque (N·m) | Max Displacement (mm) |
|---|---|
| 50 | 0.2075 |
| 100 | 0.1815 |
| 150 | 0.1624 |
| 200 | 0.1384 |
Conclusions
- Parametric Design: The integration of SolidWorks and C programming enabled rapid, accurate modeling of logarithmic spiral bevel gear.
- Stress Limits: The maximum safe torque for the spiral bevel gear was determined as 60.5 N·m, with stresses below the yield strength (620.4 MPa).
- Contact Strength: Finite element analysis confirmed that contact stresses remained within allowable limits, ensuring reliability under operational loads.
- Deformation Behavior: Displacement analysis highlighted the tooth tip as the most vulnerable region, with nonlinear strain responses to increasing torque.
This methodology provides a robust framework for designing and optimizing spiral bevel gear, particularly in high-stress applications such as automotive and aerospace systems. Future work will explore dynamic loading effects and fatigue life prediction.
Key Formulas
- Torque-Power Relation:
T=9,549⋅PnT=n9,549⋅P
- Contact Stress:
σH=ZEKAKVKHβZR300Tmaxbd12IT1TmaxσH=ZEKAKVKHβZRbd12I300TmaxTmaxT1
- Safety Factor:
SH=σlimZNZWσHZθSH=σHZθσlimZNZW
Applications and Significance
The logarithmic spiral bevel gear’s enhanced load capacity and smooth transmission make it ideal for:
- Automotive differentials
- Wind turbine gearboxes
- Aerospace actuators
By leveraging SolidWorks’ simulation capabilities, engineers can efficiently validate designs, reduce prototyping costs, and ensure compliance with industry standards.
