
A spiral bevel gear stage is often the most highly loaded contact pair in a compact, high-ratio industrial gearbox, and its flanks are expected to fail by fatigue, wear or scuffing rather than by electrical damage. In the case examined here, a gearbox driving a coal-mine scraper conveyor was removed from service after vibration and abnormal noise developed, and the spiral bevel pinion and wheel were found to carry large fracture-like cavities on a single pair of teeth. The morphology of those cavities — circular pits with crack-free rims, melted and re-solidified metal, and weld spatter bonded to the flank — points to electrical erosion by welding overcurrent rather than to any mechanical overload or contact-fatigue mechanism.
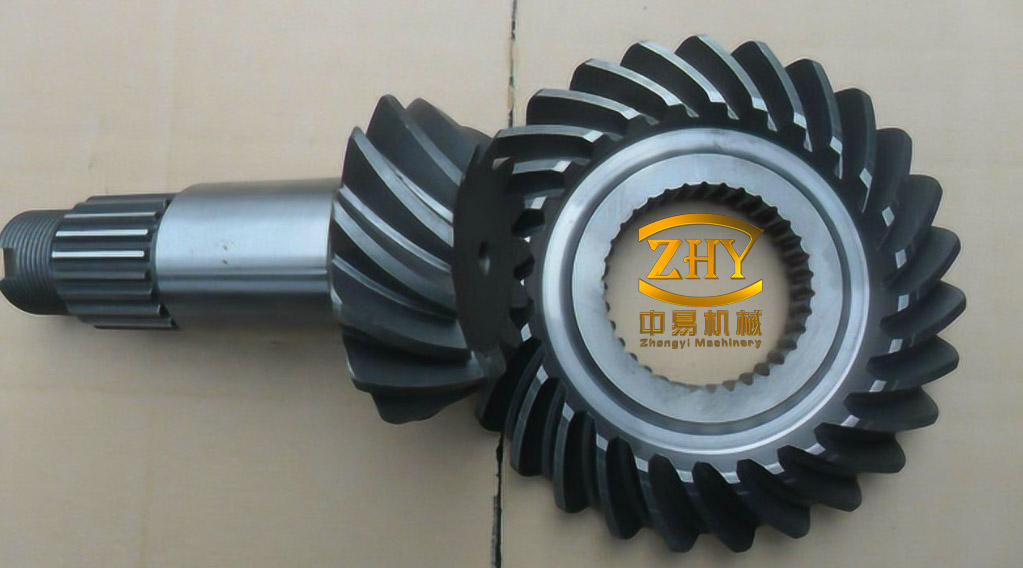
Gearbox and Operating Data
The drive is a right-angle gearbox for a coal-mine scraper conveyor, with a spiral bevel stage transmitting the motor output to the conveyor drive. Its principal data are listed in the table below.
| Parameter | Value |
|---|---|
| Application | Coal-mine scraper conveyor gearbox |
| Motor power, P | 700 kW |
| Motor speed, n | 1450 r/min |
| Total transmission ratio, i | 16.03 |
| High-speed shaft diameter, d | 100 mm |
| Observed damage | Large erosion fracture on two teeth of the pinion and two matching teeth of the wheel |
Electrical Erosion as a Gear Failure Mode
Whenever a potential difference exists across a meshing pair — whether produced by shaft currents or by stray welding current — discharge in the form of an arc or spark occurs at the instantaneous contact, and the flank is left with the characteristic trace of that discharge: a field of small, smooth-edged craters. Under the electron microscope, these craters appear as circular pits, sometimes with clear evidence of local melting. In severe cases the flank deteriorates rapidly and the gear loses its function within a short operating period.
The terminology standard GB/T 3481—1997, Gear tooth wear and damage terminology, defines this mode as the formation of numerous smooth-edged arc pits on the flanks by arcs or sparks discharged across the meshing contact, with larger burned areas sometimes appearing that show temper colours at their borders. Two sources dominate in practice: shaft currents originating in the electric motor, and overcurrent from welding operations. Shaft-current erosion has been studied extensively and is well documented; erosion caused by welding current has received far less attention, although its consequences can be equally destructive because the discharge occurs while the gearbox is stationary and the contact area is extremely small.
Macroscopic Condition of the Damaged Teeth
On inspection, only one pair of flanks on the spiral bevel pinion and the corresponding pair on the wheel carried large areas of detachment. The damaged regions of the two members were closely similar in shape and position and could be matched to one another, indicating that material had been torn apart across the contact rather than removed independently from each surface. The remaining teeth of both members showed indentation marks on their flanks; these were produced when the rough, raised rims of the fractured teeth overran the neighbouring teeth during subsequent rotation, and they are a secondary consequence of the original damage rather than an independent failure mode.
Personnel at the installation reported that welding had been carried out on a structural component connected to the gearbox while the gearbox itself was stationary. A section containing the damaged flank was cut from the pinion for closer examination. The resulting surface was complex: it contained deep and shallow depressions, ground and unground regions, ridge-like features and areas of adherent weld spatter. The surface could be divided into two parts. In the upper part, spatter particles bonded to the flank were clearly visible. In the lower part no spatter was present, and only the original grinding marks from flank manufacture remained. Adherent spatter on a lubricated gear flank is difficult to explain by any service process; it is direct physical evidence of molten metal transfer during an electrical event.
Scanning Electron Microscopy of the Fracture Surface
Sections from the damaged pinion were examined in the scanning electron microscope, with observation points numbered from 1 to 15 across the fracture. The most diagnostic locations are summarised below.
| Point | Location on fracture | Magnification | Observed features | Interpretation |
|---|---|---|---|---|
| 3 | Interior | 2000× | Holes about 2 µm across, superficially resembling dimples | Small erosion craters, not ductile dimples |
| 5 | Edge | 200× | Highly porous, loose structure; part of the surface ground flat | Over-eroded zone subsequently smoothed by running |
| 6 | Edge | 1500× | Distinct circular pits of 1–4 µm diameter, rims free of cracks; grinding marks intact | Pristine erosion morphology, unaffected by wear |
| 8 | Edge | 1000× | Numerous circular pits of 1–5 µm diameter, no cracking around them; surface flattened | Erosion, distinguishable from contact pitting |
| 10 | Edge | 500× | Fragmented, broken structure | Result of excessive erosion |
| 13 | Central region | 2000× | Fragmented surface produced during operation, with circular pits still visible | Erosion overprinted by service damage |
Energy-dispersive X-ray analysis at point 6 gave Cr and Fe on the surface at the pit rim, and Cr and Fe oxides inside the pit. The presence of chromium is consistent with the alloy steel of a carburised bevel gear, while the oxides inside the cavities indicate that the metal there was melted and oxidised during the discharge rather than merely mechanically removed.
The decisive feature is the geometry of the cavities. Cracks emanate from contact-fatigue pits and from spall boundaries, because those defects grow by repeated cyclic stress. The cavities observed here are circular, and their rims are entirely free of cracks; they are therefore erosive in origin. Because the flanks at point 6 still carried their original grinding marks and showed no wear, the erosion pattern there survives in the condition in which it was created.
How the Damage Pattern Formed
The distribution of the erosion features can be explained by a two-stage sequence. In the first stage, with the gearbox stationary, the two flanks are nominally in line or point contact, but under an electrical potential the actual current path covers a finite contact zone. Welding current passing through that zone produces high local current density; the metal melts, and material from one flank bonds to the other. In the second stage, when the gearbox is started again, the bonded junctions are torn apart, and each flank retains a fracture surface complementary to the other — the matching morphology observed on the pinion and wheel.
The two contacting surfaces do not move at the same peripheral velocity, v1 and v2, so the damaged zones are repeatedly overrun and subjected to combined rolling and sliding. This progressive action flattens and removes the craters in the central part of the contact zone, whereas the material just outside the contact footprint escapes the wear and keeps its original erosion morphology. This is why the clearest erosion features — points 5, 6, 8, 9, 10 and 12 — were all located at the edges of the fracture, while the interior appeared comparatively smooth.
The model accounts for the main topographic features but not for every detail of the fracture: junction tearing, melting of the welded spots and spatter ejection all modify the final surface in ways that are difficult to reconstruct exactly. The presence of erosion damage itself, however, is not in doubt, being supported by macro-spatter, crack-free circular pits, oxidised pit interiors and matching fracture surfaces on the two members.
Consequences and Preventive Measures
Although only one pair of teeth on each member carried a large erosion fracture, that was sufficient to destroy the smoothness of the spiral bevel mesh. The damaged teeth produced a periodic disturbance once per revolution of each member, which excited the vibration and noise that led to the gearbox being taken out of service, and the unit was ultimately rejected. The practical lesson is that a brief welding operation on a structure connected to an assembled gearbox can write off a high-value gear set.
Prevention is essentially a matter of keeping welding current out of the gear mesh and the bearings:
- Do not weld on the gearbox or on structures connected to it unless protective measures are in place; if welding is unavoidable, the current return path must be planned before work starts.
- Clamp the welding return cable directly to the workpiece close to the weld, so that the current does not travel through bearings, shafts or gear contacts on its way back to the source.
- Isolate or electrically bond the gearbox and its connected structures so that no parallel current path through the drive train exists, and verify the arrangement before striking an arc.
- Inspect the gearbox after any welding near the drive, since the damage is localised on one or two teeth and can escape detection until vibration appears.
Concluding Assessment
The fractographic evidence identifies welding overcurrent as the cause of the spiral bevel gear failure in this scraper conveyor gearbox: spatter bonded to the flanks, crack-free circular pits of a few micrometres in size, oxidised pit interiors, and complementary fracture surfaces on pinion and wheel together form a consistent picture of arc discharge followed by tearing of welded junctions during rotation. The case also shows why the location of the diagnostic features matters — wear during running erases the erosion signature from the centre of the contact zone and preserves it only at the periphery, so examination should concentrate on fracture edges. For welded structures coupled to gear drives, electrical isolation and a correctly placed welding return path remain the only reliable protection.