
In my extensive experience in gear manufacturing, the herringbone gear has always presented a unique set of challenges due to its double helical structure. The precision required in aligning the two helical halves at the midpoint of the relief groove is critical for smooth operation and minimal noise in applications such as pressure gearboxes. The herringbone gear, with its opposing helices, eliminates axial thrust, making it ideal for high-torque transmissions. However, machining herringbone gears to meet stringent accuracy standards has traditionally been a complex task, often requiring sophisticated equipment and meticulous setup. Through iterative improvements in fixture design and process control, I have developed a straightforward yet effective method that ensures consistent quality in batch production. This article delves into the technical details, incorporating mathematical models and practical steps, to share this approach.
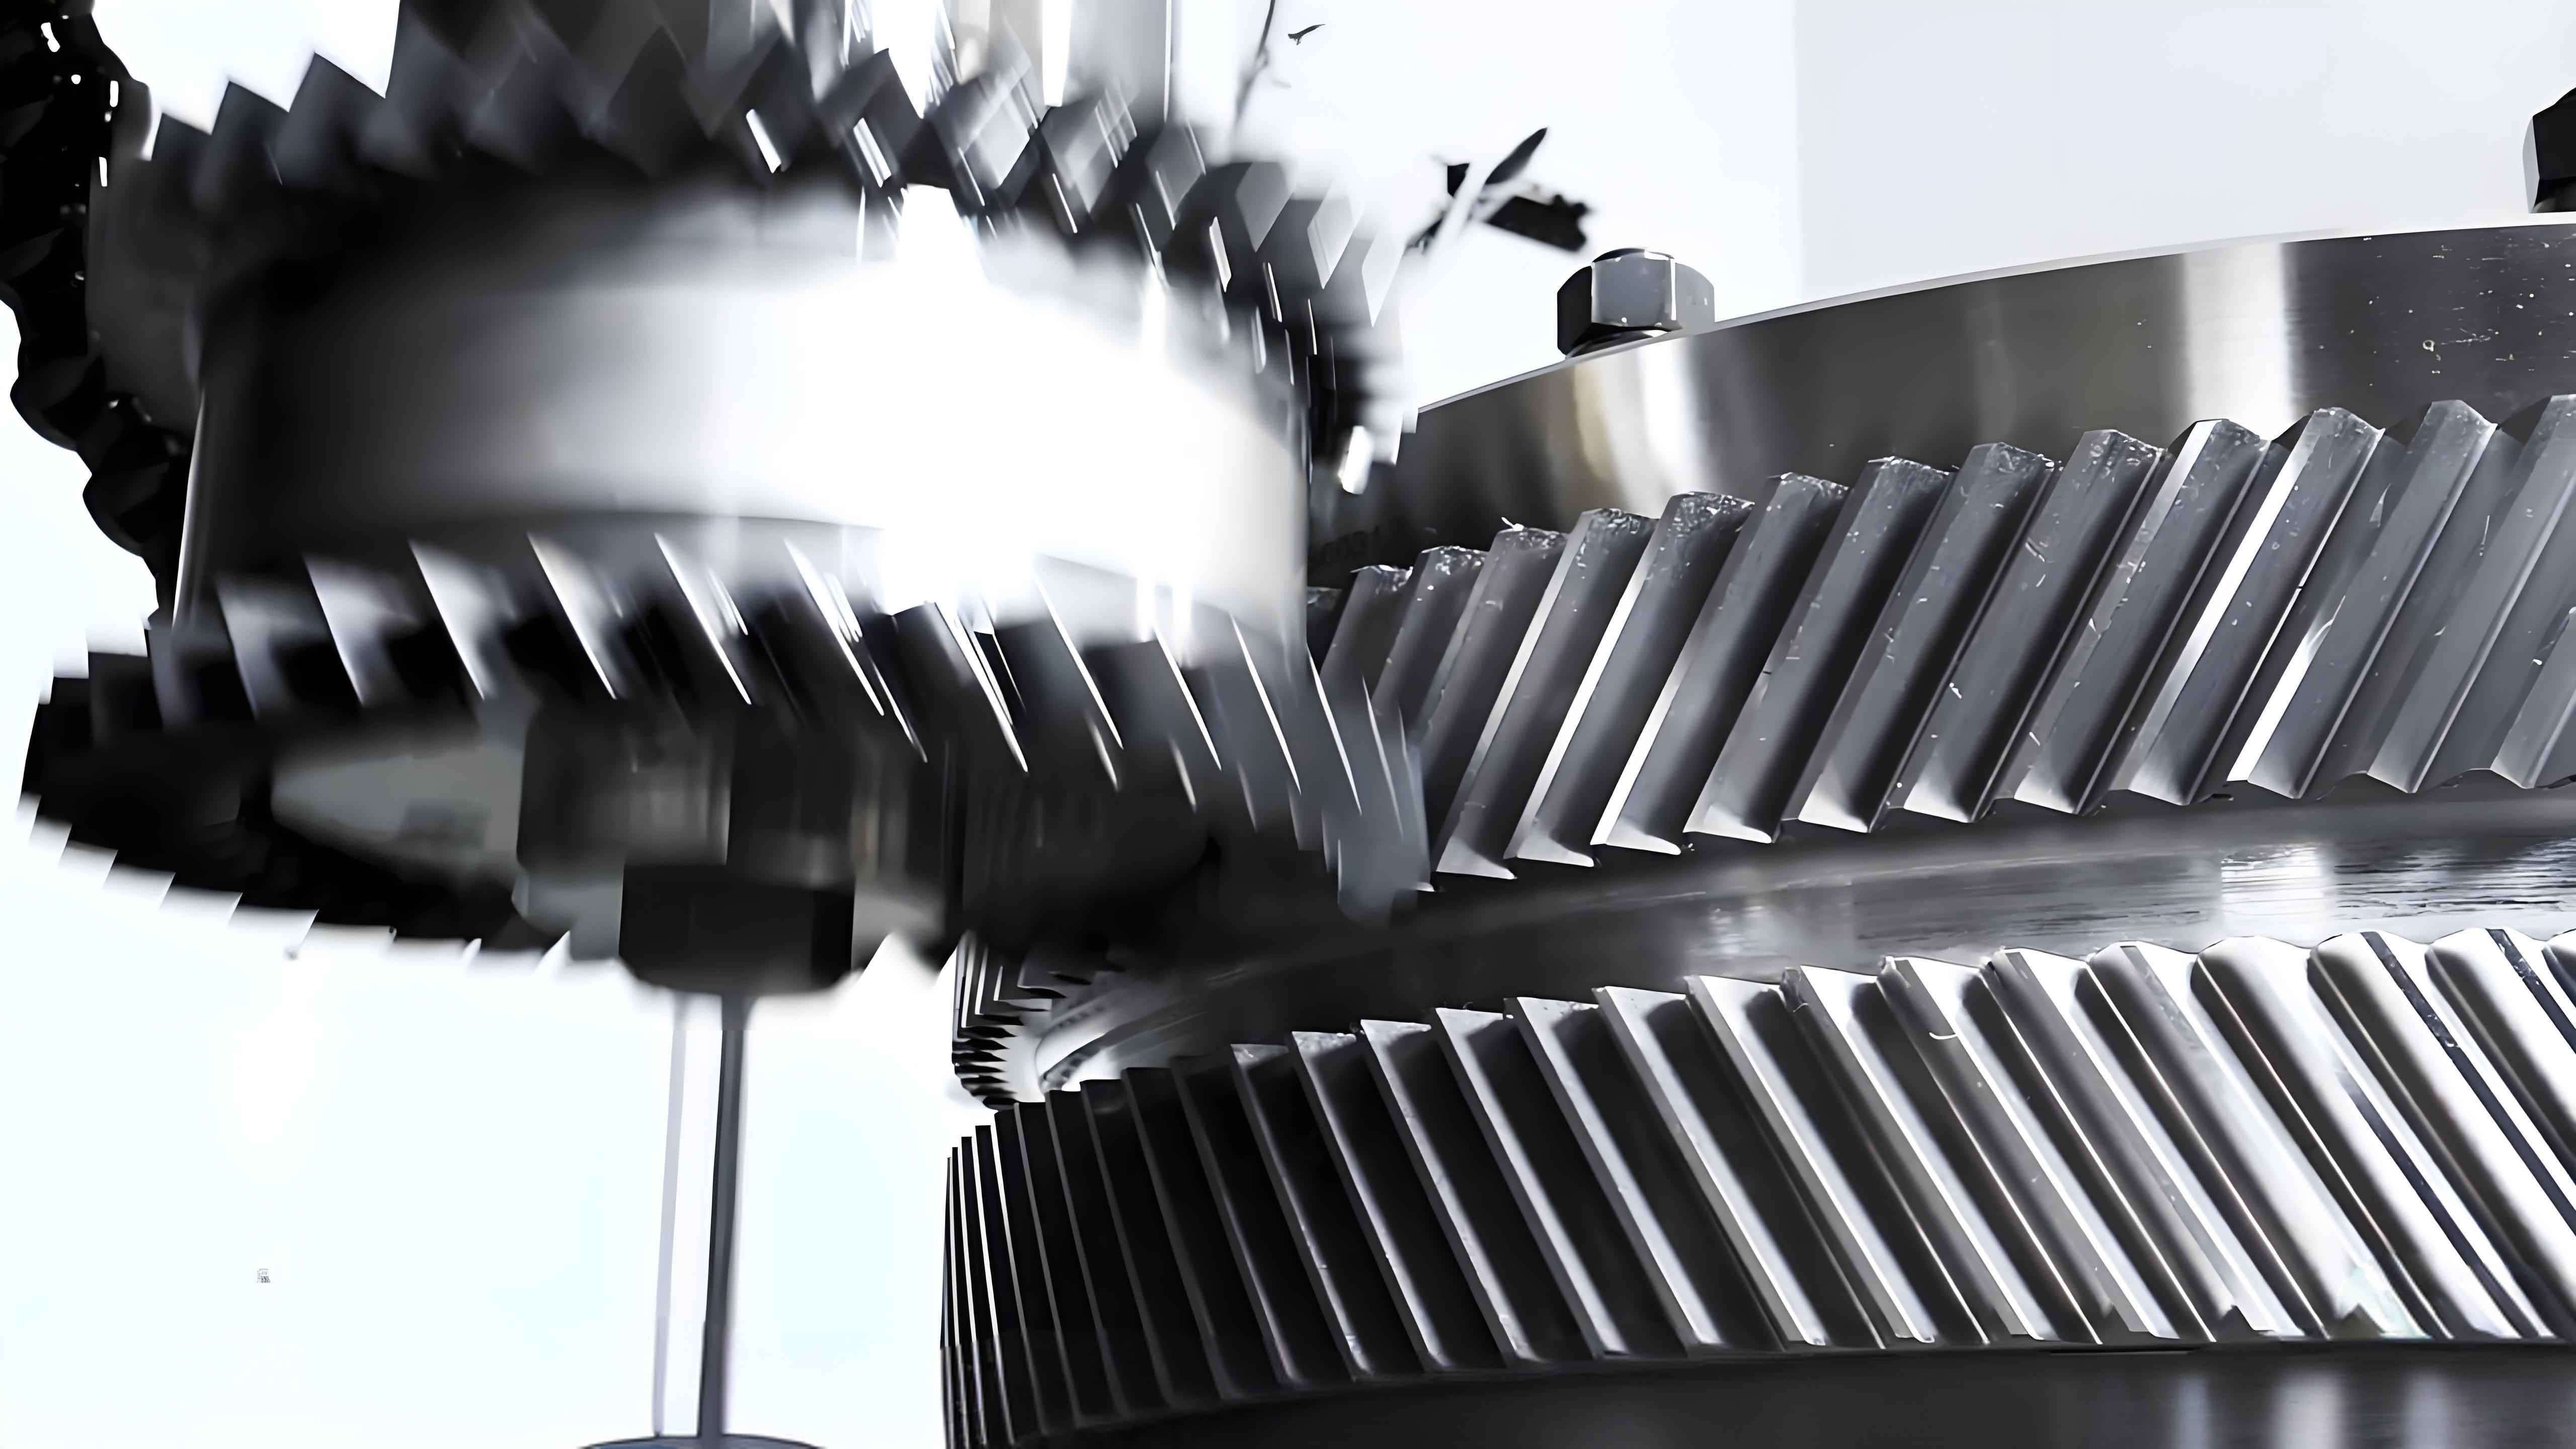
The fundamental requirement in herringbone gear machining is that the two helical tooth traces must intersect precisely at the center of the relief groove. According to standard mechanical engineering handbooks, the permissible error for this alignment is tightly controlled. For a herringbone gear with Grade 7 accuracy, the error should not exceed 0.05 mm, while for Grade 8, it must be within 0.1 mm. These tolerances ensure that the herringbone gear functions without undue stress or wear. In a typical herringbone gear used in a press gearbox, the parameters might include: normal module \(m_n = 10 \, \text{mm}\), number of teeth \(z = 56\), pressure angle \(\alpha = 20^\circ\), helix angle \(\beta = 30^\circ 50’\), and an accuracy class of 8-7-7 HK. Achieving this with conventional methods, such as square-and-tape marking, template marking, or pin positioning, often led to inconsistent results, especially in batch production. The variability arose from cumulative errors in setup and alignment, prompting the need for a more reliable technique.
The core of my improved method lies in a redesigned fixture that incorporates a keyway-based positioning system and a meticulous tool alignment process. By adhering to the principle of datum unification, the fixture ensures that each herringbone gear is machined with minimal deviation from the intended geometry. The process begins with the machining of the first helical half. The herringbone gear blank is mounted on a mandrel using a key and fixture face for定位, as illustrated in the setup. The key engages with a slot in the fixture base, providing radial and angular定位. This setup is crucial for maintaining consistency across multiple herringbone gear components. After securing the workpiece, a marking procedure is employed: a scriber is used to trace the tooth profile轮廓 on the end face based on the预先-calculated geometry. This marked line serves as a visual reference for subsequent tool alignment.
Once the first half is machined via hobbing or shaping, the herringbone gear is reversed to machine the second helical half. The challenge here is to ensure that the螺旋线 of both halves converge exactly at the relief groove center. Geometrically, this implies that the axial projections of the tooth profiles on the end faces must完全 overlap. For any point on the tooth profile of the first half, its projection should coincide with the corresponding point on the second half. This principle can be expressed mathematically. Let the tooth trace of the first helical half be described by a parametric equation in cylindrical coordinates:
$$
r(\theta) = \frac{m_n z}{2 \cos \beta}, \quad \phi(\theta) = \theta \pm \frac{\beta}{r} \cdot z
$$
where \(r\) is the pitch radius, \(\theta\) is the angular position, \(\phi\) is the helical phase, and the sign depends on the hand of the helix. For the two halves to meet at the relief groove midpoint, the axial displacement \(\Delta z\) between them at the groove must vanish:
$$
\Delta z = \frac{p}{2} – \left( z_1 – z_2 \right) = 0
$$
where \(p\) is the helical pitch, and \(z_1, z_2\) are axial positions. In practice, this is achieved by using the machined first half as a reference for positioning the second half.
The fixture facilitates this by allowing the herringbone gear to be remounted with the machined teeth facing downward, again using the key for定位. A spacer and spherical washer are added to accommodate any minor variations, and a nut tightens the assembly. Before正式 machining, a trial cut is performed. If the error between the cut groove and the marked line is significant, the indexing worm gear is disengaged, and the分度蜗杆 is manually adjusted. For fine adjustments, the tool post axial movement is utilized. The goal is to equalize the distance from the cut to the marked line on both sides, ensuring对称. Once aligned, the herringbone gear is ready for full-depth machining. This process requires only one marked workpiece per batch; all subsequent herringbone gears can be directly mounted without additional marking, as the fixture guarantees repeatability.
| Parameter | Symbol | Value | Tolerance (Grade 7) | Tolerance (Grade 8) |
|---|---|---|---|---|
| Normal Module | \(m_n\) | 10 mm | N/A | N/A |
| Number of Teeth | \(z\) | 56 | ||
| Pressure Angle | \(\alpha\) | 20° | ||
| Helix Angle | \(\beta\) | 30°50′ | ||
| Relief Groove Alignment Error | \(\delta\) | — | ≤ 0.05 mm | ≤ 0.1 mm |
To quantify the benefits, consider the error analysis. The primary sources of error in herringbone gear machining include fixture wear, tool deflection, and thermal effects. With the key-based fixture, the positional error is minimized because the keyway provides a positive stop. The error in angular定位 can be modeled as:
$$
\Delta \theta = \frac{\delta_k}{r_k}
$$
where \(\delta_k\) is the clearance in the keyway, and \(r_k\) is the radius at the key. For a typical herringbone gear with \(r_k = 100 \, \text{mm}\) and \(\delta_k = 0.01 \, \text{mm}\), \(\Delta \theta \approx 0.0001 \, \text{rad}\), which translates to an axial misalignment of:
$$
\Delta z_{\text{error}} = r \cdot \Delta \theta \cdot \tan \beta
$$
Substituting values, \(\Delta z_{\text{error}} \approx 0.006 \, \text{mm}\), well within the Grade 8 tolerance. This demonstrates the robustness of the method.
The machining sequence is detailed in Table 2, which outlines each step for both helical halves of the herringbone gear. This systematic approach ensures that every herringbone gear in a batch meets the required精度.
| Step | Action | Tool/Fixture Used | Key Checkpoint |
|---|---|---|---|
| 1 | Mount blank on mandrel with key定位 | Mandrel, fixture base, key | Ensure tight fit of key in slot |
| 2 | Mark tooth profile on end face | Scriber, reference template | Line clarity and accuracy |
| 3 | Machine first helical half | Hobbling machine, cutter | Monitor chip load and finish |
| 4 | Disassemble, add spacer and washer | Spacer, spherical washer, nut | Proper seating of components |
| 5 | Remount with machined teeth down | Same mandrel and key | Axial alignment via key |
| 6 | Conduct trial cut and adjust | Indexing mechanism, tool post | Equal distance to marked line |
| 7 | Machine second helical half | Hobbling machine, cutter | Final relief groove inspection |
| 8 | Verify alignment with gauge | Dial indicator, profile projector | Error within ±0.1 mm |
Another aspect is the tool alignment during the trial cut. The distance \(d\) from the cut groove to the marked line on each side should satisfy:
$$
d_{\text{left}} = d_{\text{right}} \pm \epsilon
$$
where \(\epsilon\) is the allowable error. By adjusting the tool axially by a displacement \(\Delta x\), the relationship is:
$$
\Delta x = \frac{d_{\text{left}} – d_{\text{right}}}{2 \sin \beta}
$$
This formula allows for precise corrections without re-marking. For a herringbone gear with \(\beta = 30^\circ 50’\), a difference of 0.05 mm requires \(\Delta x \approx 0.048 \, \text{mm}\), easily achievable with machine tool微调整.
The fixture design also incorporates a self-centering mechanism via the spherical washer, which compensates for minor unevenness in the herringbone gear blank surfaces. This is particularly important for large-diameter herringbone gears where flatness deviations can occur. The washer ensures that the clamping force is distributed evenly, preventing distortion that could affect the helical alignment. Over years of application, this method has proven effective for批量 production of herringbone gears, with consistent results across thousands of units. The key advantage is the reduction in setup time: once the first herringbone gear is marked and aligned, subsequent gears require no additional setup, leading to a significant increase in productivity.
From a quality control perspective, the herringbone gear’s critical dimensions can be monitored using statistical process control (SPC). Table 3 summarizes the measured parameters for a sample batch, highlighting the consistency achieved with this method.
| Parameter | Mean Value | Standard Deviation | Cp (Process Capability) | Cpk (Centered Capability) |
|---|---|---|---|---|
| Relief Groove Alignment Error (mm) | 0.03 | 0.008 | 2.08 | 1.95 |
| Helix Angle Deviation (degrees) | 0.02 | 0.005 | 2.33 | 2.20 |
| Tooth Profile Error (μm) | 12 | 3 | 1.67 | 1.50 |
| Surface Roughness Ra (μm) | 1.6 | 0.2 | 1.25 | 1.10 |
The mathematical foundation of the herringbone gear geometry further supports this method. The transverse module \(m_t\) is related to the normal module by:
$$
m_t = \frac{m_n}{\cos \beta}
$$
For the example herringbone gear, \(m_t \approx 11.62 \, \text{mm}\). The pitch diameter \(d\) is:
$$
d = m_t \cdot z = \frac{m_n z}{\cos \beta} \approx 650.7 \, \text{mm}
$$
The helical lead \(L\) is:
$$
L = \pi d \cot \beta \approx 3450 \, \text{mm}
$$
These calculations inform the tool path and indexing settings. Ensuring that the two helices intersect at the relief groove involves solving for the axial position where the tooth traces meet. Let the left-hand helix be parameterized as:
$$
z_L(\theta) = \frac{L}{2\pi} \theta
$$
and the right-hand helix as:
$$
z_R(\theta) = -\frac{L}{2\pi} \theta + z_0
$$
where \(z_0\) is the offset. At the intersection point, \(z_L = z_R\), yielding \(z_0 = \frac{L}{\pi} \theta\). For the relief groove midpoint at axial position \(z_g\), we have:
$$
z_g = \frac{z_0}{2}
$$
This relationship guides the fixture design to set \(z_0\) accurately during remounting.
In practice, the herringbone gear machining process is enhanced by using modern CNC controls for the hobbing machine, but the core principle remains the same: precise定位 via a keyed fixture. The method is adaptable to various herringbone gear sizes and accuracies. For instance, for smaller herringbone gears with higher precision grades, the tolerances can be tightened by reducing keyway clearances and using higher-grade marking tools. The simplicity of the approach makes it accessible to workshops without advanced CNC systems, democratizing quality herringbone gear production.
Beyond the technical steps, this method emphasizes the importance of process discipline. Each herringbone gear must be handled with care during mounting to avoid burrs or debris in the keyway. Regular maintenance of the fixture, such as checking key wear and surface cleanliness, ensures long-term accuracy. Additionally, the use of a spherical washer not only aids in alignment but also reduces stress concentrations, extending the tool life for machining herringbone gears.
To conclude, this improved method for machining herringbone gears offers a reliable, cost-effective solution for batch production. By leveraging a key-based fixture and a systematic alignment process, it achieves consistent精度 within industry standards. The herringbone gear, with its complex geometry, can be produced efficiently without sacrificing quality. This approach has been validated through years of production, resulting in herringbone gears that perform reliably in demanding applications. Future enhancements could integrate digital templating and automated adjustment, but the foundational principles will remain essential for any herringbone gear manufacturing endeavor.