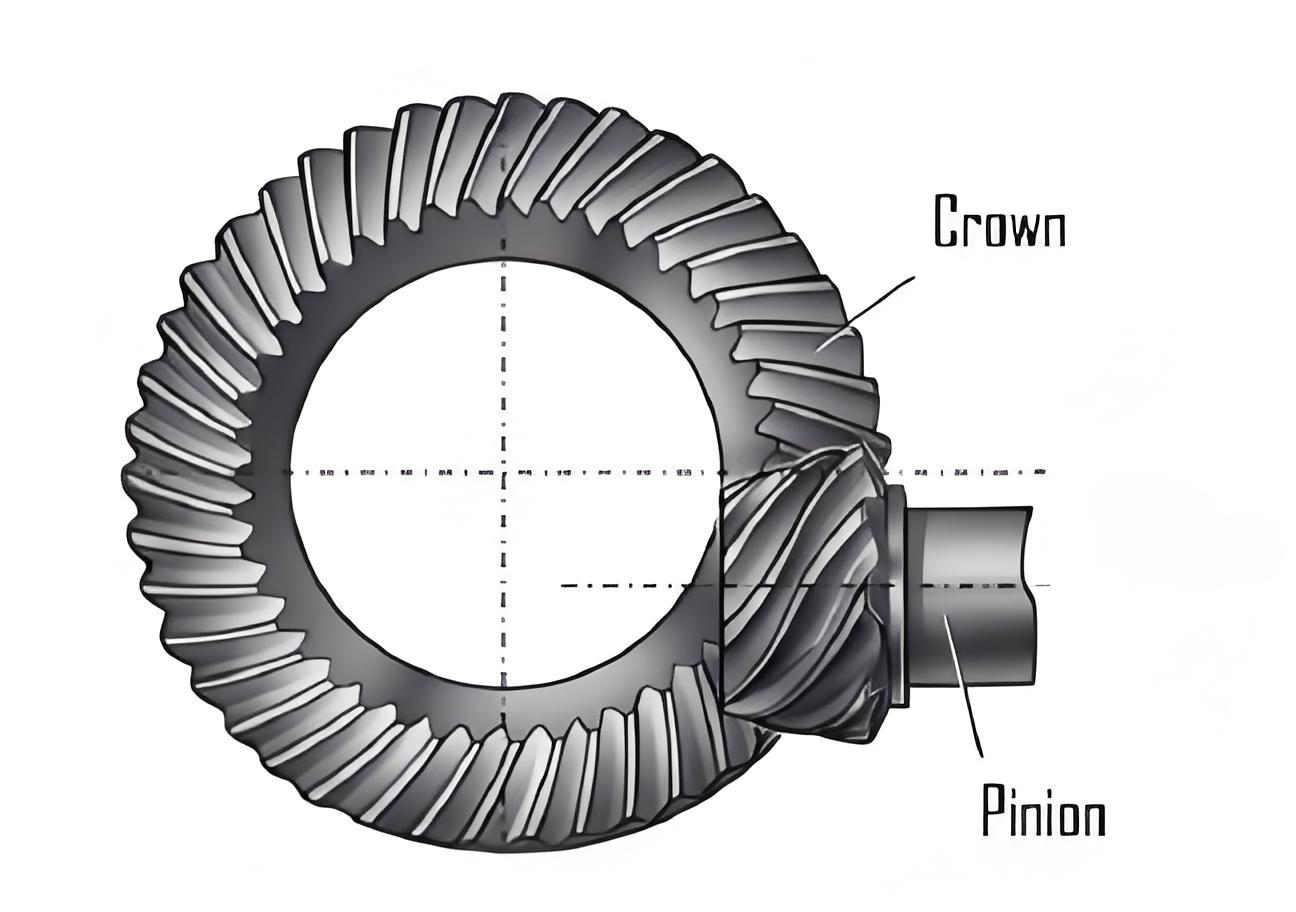
This study investigates the tooth profile modification technique for hypoid gears manufactured through the forming method. We propose an equivalent correction approach for pressure angle adjustment by optimizing cutter positioning and workpiece installation angles. A mathematical model of forming-based machining is established based on spatial relationships between cutting tools and workpieces, with detailed analysis of tangential rotation effects on machine-tool geometric configurations.

Forming Process Mathematical Framework
The coordinate systems for hypoid gear machining are defined as:
$$
\begin{cases}
\mathbf{S}_m: \text{Machine coordinate system (Origin } O_m \text{ at machine center)} \\
\mathbf{S}_c: \text{Cutter coordinate system (Origin } O_c \text{ at blade tip plane)} \\
\mathbf{S}_p: \text{Reference point system (Origin at cutting reference point } P)
\end{cases}
$$
The cutter profile in its local coordinates is expressed as:
$$
\mathbf{r}_c(u_c, \theta_c) = \begin{bmatrix}
r_c \cos\theta_c \\
r_c \sin\theta_c \\
u_c \\
1
\end{bmatrix}
$$
The transformation matrix between coordinate systems is derived as:
$$
\mathbf{M}_{mc}(S_1, q_1) = \begin{bmatrix}
\cos q_1 & -\sin q_1 & 0 & S_1 \cos q_1 \\
\sin q_1 & \cos q_1 & 0 & S_1 \sin q_1 \\
0 & 0 & 1 & 0 \\
0 & 0 & 0 & 1
\end{bmatrix}
$$
Pressure Angle Correction Mechanism
For pressure angle adjustment Δα, the workpiece rotation matrix about X-axis becomes:
$$
\mathbf{T}(\Delta\alpha) = \begin{bmatrix}
1 & 0 & 0 \\
0 & \cos\Delta\alpha & -\sin\Delta\alpha \\
0 & \sin\Delta\alpha & \cos\Delta\alpha
\end{bmatrix}
$$
The modified installation angle γ₂ is calculated through:
$$
\gamma_2 = \frac{\pi}{2} – \arccos(\mathbf{L}_c \cdot \mathbf{L}_{20})
$$
Key parameter conversion formulas are established:
| Parameter | Original | Modified |
|---|---|---|
| Radial Position (mm) | 163.19 | 162.48 |
| Angular Position (°) | 50.4 | 52.27 |
| Axial Offset (mm) | -0.78 | 0.18 |
| Installation Angle (°) | 74.93 | 74.62 |
Numerical Verification
Pressure angle correction of 0.5° demonstrates significant improvement:
$$
\Delta h_{max} = \begin{cases}
0.1732\text{mm} \rightarrow 0.0037\text{mm} \text{ (Convex)} \\
0.1802\text{mm} \rightarrow 0.0035\text{mm} \text{ (Concave)}
\end{cases}
$$
The parametric comparison shows effective compensation:
| Profile Section | Tooth Tip Deviation | Tooth Root Deviation |
|---|---|---|
| Convex (Small End) | 0.0725mm → 0.0023mm | -0.0640mm → -0.0015mm |
| Concave (Large End) | 0.0760mm → 0.0012mm | -0.0591mm → 0.0018mm |
Experimental Validation
Cutting tests on YK2260X hypoid gear generator confirm:
$$
\sigma_{profile} = \begin{cases}
0.0018\text{mm} \text{ (Convex)} \\
0.0027\text{mm} \text{ (Concave)}
\end{cases}
$$
Measurement results from Klingelnberg P65 tester verify the theoretical predictions:
$$
\epsilon_{transmission} < 0.003^{\prime} \text{ under } 200\text{Nm} \text{ load}
$$
This methodology provides effective pressure angle control for hypoid gear manufacturing through forming process optimization. The equivalent correction strategy enables precise tooth profile modification without requiring machine tool structural changes, significantly enhancing production efficiency while maintaining required gear quality standards.
