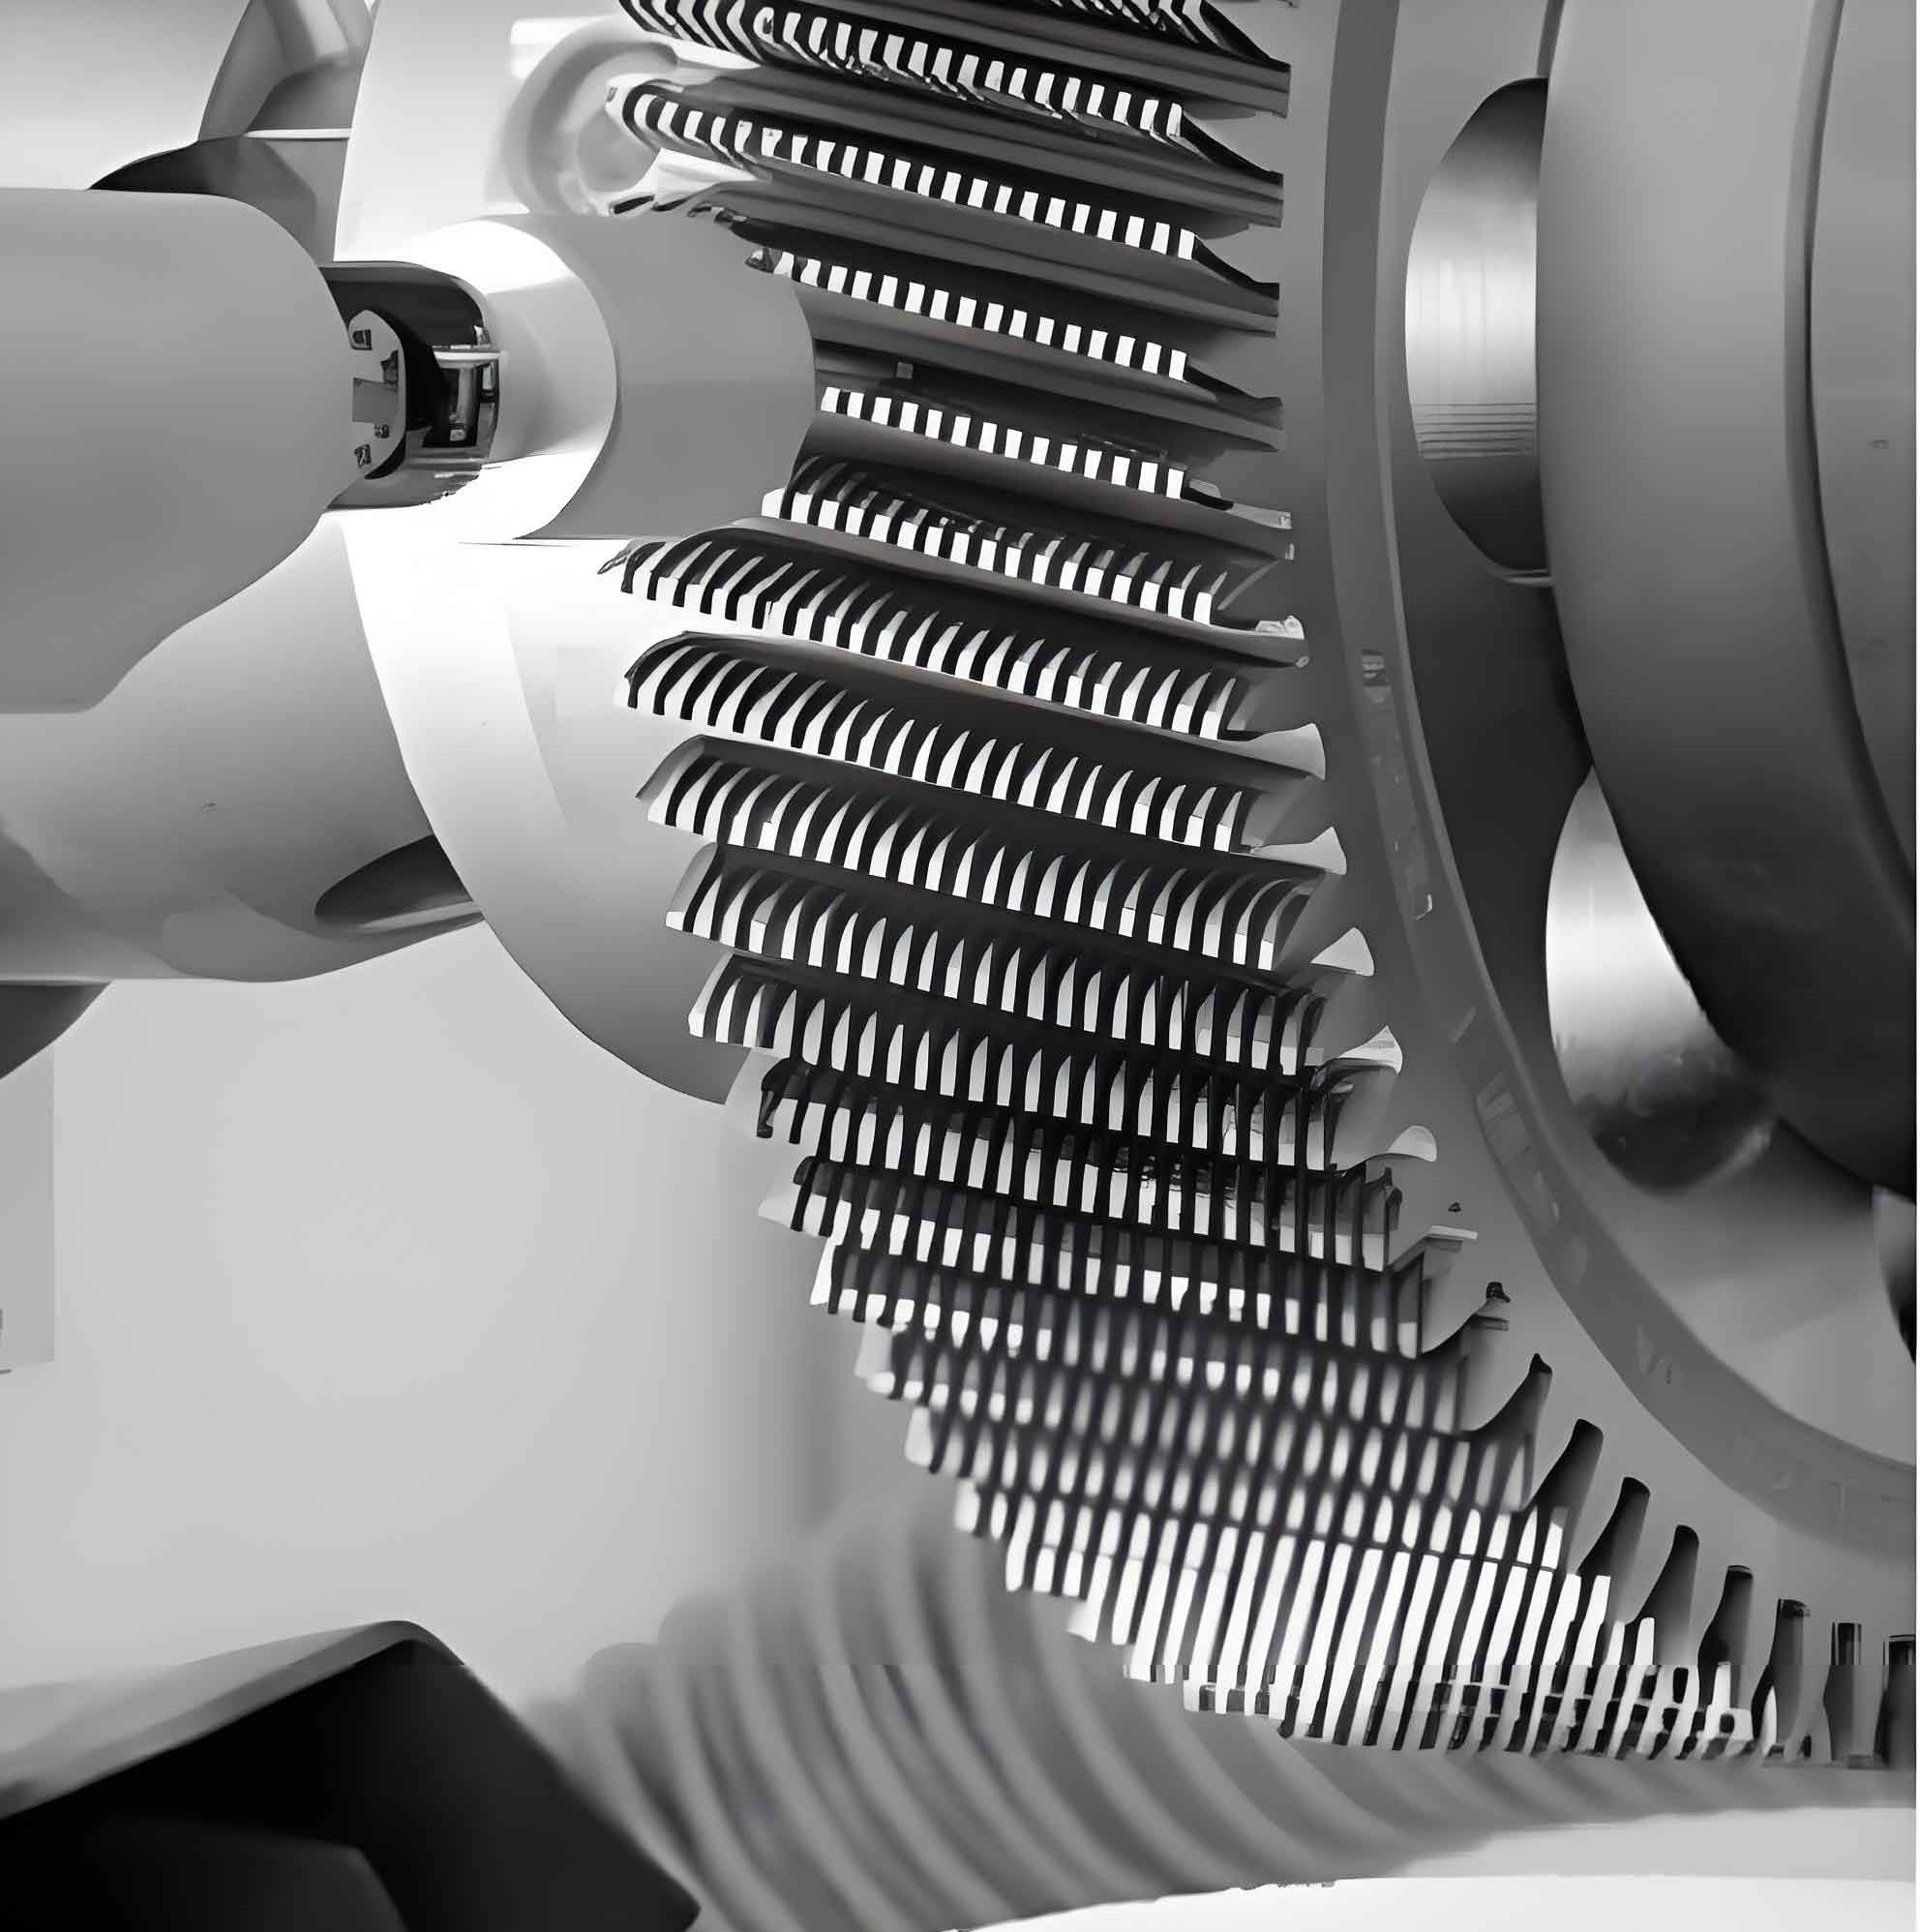
Gear shaving stands as a critical finishing process in gear manufacturing. Modern gear shaving machines typically accommodate both radial and axial shaving methods. For axial gear shaving, achieving precise tooth geometry requires meticulous adjustment of the machine’s taper, angle, and crowning mechanisms based on the final inspection report of the workpiece. While machine operation manuals provide formulas for determining these adjustments, their complexity often hinders efficiency on the shop floor. This article details a simplified, practical methodology for calculating these adjustment parameters.

Principles of Gear Shaving and Machine Architecture
The fundamental principle of axial gear shaving involves a crossed-axis meshing arrangement between a disk-shaped shaving cutter and the workpiece gear. During the shaving process, the cutter drives the workpiece in a free-rolling action. Relative sliding occurs at the meshing points due to differing surface velocities, facilitating material removal. Essentially, gear shaving combines extrusion and controlled sliding actions to refine the tooth flanks. To produce gears with crowned tooth profiles, the shaving machine’s worktable must incorporate a controlled vertical swinging motion.
Primary Machine Axes: Standard gear shaving machines feature several key motion axes:
- Z-axis: Vertical direction (positive upwards). Controls the axial feed movement of the cutter head slide.
- X-axis: Horizontal direction, left-right (positive rightwards). Governs the axial feed movement of the worktable.
- A-axis: Controls the rotational adjustment of the cutter head, setting the crossed-axis angle between the cutter and the workpiece.
- B-axis (Spindle): Drives the rotational motion of the shaving cutter.
Crowning Mechanism
The crowning mechanism is essential for generating a convex tooth profile along the gear face width. A common design utilizes a four-bar linkage system. A movable slide acts as the driver, translating along the X-axis. A guide rail, adjustable at an angle $\alpha$ to the horizontal, determines the magnitude of the crowning effect. When $\alpha = 0^\circ$, a standard cylindrical (non-crowned) gear is produced.
Mechanism Operation:
- Slide Movement Right: When the drive slide moves rightward, the worktable undergoes a combined translation right and a clockwise rotation $\beta$. This rotation induces a center distance deviation $\Delta Z$ at the X=0 position (gear center). The altered center distance causes reduced material removal at the gear center, resulting in maximum tooth thickness there, tapering towards the ends – creating the desired crowning.
- Slide Movement Left: Similarly, leftward slide movement causes the worktable to translate left and rotate clockwise by $\beta$. This also generates $\Delta Z$ at X=0, producing the same crowning effect (thickest tooth at center).
Machine Adjustment Procedures
Precise gear shaving necessitates adjustments primarily in three areas: taper, crowning magnitude, and angle.
Adjustment Points:
- Taper Adjustment: Involves loosening a locking screw and rotating a square head. The adjustment value $H$ (mm) is read from a scale or indicated by a dial gauge.
- Crowning Adjustment: Requires loosening a different locking screw and rotating another square head to alter the guide rail angle $\gamma$ or directly set the crowning amount.
- Angle Adjustment (A-axis): Typically adjusted via the machine control panel by jogging the A-axis command. Older machines may require manual screw loosening and square head rotation.
Simplified Adjustment Calculations
While manufacturers provide complex trigonometric formulas, the following simplified methods significantly enhance shop floor efficiency for prevalent machine models like the Chongqing YK4232 and Nanjing Y4232CNC.
1. Taper Adjustment ($H$): Compensates for helix slope deviations across the face width.
$$H = \frac{(f_{HbLeft} + f_{HbRight})}{2} \times K_T$$
Where:
- $H$ = Taper adjustment value (mm, direction indicated by sign)
- $f_{HbLeft}, f_{HbRight}$ = Helix slope deviation for left/right flanks from inspection report (µm, include sign)
- $K_T$ = Machine Constant (Chongqing & Nanjing: Typically 80)
The sign of $H$ determines the adjustment direction (e.g., positive might mean “turn clockwise”).
2. Crowning Magnitude Adjustment ($\gamma$ or $\Delta S$): Sets the amount of tooth profile curvature (crowning).
The traditional formula involves the desired crowning amount $\Delta S$ (mm), pressure angle $\alpha$ (°), and face width $B$ (mm):
$$\tan\gamma = \frac{C \cdot \Delta S}{B^2 \tan\alpha}$$
Where $C$ is a machine-specific constant (e.g., ~2150).
Simplified Approach: Pre-calculate $\gamma$ for common $B$, $\alpha$, and $\Delta S$ values.
| Face Width $B$ (mm) | Desired Crowning $\Delta S$ (mm) | Approx. $\gamma$ (°) |
|---|---|---|
| 30 | 0.01 | 3.7 |
| 30 | 0.02 | 7.4 |
| 50 | 0.01 | 1.3 |
| 50 | 0.02 | 2.6 |
3. Angle Adjustment ($P$): Corrects for consistent lead error across both flanks (twist).
$$P = \frac{(f_{HbLeft} – f_{HbRight})}{2} \times K_A$$
Where:
- $P$ = Angle adjustment value (µm, direction indicated by sign)
- $f_{HbLeft}, f_{HbRight}$ = Helix slope deviation for left/right flanks (µm, include sign)
- $K_A$ = Machine Constant (Chongqing: Typically 10; Nanjing: Typically 14)
The sign of $P$ determines the A-axis adjustment direction.
Practical Application Example
A gear is processed on a Chongqing YK4232 gear shaving machine. The final inspection report shows:
- Average $f_{HbLeft}$ = -6.9 µm
- Average $f_{HbRight}$ = +13.2 µm
Calculate the required taper ($H$) and angle ($P$) adjustments using the simplified formulas.
Taper Adjustment ($H$):
$$H = \frac{(-6.9 + 13.2)}{2} \times 80 = \frac{6.3}{2} \times 80 = 3.15 \times 80 = 252 \mu m = 0.252 mm$$
Positive $H$ indicates a specific adjustment direction per the machine manual.
Angle Adjustment ($P$):
$$P = \frac{(-6.9 – 13.2)}{2} \times 10 = \frac{-20.1}{2} \times 10 = -10.05 \times 10 = -100.5 \mu m \approx -101 \mu m$$
Negative $P$ indicates the required A-axis adjustment direction.
Conclusion
Implementing these simplified calculation methods for taper ($H$), crowning ($\gamma$), and angle ($P$) adjustments during gear shaving drastically reduces setup time and the number of test cuts and inspections required for production changeovers. The methodology, rigorously validated in real-world gear shaving operations, provides a reliable and efficient guide for machine tool setters, significantly enhancing productivity in precision gear manufacturing. Mastering these gear shaving adjustments is fundamental to achieving high-quality finished gears consistently.
