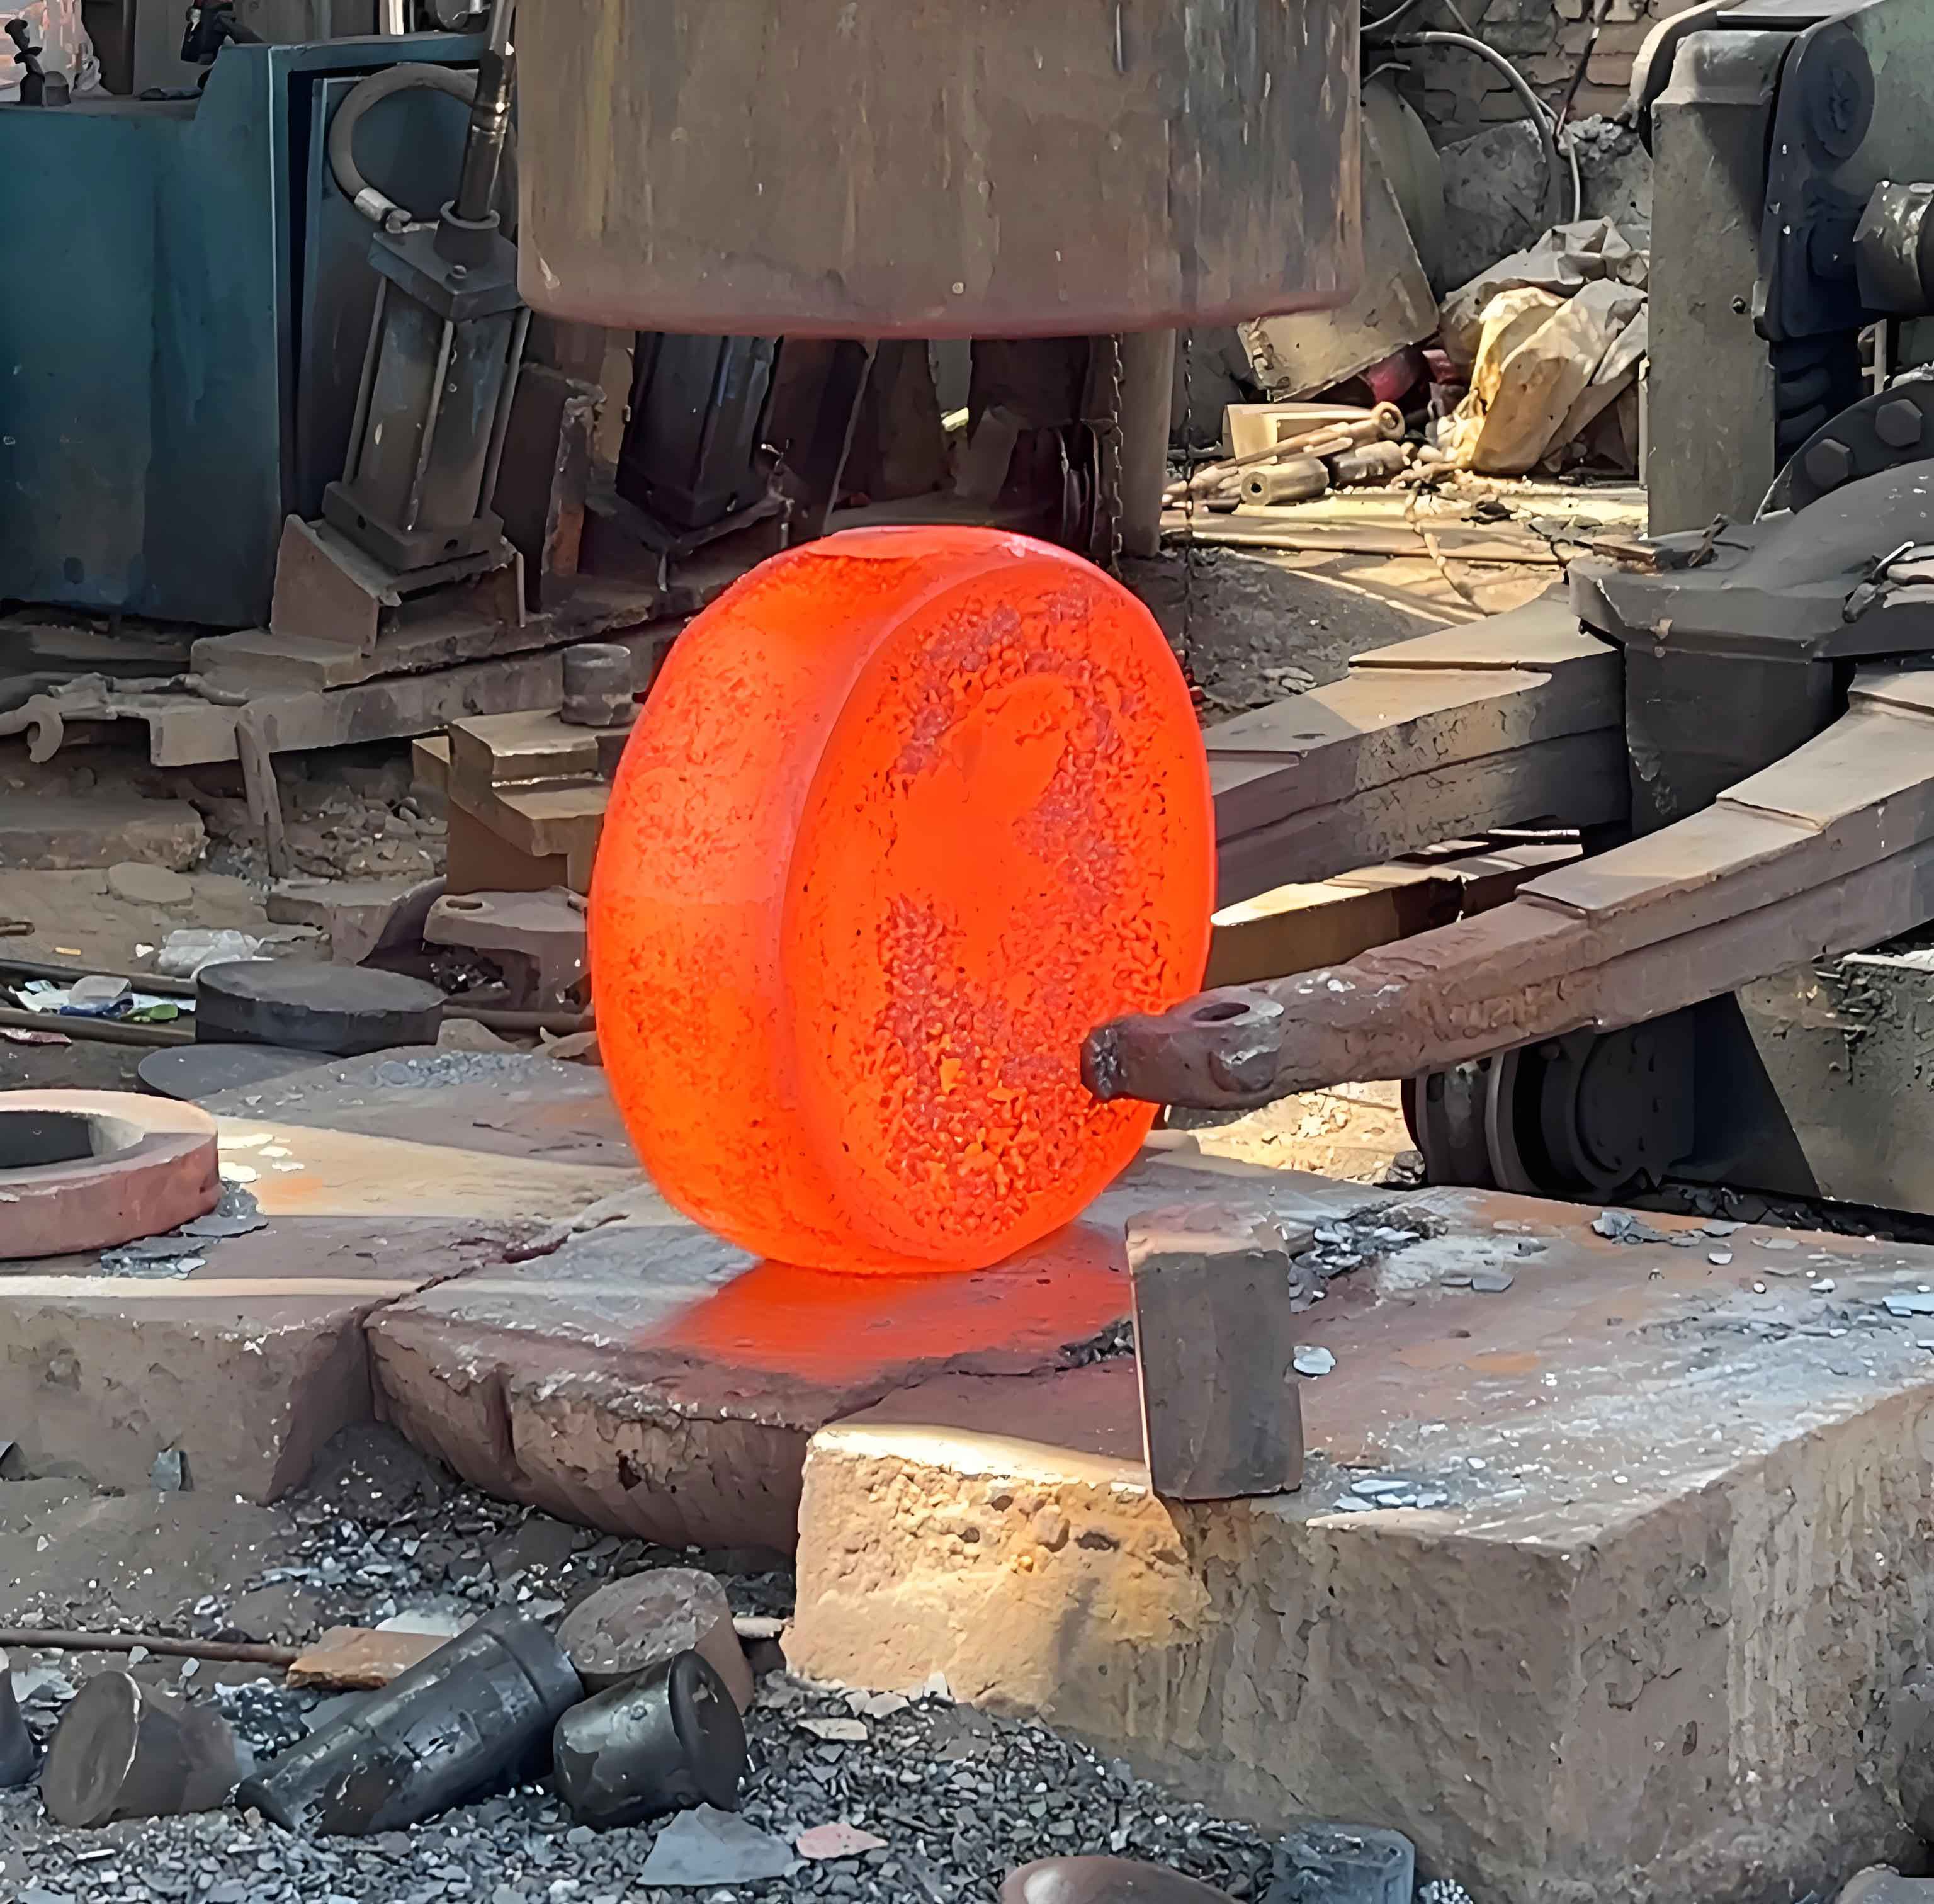
During quality inspection of a large-scale forged gear blank, catastrophic cracking was observed following quenching and tempering heat treatment. The forged gear blank measured 2100 mm in diameter, weighed 6000 kg, and was manufactured from ZG35CrMo alloy steel. The production sequence involved casting, rough machining, and heat treatment according to the following protocol: furnace loading (horizontal placement with proper support) → heating to 400-450°C with holding → 650-700°C holding → uniform heating at 860±10°C → oil quenching to 200-250°C → furnace transfer at ≤350°C → tempering at 550±10°C → furnace cooling to ≤450°C before air cooling.

Macroscopic examination revealed three distinct through-thickness cracks propagating linearly across the 350-mm gear width in pre-machined tooth locations. Fracture surface analysis demonstrated radial propagation patterns originating from central initiation points, indicating instantaneous failure. The crack initiation mechanism was investigated through multidisciplinary characterization techniques.
Electron probe microanalysis (EPMA) identified critical microstructural defects at fracture origins. Shrinkage cavities and porosity clusters averaging 8×4 mm were observed in central regions, accompanied by slag inclusions rich in Ca, Mg, Al, Si, Na, K, and Mn compounds. Inclusion composition was quantified using X-ray mapping:
| Element | Compound Type | Distribution Pattern |
|---|---|---|
| Ca, Mg, Al | Oxides/Chlorides | Agglomerated clusters |
| Si, Na, K | Silicates/Sulfides | Interdendritic segregation |
| Mn, S | Sulfides | Boundary precipitation |
Microstructural gradients significantly influenced the forged gear blank’s mechanical response. Hardness profiles and phase distributions followed distinct patterns from surface to core:
| Radial Position | Microstructure | Depth (mm) | Hardness (HV) |
|---|---|---|---|
| Surface | Tempered martensite | 0-20 | 320-350 |
| Transition | Mixed sorbite/pearlite | 20-40 | 250-280 |
| Core | Pearlite/ferrite | >40 | 180-220 |
Chemical analysis confirmed nominal composition compliance with ZG35CrMo specifications:
| Element | C | Si | Mn | Cr | Mo | P | S |
|---|---|---|---|---|---|---|---|
| Wt.% | 0.34 | 0.50 | 0.78 | 1.21 | 0.24 | 0.011 | 0.020 |
The fracture mechanics of the forged gear blank were governed by combined residual stress fields. Thermal stresses during quenching originated from thermal gradients:
$$\sigma_{thermal} = E \cdot \alpha \cdot \Delta T$$
where \(E\) = elastic modulus (210 GPa), \(\alpha\) = thermal expansion coefficient (12.5 µm/m·°C), and \(\Delta T\) = temperature differential between surface and core. Phase transformation stresses simultaneously developed due to austenite decomposition:
$$\sigma_{phase} = K \cdot \frac{\Delta V}{V}$$
where \(K\) = bulk modulus (160 GPa), and \(\Delta V/V\) represents volumetric strain from martensitic transformation (approximately 4%). The superposition of these stresses generated triaxial tensile conditions in the forged gear blank core region:
$$\sigma_{total} = \sigma_{thermal} + \sigma_{phase}$$
Defect severity was quantified using fracture mechanics parameters. Stress intensity at shrinkage cavities follows:
$$K_I = \sigma_{total} \sqrt{\pi a}$$
where \(a\) = equivalent defect radius (4 mm). Calculated \(K_I\) values exceeded 40 MPa·m1/2, surpassing the fracture toughness of defect-containing material (≈25 MPa·m1/2). The presence of slag inclusions further reduced local fracture resistance through interface decohesion mechanisms.
Dendritic solidification structures in the forged gear blank core exhibited limited hardenability. The critical diameter for full martensitic transformation follows Grossmann’s equation:
$$D_c = k \sqrt[3]{J}$$
where \(k\) = material constant (≈0.9), and \(J\) = ideal critical diameter. For ZG35CrMo, \(D_c\) ≈ 150 mm, significantly less than the actual 2100 mm dimension. This incomplete transformation created mechanical property discontinuities that concentrated stresses at defect sites during tempering.
Failure initiation occurred when tempering thermal cycles superimposed additional stresses on quench-induced residual stresses. The combined stress state exceeded the local strength of defect-affected material in the forged gear blank core region. Crack propagation velocity exceeded 1000 m/s, consistent with cleavage fracture features observed in SEM analysis.
Optimization strategies for large forged gear blanks must address defect control and thermal management. Recommended modifications include:
| Parameter | Current Practice | Recommended Improvement |
|---|---|---|
| Solidification Control | Conventional casting | Directional solidification + hot isostatic pressing |
| Quench Media | Oil | Polymer quenchant (reduced thermal gradient) |
| Tempering Sequence | Single-stage | Multiple-stage tempering with intermediate stress relief |
This comprehensive analysis demonstrates that central defects in large-section forged gear blanks create localized stress intensification sites. When combined with residual stresses from differential phase transformation, these defects initiate catastrophic failure during post-quench thermal processing. Successful manufacturing of heavy forged gear blanks requires integrated control of solidification integrity, heat treatment parameters, and stress management protocols.
