
In the field of mechanical transmission, worm gears play an indispensable role due to their ability to transmit motion and power between two shafts that are perpendicular and non-intersecting. Worm gears offer a high transmission ratio in a compact structure, and they often exhibit self-locking characteristics, making them widely used in machine tools, metallurgical equipment, mining machinery, and hoisting devices. In practical applications, worm gears often suffer from wear or accidental damage, necessitating quick replacement to ensure the normal operation of the entire machine and avoid premature scrapping. Therefore, the rapid mapping and design of cylindrical worm gears is of great practical significance for equipment maintenance, reducing asset reinvestment cycles, lowering costs, and improving production efficiency. Based on years of experience, research, and practice, I have developed a set of practical technical methods for fast mapping of worm gears. Below I will share these methods in detail, supplemented by formulas and tables, for discussion among peers.
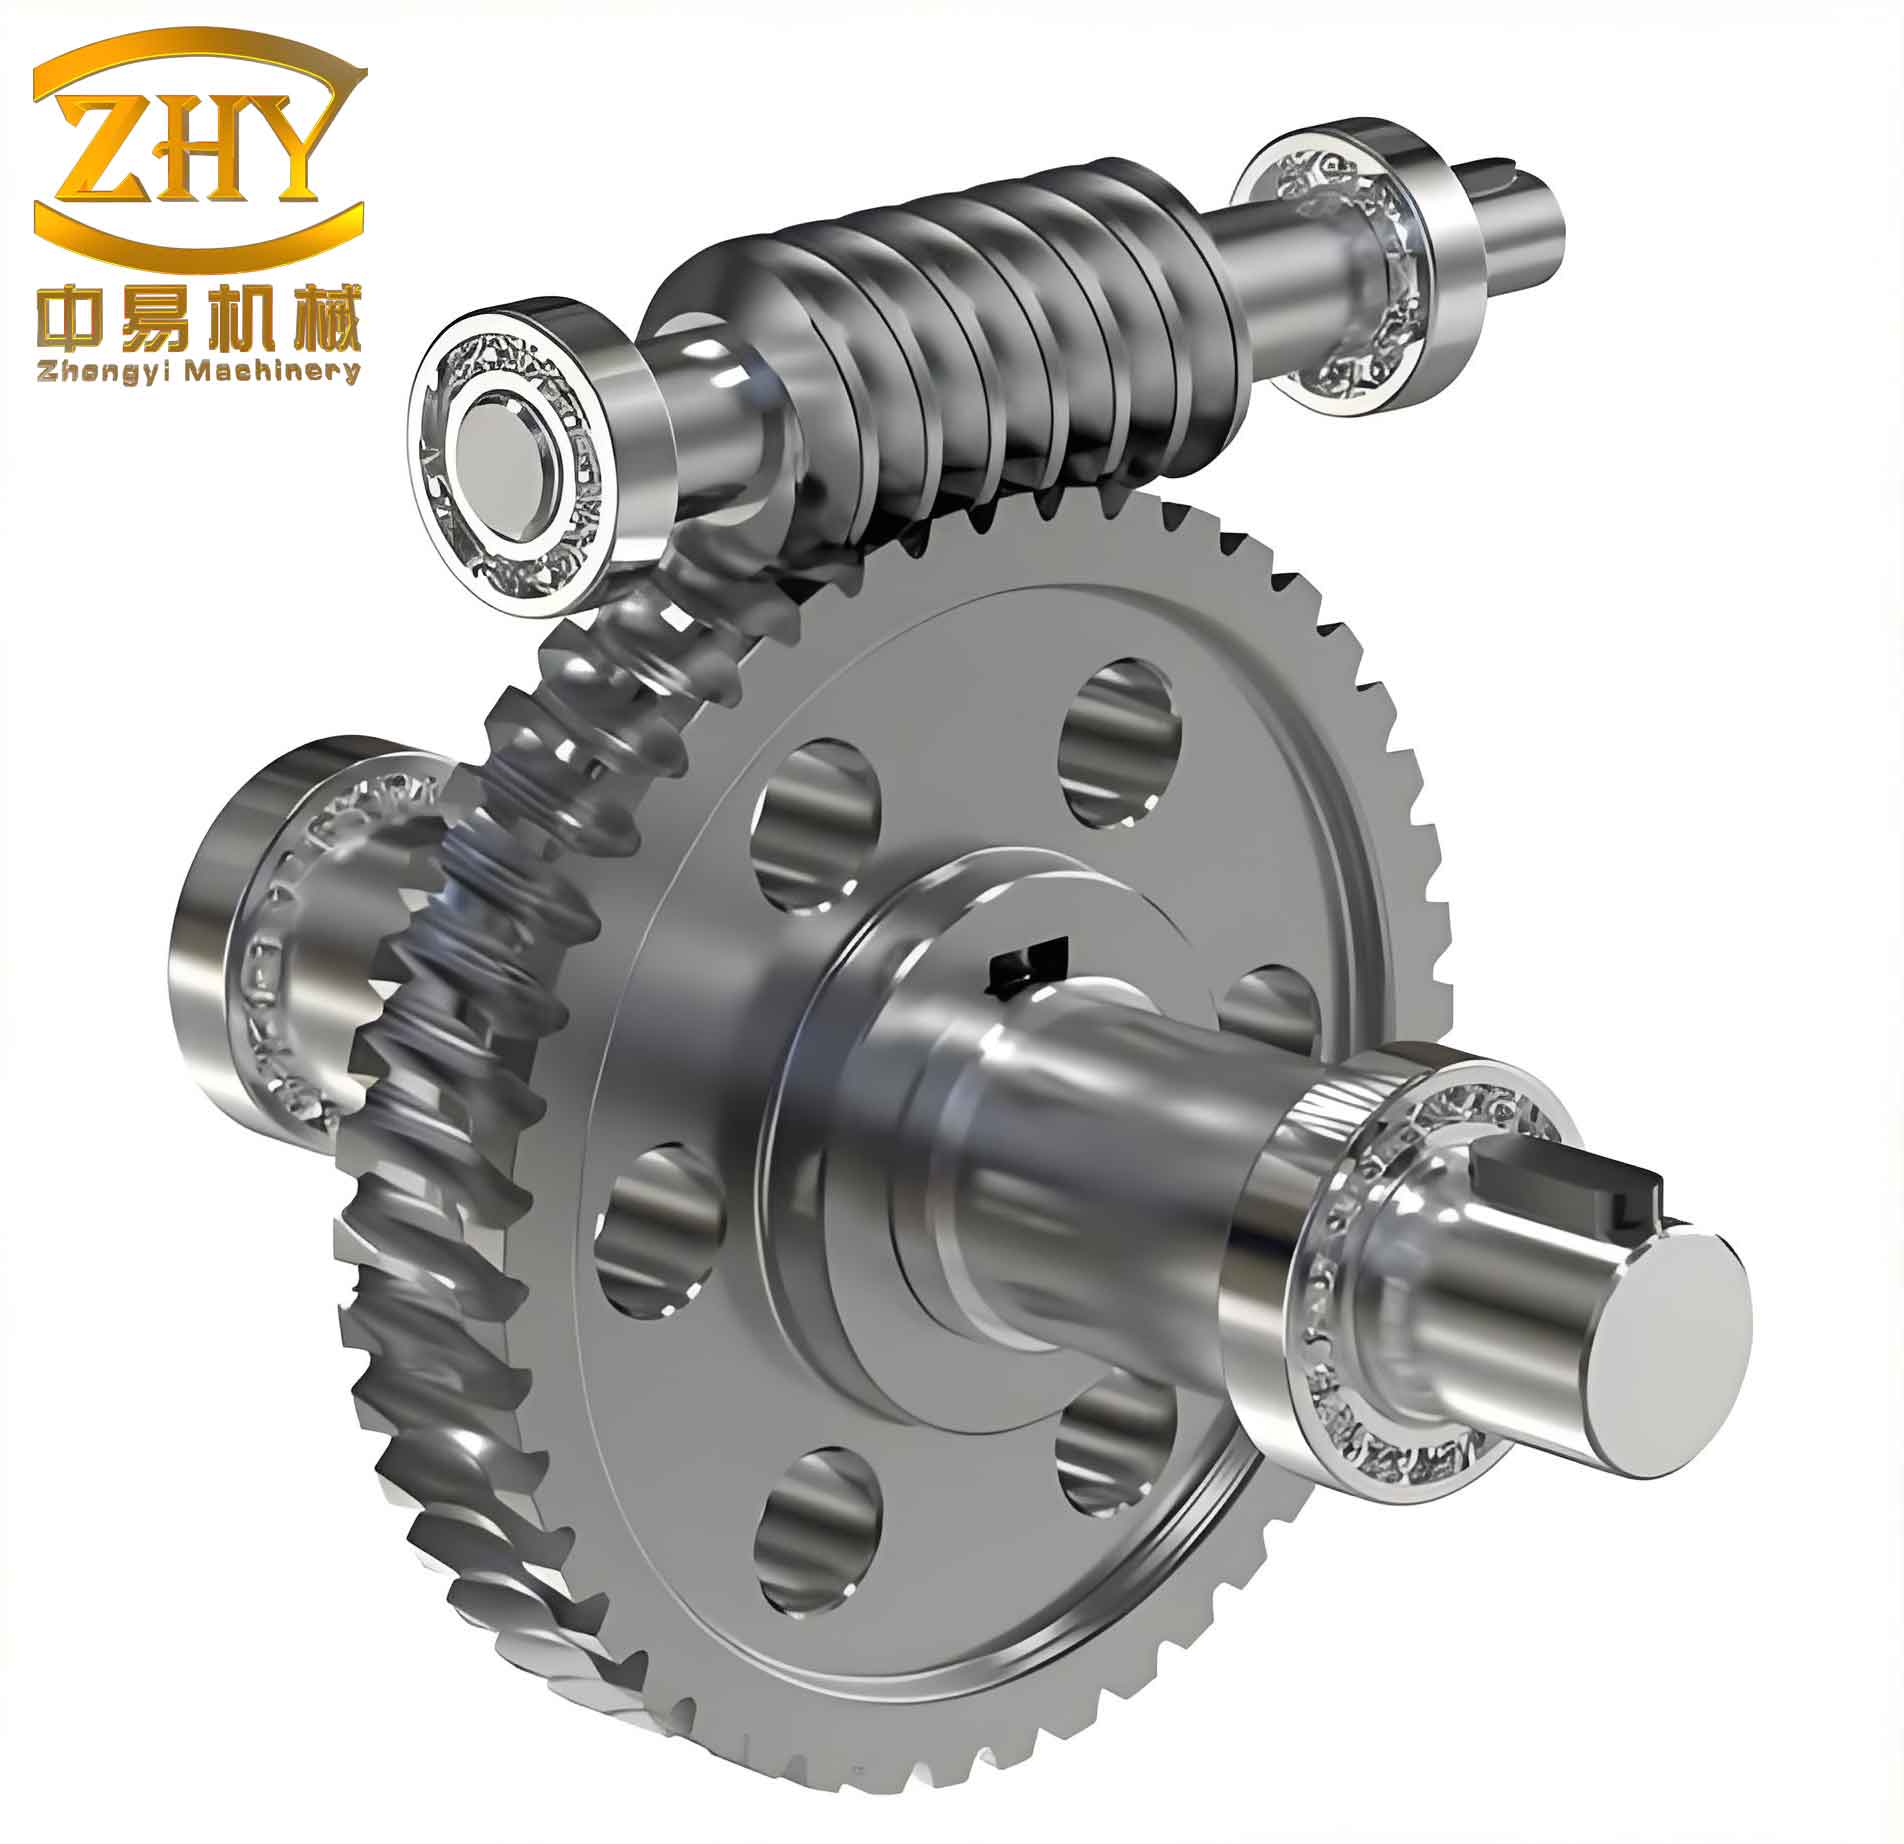
1. General Procedure for Mapping Worm Gears
The first step in mapping cylindrical worm gears is to obtain the key geometric parameters through measurement. For the most common Archimedean spiral worm (ZA type), the following flowchart outlines the sequence of obtaining and deriving parameters. The normal design calculation, material selection, drawing design, and manufacturing process of these worm gears can be found in standard mechanical design handbooks and will not be repeated here.
| Step | Measured/Derived Parameter | Symbol | Method / Formula |
|---|---|---|---|
| 1 | Number of worm starts | $$z_1$$ | Direct counting |
| 2 | Number of worm gear teeth | $$z_2$$ | Direct counting |
| 3 | Worm tip diameter | $$d_{a1}$$ | Measured with precision caliper |
| 4 | Worm gear tip diameter | $$d_{a2}$$ | Measured using gauge blocks |
| 5 | Worm tooth height | $$h_1$$ | Depth gauge or $$h_1=(d_{a1}-d_{f1})/2$$, where $$d_{f1}$$ is root diameter |
| 6 | Axial pitch of worm | $$p_x$$ | Measure span over multiple teeth, divide by number of pitches |
| 7 | Worm tooth profile angle | $$\alpha$$ | Using profile template or gear hob trial cutting |
| 8 | Center distance | $$a$$ | Measure shaft diameters $$d_1$$, $$d_2$$ and distance between shafts $$L$$: $$a = L – (d_1+d_2)/2$$ |
2. Detailed Measurement Methods for Worm Gears
2.1 Counting Worm Starts and Gear Teeth
The number of worm starts $$z_1$$ is simply counted by observing the helical threads on the worm. For the worm gear, the number of teeth $$z_2$$ is counted directly. These two parameters are fundamental for determining the transmission ratio $$i = z_2 / z_1$$.
2.2 Measuring Tip Diameters
The worm tip diameter $$d_{a1}$$ can be accurately measured using a precision vernier caliper at several axial positions and taking the average. For the worm gear, its outer diameter $$d_{a2}$$ is more difficult to measure directly due to the curvature. I recommend using appropriate gauge blocks placed across the gear blank and measuring the distance from the block to the opposite side of the gear, then compensating with the block thickness. Alternatively, if the gear is mounted, one can measure the radial distance from the center to the tip and double it.
2.3 Worm Tooth Height and Root Diameter
The worm tooth height $$h_1$$ can be measured with a precision depth gauge that bridges over two adjacent teeth. Alternatively, one can measure the root diameter $$d_{f1}$$ using small ball-ended probes or by subtracting twice the tooth height from the tip diameter. The formula is:
$$h_1 = \frac{d_{a1} – d_{f1}}{2}$$
2.4 Axial Pitch Measurement
The axial pitch $$p_x$$ of the worm is measured by using a vernier caliper to measure the distance over several consecutive threads, say over 5 or 10 pitches, and then dividing by the number of pitches. For example, if the distance over 5 pitches is $$L_{5p}$$, then:
$$p_x = \frac{L_{5p}}{5}$$
This ensures an averaged value that reduces local manufacturing errors.
2.5 Profile Angle Determination
The thread profile angle $$\alpha$$ of the worm (usually 20° or 15° for standard designs) can be identified by using a dedicated tooth profile template or by trial cutting with a known gear hob. For Archimedean worms, the profile in axial section is straight, so an optical comparator or profile projector can also be employed for accurate measurement.
2.6 Center Distance Calculation
To determine the center distance $$a$$ between the worm and the worm gear, first measure the shaft diameters $$d_1$$ (worm shaft) and $$d_2$$ (gear shaft) using a micrometer. Then, using a large caliper or a coordinate measuring machine, measure the distance $$L$$ between the outer surfaces of the two shafts (the span). The center distance is:
$$a = L – \frac{d_1 + d_2}{2}$$
This measured center distance is critical for verifying the module and other parameters.
3. Deriving Key Parameters from Measurements
Once the basic measurements are obtained, we can calculate the module, pressure angle, addendum modification coefficients, and other design parameters. The following table summarizes the derivations for standard cylindrical worm gears.
| Parameter | Symbol | Formula / Relationship | Notes |
|---|---|---|---|
| Axial module | $$m_x$$ | $$m_x = \frac{p_x}{\pi}$$ | $$p_x$$ is axial pitch measured |
| Normal module | $$m_n$$ | $$m_n = m_x \cos \gamma$$, where $$\gamma$$ is lead angle | Lead angle $$\gamma = \arctan\left(\frac{z_1 m_x}{d_1}\right)$$ |
| Worm pitch diameter | $$d_1$$ | $$d_1 = d_{a1} – 2 h_{a1}$$, with addendum $$h_{a1} = m_x$$ (standard) | Or from root diameter: $$d_1 = d_{f1} + 2 h_{f1}$$ |
| Worm gear pitch diameter | $$d_2$$ | $$d_2 = m_x z_2$$ | For standard worm gears |
| Center distance (theoretical) | $$a_0$$ | $$a_0 = \frac{d_1 + d_2}{2}$$ | Compare with measured $$a$$ for profile shift |
| Addendum modification coefficient | $$x$$ | $$x = \frac{a – a_0}{m_x}$$ | If positive, worm gear is shifted outward |
| Pressure angle (axial) | $$\alpha_x$$ | Usually 20° for ZA worms, but measured $$\alpha$$ may differ | Check against standard values |
3.1 Example Calculation
Suppose we measure a worn worm gear pair and obtain: $$z_1=2$$, $$z_2=30$$, $$d_{a1}=45.0\,\text{mm}$$, $$p_x=12.566\,\text{mm}$$ (over 5 pitches measured 62.83 mm), and center distance $$a=100.0\,\text{mm}$$. Then:
- Axial module: $$m_x = 12.566/\pi = 4.000\,\text{mm}$$.
- Worm pitch diameter (assuming standard addendum $$h_{a1}=m_x=4$$): $$d_1 = 45.0 – 2\times4 = 37.0\,\text{mm}$$.
- Lead angle: $$\gamma = \arctan(2\times4/37.0) = \arctan(0.2162) \approx 12.2^\circ$$.
- Worm gear pitch diameter: $$d_2 = 4.0\times30 = 120.0\,\text{mm}$$.
- Theoretical center distance: $$a_0 = (37+120)/2 = 78.5\,\text{mm}$$.
- Since measured $$a=100.0\,\text{mm}$$, the difference indicates a significant profile shift: $$x = (100-78.5)/4 = 5.375$$ — this is unusually high, suggesting the worm gear may have been designed with a large addendum modification or our measurements are off. This highlights the need for careful remeasuring when values seem extreme.
4. Practical Considerations for Worm Gears in Maintenance
In real industrial settings, worm gears often fail due to wear, scoring, or tooth breakage. When a replacement is urgently needed, the ability to quickly and accurately map the existing worn worm gears is crucial. I have found that the following practical tips improve measurement accuracy:
- Use of gauge blocks for large gear diameters: When measuring the worm gear outer diameter, place two gauge blocks of known thickness on opposite sides of the gear, then measure the total distance with a large micrometer and subtract the block thicknesses.
- Multiple pitch measurements: To minimize the effect of local wear on the axial pitch, measure over 5 to 10 threads and average.
- Profile angle verification: For worn worm threads, a best-fit straight line on the axial profile can be used to determine the effective pressure angle. If the result deviates from standard values (e.g., 20°), it may indicate the use of a different profile (e.g., ZN or ZK) which requires different design equations.
- Center distance check: Always verify the center distance measurement by installing a new worm and checking the backlash. A difference of more than 0.1 mm may require recalculating the addendum modification.
5. Fast Design Based on Mapping Results
Once all essential parameters are derived, the next step is to design the replacement worm gears. For standard ZA worms, the design formulas are well established. Below I summarize the key design equations in a table for quick reference.
| Component | Parameter | Formula |
|---|---|---|
| Worm | Pitch diameter | $$d_1 = \frac{m_x z_1}{\tan \gamma}$$ or from center distance |
| Addendum | $$h_{a1} = m_x$$ (standard) | |
| Dedendum | $$h_{f1} = 1.25 m_x$$ (standard) | |
| Tip diameter | $$d_{a1} = d_1 + 2 m_x$$ | |
| Worm gear | Pitch diameter | $$d_2 = m_x z_2$$ |
| Tip diameter | $$d_{a2} = d_2 + 2 m_x (1 + x)$$ (with profile shift) | |
| Face width | Typically $$b_2 \approx 0.75 d_{a1}$$ | |
| Pair | Center distance | $$a = \frac{d_1 + d_2}{2} + x m_x$$ |
| Lead angle | $$\gamma = \arctan\left(\frac{z_1 m_x}{d_1}\right)$$ |
6. Economic Benefits of Accurate Mapping
Accurate mapping and fast design of worm gears directly contribute to reduced downtime and maintenance costs. In many factories, waiting for a replacement worm gear from the original equipment manufacturer (OEM) can take weeks, whereas a mapped and locally manufactured pair can be produced within days. The economic impact is substantial, especially when considering expenses such as lost production, emergency repair labor, and premium shipping costs.
To illustrate, consider a typical application: a 10-ton boiler system using worm gear reducers for its drum and fan drives. The following hypothetical table shows the potential savings from a rapid mapping approach compared to OEM sourcing. (Data is for illustration only, based on typical industry figures.)
| Item | OEM Replacement | Mapped & Locally Manufactured |
|---|---|---|
| Lead time | 4–6 weeks | 3–5 days |
| Part cost per pair | $2,500 | $1,200 |
| Lost production cost (per day of downtime) | $5,000/day | $5,000/day |
| Total downtime cost (assuming 30 days vs. 3 days) | $150,000 | $15,000 |
| Total cost (part + downtime) | $152,500 | $16,200 |
| Savings per incident | $136,300 | |
Furthermore, by using fast mapping, we can often identify opportunities to improve the worm gear design, such as adjusting the center distance to improve lubrication or modifying the profile for better load distribution. These incremental improvements extend the service life of worm gears and reduce the frequency of future replacements.
7. Conclusion
The rapid mapping and design of cylindrical worm gears is an essential skill for mechanical maintenance engineers. Through systematic measurement of the worm starts, gear teeth, tip diameters, axial pitch, profile angle, and center distance, one can accurately derive the module, lead angle, and other critical parameters. The formulas and tables presented in this article provide a quick reference for both measurement and subsequent design. By applying these techniques, engineers can reduce equipment downtime, lower costs, and improve the reliability of machinery that relies on worm gears. I hope this sharing of practical experience will help peers in the field to handle worm gear replacements more efficiently and effectively.