
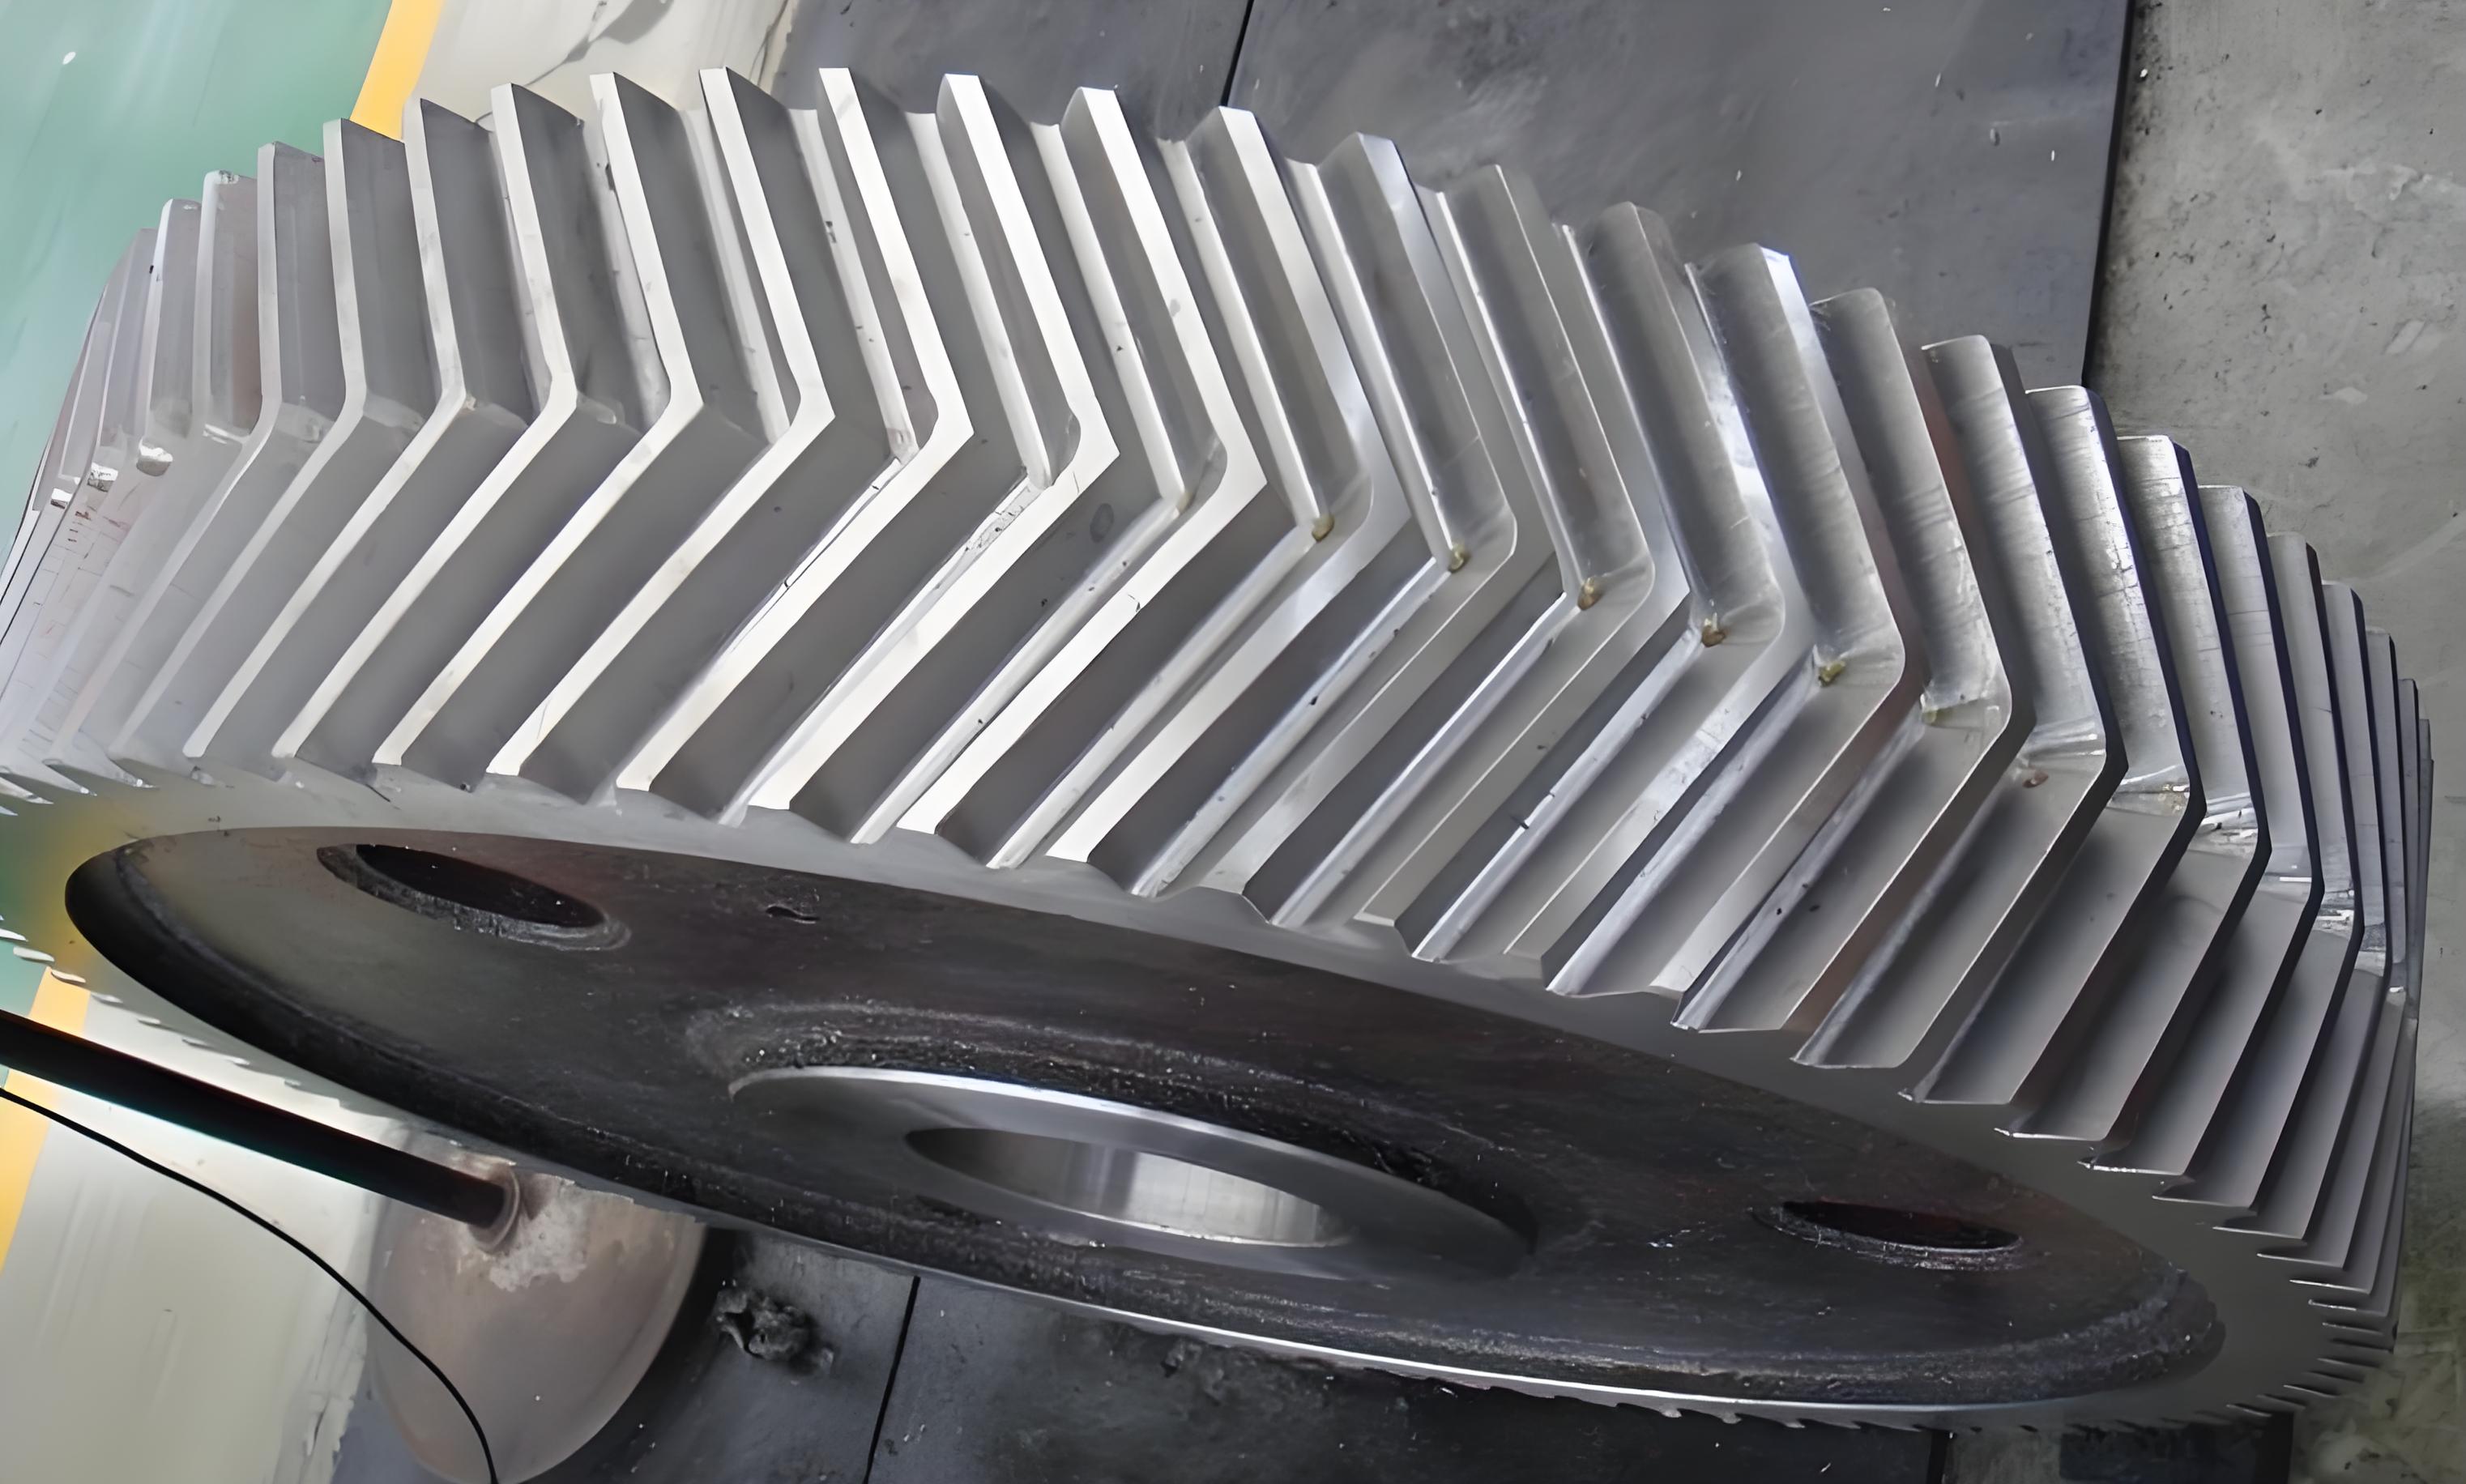
In my extensive experience with power transmission systems, the application of herringbone gears has become increasingly prevalent, particularly in heavy-duty gearbox applications. The unique double-helical design of the herringbone gear offers significant advantages, such as inherent axial force cancellation, higher load capacity, and smoother, quieter operation compared to single helical gears. As demand for higher power density and reliability grows, so does the production of large-module, high-precision herringbone gears. With this increased adoption, mastering the critical technology of “Alignment” or “Matching” of the two helical halves has emerged as a paramount concern. For high-precision herringbone gears, typically those conforming to standards like AGMA 2000 or DIN 3962 Class 6 and above, the design and manufacturing specifications impose exceptionally stringent requirements on this alignment tolerance.
The fundamental concept of herringbone gear alignment refers to the positional accuracy of the intersection point of the left-hand and right-hand helices. More precisely, it is the requirement that the intersection point of the homonymous flanks (both left or both right flanks) of the two helical halves lies within a specified tolerance zone relative to a defined nominal position. This nominal position is a theoretical datum established by the gear design drawings. Misalignment, where the actual intersection point deviates from this nominal position, can lead to uneven load distribution between the two helices, increased noise and vibration, premature wear, and a severe reduction in the gear’s operational life and reliability. Therefore, precise calculation, control, and verification of this parameter are non-negotiable in the manufacturing of high-performance herringbone gears.
Calculation of Alignment Deviation
To quantify the alignment error in a herringbone gear, we must first define the geometry. During inspection, one helical flank (typically from one side) is taken as the theoretical reference. The homonymous flank from the opposite helix is then treated as the actual measured surface. When the actual machining lines of the two helices are offset from their ideal theoretical positions, they will intersect at a point different from the intended nominal intersection point.
Consider the geometrical relationship in the axial plane of the herringbone gear. Let us denote the nominal intersection point as \( N \). The actual intersection point of the two machined flanks is \( A \). If we project the line of the actual flank from one side onto the nominal position plane, we find an intermediate point \( C \). This creates a simple yet crucial geometric relationship. The key measurable deviation is the axial offset, \( \Delta F_a \), which is the distance along the gear axis between the nominal point \( N \) and the actual intersection point \( A \).
From this axial deviation, we can derive the other two critical components of alignment error:
- Transverse Plane Deviation (\( \Delta F_t \)): This is the projection of the error onto a plane perpendicular to the gear axis. It represents the radial run-out type error at the pitch circle related to alignment.
- Normal Plane Deviation (\( \Delta F_n \)): This is the error measured in a plane normal to the tooth flank, which is often the most functionally significant as it relates directly to the meshing action.
Given the helix angle \( \beta \), the relationships between these deviations are derived from right-angle trigonometry. The triangle formed by points \( N \), \( A \), and \( C \) is typically isosceles or can be decomposed into right triangles, depending on the chosen reference. The fundamental formulas are:
$$
\Delta F_t = \frac{\Delta F_a}{2} \cdot \tan \beta
$$
$$
\Delta F_n = \Delta F_a \cdot \sin \beta = \frac{\Delta F_t}{\cos \beta}
$$
These formulas are universally applicable for calculating the full impact of an axial misalignment. For instance, a small axial error on a high helix angle herringbone gear can result in a substantial normal plane deviation, severely affecting mesh. The following table summarizes these relationships and their implications.
| Deviation Type | Symbol | Calculation Formula | Functional Significance |
|---|---|---|---|
| Axial Deviation | \( \Delta F_a \) | Directly measured | Primary manufacturing error, directly influences tooth contact pattern position. |
| Transverse Plane Deviation | \( \Delta F_t \) | \( \Delta F_t = \frac{\Delta F_a}{2} \cdot \tan \beta \) | Related to effective pitch diameter mismatch between helices; affects phasing. |
| Normal Plane Deviation | \( \Delta F_n \) | \( \Delta F_n = \Delta F_a \cdot \sin \beta \) | Most critical for load sharing; directly impacts stress concentration on the tooth flank. |
Therefore, by measuring the axial offset \( \Delta F_a \) between the actual and nominal intersection points during gear inspection—using specialized gear testers or precision setup—we can immediately compute the complete set of alignment errors. This calculation is the first and most essential step in diagnosing and correcting herringbone gear quality.
Methods for Controlling Alignment Deviation
Controlling the alignment of a herringbone gear is a multi-stage process that begins at the design table and continues through final grinding. Based on the calculated deviations, there are two primary methodological philosophies for achieving the required alignment tolerance.
1. Adjusting the Flank Deviation of Individual Helices
This method aims to correct the error at its source by precisely machining each helical flank to bring their intersection point to the nominal position. The process is as follows:
- Initial Cutting: During gear hobbing or shaping, extreme care is taken to follow the theoretical cutting line. The first helix is cut. Then, using the machined slots of the first helix as a physical reference, the starting position for cutting the opposing helix is carefully laid out and marked.
- Corrective Grinding: For high-precision herringbone gears, this method almost invariably requires a corrective grinding stage. After initial cutting and heat treatment, the gear is mounted on a precision gear grinder. The measured transverse deviation \( \Delta F_t \) is used as a feedback parameter. The grinder is then adjusted to remove a calculated, non-uniform amount of material from the flanks of one or both helices to shift their effective helical paths and move the intersection point toward the nominal position.
Advantages: This method tackles the root cause of the error and can, in theory, achieve very high accuracy.
Disadvantages: The process is complex, iterative, and requires highly skilled operators. It depends on the precision of the initial layout and the capability of the grinding machine to execute differential material removal. It is often time-consuming and difficult to control with high predictability for very tight tolerances.
2. Adjusting the Nominal Position (Reference Datum Shift)
This is often a more practical and efficient strategy, especially in production environments. Instead of re-machining the complex tooth flanks, we adjust the datum (the nominal position) itself to align with the naturally occurring intersection point of the manufactured helices. The core idea is to incorporate a sacrificial “adjustment allowance” on the gear end faces or in the central gap (sidewall) during rough machining.
The operational sequence is straightforward:
- Machine the gear teeth to the best possible alignment, but intentionally leave a specified amount of extra material (e.g., 0.5-1.0 mm) on the designated adjustment surfaces (ends or sidewalls).
- After the teeth are fully finished (cut, heat-treated, and ground), perform a final alignment inspection to determine the actual axial deviation \( \Delta F_a \) and its direction.
- Calculate the exact amount of material \( \Delta M \) that must be removed from the pre-designated adjustment surface to shift the gear’s effective width or gap center, thereby redefining the nominal position to coincide with the actual intersection point.
- Perform a final turning or face grinding operation to remove the calculated amount \( \Delta M \) from the adjustment surface.
This method effectively “moves the goalpost” to match the manufactured part. Its success hinges on correctly defining the nominal position reference in the design and pre-planning the adjustment allowance accordingly. The calculation for the required end-face material removal \( \Delta M \) depends entirely on how the nominal position is defined in the gear drawing. This leads us to the critical next section.
Determination of the Nominal Position and Adjustment Calculations
The strategy for adjusting the nominal position is dictated by the engineering drawing’s definition of the alignment reference. There are three common types of nominal position definitions, each requiring a specific calculation for the adjustment machining amount \( \Delta M \).
Type 1: Nominal Position at the Center of the Central Gap (Sidewall)
In this design, the theoretical intersection point of the helices is defined to lie exactly midway between the two sidewalls of the central gap that separates the left-hand and right-hand helices of the herringbone gear. The sidewall width is a specified dimension \( W \).
Adjustment Mechanism: To correct an alignment error \( \Delta F_a \), material is removed from one sidewall face. This changes the centerline of the gap, effectively shifting the nominal position. If the axial error \( \Delta F_a \) is measured as the distance the actual intersection point is offset from the old gap center, then to make the new gap center align with this actual point, one sidewall must be machined.
Let \( W \) be the original gap width. Let \( \Delta F_a \) be the measured axial offset (with a defined positive direction, e.g., towards sidewall 1). The required machining amount \( \Delta M \) on sidewall 1 is given by:
$$
\Delta M = 2 \cdot \Delta F_a
$$
This relationship comes from the condition that the new center must equal the position of the actual intersection point. The table below clarifies this scenario.
| Parameter | Symbol | Relationship & Note |
|---|---|---|
| Original Gap Width | \( W \) | Drawing specification. |
| Axial Offset of Intersection | \( \Delta F_a \) | Measured from old gap center. Positive towards Sidewall 1. |
| New Gap Width | \( W’ \) | \( W’ = W – \Delta M \) |
| Material to Remove from Sidewall 1 | \( \Delta M \) | \( \Delta M = 2 \cdot |\Delta F_a| \). Direction of removal must match sign of \( \Delta F_a \). |
Type 2: Nominal Position at the Midpoint of the Total Facewidth
Here, the alignment datum is the exact center of the gear’s overall axial length, measured from one end face to the other. The total facewidth is \( B \).
Adjustment Mechanism: An alignment error is corrected by removing material from one of the two end faces of the entire herringbone gear. This changes the midpoint of the total width, shifting the nominal position axially.
If the measured axial offset \( \Delta F_a \) is the distance from the actual intersection point to the original facewidth center, then to make the new center coincide with the intersection point, one end face must be machined. The required removal \( \Delta M \) from, say, the lower end face is:
$$
\Delta M = 2 \cdot \Delta F_a
$$
It is crucial to note the sign convention. If \( \Delta F_a \) is positive towards the upper face, then to move the center down towards the actual point, material must be removed from the lower face.
Type 3: Nominal Position Referenced from a Specific External Datum Face
This is a common design for gears that have a specific axial locating surface in the gearbox, such as a shoulder. The nominal intersection point is defined at a fixed, specified distance \( L \) from one designated reference end face (e.g., the mounting shoulder face).
Adjustment Mechanism: This condition is the most stringent. The distance \( L \) from the reference face to the intersection point must remain constant as per the drawing. Therefore, if the actual intersection point is found to be offset by \( \Delta F_a \) from its nominal position relative to the gear body, the opposite end face (the non-datum face) must be machined to adjust the gear’s overall length, thereby moving the entire gear (and its intersection point) axially relative to the fixed reference face.
The calculation is direct. To move the actual intersection point back to its nominal position (a distance \( L \) from the reference face), the entire gear must shift by \( \Delta F_a \). This is achieved by removing material \( \Delta M \) from the opposite end face:
$$
\Delta M = \Delta F_a
$$
The sign is critical. If the actual intersection point is offset \( \Delta F_a \) in the direction away from the reference face, then material must be removed from the opposite end face to pull the gear and the intersection point back towards the reference.
The following comprehensive table compares the three types and their adjustment logic.
| Nominal Position Type | Reference Definition | Adjustment Surface | Adjustment Amount \( \Delta M \)** | Key Constraint |
|---|---|---|---|---|
| Type 1: Center of Gap | Midpoint between herringbone gap sidewalls. | One sidewall face of the central gap. | \( \Delta M = 2 \cdot \Delta F_a \) | Changes gap width \( W \). |
| Type 2: Center of Facewidth | Midpoint of total gear length (end to end). | One gear end face. | \( \Delta M = 2 \cdot \Delta F_a \) | Changes total gear length \( B \). |
| Type 3: From Datum Face | Fixed distance \( L \) from a specified reference end face. | The end face OPPOSITE the datum reference face. | \( \Delta M = \Delta F_a \) | Distance \( L \) from reference face MUST remain constant. |
**Note:** \( \Delta F_a \) is the measured axial offset of the actual intersection point from the *original* nominal position. The sign/direction of \( \Delta F_a \) must be carefully defined and followed to determine which surface is machined and to ensure material is removed, not added.
Practical Application and Conclusion
In practical manufacturing, especially for high-precision herringbone gears, the method of adjusting the nominal position by machining a pre-planned allowance has proven to be exceptionally robust and efficient. The process flow integrates seamlessly into standard manufacturing steps:
- Design & Planning: The gear drawing clearly defines the nominal position type (1, 2, or 3). An adjustment allowance is specified on the relevant surface (gap sidewall or end face).
- Rough & Finish Machining of Teeth: The herringbone gear teeth are produced via cutting and grinding processes, aiming for good but not perfect alignment, focusing instead on achieving correct helix angle, profile, and lead on each helix independently.
- Alignment Inspection: The finished gear is inspected on a coordinate measuring machine (CMM) or a specialized gear analyzer to precisely measure the axial deviation \( \Delta F_a \) of the actual flank intersection.
- Calculation: Based on the drawing’s nominal position type, the required face machining amount \( \Delta M \) is calculated using the appropriate formula.
- Final Face Machining: The gear undergoes a final, precise turning or face-grinding operation to remove exactly \( \Delta M \) from the designated adjustment surface. This final cut effectively “locks in” the perfect alignment.
The superiority of this approach lies in its simplicity, predictability, and decoupling from the complexities of tooth flank grinding. It transforms a challenging tooth geometry correction into a straightforward axial sizing operation. This methodology has been consistently validated in production, successfully meeting the tight alignment tolerances required for high-performance herringbone gears in demanding applications such as marine propulsion, heavy industrial gearboxes, and power generation turbines. The systematic calculation and control of herringbone gear alignment, as outlined, form a critical pillar in the reliable and efficient manufacturing of these sophisticated mechanical components.