Abstract
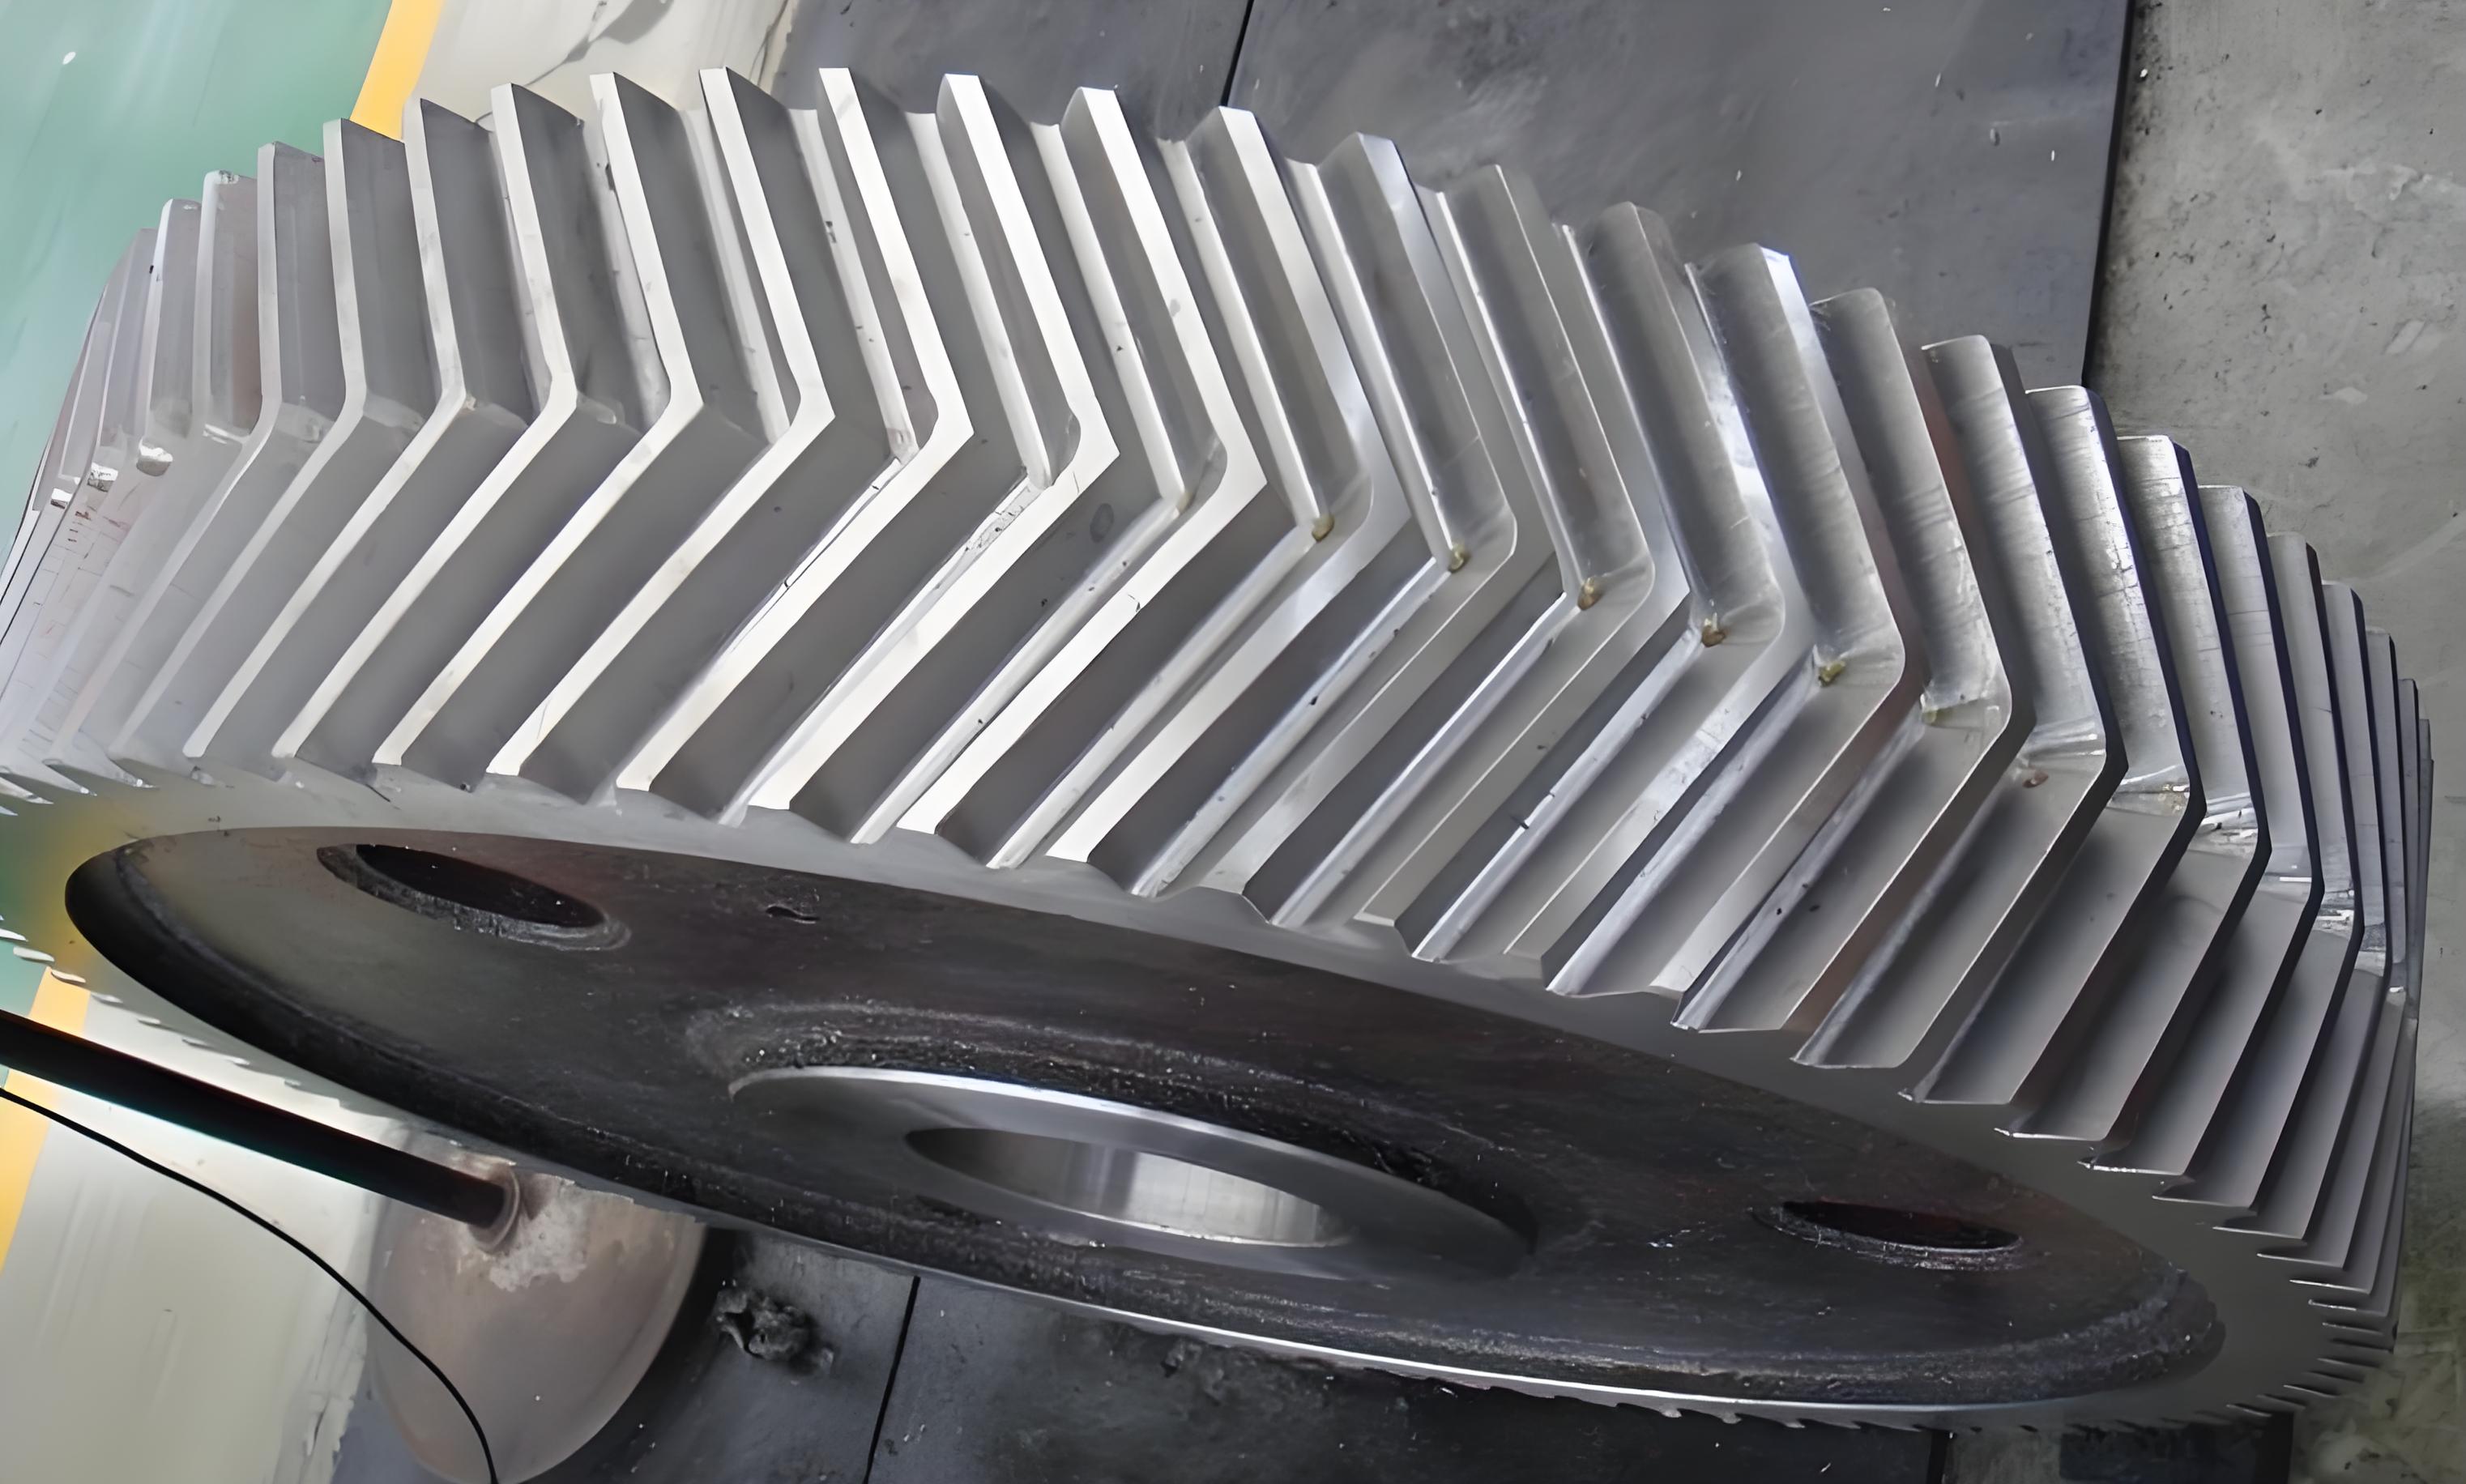
Herringbone gear, which not only possess the high load-bearing capacity of helical gear but also overcome the axial force defects of the latter, are widely used in high-speed and heavy-load applications such as ships and aerospace. Manufacturing-induced symmetry deviations in herringbone gear can lead to uneven load distribution, particularly prominent in high-speed and heavy-load aerospace gear transmission systems, severely affecting gear lifespan. Currently, there is a lack of domestic standards for evaluating and inspecting herringbone gear symmetry deviations, which hinders their design and quality inspection. This paper conducts research on the characterization, detection, and data processing methods for herringbone gear symmetry deviations, possessing significant research value and engineering significance.

Table 1: Key Research Contents
| Research Area | Description |
|---|---|
| Characterization Method | Represents symmetry deviations using distance and angle deviations in the helical and tooth profile directions, referenced to a symmetric mid-plane, and decomposes them into specific indicators such as circumferential, radial distance, and angle deviations. |
| Measurement Method | Studies point measurement methods using a coordinate measuring machine (CMM) for herringbone gear tooth symmetry deviations and designs a program to obtain specific indicators such as gear circumferential and radial distances and angle deviations. |
| Data Processing | Utilizes Matlab for data processing and error analysis of measured herringbone gear tooth surfaces. |
1. Introduction
1.1 Research Background and Significance
Herringbone gear is composed of two identical helical gear, and due to their structural specificity, symmetry deviations exist during measurement. Currently, there are requirements for symmetry deviations in herringbone gear processing (typically less than 20 μm). However, domestic research on herringbone gear symmetry deviations is in its infancy, with unclear concepts, lack of measurement methods, and no unified evaluation standards. Therefore, research on herringbone gear symmetry deviation measurement will provide a basis for unifying their definition and standards, facilitate high-precision processing, and is significant for analyzing vibration characteristics, controlling gear transmission accuracy and reliability, and for high-precision design and dynamic performance analysis.
Table 2: Domestic and Foreign Research Status
| Research Area | Domestic Status | Foreign Status |
|---|---|---|
| Gear Measurement Technology | Developing | Advanced |
| Impact of Errors on Gear Performance | Limited research | Extensive research |
| Herringbone Gear Error Measurement | Lack of standards and methods | Some research and application |
2. Characterization Method for Herringbone Gear Symmetry Deviations
To comprehensively describe the asymmetric relationship between herringbone gear tooth surfaces, this chapter proposes a characterization method for herringbone gear symmetry deviations.
Symmetry deviations in herringbone gear can be decomposed into distance deviations (circumferential and radial) and angle deviations (helical and tooth profile).
Table 3: Formulas for Calculating Symmetry Deviations
| Deviation Type | Formula |
|---|---|
| Radial Distance (L_R) | 12R L R R |
| Circumferential Distance (L_s) | =S b L r |
| Helical Angle Deviation (L_α) | 12 /sin L Z |
| Tooth Profile Angle Deviation (L_β) | 1212=max ,k k k k L r r |
3. Measurement Method and Program Design for Herringbone Gear Symmetry Deviations
Based on the characterization method, this chapter provides specific tooth surface point measurement and data processing methods for herringbone gear symmetry deviations, and designs related measurement and data processing programs.
Table 4: Advantages and Disadvantages of Measurement Methods
| Measurement Method | Advantages | Disadvantages |
|---|---|---|
| Feature Point Measurement | High precision for specific points | Limited data, difficult to reflect overall deviation |
| Feature Line Measurement | Adequate sample size, convenient measurement | – |
| Full Tooth Surface Measurement | Comprehensive data | Complex and time-consuming |
This paper adopts the feature line measurement method to extract relevant data for herringbone gear symmetry deviations.
The program for herringbone gear symmetry deviation measurement consists of three main parts: benchmark selection, data extraction, and data processing.
4. Measurement Experiment and Data Analysis
(Detailed experimental steps and data analysis results are omitted here for brevity.)
Conclusion
This paper addresses the issues of unclear characterization methods, lack of measurement methods, and inaccuracy of existing measurement methods for herringbone gear symmetry deviations. Based on the herringbone gear tooth surface model, it decomposes symmetry deviations into circumferential, radial, and angle deviations, designs a feature line measurement scheme for herringbone gear symmetry deviations, extracts tooth surface data using a CMM, and calculates symmetry deviations through Matlab programming. The accuracy of the measurement method is verified by comparing the measured tooth surface errors with gear measurement module results. This research provides a basis for unifying the definition and standards of herringbone gear symmetry deviations and supports high-precision processing.
