
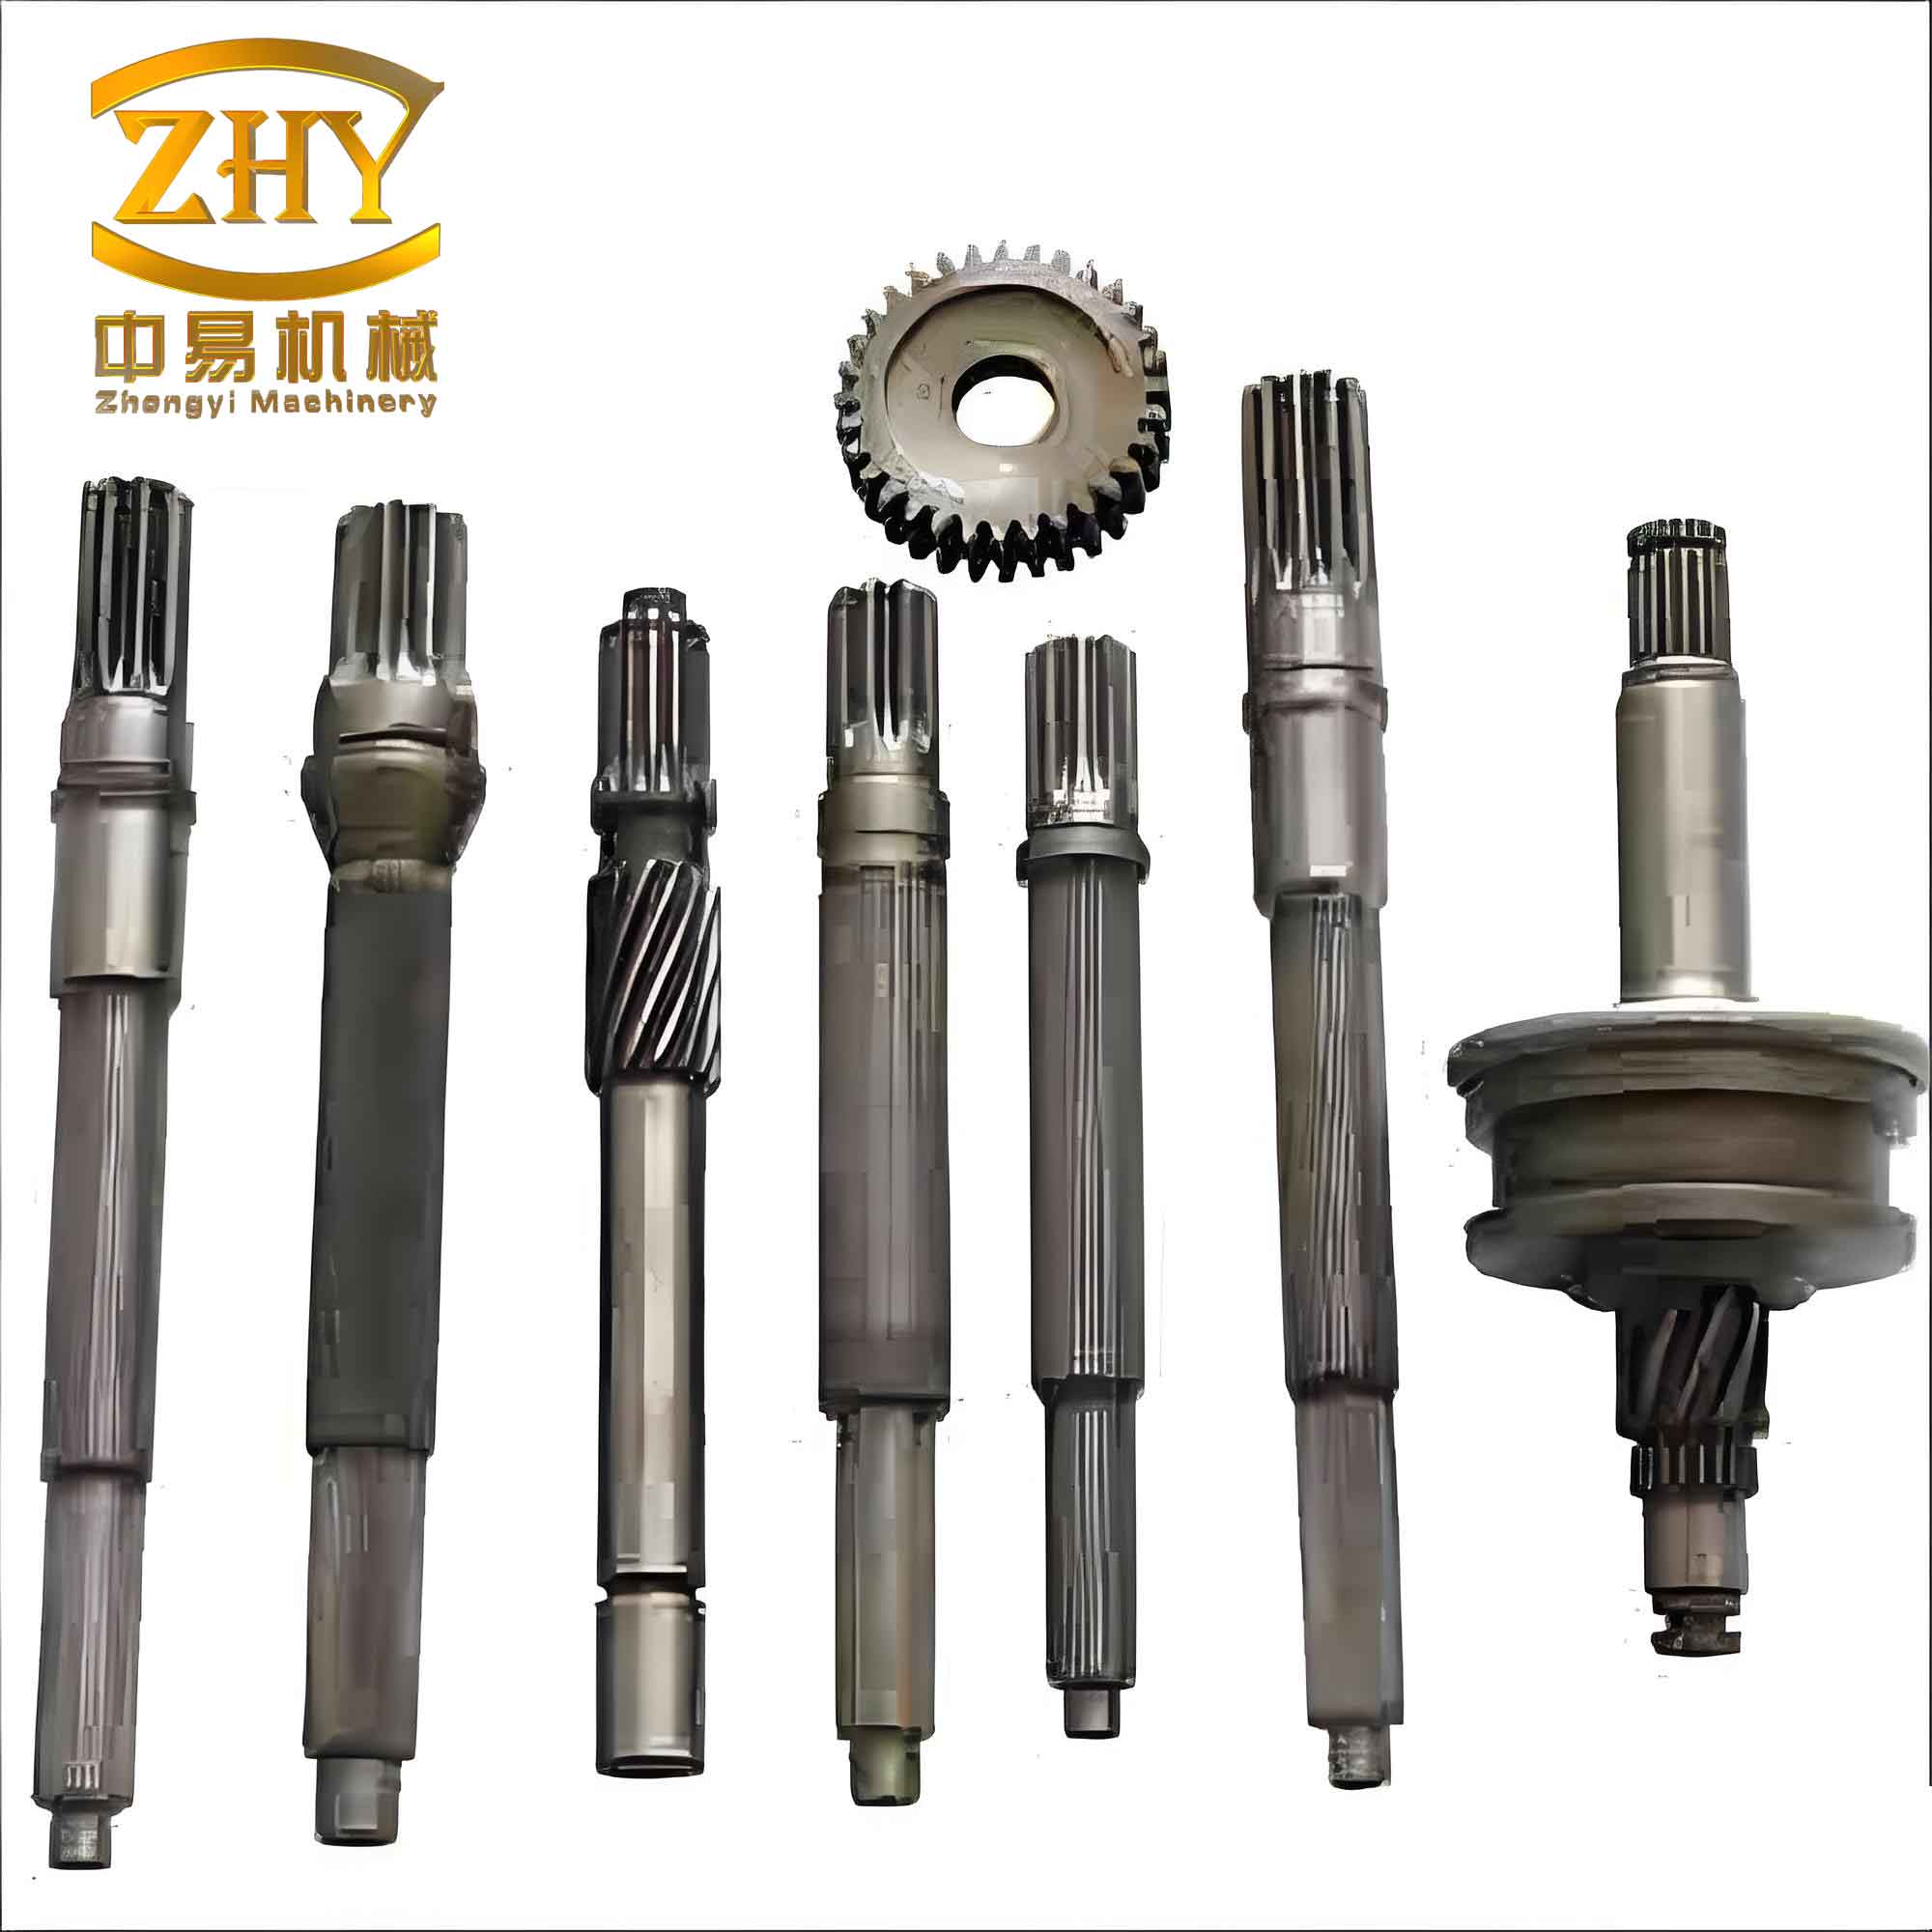
In my experience with heavy machinery manufacturing, I faced a significant challenge when tasked with producing a large module gear shaft for a 900t mixer furnace drive system. The gear shaft had a module of 65mm, which exceeded the capacity of standard gear-cutting machines like hobbing or shaping machines available in our facility. Traditional generating methods were impractical due to equipment limitations, forcing me to explore form-cutting techniques on a conventional boring and milling machine. This gear shaft is a critical component in the transmission mechanism, and its large size introduced issues such as insufficient machine power and poor rigidity in tool connections. Through iterative design and testing, I developed a method using custom form cutters and specialized tooth profile templates, which allowed for successful machining despite these constraints. This approach not only solved the immediate production issue but also provided a replicable strategy for other large module gear applications.
The core of the problem lay in the excessive cutting forces and tool mass associated with large module gear shafts. For a module of 65mm, the full tooth height is 117mm, and a single form cutter would have a diameter of up to 190mm and a mass over 30kg, making it unstable on our machine tools. To address this, I devised a split-tool strategy involving two distinct finger-type milling cutters. The first cutter handles the root portion of the tooth profile, while the second completes the remaining section, effectively distributing the cutting load and reducing individual tool mass to around 10kg. This method required precise design of tooth profile templates based on gear geometry calculations, followed by the fabrication of cutters that could be used in sequence on a standard boring and milling machine with a dividing head for indexing.
To understand the gear shaft geometry, I started with the basic parameters of the gear shaft. The module (m) is 65mm, and the number of teeth (z) depends on the specific design, but for calculation purposes, we can use standard gear formulas. The pitch diameter (d) is given by \( d = m \times z \), and the addendum (ha) and dedendum (hf) are typically \( ha = m \) and \( hf = 1.25m \) for standard gears, resulting in a total tooth height (h) of \( h = 2.25m = 146.25mm \). However, in this case, the actual tooth height was specified as 117mm, indicating a custom design. The pressure angle (α) is usually 20° for such applications, and the base circle diameter (db) can be calculated as \( db = d \times \cos(\alpha) \). For the gear shaft, the involute tooth profile must be accurately represented to ensure proper meshing with the rack in the drive system.
| Parameter | Symbol | Value | Unit |
|---|---|---|---|
| Module | m | 65 | mm |
| Number of Teeth | z | As per design | – |
| Pitch Diameter | d | \( m \times z \) | mm |
| Tooth Height | h | 117 | mm |
| Pressure Angle | α | 20 | degrees |
| Base Circle Diameter | db | \( d \times \cos(\alpha) \) | mm |
The first step in my method was to design the tooth profile templates using CAD software like AutoCAD or CAXA. I calculated the coordinate points for the complete involute tooth profile based on the gear shaft parameters. For a standard involute curve, the parametric equations are \( x = r_b (\cos(\theta) + \theta \sin(\theta)) \) and \( y = r_b (\sin(\theta) – \theta \cos(\theta)) \), where \( r_b \) is the base radius and \( \theta \) is the involute angle. After plotting the full profile, I segmented it into two parts: the root section (approximately 65mm in length) for the first cutter and the top section for the second cutter. This segmentation reduced the cutting length per tool, minimizing cutting forces and improving stability.
For the first finger-type milling cutter, I created a convex template from the root portion of the tooth profile and then produced a concave template as a reference for grinding the cutter. The cutter design followed non-standard tool guidelines, focusing on reducing mass while maintaining cutting edge integrity. The second cutter required a more complex approach because it must account for the rotation of the gear shaft during machining. I simulated the cutting process by rotating the full tooth profile by 6° around the gear shaft center O. This rotation created an asymmetric profile relative to the centerline, and I mirrored one side to form the complete template for the second cutter. The remaining tooth height after the first cut (117mm – 65mm = 52mm) was used to define this template.
The mathematical basis for the rotation involves coordinate transformations. If a point on the tooth profile has coordinates (x, y) in the original position, after rotation by an angle φ (6° in this case), the new coordinates (x’, y’) are given by:
$$ x’ = x \cos(\phi) – y \sin(\phi) $$
$$ y’ = x \sin(\phi) + y \cos(\phi) $$
This transformation ensured that the second cutter would accurately generate the involute shape when the gear shaft is indexed. The use of two cutters per tooth—one for the root and one for the flank—required careful alignment and sequencing to avoid steps or mismatches at the joint.
Next, I designed the two finger-type milling cutters based on the templates. The first cutter, with six teeth, was optimized for the root section, while the second cutter, with four teeth, handled the remaining profile. Both cutters were made from high-speed steel to withstand the cutting forces, and their shanks were designed to fit securely into the machine tool holder, enhancing rigidity. The table below summarizes the cutter specifications, which were derived from standard tool design handbooks but customized for this application. The reduced mass of each cutter (around 10kg) was critical to preventing vibrations and ensuring precise cuts.
| Cutter Type | Number of Teeth | Max Diameter (mm) | Length (mm) | Approx. Mass (kg) | Section Handled |
|---|---|---|---|---|---|
| First Cutter | 6 | 130 | 65 | 10 | Root (65mm) |
| Second Cutter | 4 | 130 | 52 | 10 | Remaining (52mm) |
The machining process involved several steps to ensure accuracy. First, the gear shaft blank was prepared and marked with tooth profiles using a full-tooth template and dividers for indexing based on the number of teeth. Rough machining was done with a standard end mill, leaving a 4-5mm allowance on the tooth surfaces for heat treatment. After roughing, the gear shaft underwent quenching and tempering to achieve the required hardness and mechanical properties. This heat treatment is essential for large gear shafts to withstand operational stresses.
For finish machining, I mounted the gear shaft on a boring and milling machine equipped with a dividing head. The first cutter was used to mill the root sections of all teeth, with the dividing head indexing each tooth position. The cutting parameters, such as speed and feed, were optimized based on the machine’s capabilities; for instance, a lower spindle speed was used to reduce vibrations, albeit at the cost of surface roughness, which could be improved later by hand polishing. After completing the root sections, I switched to the second cutter. Here, the gear shaft was rotated by 6° to align the tool with the remaining tooth profile. The second cutter milled one side of each tooth, and then the gear shaft was rotated in the opposite direction by 12° to machine the other side. This sequence ensured that the involute profile was maintained, but it required strict control to prevent movement during cutting.
The relationship between the rotation angles and the tooth profile can be expressed using gear geometry. The rotation angle φ for the second cut is derived from the involute function. For a pressure angle α, the roll angle for the involute is given by \( \text{inv}(\alpha) = \tan(\alpha) – \alpha \). In this case, the 6° rotation corresponds to an angular adjustment to match the cutter profile. The total rotation of 12° for the opposite side accounts for the symmetry of the tooth. The formula for the tooth thickness (s) at the pitch circle is \( s = \frac{\pi m}{2} \), and adjustments in rotation help in achieving the correct form when using form cutters.
Throughout the process, I encountered challenges such as tool wear and the need for precise indexing. To mitigate these, I used coolant during machining and performed regular checks with the templates. After milling, any steps at the joint between the two cutter sections were blended manually by grinding to ensure a smooth transition along the involute curve. This post-processing step was acceptable given the low-speed application of the gear shaft, where a maximum side clearance of 1.5mm was permissible.
In conclusion, this method enabled the successful production of the large module gear shaft without specialized gear-cutting equipment. By using custom form cutters and a split-tool approach, I overcame limitations in machine power and tool rigidity. The gear shaft performed reliably in the mixer furnace drive, demonstrating that form-cutting can be a viable alternative for large modules. This experience has broader implications for machining oversized gear shafts in various industries, offering a cost-effective solution when standard methods are not feasible. Future work could involve optimizing the cutter designs for higher efficiency or adapting the method for even larger modules.
The key formulas and calculations used in this process are summarized below for reference. These include the involute equations, rotation transformations, and gear geometry relationships that are essential for designing the templates and cutters for any large module gear shaft.
Involute curve parametric equations:
$$ x = r_b (\cos(\theta) + \theta \sin(\theta)) $$
$$ y = r_b (\sin(\theta) – \theta \cos(\theta)) $$
Rotation transformation for coordinate points:
$$ x’ = x \cos(\phi) – y \sin(\phi) $$
$$ y’ = x \sin(\phi) + y \cos(\phi) $$
Gear tooth thickness at pitch diameter:
$$ s = \frac{\pi m}{2} $$
These mathematical tools, combined with practical machining insights, form a comprehensive approach to handling large module gear shafts in resource-constrained environments.