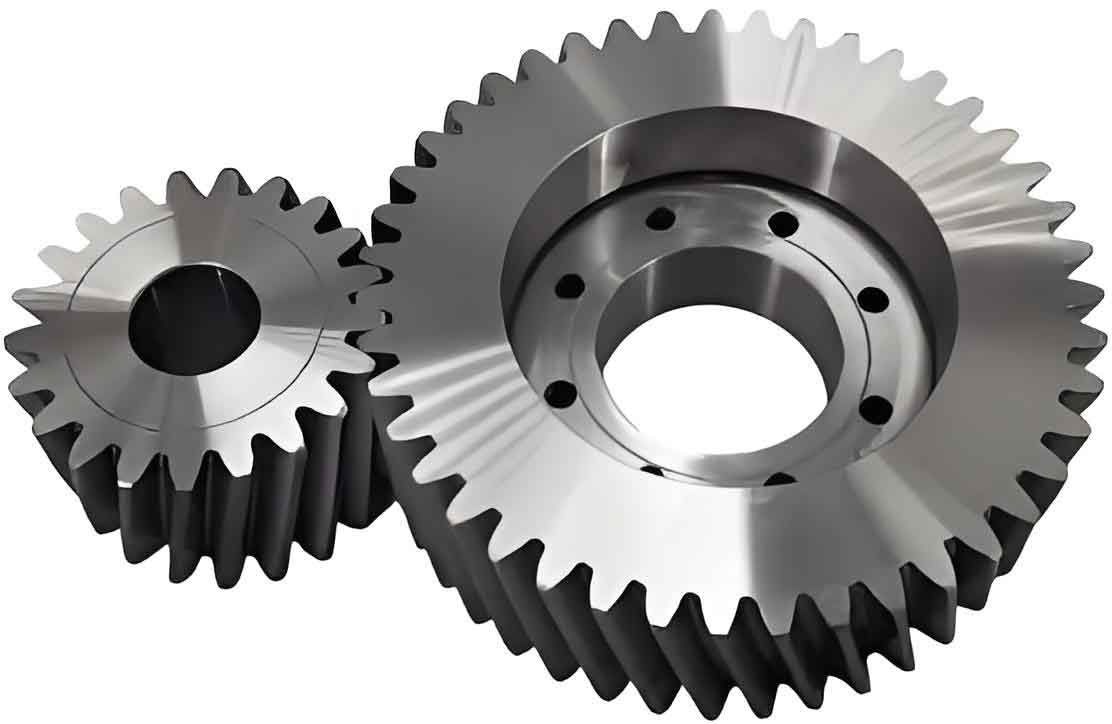
This study presents an integrated approach for modeling and machining cylindrical gears with double circular arc profiles. By combining MATLAB programming, UG NX parametric modeling, and CAM-based CNC machining simulation, we demonstrate a complete workflow for producing high-precision cylindrical gears.
1. Parametric Modeling of Double Circular Arc Cylindrical Gears
The geometric parameters of cylindrical gears significantly influence their performance characteristics. Table 1 shows the critical parameters for modeling:
| Parameter | Driver Gear | Driven Gear |
|---|---|---|
| Normal Module (mm) | 2 | 2 |
| Number of Teeth | 7 | 7 |
| Pressure Angle (°) | 28 | 28 |
| Helix Angle (°) | 39 | 39 |
The tooth profile generation process involves three key steps:
- Base circle radius calculation:
$$R_b = \frac{D \cos\alpha_t}{2}$$
where $D$ is pitch diameter and $\alpha_t$ is transverse pressure angle. - Transition curve generation using MATLAB:
$$x = uR_b\cos(u-\theta_0) – R_b\sin(u-\theta_0)$$
$$y = uR_b\sin(u-\theta_0) + R_b\cos(u-\theta_0)$$
where $u$ is the involute parameter and $\theta_0$ is the initial angle offset. - Helical extension in UG NX:
$$L = \frac{\pi D}{\tan\beta}$$
where $L$ represents helix lead and $\beta$ is helix angle.
2. CNC Machining Strategy for Cylindrical Gears
The machining process for cylindrical gears requires careful toolpath planning. Table 2 shows the coordinate data for involute curve generation:
| X (mm) | Y (mm) |
|---|---|
| 2.2543 | 7.0783 |
| 2.2801 | 7.2245 |
| 2.1328 | 8.3966 |
| -1.4377 | 12.4574 |
Critical machining parameters include:
- Ball end mill diameter: Φ1 mm
- Spindle speed: 1,200 rpm
- Feed rate: 150 mm/min
- Machining tolerance: 0.03 mm
The toolpath generation algorithm considers the helical geometry of cylindrical gears:
$$Z = \frac{L}{2\pi}\theta$$
where $Z$ is axial displacement and $\theta$ is rotation angle.
3. Virtual Machining Verification
The Vericut simulation platform confirmed the effectiveness of the CNC program for cylindrical gear machining. Key verification metrics included:
- Collision detection margin: 0.5 mm
- Material removal rate: 12.8 mm³/s
- Surface roughness prediction: Ra 1.6 μm
The machining simulation demonstrated that cylindrical gears with double circular arc profiles can be successfully manufactured using 5-axis CNC milling with proper toolpath planning and process parameter optimization.
4. Additive Manufacturing Validation
3D printed prototypes of cylindrical gears using PA12 nylon material confirmed the geometric accuracy of the modeling approach. Critical dimensions showed:
- Tooth profile deviation: ≤ 0.12 mm
- Helix angle consistency: ±0.25°
- Surface dimensional accuracy: IT9 grade
This integrated approach for cylindrical gear manufacturing combines advanced modeling techniques with modern CAM technologies, providing an efficient solution for producing complex gear profiles with high precision requirements.
