
In the manufacturing of precision power transmission components, ensuring accurate angular relationships between features is paramount. A common yet challenging requirement is controlling the positional tolerance between an internal keyway and a specific tooth space on a helical gear. For a spur gear, the task of machining and inspecting this relationship is relatively straightforward, as features are aligned parallel to the axis. However, for a helical gear, the helix angle introduces a significant complication. The tooth orientation changes continuously along the face width, meaning that a datum established at one point along the tooth does not directly translate to the gear’s end face. This paper details a comprehensive methodology, from process planning to final inspection, developed to solve this specific challenge for a high-volume production part.
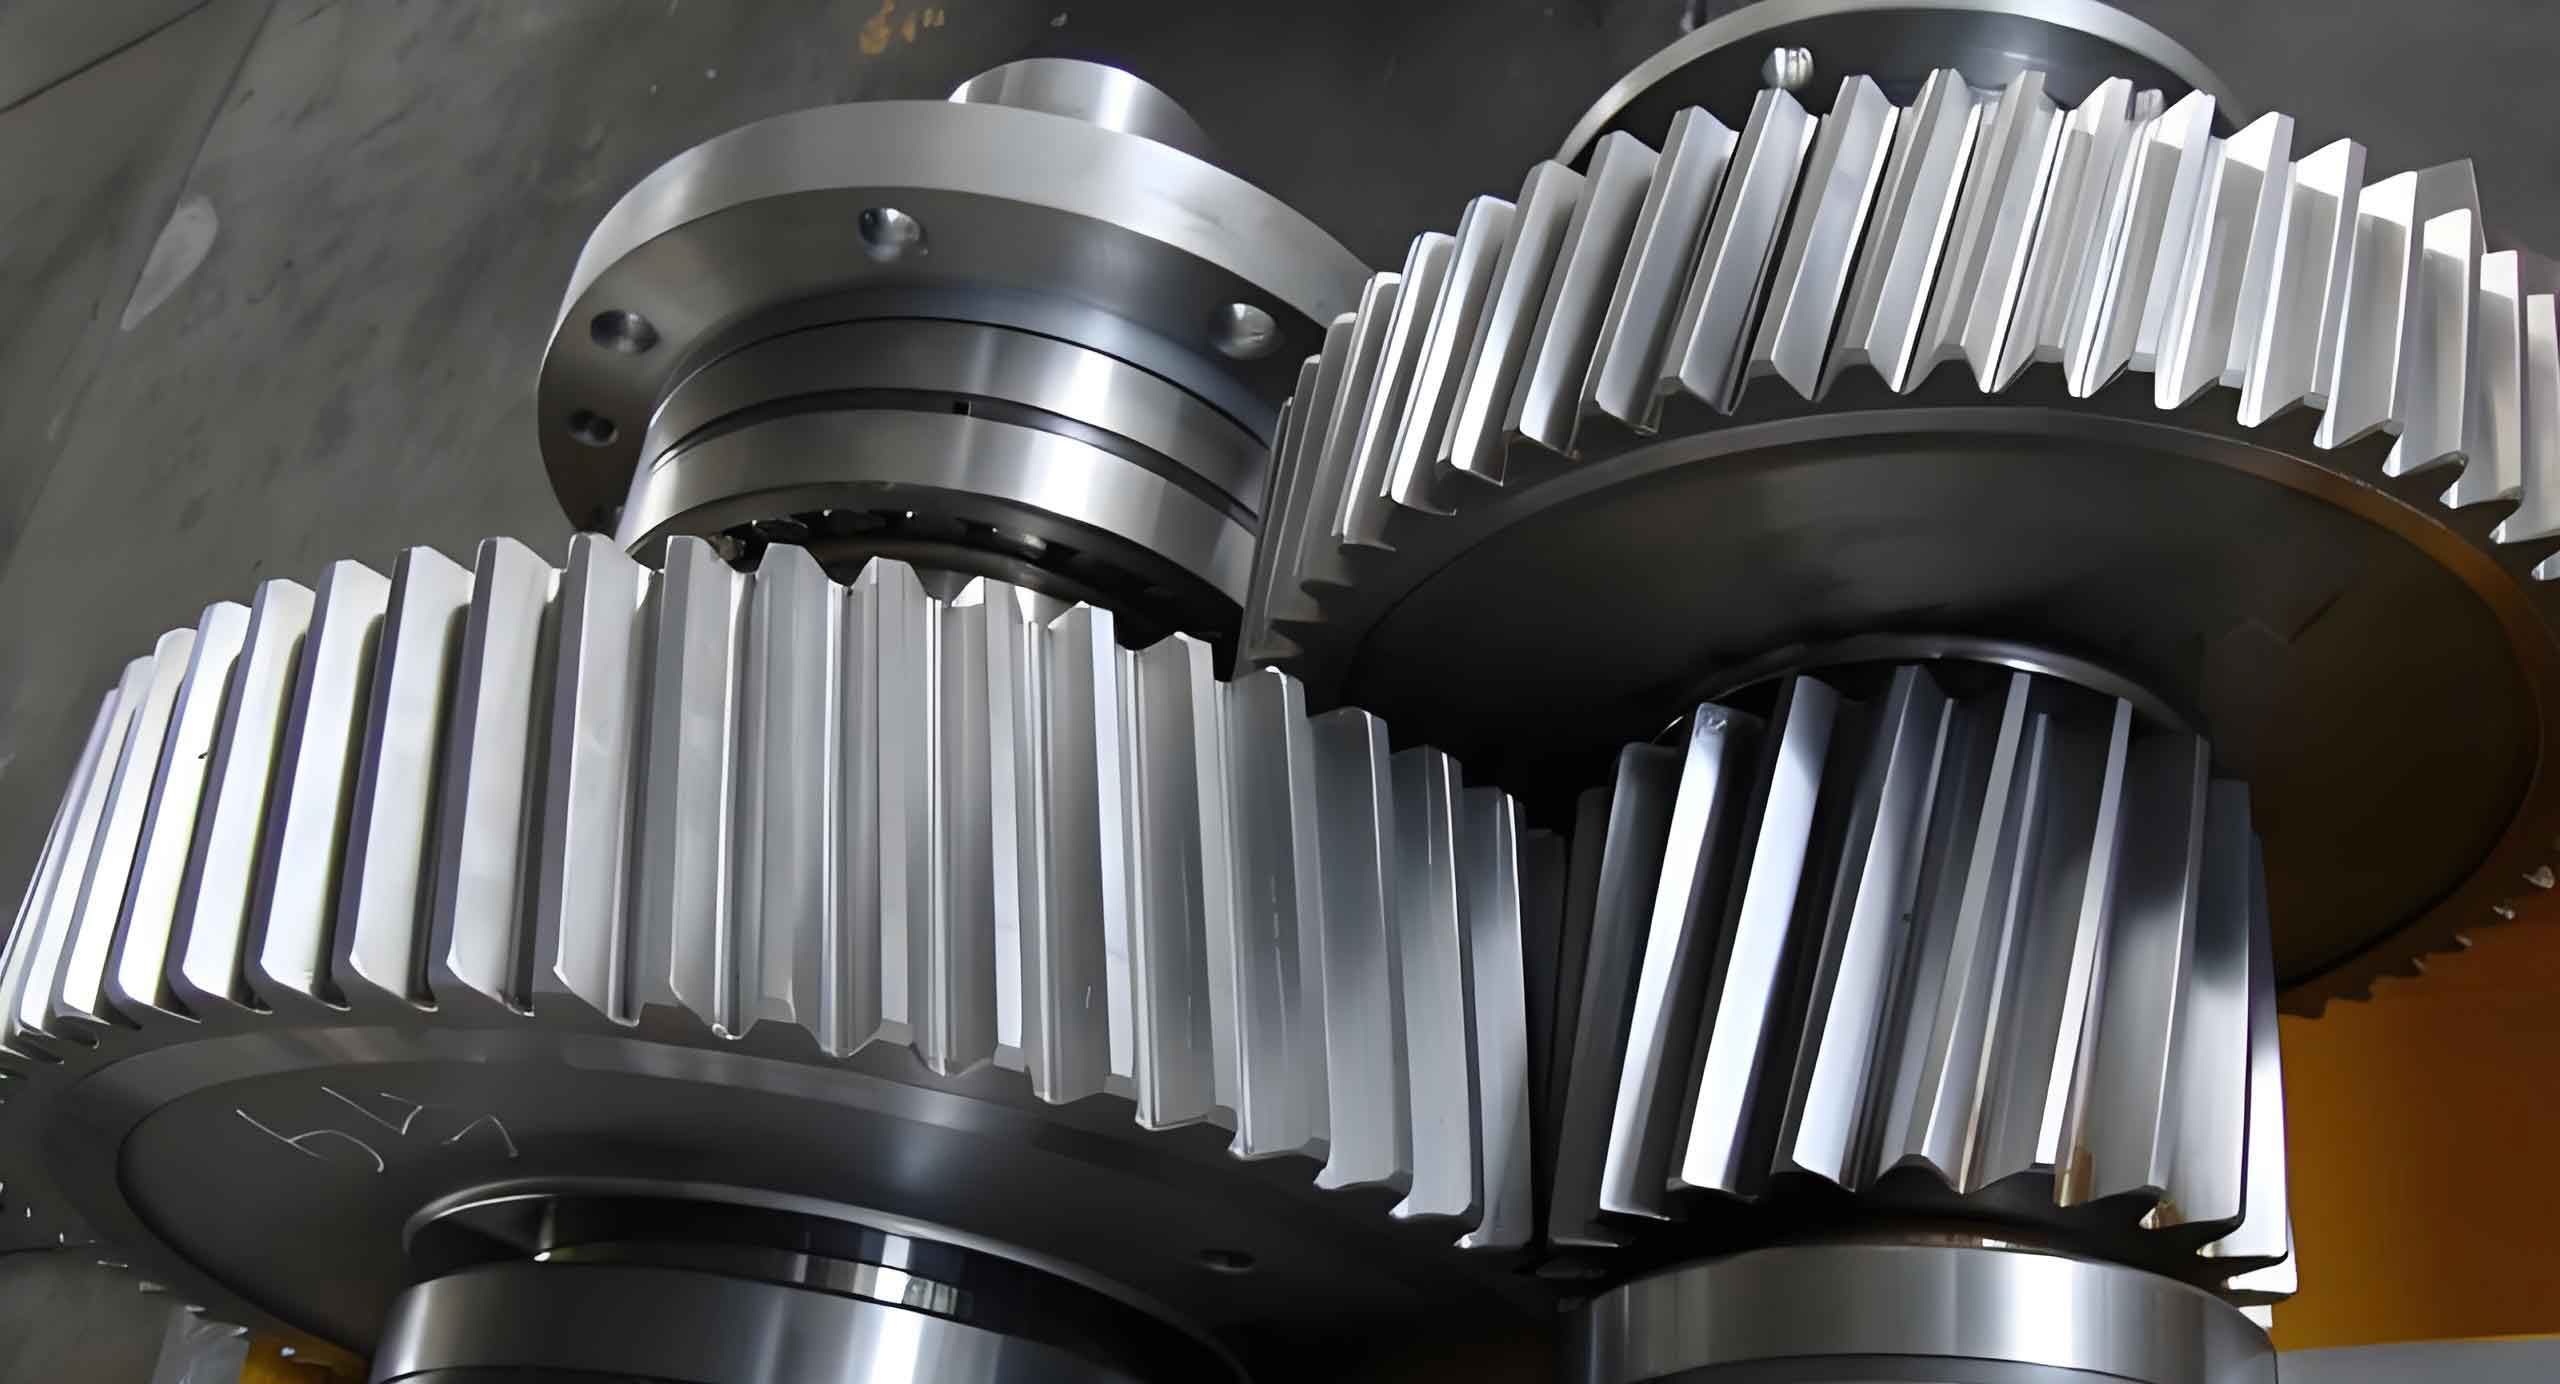
The component in question is a helical gear with the following key specifications:
- Module, $m_n$ = 2.65 mm
- Number of Teeth, $z$ = 30
- Pressure Angle, $\alpha$ = 20°
- Helix Angle, $\beta$ = 16° (Designated as $\beta_f$ in the original text)
- Tooth Flank Chamfer: C (0.6 ± 0.2) mm
- Face Width, $L$ = (32 ± 0.25) mm
- Positional Tolerance: 0.15 mm between the keyway and an end-face tooth space.
The presence of the required chamfer on the tooth ends further complicates inspection, as it removes the sharp corner typically used as a measurement datum on coordinate measuring machines or optical comparators.
1. Manufacturing Process Strategy
The selected process sequence is critical to achieving the specified positional tolerance reliably and repeatably. The chosen steps are: Precision Turning -> Gear Hobbing -> Tooth Flank Chamfering -> Gear Shaving -> Keyway Broaching -> Heat Treatment.
The cornerstone of this strategy is performing the keyway broaching operation *after* the gear teeth have been finish-machined (via shaving) but *before* heat treatment. This allows us to use a physical tooth space as a datum to locate the gear during the broaching operation. However, we cannot use a tooth space at the very end face because it has been chamfered, which would lead to an unstable and inconsistent datum. Therefore, the locating point must be established at a position along the face width where the tooth flanks are still pristine, typically at the midpoint. This introduces the core technical challenge: the datum tooth space at the midpoint is rotationally offset from the tooth space at the end face due to the helix. We must calculate this angular offset precisely to design both the broaching fixture and the subsequent inspection gauge.
2. Core Mathematical Principle and Calculation
The fundamental property governing this calculation is the lead of the helical gear. The lead ($H$) is the axial distance required for one complete revolution of the helix. It is calculated using the formula:
$$
H = \frac{\pi \cdot m_n \cdot z}{\sin \beta}
$$
Substituting the given values:
$$
H = \frac{\pi \times 2.65 \times 30}{\sin 16^\circ} \approx \frac{249.78}{0.275637} \approx 906.11 \text{ mm}
$$
This means the tooth helix completes a full 360° turn over an axial distance of approximately 906.11 mm. The angular offset ($\theta_x$) for any axial distance ($d$) from the datum end can be found by a simple proportional relationship:
$$
\theta_x = 360^\circ \times \frac{d}{H}
$$
For our specific case, the keyway will be broached using a datum established at the face width midpoint, 16 mm from the reference end face. Thus, $d = 16$ mm.
$$
\theta_x = 360^\circ \times \frac{16}{906.11} \approx 6.3568^\circ
$$
This 6.3568° is the critical angular compensation value. The broaching fixture must have its locating pin/sensor oriented at this angle relative to the fixture’s centerline to correctly align the gear’s midpoint tooth space before cutting the keyway.
| Parameter | Symbol | Value | Unit |
|---|---|---|---|
| Normal Module | $m_n$ | 2.65 | mm |
| Number of Teeth | $z$ | 30 | – |
| Helix Angle | $\beta$ | 16 | ° |
| Lead | $H$ | ~906.11 | mm |
| Axial Datum Distance | $d$ | 16 | mm |
| Angular Offset | $\theta_x$ | ~6.3568 | ° |
3. Design and Principle of the Positional Tolerance Gauge
Given the chamfered tooth ends, conventional measurement methods are unsuitable. A dedicated functional gauge was designed based on the principle of simulating the mating condition and converting the angular error into a linear displacement.
Gauge Working Principle: The gauge consists of a base, a spring-loaded locating pin, and a dial indicator (preferably digital) mounted on a pivoting arm. The gear is placed on the base, and the spring forces the locating pin into the same tooth space used as the datum during broaching (at the 16mm point). As the pin seats, it causes the gear to rotate slightly on the base until the pin is centered, precisely defining the gear’s angular orientation—exactly replicating its orientation during the broaching operation. With the gear now locked in its “broached” position, the gauge’s indicator arm is brought into contact with the side of the keyway. The reading is compared against a master setting performed using a calibration block.
The allowable linear displacement on the indicator ($\Delta_{\text{ind}}$) for a positional tolerance diameter ($\phi 0.15$ mm) at the keyway’s measurement radius ($R_{\text{meas}}$) is derived from simple trigonometry for small angles. If the indicator contacts the keyway at a radial distance $R_{\text{meas}}$ from the center, the relationship between the angular error ($\Delta \theta$ in radians) and linear displacement is:
$$
\Delta_{\text{ind}} \approx R_{\text{meas}} \cdot \Delta \theta
$$
Where $\Delta \theta = 0.15 / R_{\text{datum}}$ in radians, and $R_{\text{datum}}$ is the radius at which the 0.15 mm tolerance zone is applied (typically the pitch radius or keyway side radius). The gauge is designed so that the indicator’s travel directly reflects this calculated linear range.
4. Calibration Block Design and Angle Calculation
The calibration block is the master artifact used to zero the gauge’s indicator. It must embody the perfect nominal angular relationship between the keyway and the reference tooth space at the end face. The block features a simulated keyway and a triangular prismatic groove representing the end-face tooth space datum.
The angular calculation for the calibration block involves two steps. First, we note that the desired relationship is between the keyway and a specific, numbered tooth space at the end. The angle between adjacent teeth (index angle) is:
$$
\theta_{\text{index}} = \frac{360^\circ}{z} = \frac{360^\circ}{30} = 12^\circ
$$
However, the datum used in broaching (at 16mm depth) is offset from this end-face tooth space by our previously calculated $\theta_x = 6.3568^\circ$. The design angle ($\theta_{\text{cal}}$) for the calibration block’s triangular groove relative to its keyway must therefore account for this offset relative to a whole tooth. If the design intends for the keyway to be aligned with the midpoint of a tooth flank at the 16mm depth, then at the end face, the corresponding space is offset. The exact relationship depends on the defined starting point. A common approach is to set the block so that when gauged using the same spring-loaded pin principle (simulating the 16mm depth datum), the indicator reads zero. This requires the block’s groove to be machined at an angle $\theta_{\text{cal}}$ relative to the block’s keyway, where:
$$
\theta_{\text{cal}} = \theta_x – n \cdot \theta_{\text{index}}
$$
where $n$ is an integer chosen to bring $\theta_{\text{cal}}$ to a small, manageable angle for block manufacturing and calibration. For example, if $\theta_x = 6.3568^\circ$ and we choose $n=0$ (referencing the same space), then $\theta_{\text{cal}} = 6.3568^\circ$. If we reference the adjacent space ($n=1$), then $\theta_{\text{cal}} = 6.3568^\circ – 12^\circ = -5.6432^\circ$. The negative sign simply indicates direction. The triangular prismatic form is chosen for the groove as it provides an excellent, stable datum line for contact and is easily measurable via CMM.
| Aspect | Spur Gear | Helical Gear (This Solution) |
|---|---|---|
| Datum for Broaching | Tooth space at end face (simple). | Tooth space at a specified axial depth (requires calculation). |
| Fixturing | Locating pin parallel to axis. | Locating pin must be angled by calculated $\theta_x$. |
| Inspection Method | Direct CMM or optical measurement possible. | Dedicated functional gauge required due to chamfers. |
| Core Calculation | None (or simple indexing). | Lead calculation and angular offset ($\theta_x$) are essential. |
| Calibration Master | Simple block with parallel features. | Complex block with precisely angled features ($\theta_{\text{cal}}$). |
5. Process Capability and Critical Considerations
This integrated system of calculated fixturing and matched functional gauging has proven effective for high-volume production of the helical gear. It provides a direct pass/fail assessment and can be used to collect data for Statistical Process Control (SPC) by recording the actual indicator deviations from zero.
Several critical factors must be controlled to ensure success:
- Process Sequence Integrity: Once the keyway is broached using the calculated datum, no further material-removing operations can be performed on the end faces of the helical gear. Any subsequent facing would alter the axial distance between the broaching datum point and the end face, effectively changing the $\theta_x$ relationship and invalidating the positional tolerance.
- Compensation for Secondary Operations: If a finishing operation on the end face (e.g., grinding) is unavoidable and specified, the axial stock removal amount ($\Delta d$) must be known in advance. This amount must be incorporated into the initial broaching fixture calculation as a compensation. The adjusted axial distance for calculation becomes $d’ = d \pm \Delta d$, leading to a new broaching angle $\theta_x’$:
$$
\theta_x’ = 360^\circ \times \frac{d’}{H}
$$
This foresight ensures the final part, after all operations, meets the print requirement at the finished end face. - Manufacturing Tolerances of Tooling: The angles machined into the broaching fixture ($\theta_x$) and the calibration block ($\theta_{\text{cal}}$) must be held to tolerances significantly tighter than the part’s 0.15 mm positional tolerance to avoid consuming the part’s allowance with gauge error.
6. Conclusion
Machining and controlling the positional tolerance between a keyway and a tooth space on a helical gear demands a holistic approach spanning process planning, precise trigonometric calculation based on the gear’s lead, and the design of dedicated tooling and gauges. The method described herein—calculating the angular offset induced by the helix at the broaching datum point, designing a fixture accordingly, and creating a matched functional gauge calibrated via a master block—transforms a complex 3D relationship into a manageable and repeatable production process. This methodology underscores the integral role of applied geometry in solving practical manufacturing challenges for complex components like the helical gear. It provides a robust framework that can be adapted to various gear specifications by recalculating the fundamental parameters $H$ and $\theta_x$, ensuring quality and consistency in precision gear manufacturing.