
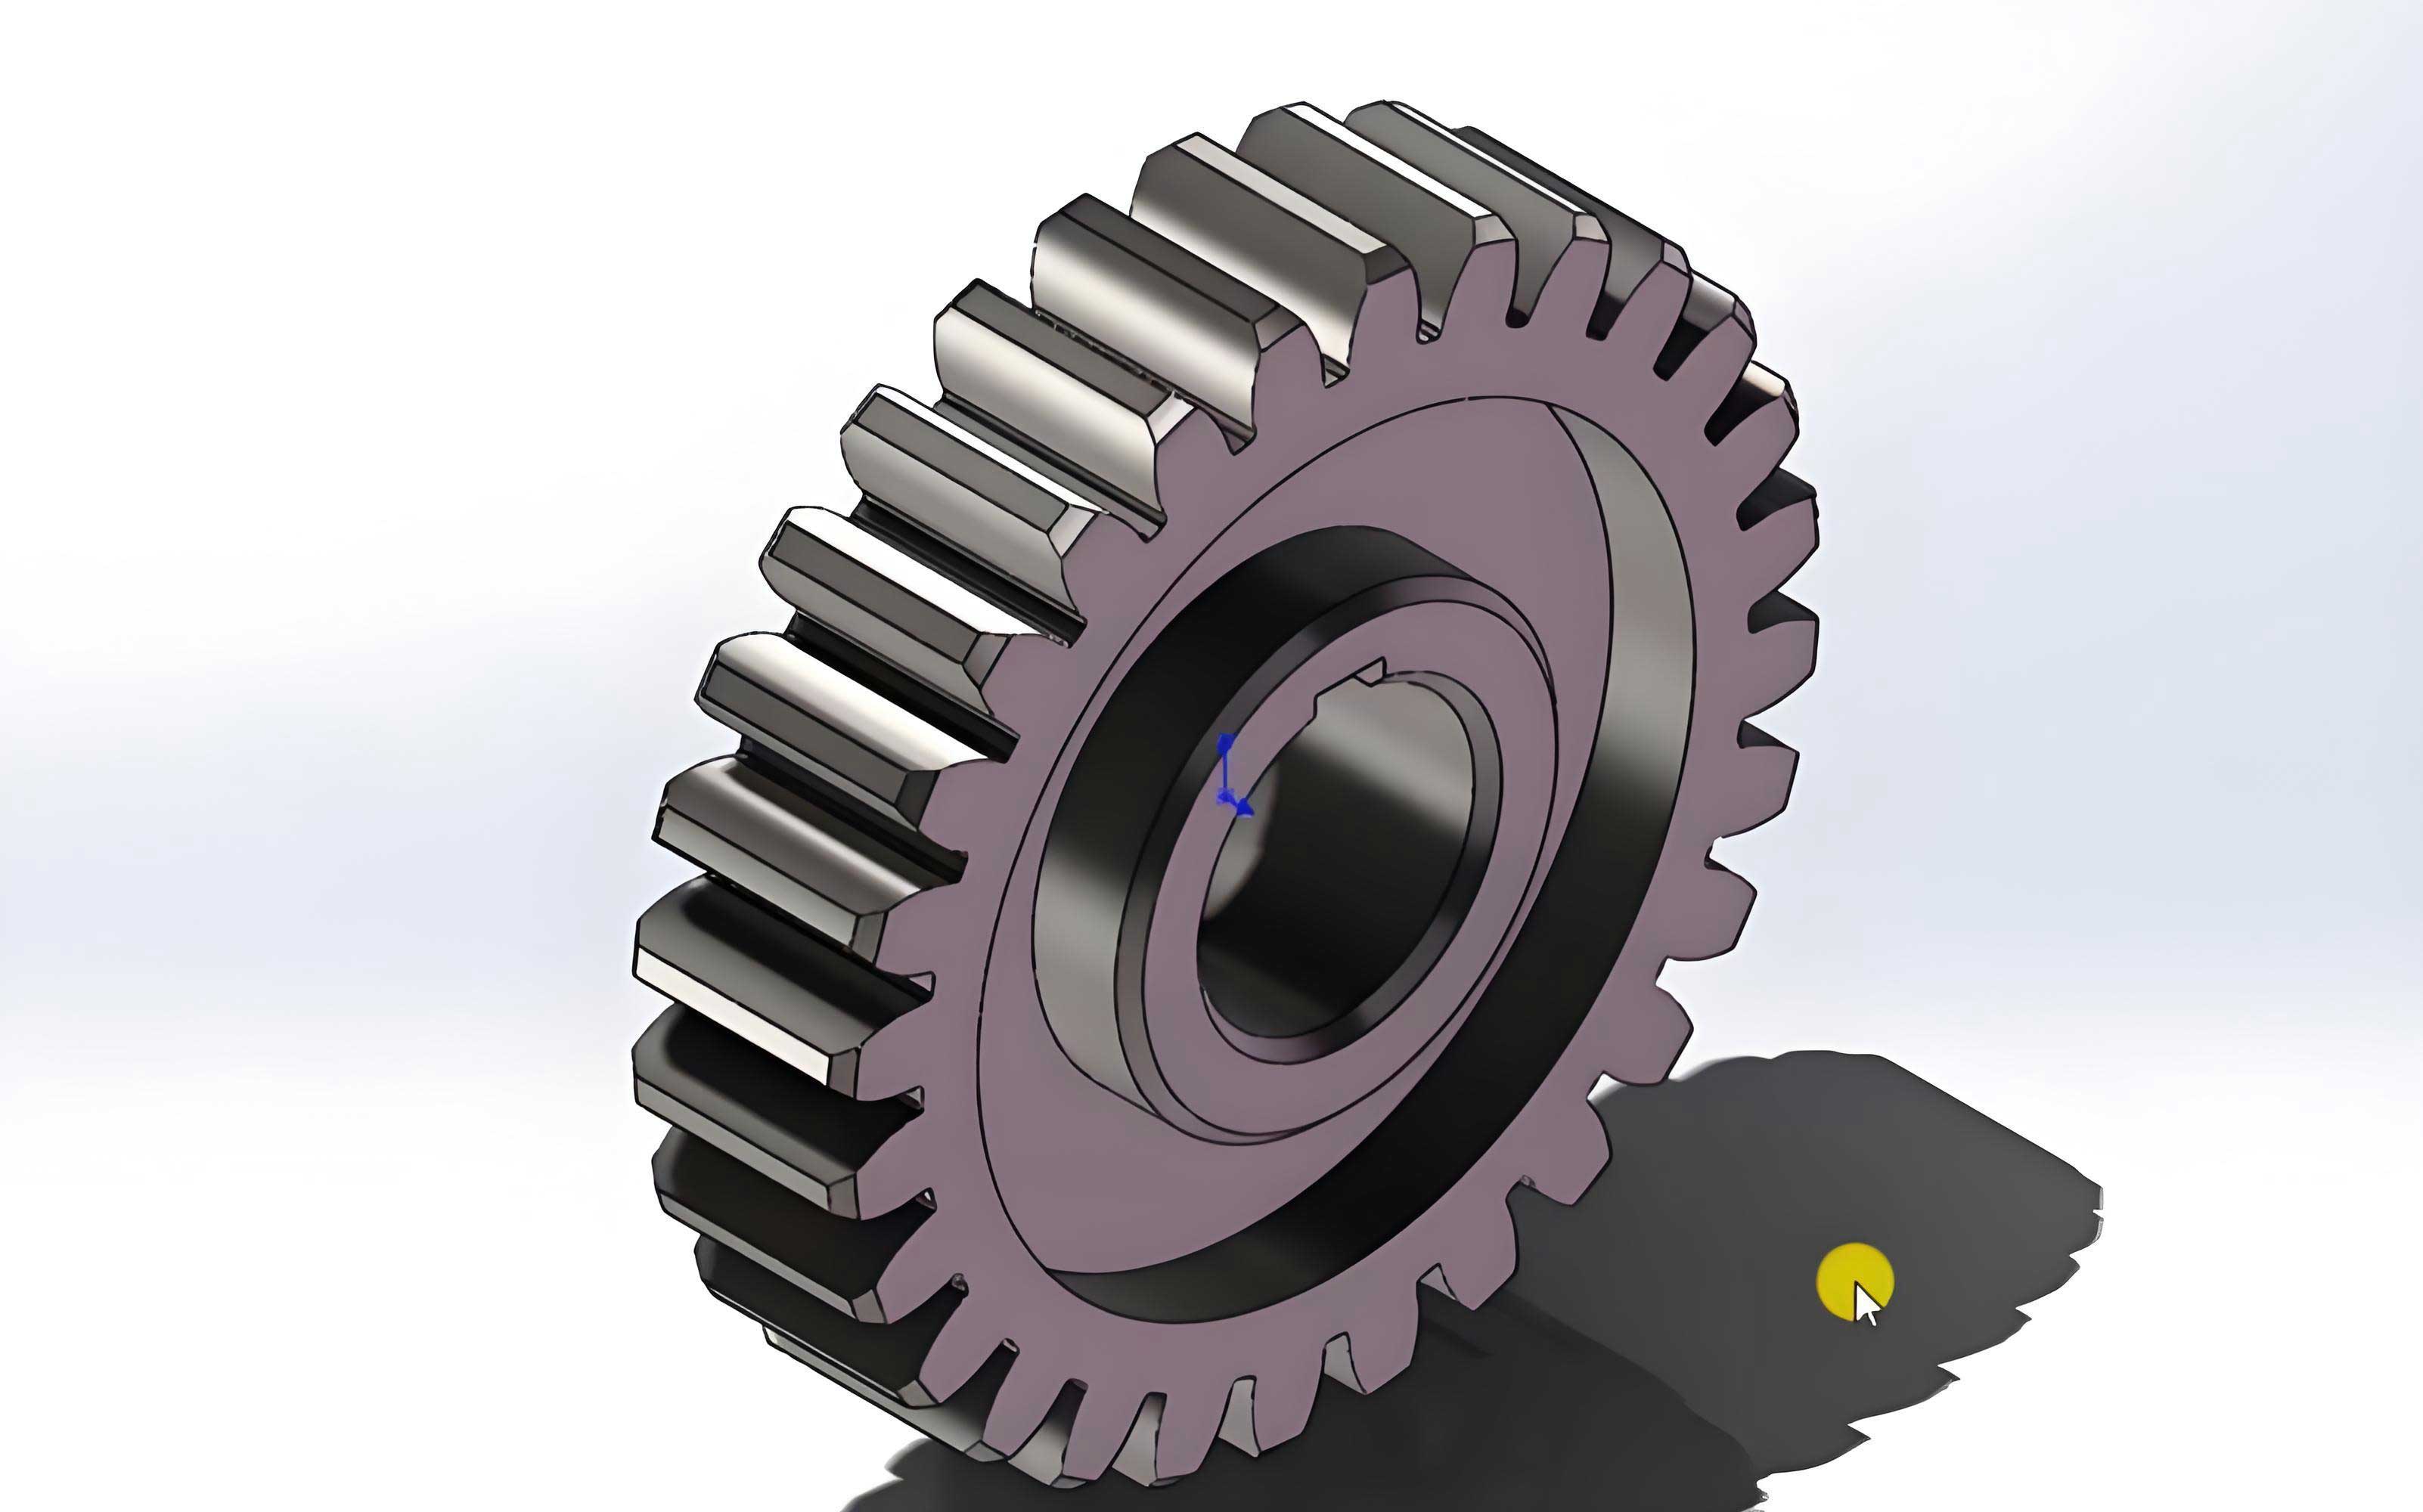
Spur gears are among the most fundamental and widely used components in mechanical power transmission systems. Their simple, straight teeth parallel to the axis of rotation make them efficient for transferring motion and power between parallel shafts. From the intricate mechanisms of watches and household fans to the robust drives of machine tools, ships, and aircraft, spur gears play an indispensable role. The accurate manufacture of these spur gears is therefore a critical task in precision engineering. This article delves into an advanced method for machining standard cylindrical spur gears using a CNC milling machine equipped with a rotary indexing head, focusing on the powerful application of macro programming to streamline and optimize the process.
Gear tooth generation methods primarily fall into two categories: Form Cutting (Generating) and Form Milling (Copying). Form Cutting methods, like hobbing and shaping, use specialized machine tools and cutters that simulate the meshing action of gears. They are highly productive and accurate, ideal for medium to high-volume production. In contrast, Form Milling, often employed for prototyping, repair work, or small batch production, uses a cutter whose profile matches the space between two adjacent gear teeth. The workpiece is indexed after each cut to machine all teeth. While traditionally manual, this process can be significantly enhanced using CNC technology. Our focus is on leveraging a CNC rotary axis (A-axis) to perform the indexing, coupled with a macro program to control the entire milling sequence for spur gears.
| Method | Principle | Typical Equipment | Best For |
|---|---|---|---|
| Form Milling (Copying) | Cutter profile matches gear tooth space. Workpiece is indexed after each cut. | Manual or CNC Milling Machine with Indexing Head | Prototypes, single pieces, small batches, large module gears. |
| Form Cutting (Generating – Hobbing) | Continuous generating process using a hob cutter. | Hobbing Machine | Medium to high-volume production of spur and helical gears. |
| Form Cutting (Generating – Shaping) | Reciprocating generating process using a pinion-shaped cutter. | Gear Shaper | Internal gears, gears close to shoulders, cluster gears. |
Fundamentals of Spur Gear Geometry and Milling Process
Before delving into programming, a clear understanding of key gear parameters is essential. The geometry of standard spur gears is defined by a set of interrelated parameters. The most crucial is the module (m), which standardizes tooth size. Other vital dimensions include the number of teeth (Z), pitch diameter (D), addendum (ha), dedendum (hf), and whole depth (h). The formulas governing these relationships are foundational for calculating machining parameters.
$$
\begin{aligned}
\text{Pitch Diameter (D)} &= m \times Z \\
\text{Circular Pitch (p)} &= \pi \times m \\
\text{Addendum (h_a)} &= 1.0 \times m \\
\text{Dedendum (h_f)} &= 1.25 \times m \\
\text{Whole Depth (h)} &= h_a + h_f = 2.25 \times m \\
\text{Outside Diameter (D_o)} &= D + 2m = m(Z + 2)
\end{aligned}
$$
The milling process for spur gears on a vertical CNC machine with a rotary indexing head involves a meticulous sequence of setup and execution steps. First, the gear blank must be prepared and checked, primarily verifying its outside diameter. This measured value is critical for correctly setting the cutting depth relative to the theoretical pitch diameter. Next, the blank must be accurately mounted and aligned. For shaft-type blanks, one end is held in the indexing head’s chuck and the other supported by a tailstock center. For disc-type blanks, they are mounted on an arbor between the chuck and tailstock. Rigorous alignment is non-negotiable: the blank must be centered (concentric), and its axis must be perfectly parallel to the machine’s X-axis (direction of cross-feed) to prevent tapered teeth. Additionally, the heights of the head and tailstock centers must be equal to ensure uniform tooth depth.
| Step | Purpose | Key Actions & Checks |
|---|---|---|
| 1. Blank Inspection | Ensure correct starting dimension for depth calculation. | Measure actual outside diameter (D_o). |
| 2. Mounting & Alignment | Secure blank and ensure geometric accuracy of machined teeth. | Chuck and tailstock setup. Indicate for concentricity and parallelism to X-axis. Check center height alignment. |
| 3. Cutter Selection & Setup | Use correct form to generate tooth profile. | Select module gear cutter (e.g., No. 4 for 26-34 teeth). Mount cutter, check runout and rotation direction. |
| 4. Trial Cut & Depth Setting | Verify indexing calculation and set final cutting depth. | Take light trial cuts on blank periphery. Measure tooth thickness or chordal dimension to adjust depth for finish milling. |
The Power of Macro Programming for Parametric Machining
While CAM software is excellent for complex geometries, programming a repetitive pattern like a gear’s teeth can sometimes be more efficiently handled with macro programming (also known as parametric or User-Defined Language programming). A macro program uses variables, arithmetic, logic, and loops to create compact, adaptable, and intelligent code. For machining multiple identical features like gear teeth, it is exceptionally powerful.
Consider the task of milling an 80-tooth gear. Writing 80 nearly identical blocks of code for each tooth is tedious and error-prone. A macro program accomplishes this with a simple loop. The core idea is to use a variable (e.g., #1) to represent the current tooth number or the indexed angle. The program executes the cutting cycle for one tooth, then updates the variable to index to the next position, repeating until all teeth are complete. The advantages are profound:
- Adaptability: Changing the number of teeth (Z) or the indexing angle requires modifying just one or two variable assignments, not the entire program.
- Compactness: A program of 20-30 lines can machine a gear with any number of teeth.
- Intelligence: Logic can be incorporated for roughing and finishing passes, error checking, or conditional operations.
- Reduced Post-Processing: It generates efficient, streamlined G-code directly.
A typical macro uses local variables (e.g., #1, #2), arithmetic operations (+, -, *, /), and control structures like WHILE loops. The rotary axis command (e.g., G0 A[#1]) positions the workpiece. The fundamental logic for milling spur gears is:
$$
\text{WHILE} \quad (\text{Tooth Counter} \le \text{Total Teeth}) \quad \text{DO} \\
\qquad \text{Position to start point.} \\
\qquad \text{Execute cutting move for one tooth slot.} \\
\qquad \text{Index workpiece: } \text{Angle} = \text{Angle} + (360 / Z). \\
\qquad \text{Increment Tooth Counter.} \\
\text{END WHILE}
$$
| Variable | Typical Use | Example Assignment |
|---|---|---|
| #1, #100 | Tooth counter or angular position. | #1 = 0 (Start angle) |
| #2, #101 | Total number of teeth (Z). | #2 = 80 |
| #3, #102 | Angular increment per tooth (ΔA). | #3 = 360 / #2 |
| #4, #103 | Cutting depth (h). | #4 = 2.25 * #5 (Module) |
| #5, #104 | Module (m). | #5 = 3 |
| #6, #105 | Roughing finish allowance. | #6 = 0.5 |
Detailed CNC Milling Procedure and Macro Programming Example
Let’s walk through a complete example for milling an 80-tooth, module 2 spur gear. We assume the gear blank is mounted on a 4th axis (A-axis) rotary table. The tool is a module 2 gear cutter. The workpiece coordinate system (G54) is set with X0 at the left face of the blank, Y0 on the centerline of the rotary axis, and Z0 on the top surface of the finished gear blank diameter.
Process Steps:
- Setup & Trial Cut: After mounting and indicating, a trial cut is made on the periphery of the blank to verify the A-axis indexing calculation. The angular increment per tooth is ΔA = 360 / 80 = 4.5°. A few trial cuts confirm this indexing is correct.
- Depth Calculation: The full theoretical depth to cut is h = 2.25 * m = 2.25 * 2 = 4.5 mm. However, we must consider the actual measured outside diameter. If it’s slightly oversized, the initial depth will be less. Final depth is set by measuring the chordal thickness of a trial tooth.
- Macro Program Development: We will create a macro that performs a simple slotting operation for each tooth. The program uses a WHILE loop controlled by a tooth counter. Critical Consideration – Angular Precision: When dealing with numbers that don’t divide evenly into 360 (e.g., 79 teeth gives 360/79 ≈ 4.556962…°), it’s vital to calculate the angle within the loop as A[#1 * 360 / #2] rather than incrementing by a rounded value. Incrementing by a rounded value (e.g., #1 = #1 + 4.55696) leads to cumulative error over many teeth. Calculating from the base formula each time ensures the final tooth closes perfectly at 360°.
Sample Macro Program (Fanuc-style syntax):
O0800 (SPUR GEAR MACRO - FINISH CUT)
G54 G90 G40 G49 G80 (SAFE STARTUP)
G0 G90 X-15. Y0. (POSITION TO START POINT, CLEARANCE IN X)
M3 S800 (SPINDLE ON)
G43 H1 Z10. (TOOL LENGTH OFFSET)
Z0. (RAPID TO Z0)

#1 = 0 (INITIALIZE ANGLE COUNTER)
#2 = 80 (NUMBER OF TEETH - Z)
#3 = 2 (MODULE - m)
#4 = 2.25 * #3 (CALCULATE FULL TOOTH DEPTH)

WHILE [#1 LT 360] DO 1 (LOOP UNTIL FULL CIRCLE)
    G0 A[#1] (INDEX TO TOOTH POSITION)
    G1 Z-#4 F50. (PLUNGE TO DEPTH)
    Y5. F100. (MILL TO Y+5, CUTTING ONE FLANK)
    G0 Z2. (RETRACT)
    X-15. Y0. (RETURN TO START X, Y CENTER)
    #1 = #1 + (360 / #2) (INCREMENT ANGLE BY EXACT ΔA)
END 1

G0 Z100. (RETRACT TOOL)
M5 (SPINDLE OFF)
M30 (PROGRAM END)
This program is a basic template. A more robust program for milling spur gears would include:
– Roughing and Finishing Cycles: Using a depth variable that is adjusted for a roughing pass (leaving stock) and a final pass.
– Cutter Radius Compensation (G41/G42): To accurately control the tooth profile, especially if using a standard end mill for approximation or for profile cleaning.
– Helical Interpolation: For machining wider spur gears with an end mill, combining A-axis rotation with simultaneous Y-axis movement can generate the tooth slot.
– Error Checking: Validating that variables like number of teeth are positive numbers.
The mathematical core for a helical slotting operation using a tool of diameter (D_t) to cut a slot of width (W) at the pitch circle would involve calculating the required Y-axis travel (L) per degree of rotation (A):
$$
\text{For a gear width of } B: \quad L = B \times \tan(\text{Helix Angle})
$$
Since the helix angle for spur gears is 0, this simplifies to straight slotting. However, for cleaning tooth flanks, the tool path relative to the involute curve can be approximated by coordinated A and Y motion.
Conclusion
The integration of macro programming with CNC milling and a precision rotary axis presents a highly flexible and efficient method for manufacturing spur gears, particularly in environments dedicated to prototypes, custom one-off parts, or small batches. The technique transforms the traditional, manual form-milling process into a digital, repeatable, and programmable operation. The primary strength lies in the macro program’s parametric nature; a single, well-constructed program can become a universal template for machining spur gears of any module, any number of teeth, and any face width by simply changing a few key variable values at the beginning of the code. This adaptability, combined with the inherent precision of CNC positioning, offers a compelling solution that bridges the gap between full-scale generative gear production and low-volume machining needs. It empowers machinists and programmers to implement intelligent, compact, and error-resistant code, embodying the principles of smart manufacturing even for foundational components like the ubiquitous spur gear.