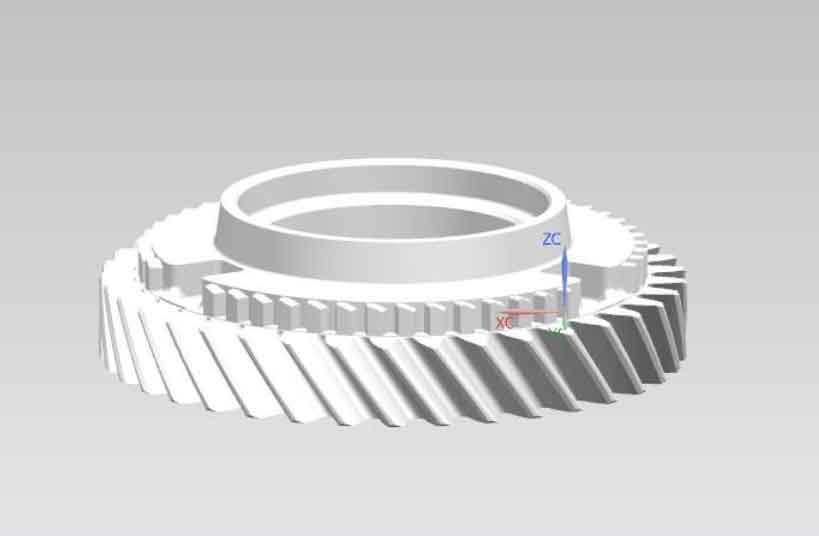
Double circular arc gear is a new improved form of traditional gear, which is widely used in the reducer of pumping unit and hoist. There are about 55000 pumping units in operation in Daqing Oilfield, and about 2% of the pumping units fail to shut down every year. More than 40% of the pumping units fail due to reducer problems, and 12% of the reducer fails due to gear breakage and wear. The value of double circular arc gears accounts for a large proportion in the reducer, and the cost of directly scrapping and replacing new gears is high. Using remanufacturing technology combined with reverse engineering to repair damaged gears can effectively reduce the maintenance cost of pumping units.

Reverse engineering, also known as reverse technology, is a process of product design technology reproduction. It converts solid models into digital CAD models, and on this basis, product analysis, design and reproduction are carried out. Wang Chunxiang and Shi Hongmin extracted the parameters of involute cylindrical gear based on 3D scanning point cloud, and analyzed the extraction error. Zi Hao et al. designed a special device based on laser displacement sensor to measure the spiral angle of gears for precise measurement. The measurement error of the spiral angle is 0.012 ‰ for gears with grade 6 accuracy.
Wei Xiaoling and others, aiming at the problems of low utilization rate and low construction accuracy of damage model data in the remanufacturing process of helical gears, used some regional point cloud data to build the damage model and part model of helical gears. In order to measure the tooth profile deviation of involute gears, Lin Jiachun et al. adopted the orthogonal distance tooth profile fitting algorithm to fit the measured data of tooth profile with the theoretical tooth profile model. The experiment proved that the proposed method has a high accuracy in measuring the tooth profile shape deviation.
At present, using professional equipment to measure worn double circular arc gears has low efficiency and large manual measurement error, which is difficult to meet the requirements of efficiency and accuracy at the same time. In order to meet the requirements of high-precision remanufacture and repair of gears, the author of this paper proposes a method based on reverse engineering technology for precise measurement of double circular arc gear parameters and deviation analysis.
