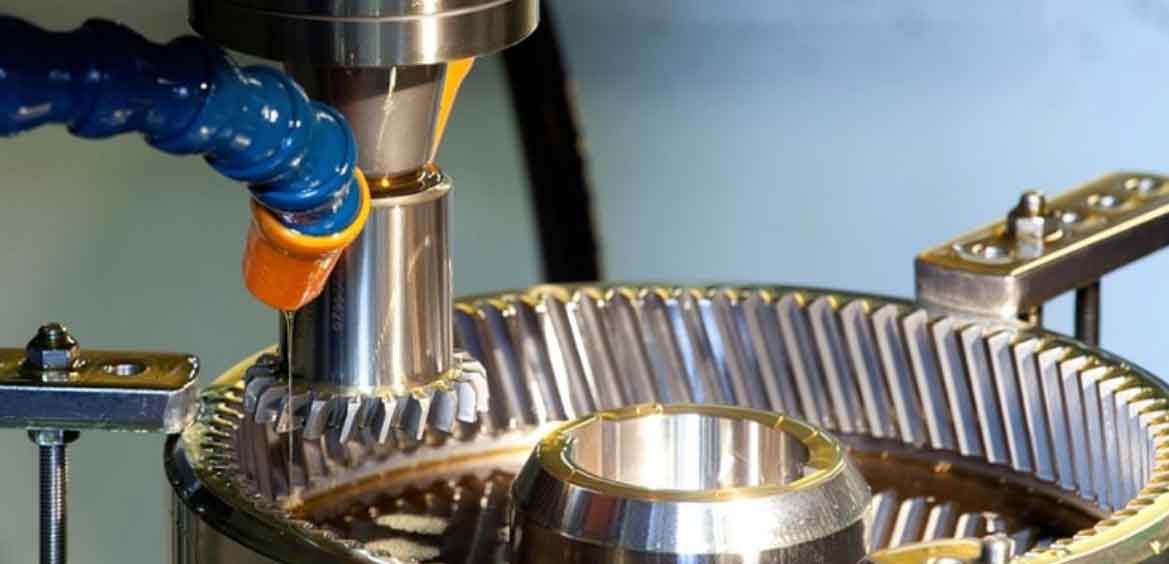
Harmonic drives transmit motion through controlled elastic deformation where a rigid gear (rigid spline) engages with a flexible gear. The rigid gear features high-precision internal teeth with small modules and high tooth counts, requiring manufacturing accuracy within micron-level tolerances. Gear shaping remains the primary method for machining these complex internal tooth profiles due to its versatility in generating precise involute geometries. This process faces inherent challenges including cumulative pitch errors, form deviations, and burr formation – all critical to harmonic drive performance.

The optimized gear shaping sequence begins with semi-finishing critical datums before tooth generation. Turning and milling operations establish reference surfaces with strict geometric controls:
- Concentricity between inner/outer diameters: ≤ 0.01 mm
- Perpendicularity of end faces to axis: ≤ 0.015 mm
- Surface roughness (Ra): ≤ 1.6 μm
These datums ensure stability during subsequent gear shaping. High-precision CNC shapers (e.g., ≤ 5 μm positioning accuracy) paired with AA-grade shaping cutters execute the tooth generation. Post-machining coordinate measurements validate dimensional conformance while specialized gear analyzers (e.g., Klingelnberg P40) evaluate profile, pitch, and runout to ISO 1328 Class 5 standards.
Critical Process Variables in Gear Shaping
Clamping force directly influences tooth geometry during gear shaping. Insufficient torque causes workpiece slippage under cutting forces, inducing eccentricity errors. Excessive torque distorts thin-walled components, creating periodic pitch deviations. The relationship between rigid gear inner diameter (ID) and optimal clamping torque follows a linear model:
$$T_{clamp} = 0.044 \times D_{in} – 15$$
Where \(T_{clamp}\) is torque in N·m and \(D_{in}\) is inner diameter in mm. The permissible operational window is \(T_{clamp} \pm 0.3\) N·m. Deviation beyond this range induces measurable pitch errors:
| Inner Diameter (mm) | Optimal Torque (N·m) | Pitch Deviation (μm) | Form Error (μm) |
|---|---|---|---|
| 100 | 0.5 | ±4.2 | ≤ 6.8 |
| 120 | 0.8 | ±3.7 | ≤ 5.9 |
| 150 | 1.0 | ±4.0 | ≤ 6.2 |
| 170 | 2.3 | ±4.5 | ≤ 7.1 |
Tool Alignment and Eccentricity Control
Cutter mounting eccentricity propagates radial runout errors in gear shaping. For conical shank tools, alignment verification requires measuring radial displacement at the cutter tip using a dial indicator. Eccentricity (e) must satisfy:
$$e \leq 0.01 \times m_n$$
Where \(m_n\) is the normal module in mm. Manual verification proves inconsistent due to non-uniform rotational speeds. Automated CNC programs ensure precise angular indexing for measurement. A FANUC system program for a 110-tooth rigid gear demonstrates this approach:
00015
G91 G01 F60 C[360/110];
G04 X1.0;
M99;
%
This routine rotates the C-axis in discrete steps \(\Delta\theta = \frac{360^\circ}{N}\) (N=number of teeth), pausing for indicator readings. Implementing this reduces eccentricity-induced pitch errors by 62%.
Burr Mitigation Strategies
Tooth-top burrs generated during gear shaping distort metrology probe paths, causing false profile readings. Countermeasures include:
| Method | Process | Burr Reduction | Limitations |
|---|---|---|---|
| Manual Polishing | #600 grit sandpaper | ~80% removal | Labor-intensive, inconsistent |
| Cutting Parameter Optimization | Stroke speed ↑ 20%, Feed ↓ 15% | ~60% reduction | Cycle time increase |
| Full-Top-Cut Tooling | Dedicated cutter geometry | >95% reduction | Higher tooling costs |
| Deburring Machine | Specialized abrasive process | >99% removal | Capital investment required |
Additionally, consistent datum referencing between gear shaping and metrology is critical. Machining and measurement must both reference the step circle and step face to eliminate datum-induced errors. Profile measurement deviations decrease from ±8.2 μm to ±3.5 μm when datums are unified.
Process Validation and Quality Metrics
The optimized gear shaping protocol achieves consistent quality across production batches. Statistical process control data from 50 consecutive rigid gears shows:
- Single pitch error: \(f_p \leq 12 \mu m\)
- Total profile deviation: \(F_{\alpha} \leq 18 \mu m\)
- Runout tolerance: \(F_r \leq 20 \mu m\)
These parameters satisfy ISO 1328 Class 5 requirements for harmonic drive applications. Continuous refinement focuses on adaptive control systems that dynamically adjust cutter compensation and clamping force during gear shaping, further reducing setup sensitivities. Maintaining sub-10 μm accuracy demands rigorous environmental controls (20±0.5°C) and real-time thermal compensation in metrology.
