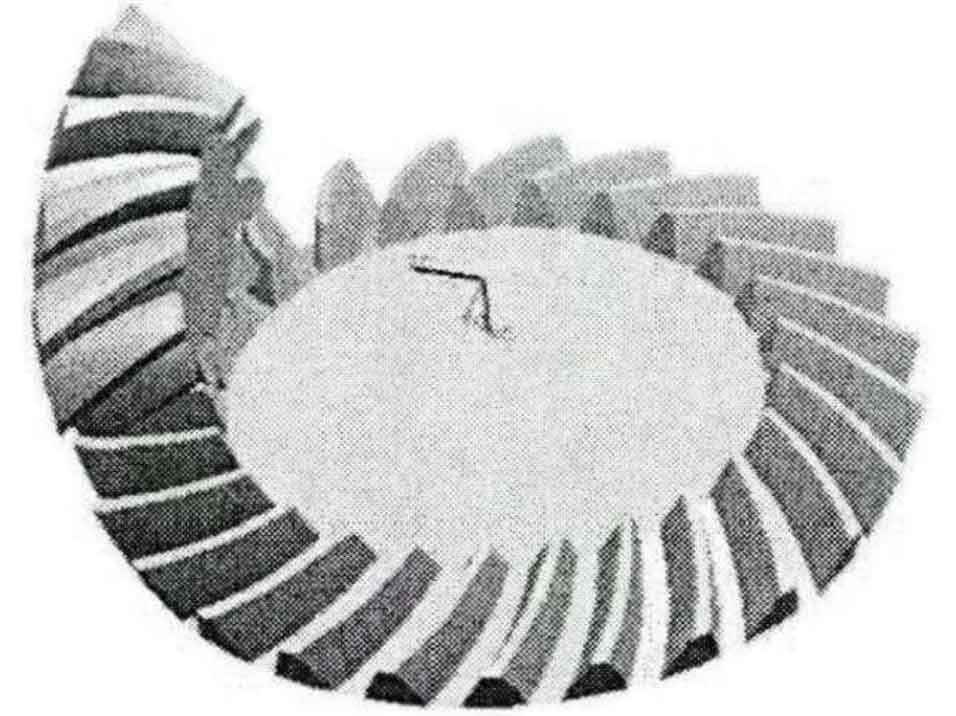
Spiral bevel gears have the advantages of stable transmission ratio, strong bearing capacity, low transmission noise and long service life, and are widely used in aviation, automotive, marine and other fields. However, because the tooth surface of spiral bevel gear is beyond the nonlinear equation and the shape is very complex, the machining and measurement of spiral bevel gear are very difficult. Foreign developed countries have high spiral bevel gear measurement technology, so the study of spiral bevel gear measurement technology is of great significance to improve the processing and measurement level of spiral bevel gear in our country.

High precision measurement methods directly affect the machining accuracy of spiral bevel gears. At present, CMM is an effective equipment for measuring the tooth surface of spiral bevel gears, which can not only reduce the measurement cost, but also have high measurement accuracy. With the development of CMM related technology, its measurement accuracy is higher and higher, and its application range is wider and wider. CMM technology is also widely used in the accuracy measurement of gears. However, how to further improve the measurement accuracy and efficiency has always been a hot issue for researchers. Xing bin established the mathematical model of the tooth surface, analyzed the discrete points of the tooth surface and the gear solid model with the help of software, and obtained effective experimental results. Liu Mingliang uses three seats
The gear measurement technology of spiral bevel gear is studied by using standard measuring machine and three-dimensional scanner, and an effective conclusion is obtained. Wu Guanhong et al. Established the tooth surface equation. Through experimental comparison, it shows that the measurement deviation details of the coordinate measuring machine for spiral bevel gears are smaller than those of other measuring equipment. Pichunlin used a scanning three-dimensional probe to measure and study spiral bevel gears, and completed the measurement experiments of tooth profile and tooth pitch. Zhang Jing et al. Proposed an adaptive distribution method to measure the tooth surface of spiral bevel gears, and verified the effectiveness of the method. Gao Yanfeng and others used genetic algorithm to optimize the measurement path of workpiece with complex surface, which improved the measurement efficiency, but ignored the defects that the algorithm is easy to fall into local optimization.
Aiming at the problem of path optimization when CMM is measuring the tooth surface of spiral bevel gear, a gear measurement path model is established, and a particle swarm optimization (PSO) algorithm is proposed to optimize the measurement path. In order to improve the effect of PSO algorithm, the weight coefficient and learning factor are improved. Finally, the simulation results show that the improved PSO algorithm in this paper has better global search ability, local search ability and higher operation efficiency, and can obtain better measurement path.
The measurement path obtained by the improved PSO algorithm is obviously shorter than other algorithms, and the running time is shorter. Therefore, the proposed method can effectively reduce the cost of spiral bevel gear tooth surface measurement, improve the measurement efficiency, and provide an effective reference for spiral bevel gear tooth surface measurement path optimization.
