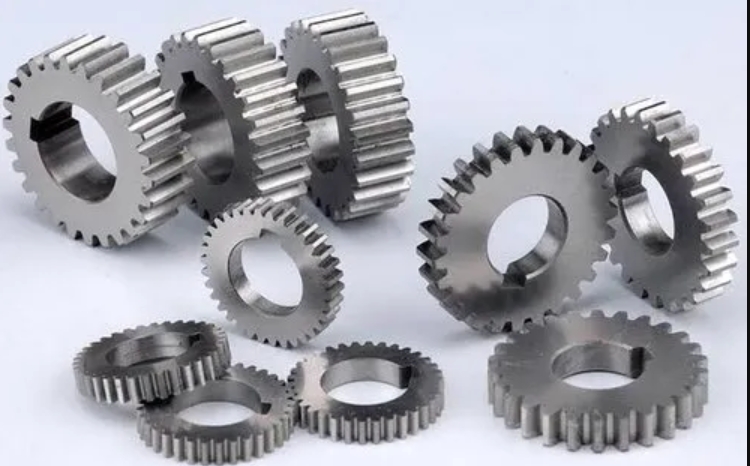
In mechanical transmission systems, spur gears play a critical role due to their high efficiency, compact structure, and long service life. They are widely used in automotive, aerospace, and wind power industries. The meshing performance of spur gears directly influences transmission stability, load capacity, and durability. Traditional approaches to analyzing gear contact performance often involve separate CAD and CAE systems, leading to issues such as precision loss during model conversion and repetitive modeling. To address these challenges, this article presents a parametric CAD/CAE integration method for spur gear contact stress analysis based on the NX platform. The method enables automated design and simulation, enhancing efficiency and accuracy.
The CAD modeling phase involves generating spur gear geometry using mathematical models of the involute profile and transition curve. Key geometric parameters include module, number of teeth, and pressure angle. The tooth profile consists of four segments: the addendum arc, involute profile, transition curve, and dedendum arc. The coordinates of any point on the involute profile are given by:
$$ x_K = r_K \sin(\Omega_s – \theta_K) $$
$$ y_K = r_K \cos(\Omega_s – \theta_K) $$
where $r_K$ is the radius at point K, $\theta_K = \tan(\alpha_K) – \alpha_K$ is the unwinding angle, and $\Omega_s = \pi/z + \theta_n$ is the half-base-circle tooth thickness angle. For the transition curve, modeled with a double-rounded rack-type cutter, the coordinates are:
$$ x_K = r \sin(\phi) – \left( \frac{a}{\sin(\alpha’)} + r_\rho \right) \cos(\alpha’ – \phi) $$
$$ y_K = r \cos(\phi) – \left( \frac{a}{\sin(\alpha’)} + r_\rho \right) \sin(\alpha’ – \phi) $$
$$ \phi = \frac{1}{r} \left( \frac{a}{\tan(\alpha’)} + \frac{\pi m_n}{4} + h_a^* m_n \tan(\alpha) + r_\rho \cos(\alpha) \right) $$
Here, $m_n$ is the module, $h_a^*$ is the addendum coefficient, $r_\rho$ is the cutter tip radius, and $\alpha$ is the profile angle. The parametric design allows automatic generation of spur gear assemblies and three-tooth models for CAE analysis.

In the CAE simulation phase, the three-tooth assembly model serves as the input for finite element analysis. The process includes idealization, meshing, material definition, contact setup, and load application. The idealized model converts the 3D geometry into a 2D plane stress model using mid-surface techniques. The tooth profile is divided into six regions to facilitate meshing. The finite element model (FEM) uses CPLSTS4 elements for planar stress analysis, with mapped meshing controlled by seed points on edges. A reference point at the gear center is connected to mounting hole nodes via RBE2 units to simulate rigid regions. The simulation model (SIM) applies constraints and loads: the driven gear is fully fixed, while the driving gear rotates under applied torque. Contact is defined as nonlinear edge-to-edge with frictionless tangential behavior and hard contact normal behavior.
The development of the integrated system leverages NX Open C++ APIs. The workflow involves creating CAD master models, idealized parts, FEM parts, and SIM parts. Key classes include AssociativeArcBuilder for arcs, StudioSplineBuilderEx for splines, and ExtrudeBuilder for 3D features. In idealization, MidSurfaceByFacePairsBuilder generates 2D models, and SplitBodyBuilder divides regions. For FEM, MeshControlBuilder sets seeds, MeshCollectorBuilder defines physical properties, MappedMeshBuilder creates meshes, and CAEConnectionBuilder establishes rigid connections. In SIM, SimBCBuilder applies boundary conditions, and ModelingObjectPropertyTable defines contact properties. The system automates parameter updates and model regeneration, ensuring consistency.
To validate the approach, a case study compares finite element results with Hertz contact theory. The maximum contact stress from theory is calculated as:
$$ \sigma_{\text{max}} = \sqrt{ \frac{F_n}{\pi B} \cdot \frac{ \frac{1}{R_1} + \frac{1}{R_2} }{ \frac{1 – \mu_1^2}{E_1} + \frac{1 – \mu_2^2}{E_2} } } $$
where $F_n = 2T / (d_1 \cos \alpha_n)$ is the normal load, $T$ is torque, $B$ is face width, $R_1$ and $R_2$ are curvature radii, and $E$ and $\mu$ are material properties. The spur gear parameters are summarized in Table 1.
| Parameter | Driving Gear | Driven Gear |
|---|---|---|
| Number of Teeth, $z$ | 20 | 20 |
| Module, $m_n$ (mm) | 4 | 4 |
| Pressure Angle, $\alpha_n$ (°) | 20 | 20 |
| Face Width, $B$ (mm) | 16 | 16 |
| Elastic Modulus, $E$ (GPa) | 206 | 206 |
| Poisson’s Ratio, $\mu$ | 0.28 | 0.28 |
| Density, $\rho$ (kg/m³) | 7829 | 7829 |
| Torque, $T$ (N·m) | 325 | – |
Table 2 compares the contact stresses from FEM and Hertz theory at different meshing points. The results show close agreement, with a maximum error of 2.26%, validating the accuracy of the parametric CAD/CAE integration for spur gears.
| Meshing Position (Pressure Angle, $\alpha_K$) | Theoretical Stress (MPa) | FEM Stress (MPa) | Error (%) |
|---|---|---|---|
| 10.24° | 1949 | 1905 | 2.26 |
| 14.83° | 1750 | 1785 | 2.00 |
| 20.56° | 1685 | 1700 | 0.89 |
The stress distribution during single and double-tooth meshing is visualized through Mises stress contours and path extraction. The automated post-processing outputs stress cloud diagrams and curves along the contact path, enabling detailed analysis of spur gear behavior under load.
In conclusion, the parametric CAD/CAE integration system for spur gears eliminates model conversion errors and repetitive tasks. The use of NX secondary development ensures seamless automation from design to simulation. The validation with Hertz theory confirms the reliability of the contact stress analysis. This approach provides an efficient and accurate solution for spur gear design and optimization, facilitating rapid iterations in industrial applications. Future work could extend the method to helical gears or dynamic analyses, further enhancing the capabilities of integrated CAD/CAE systems for spur gears.
The mathematical models and finite element procedures described here form a robust foundation for spur gear analysis. By leveraging parameterization, engineers can quickly adapt designs to changing requirements, reducing development time and costs. The integration of CAD and CAE within a unified platform like NX streamlines the workflow, making it accessible for both research and practical engineering. As spur gears continue to be vital components in machinery, such advanced tools will play a crucial role in improving performance and durability.
