
In modern mechanical design, the integration of three-dimensional (3D) solid modeling and two-dimensional (2D) engineering drawing has become a critical workflow to improve efficiency and accuracy. We present a comprehensive methodology that leverages SolidWorks for parametric 3D modeling and assembly of a worm gear reducer, followed by AutoCAD for finalizing and exporting 2D engineering drawings. This approach combines the intuitive parametric modeling capabilities of SolidWorks with the powerful drafting and editing tools of AutoCAD, addressing the limitations of each software when used in isolation. Throughout this article, we emphasize the role of worm gear geometry and parameterization, and we include detailed tables and mathematical formulas to support the design process.
The design of a worm gear reducer involves several key components: the upper and lower housings, the worm shaft, the worm wheel, bearings, seals, and fasteners. To achieve a fully functional digital prototype, we first create individual part models using parametric features in SolidWorks. The parametric approach allows us to define critical dimensions as variables, which can be easily modified to generate different sizes of reducers without rebuilding the entire model. This is particularly advantageous for worm gear sets where the gear ratio, center distance, and tooth profiles depend on a small set of fundamental parameters.
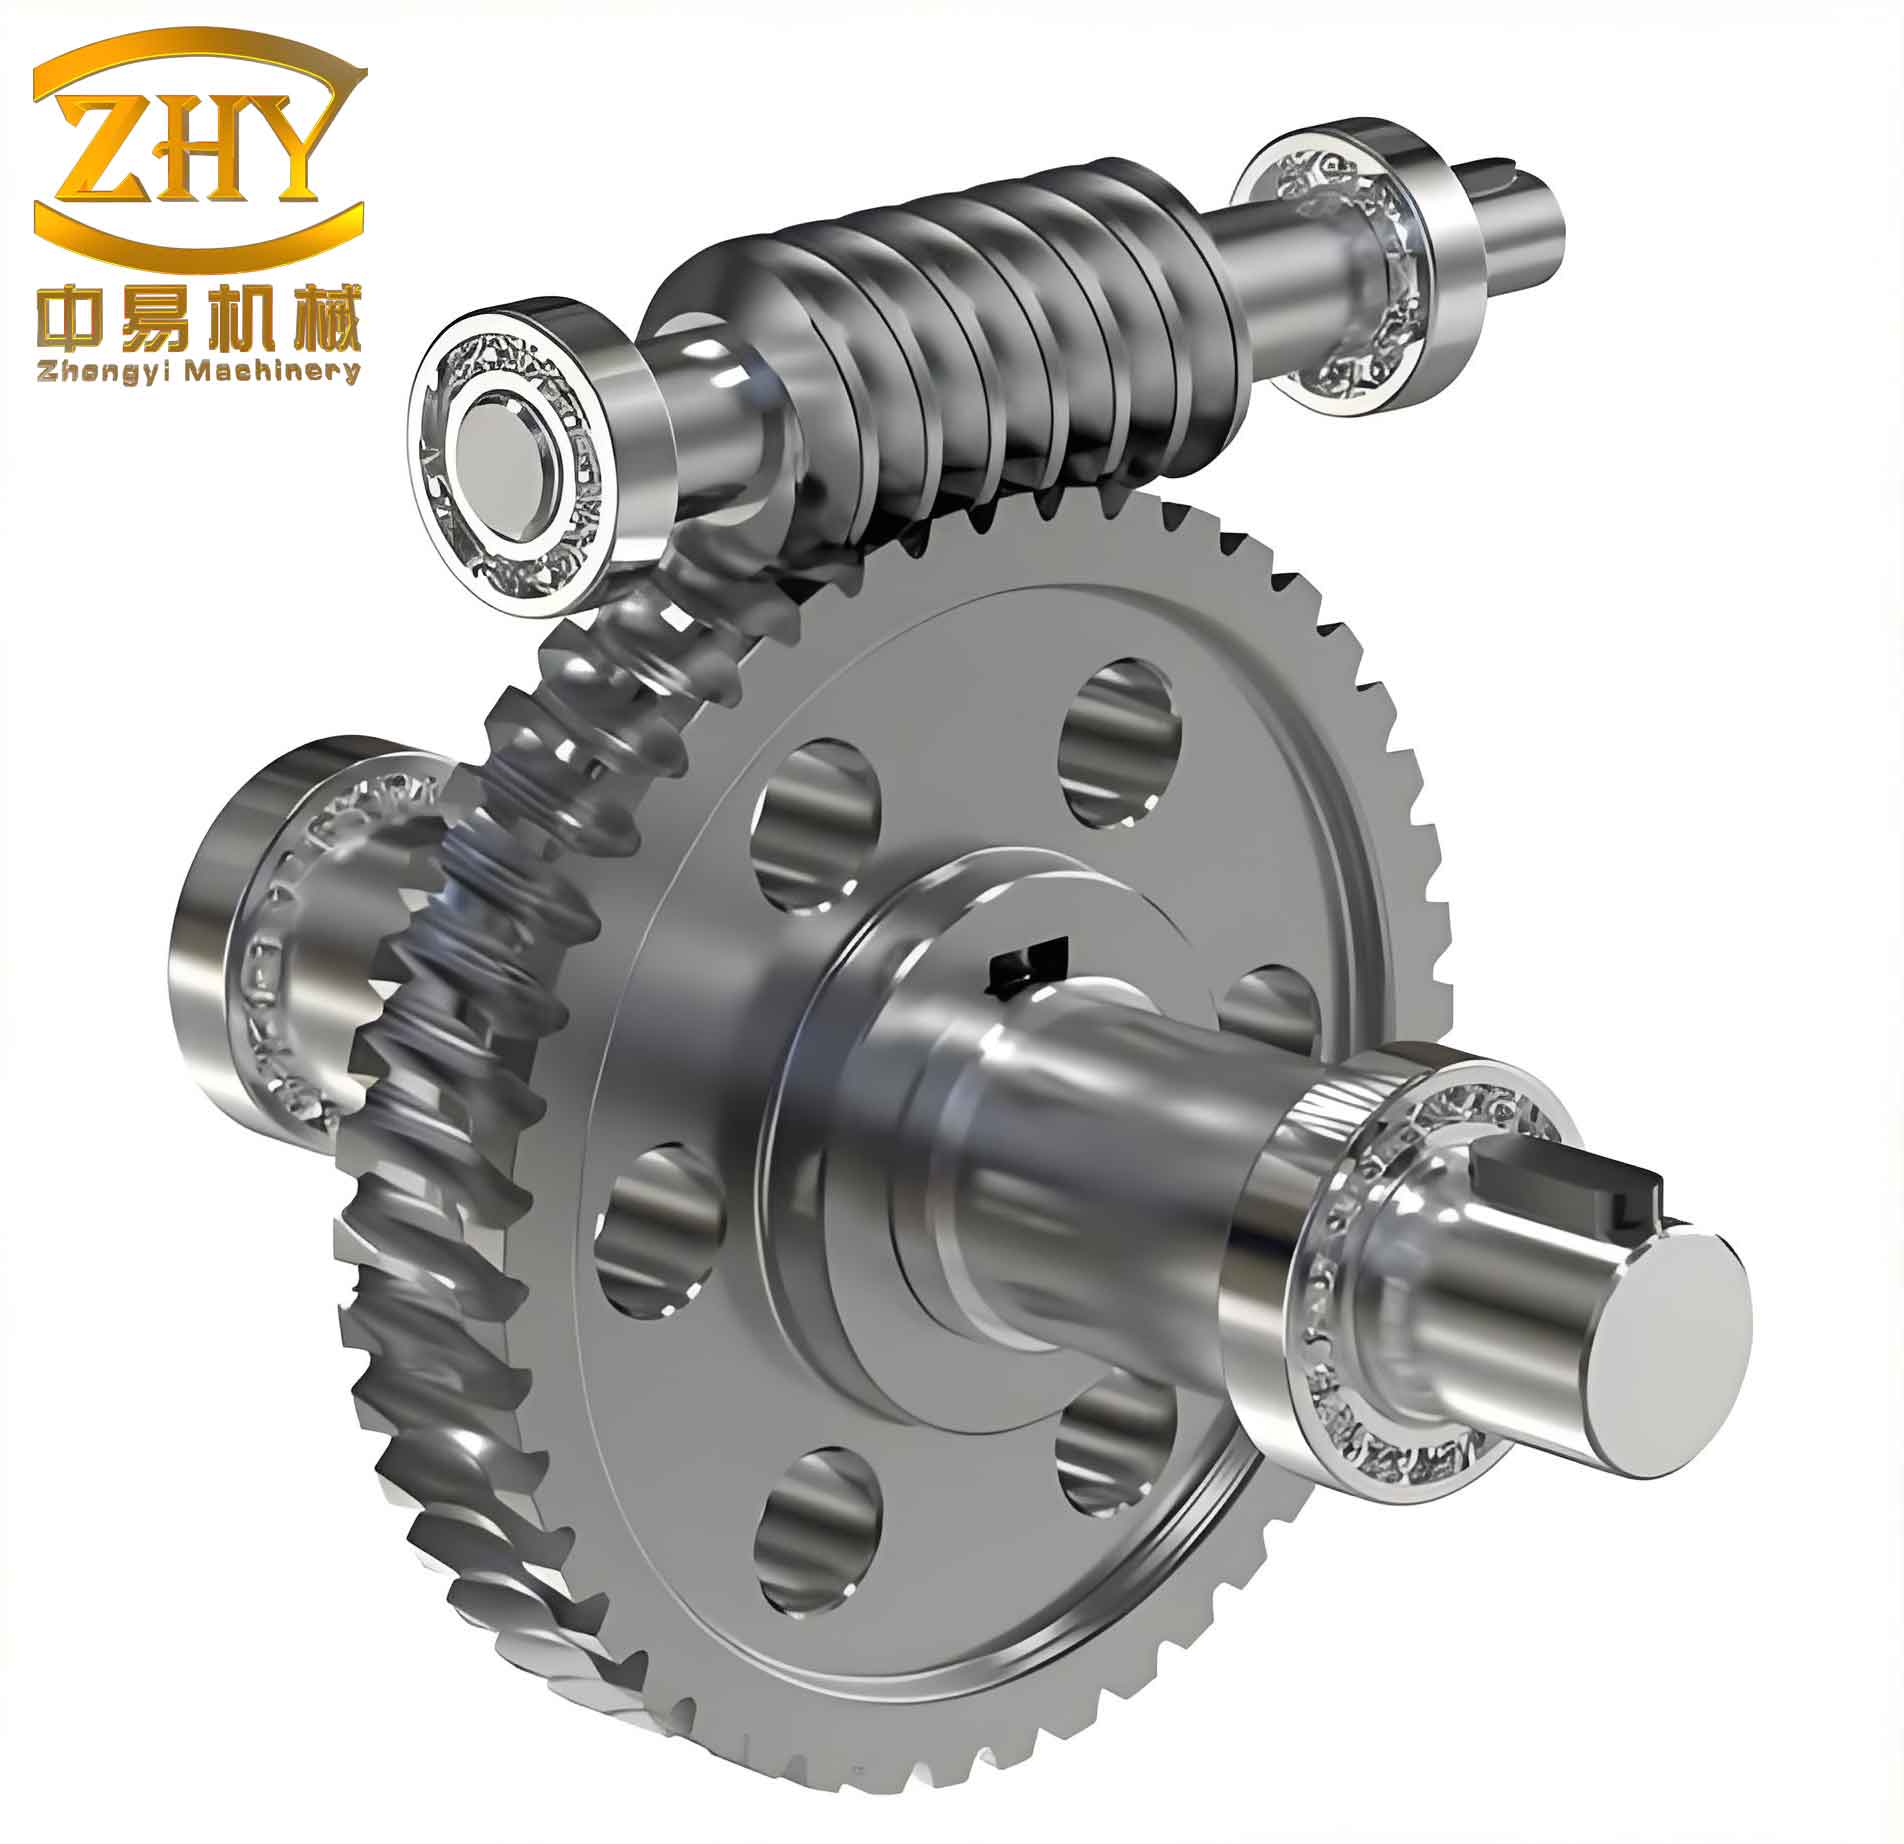
Parametric Modeling of Worm Gear Components
The core of the parametric design lies in defining the geometry of the worm gear pair. The worm is essentially a screw with a trapezoidal thread profile, while the worm wheel is a helical gear that mates with the worm. The fundamental parameters for a worm gear set are the axial module \( m \), the worm pitch circle diameter \( d_1 \), the worm wheel number of teeth \( z_2 \), and the worm lead angle \( \gamma \). The relationships among these parameters are summarized in the following table.
| Parameter | Symbol | Formula | Description |
|---|---|---|---|
| Axial module | \( m \) | Standard value (e.g. 2, 2.5, 3, 4) | Determines tooth size |
| Worm pitch diameter | \( d_1 \) | \( d_1 = m \cdot q \) | \( q \) is the diameter factor of worm |
| Worm wheel pitch diameter | \( d_2 \) | \( d_2 = m \cdot z_2 \) | \( z_2 \) is the number of worm wheel teeth |
| Center distance | \( a \) | \( a = \frac{d_1 + d_2}{2} \) | Distance between worm and wheel axes |
| Lead angle | \( \gamma \) | \( \tan\gamma = \frac{z_1 \cdot m}{d_1} \) | \( z_1 \) is the number of worm starts (usually 1~4) |
| Worm wheel face width | \( b_2 \) | \( b_2 \approx 0.75 \cdot d_1 \) | Empirical guideline |
| Transmission ratio | \( i \) | \( i = \frac{z_2}{z_1} \) | Speed reduction ratio |
In SolidWorks, we define these parameters as global variables using the Equations feature. For example, we set \( m = 4 \), \( z_1 = 2 \), \( z_2 = 30 \), and \( q = 10 \). Then the worm pitch diameter becomes \( d_1 = 40\,\text{mm} \), the worm wheel pitch diameter \( d_2 = 120\,\text{mm} \), and the center distance \( a = 80\,\text{mm} \). By changing only a few numbers, we can instantly obtain a new reducer size. This parametric capability is especially useful when designing a family of products.
The worm is modeled using a combination of Revolved Boss/Base for the shaft body, and Helix and Swept Cut for the thread. The helix profile is derived from the axial module and lead angle. The worm wheel is created using a Revolved Boss for the blank, then a Lofted Cut or Helical Sweep to form the teeth. For accurate tooth geometry, we often use the Gear Trax add-in or construct the tooth profile mathematically. The following table lists the main features used for each component.
| Component | Feature Type | Purpose |
|---|---|---|
| Worm | Revolved Boss/Base | Create cylindrical shaft body |
| Worm | Helix (Spiral) | Define helical path for thread |
| Worm | Swept Cut | Cut thread profile along helix |
| Worm | Fillet / Chamfer | Smooth edges |
| Worm Wheel | Revolved Boss/Base | Create blank disc |
| Worm Wheel | Cut-Extrude (Circular Pattern) | Form tooth spaces |
| Worm Wheel | Circular Pattern | Array tooth features around wheel |
| Housing (Upper/Lower) | Extrude, Cut, Shell, Rib | Enclose the gear set |
| Bearings | Revolved, Cut, Circular Pattern | Model rolling elements |
Assembly and Motion Simulation
After creating all individual parts, we assemble them in a SolidWorks Assembly file. The assembly process mimics the real-world assembly sequence. We start with the lower housing as the fixed base part. Then we insert the worm and worm wheel, applying mate constraints to position them correctly. The critical mate for a worm gear pair is the Gear Mate, which relates the rotation of the worm to the rotation of the worm wheel. The gear ratio is defined by the number of teeth on the worm wheel and the number of starts on the worm. In SolidWorks, we set the gear mate with the ratio:
$$ \frac{\omega_2}{\omega_1} = \frac{z_1}{z_2} $$
where \( \omega_1 \) is the angular velocity of the worm and \( \omega_2 \) is that of the worm wheel. By applying this mate, we can simulate the kinematic behavior of the reducer. Additionally, we use Concentric and Coincident mates to locate bearings, seals, and fasteners. The complete assembly is shown in the figure (hyperlinked above). To visualize the disassembly sequence, we create an Exploded View, which helps manufacturing and maintenance personnel understand the part relationships. The exploded view is generated automatically by dragging parts along axes, and we can add annotations to indicate part numbers.
The following table summarizes the mate types commonly used in the worm gear reducer assembly.
| Mate Type | Applied Between | Purpose |
|---|---|---|
| Concentric | Worm shaft and bearing inner race | Align axes of rotation |
| Coincident | Bearing outer race and housing bore | Position bearing flush with housing face |
| Gear Mate | Worm and worm wheel | Define rotational relationship (speed ratio) |
| Distance | Housing halves | Set clearance between upper and lower housing |
| Parallel | Worm axis and wheel axis | Ensure axes are perpendicular (typical worm gear) |
Generating 2D Engineering Drawings and Exporting to AutoCAD
Once the 3D model is complete, we need to produce 2D engineering drawings for manufacturing. SolidWorks provides a Drawing module that can automatically create views (front, top, section, detail) from the 3D parts and assembly. However, the resulting 2D drawings often require significant refinement to meet national or company drafting standards. For example, line weights, hatching patterns, dimension styles, and annotation placement may not be optimal. Therefore, we export the drawing as a DWG file and open it in AutoCAD for final editing.
The workflow is as follows:
- In SolidWorks, create a new drawing document and select the desired views (e.g., front view, top view, section A-A).
- Insert the model and adjust view scale. Add necessary dimensions, annotations, and bill of materials (BOM).
- Save the drawing as a DWG file (choose AutoCAD version compatible with your software).
- Open the DWG in AutoCAD. Use AutoCAD tools to clean up: delete redundant lines, adjust line types (e.g., change centerlines, hidden lines), set line weights according to standards, reposition dimensions, and add missing symbols (surface finish, welding symbols, etc.).
- Add title block and additional technical requirements.
- Plot or export the final drawing.
The advantages of this hybrid approach are evident. SolidWorks excels at generating accurate geometry from parametric models, while AutoCAD offers superior 2D editing capabilities that most engineers are already familiar with. The following table compares the strengths of each software in the context of engineering drawing production.
| Feature | SolidWorks Drawing Module | AutoCAD |
|---|---|---|
| Automatic view generation | Excellent (associative to 3D) | Manual |
| Line style control | Basic (limited customization) | Highly customizable (layers, linetypes) |
| Dimension styling | Good, but less flexible | Extensive dimension styles |
| Hatching | Automatic, but may need adjustment | Full control over pattern, angle, scale |
| Text and annotations | Sufficient for basic notes | Rich text formatting, multi-line, symbols |
| Compatibility with standards | Requires manual setup for some national standards | Widely used and adapted to various standards |
| Ease of modifying views | Limited (must update original model) | Full freedom; can break associativity |
Mathematical Modeling of Worm Gear Tooth Profiles
For a precise parametric design, we need to derive the tooth profile equations. The profile of a worm gear tooth in the axial plane is typically a trapezoid, but the actual shape in the transverse plane is a convolute or involute helicoid. For simplicity, many designs use an approximate involute profile. The worm thread can be defined by the following equations in a coordinate system fixed to the worm:
$$ x = \frac{d_1}{2} \cos\theta $$
$$ y = \frac{d_1}{2} \sin\theta $$
$$ z = \frac{p \cdot \theta}{2\pi} $$
where \( p \) is the lead of the worm (pitch of the helix), related to the axial module by \( p = \pi m z_1 \). The thread profile cross-section is defined by the pressure angle \( \alpha \) and the tooth thickness. In SolidWorks, we can use a 2D sketch of the tooth cross-section and sweep it along the helix defined by the above parametric curve.
The worm wheel tooth is more complex because it must wrap around the worm. The wheel’s tooth surface is the envelope of the worm thread surface as it rotates. For practical purposes, in parametric solid modeling, we often use a form cutter approach: we create a cutting tool that represents the worm geometry and perform a Cut Sweep on the wheel blank, or use specialized gear generation add-ins. The resulting gear tooth profile is accurate enough for most design and simulation tasks.
Parametric Control Through Equations
To fully exploit the parametric nature, we set up a linked system of equations in SolidWorks. For example, we define the following global variables (units in mm):
"Module" = 4"Z1" = 2(worm starts)"Z2" = 30(worm wheel teeth)"Q" = 10(diameter factor)"D1" = "Module" * "Q"→ 40"D2" = "Module" * "Z2"→ 120"CenterDistance" = ("D1" + "D2") / 2→ 80"Lead" = "Module" * pi * "Z1"→ 25.1327
These variables are then used to drive sketch dimensions, feature parameters (e.g., helix pitch, diameter), and assembly mates (e.g., distance between axes). With this setup, altering the module from 4 to 5 instantly updates the entire model, including the worm gear teeth, housing bore dimensions, and bearing fits. This drastically reduces design iteration time.
We also incorporate design constraints such as bending strength and contact stress calculations. For a preliminary check, the tangential force on the worm wheel can be estimated by:
$$ F_t = \frac{2 T_2}{d_2} $$
where \( T_2 \) is the output torque. The required module can then be verified against standard strength formulas (e.g., AGMA or ISO). Although we do not embed finite element analysis directly, the parametric model can be exported to simulation tools for further verification.
Conclusion
Combining SolidWorks and AutoCAD for the parametric design of a worm gear reducer provides a practical and efficient workflow. SolidWorks handles the complex 3D geometry and parametric relationships, while AutoCAD offers the fine control needed for professional 2D drawings. The use of global equations and variables ensures that design changes propagate automatically, reducing manual errors and rework. Through the tables and formulas presented, we have demonstrated how key worm gear parameters are integrated into the modeling process. This methodology can be extended to other types of reducers and mechanical systems, making it a valuable approach for modern product development.