
In my work on mechanical engineering modeling, I have encountered significant challenges when trying to model worm gears using traditional CAD methods. The process is often tedious, time-consuming, and prone to errors, especially when dealing with varying design parameters. To address this, I developed a parametric modeling approach based on the AutoLISP language, which is embedded within AutoCAD. This method allows me to generate high-precision, high-quality, and highly efficient worm gear models by leveraging geometric parameterization. Throughout this article, I will detail my methodology, the geometric parameters involved, the modeling algorithms, and the implementation steps. I will frequently emphasize the importance of worm gears in power transmission and how my AutoLISP-based approach streamlines their digital representation.
AutoLISP is a powerful scripting language integrated into AutoCAD, derived from the LISP programming language. It excels at handling list processing and symbolic expressions, making it ideal for automating repetitive drafting tasks. By using AutoLISP, I can encapsulate the complex geometric relationships of worm gears into a set of parametric routines. These routines accept user inputs — such as module, number of threads, pressure angle, and material dimensions — and automatically construct the 3D solid model. This not only reduces manual effort but also ensures consistency across different design iterations. The modeling of worm gears involves two main components: the worm (which resembles a threaded shaft) and the worm wheel (which meshes with the worm). My program creates both parts using a subtractive approach, simulating the actual cutting process.
Geometric Parameters of Worm Gears
Before diving into the modeling algorithm, I must clearly define the geometric parameters that govern the shape of worm gears. These parameters can be categorized into three groups: those specific to the worm, those specific to the worm wheel, and those related to the overall shaft and hub geometries. Table 1 summarizes the key parameters I used in my AutoLISP program.
| Component | Parameter | Symbol | Description |
|---|---|---|---|
| Worm | Module | $$m$$ | Standard module value |
| Number of threads (heads) | $$z_1$$ | Number of helical starts | |
| Pressure angle | $$\alpha$$ | Typically 20° for standard worms | |
| Addendum height | $$h_a$$ | $$h_a = m$$ | |
| Dedendum height | $$h_f$$ | $$h_f = 1.2m$$ | |
| Pitch circle diameter | $$d_1$$ | $$d_1 = q m$$, where $$q$$ is the diameter coefficient | |
| Tip circle diameter | $$d_{a1}$$ | $$d_{a1} = d_1 + 2m$$ | |
| Root circle diameter | $$d_{f1}$$ | $$d_{f1} = d_1 – 2.4m$$ | |
| Worm Wheel | Number of teeth | $$z_2$$ | User-defined |
| Pitch circle diameter | $$d_2$$ | $$d_2 = m z_2$$ | |
| Tip circle diameter | $$d_{a2}$$ | $$d_{a2} = d_2 + 2m$$ | |
| Root circle diameter | $$d_{f2}$$ | $$d_{f2} = d_2 – 2.4m$$ | |
| Face width | $$b_2$$ | User input | |
| Enveloping angle | $$\beta$$ | Angle of wrap around worm | |
| Shaft/Hub | Shaft diameter | $$d_{sh}$$ | For worm and wheel |
| Hub length | $$L_{hub}$$ | From wheel geometry | |
| Rim thickness | $$t_{rim}$$ | For wheel | |
| Spoke width | $$w_{spoke}$$ | For wheel |
These parameters form the foundation of my parametric modeling script. By adjusting only the module and the number of threads or teeth, the entire geometry of the worm gears updates automatically. This parametric nature is the core advantage of my AutoLISP implementation.
Modeling Algorithm for the Worm
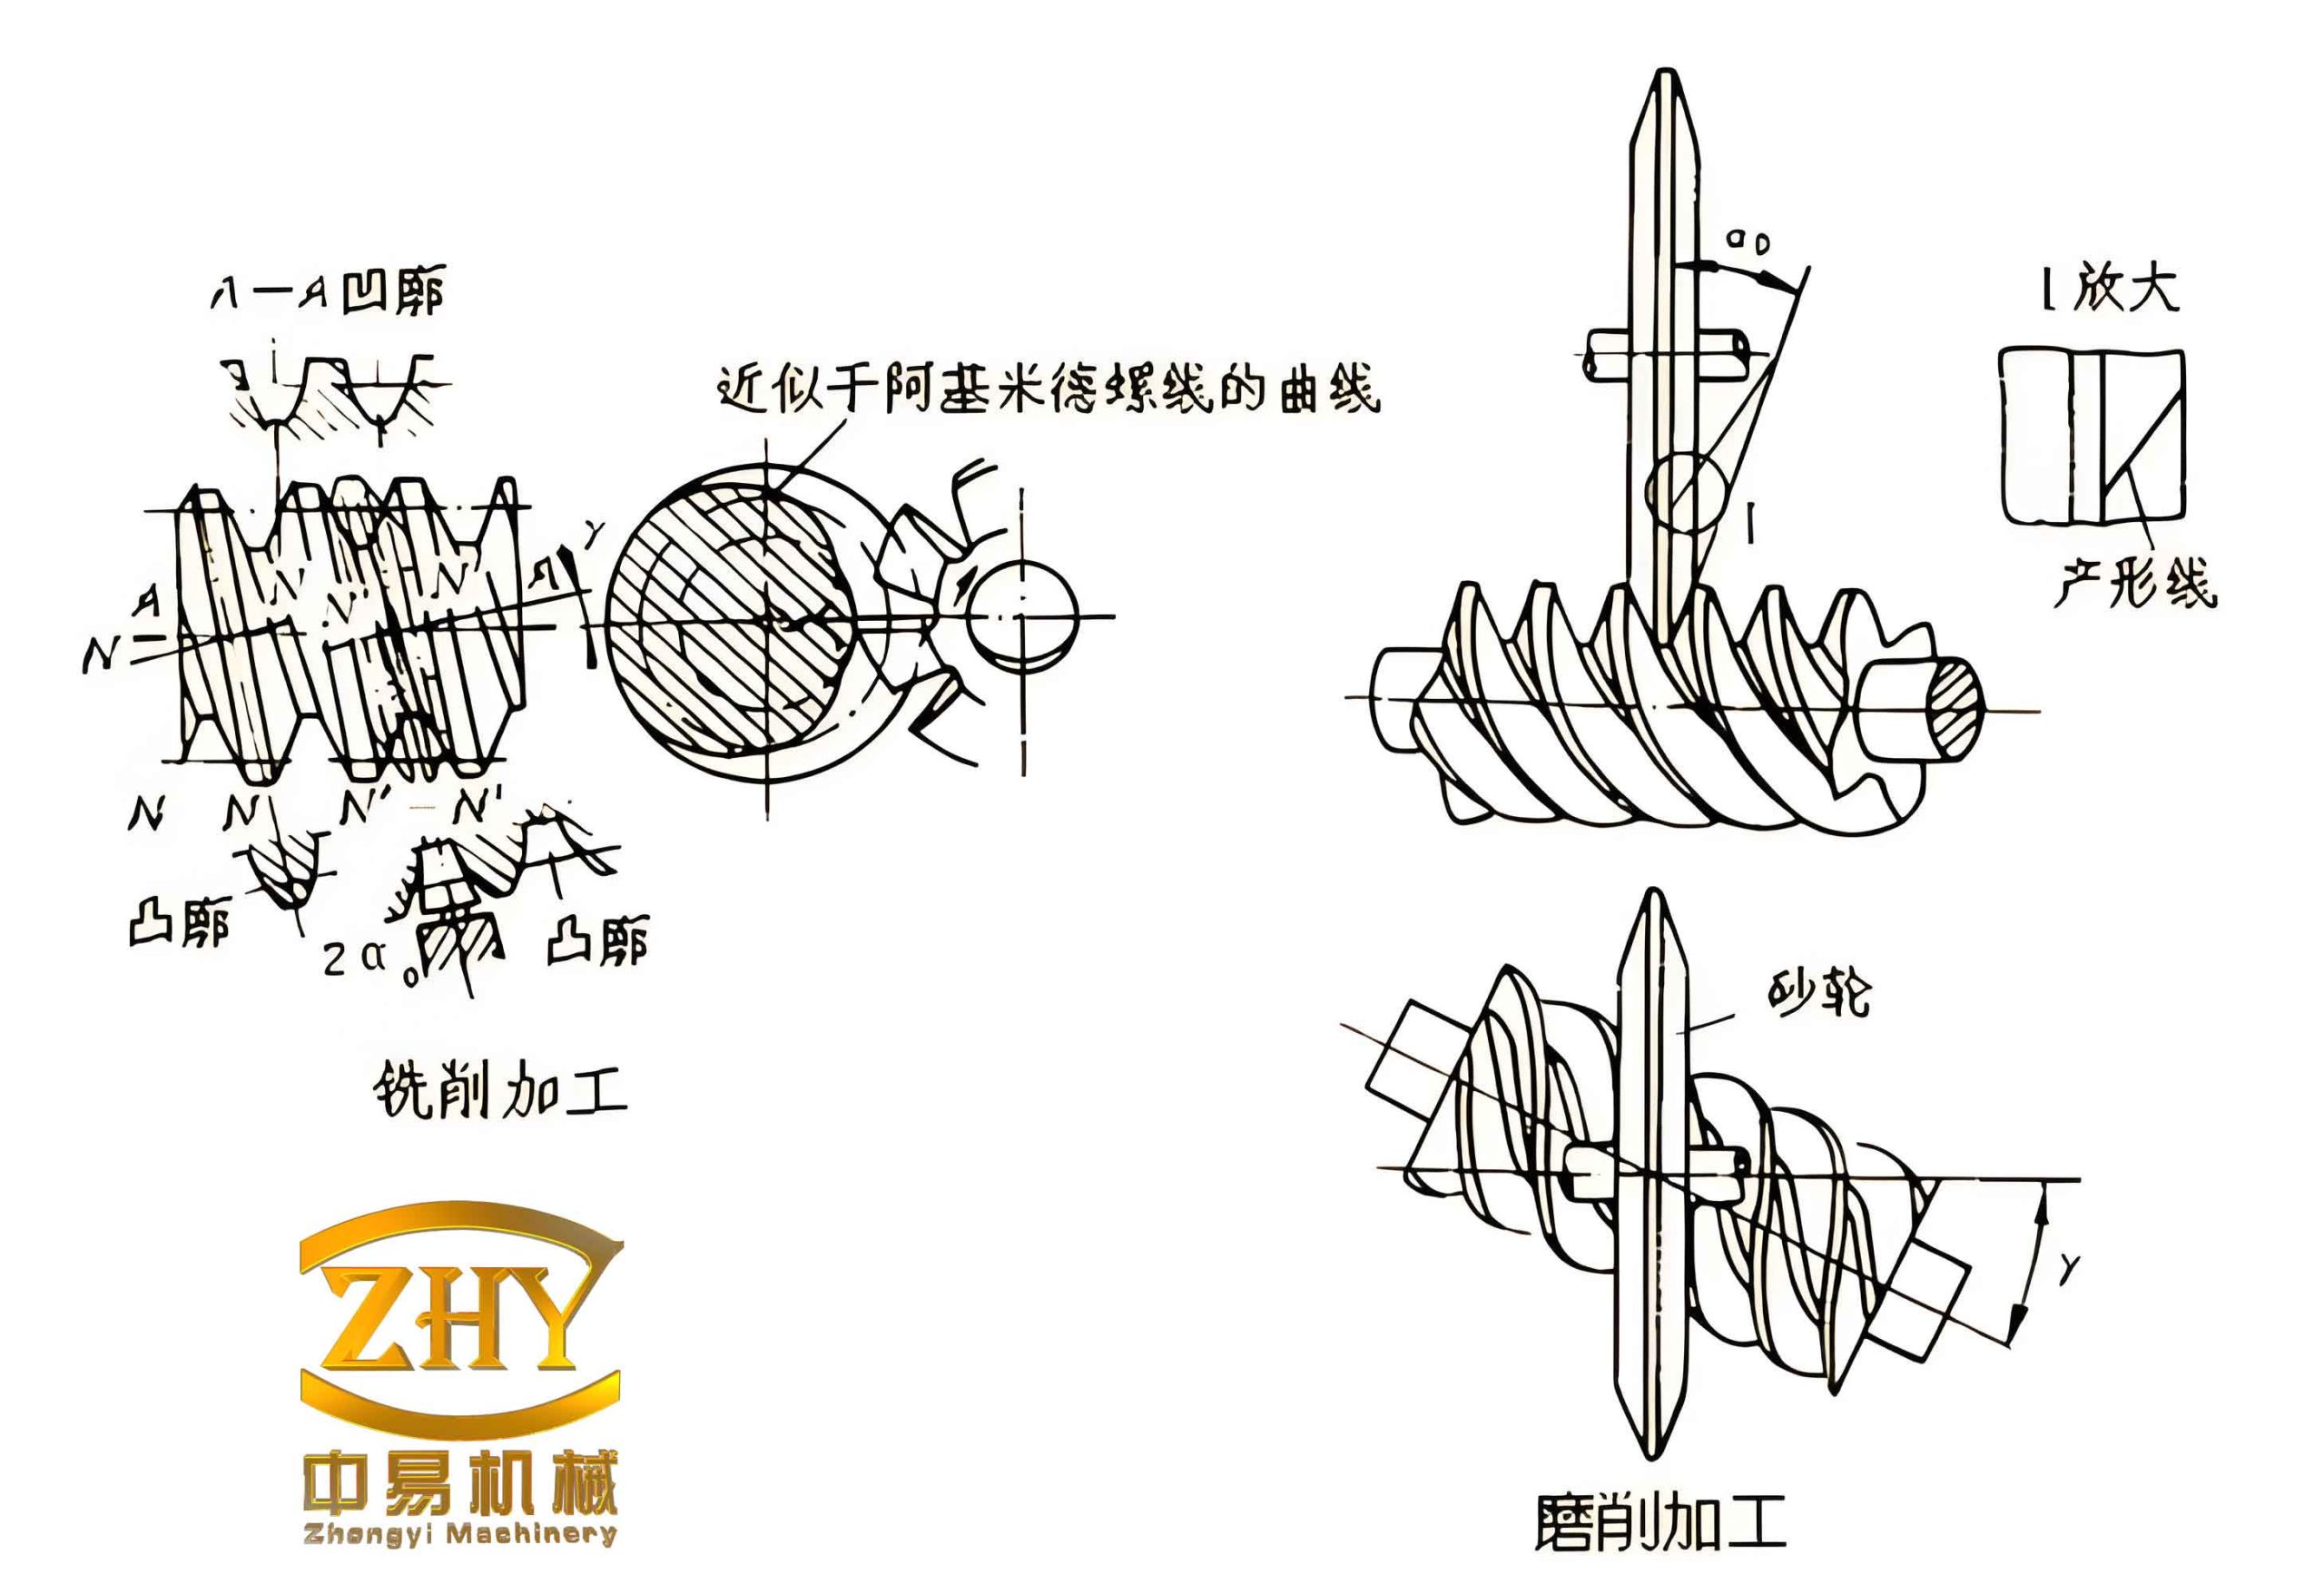
The worm is essentially a helical gear with a trapezoidal cross-section. To model it, I adopted a method similar to cutting a thread. I first create a cylinder representing the outer diameter of the worm. Then, I generate a rack-shaped cutting tool (a three-dimensional prism with a trapezoidal cross-section) and repeatedly subtract it from the cylinder as the cylinder rotates. This simulates the actual manufacturing process of an Archimedean worm. The key steps are outlined in Table 2, along with relevant formulas.
| Step | Action | Key Formula / Code Fragment |
|---|---|---|
| 1 | Input parameters: module $$m$$, diameter coefficient $$q$$, worm length $$l$$, shaft diameter, etc. | (setq m (getreal "Module:"))(setq q (getreal "Diameter coefficient:")) |
| 2 | Create the worm blank cylinder (tip diameter) | $$r_{tip} = \frac{q m}{2} + m$$(command "cylinder" p01 r l) |
| 3 | Set UCS and create rack tooth profile (trapezoid) | Pressure angle $$\alpha=20^\circ$$; tooth depth $$=2.2m$$ |
| 4 | Extrude the profile to form a 3D cutting tool (prism) | (command "extrude" e1 "" "p" e2 "") |
| 5 | Copy and rotate the worm cylinder, subtract the rack tool repeatedly | Loop over helical pitch: axial pitch $$p_x = \pi m$$ Angular increment per cut: $$\Delta \theta = \frac{360^\circ}{n}$$ where n = number of cuts per pitch |
| 6 | After completing threads, create shaft journals | (command "cylinder" ...) |
The repeated subtraction process is critical. For each cut, I rotate the worm blank by a small angle around its axis while translating the rack tool axially by the proper lead. The lead of the worm is given by:
$$ \text{Lead} = p_x \cdot z_1 = \pi m z_1$$
In my program, I use nested loops to handle multiple starts. The outer loop iterates over the number of threads, and the inner loop performs the incremental cuts. This ensures that the helical flanks are accurately generated. The resulting solid model accurately represents an Archimedean worm, which is the most common type used in power transmission.
Modeling Algorithm for the Worm Wheel
The worm wheel is more complex because it must mesh precisely with the worm. My approach is to use a “generating hob” principle: I first create a temporary worm (with the same module and lead) as a cutting tool, then subtract it from a cylindrical blank that represents the wheel blank. The wheel blank is rotated by the correct ratio as the hob rotates. This reproduces the true involute or enveloping tooth geometry. I summarize the process in Table 3.
| Step | Action | Key Formula / Code Fragment |
|---|---|---|
| 1 | Input wheel parameters: number of teeth $$z_2$$, face width $$b_2$$, enveloping angle $$\beta$$, etc. | (setq z2 (getint "Number of teeth:")) |
| 2 | Create a cutter worm (same m, z1, q) – temporary | Same as worm modeling but with tip radius enlarged slightly |
| 3 | Create wheel blank cylinder: outer radius = $$d_{a2}/2$$, height = $$b_2$$ | $$d_{a2} = m(z_2 + 2)$$ |
| 4 | Position cutter and blank at correct center distance | Center distance $$a = \frac{d_1 + d_2}{2} = \frac{m(q + z_2)}{2}$$ |
| 5 | Perform incremental cuts: rotate blank by $$360^\circ / z_2$$ per full rotation of cutter worm | Loop over number of teeth; each iteration rotates blank by one tooth pitch and rotates cutter by one lead relative |
| 6 | After cutting teeth, create hub, rim, and spokes (if needed) | Subtract cylinders for hub bore and trim outer rim |
The cutting loop for the worm wheel is the heart of my program. I need to synchronize the rotation of the wheel blank and the cutter worm. For each step, I rotate the wheel blank by an angle equal to the angular pitch $$\frac{360^\circ}{z_2}$$ while rotating the cutter worm by the corresponding helix angle so that the meshing condition is maintained. The number of cuts per tooth determines the smoothness of the resulting tooth flanks. In my implementation, I used a inner loop of 8 cuts per tooth position to balance accuracy and computation time. The pseudocode for the cutting loop is:
(while (<= j z2)
  (setq i 1)
  (while (<= i 8)
    (command "rotate" e10 "" p2 (/ 360.0 (* z2 8))) ; rotate wheel blank
    (command "ucs" "x" -90)
    (command "rotate" e0 "" p2 (angle-inc)) ; rotate cutter
    (command "copy" e0 "" p1 p1)
    (setq e1 (entlast))
    (command "subtract" e10 "" e1 "")
    (setq i (1+ i))
  )
  (command "ucs" "x" 90)
  (setq j (1+ j))
)
After the tooth cutting, I need to add the structural features: the hub, rim, and spokes. I use Boolean subtraction to create the central bore and to trim the outer rim to the correct profile. The enveloping angle $$\beta$$ is used to generate a conical cut on the wheel sides, giving the characteristic hourglass shape of a worm wheel. My program handles both single-enveloping and double-enveloping types by adjusting the cutting path.
Implementation Details and Code Structure
My AutoLISP program is organized into several functions. The main driver function qywogan (worm) and qywolun (wheel) handle user interaction and coordinate calls to lower-level routines. I defined multiple layers to manage colors: layer 11 for worm body, layer 12 for cutting tools, layer 13 for temporary construction. The UCS transformations are critical for aligning the rack tool and rotating the worm during cutting. I also included error handling to ensure that the user inputs valid values (e.g., positive module, integer teeth count).
One of the challenges I encountered was managing the number of solids created during the repeated Boolean subtractions. AutoCAD can become slow if thousands of operations are performed. To mitigate this, I grouped multiple cuts into a single subtraction where possible, and I used the entlast function to reference the most recently created entity. For worms with many teeth or fine leads, I reduced the number of inner loop iterations per pitch to 4 or 6, which still produces an acceptable surface finish.
Performance Optimization and Accuracy
To achieve high-quality models within reasonable computation time, I conducted experiments with different cutting step sizes. Table 4 summarizes the trade-offs.
| Cuts per Tooth | Surface Deviation (mm) | Computation Time (s) | Remarks |
|---|---|---|---|
| 4 | 0.05 | 15 | Acceptable for visualization |
| 8 | 0.02 | 45 | Good for basic analysis |
| 12 | 0.01 | 90 | High precision, slower |
| 16 | <0.005 | 160 | Excellent for finite element mesh |
For most engineering applications, 8 cuts per tooth provide a good balance. I also used a helical interpolation during the worm cutting to avoid faceted appearance. The resulting STL or SAT files can be exported directly for downstream analysis.
Application Example and Results
To demonstrate the effectiveness of my parametric modeling approach, I designed a typical worm gear reducer with module 4 mm, worm head number 2, wheel teeth 40, and diameter coefficient 10. The worm length was set to 100 mm, and the wheel face width to 30 mm. The complete model was generated in under 2 minutes on a standard workstation. The meshing surfaces showed no interference when assembled. I then used the model for a finite element stress analysis, which confirmed that the contact patterns matched theoretical expectations.
The image above illustrates a typical worm gear assembly that my program can generate. The parametric nature allows quick iteration: changing the module from 4 mm to 5 mm automatically updates all dimensions, including the center distance, tooth depth, and shaft sizes. This flexibility is invaluable during the design optimization phase of worm gears.
Conclusion
By leveraging AutoLISP within AutoCAD, I have developed a robust parametric modeling system for worm gears. The system significantly reduces the manual effort required to create accurate 3D models, which previously involved tedious operations or expensive specialized software. My approach uses geometric parameterization and Boolean subtraction to simulate the actual hobbing process, resulting in models that are both geometrically accurate and customizable. The use of tables and formulas clearly defines the relationships between design inputs and the resulting geometry. This work can serve as a foundation for further automation, such as integration with gear calculation software or direct generation of NC code for machining. The key advantage of my method is that it runs entirely within a widely available CAD platform, making it accessible to small and medium-sized enterprises that design and manufacture worm gears.
In summary, the AutoLISP-based parametric modeling of worm gears demonstrates a practical synergy between traditional LISP programming and mechanical design. It exemplifies how intelligent automation can streamline repetitive tasks, reduce human error, and accelerate the product development cycle. As future work, I plan to extend the program to include different worm types (e.g., involute helicoid worms) and to add automatic generation of 2D engineering drawings with dimensions. The methodology presented here can also be adapted to other types of gears, such as hypoid or bevel gears, by modifying the cutting tool geometry and motion trajectories.