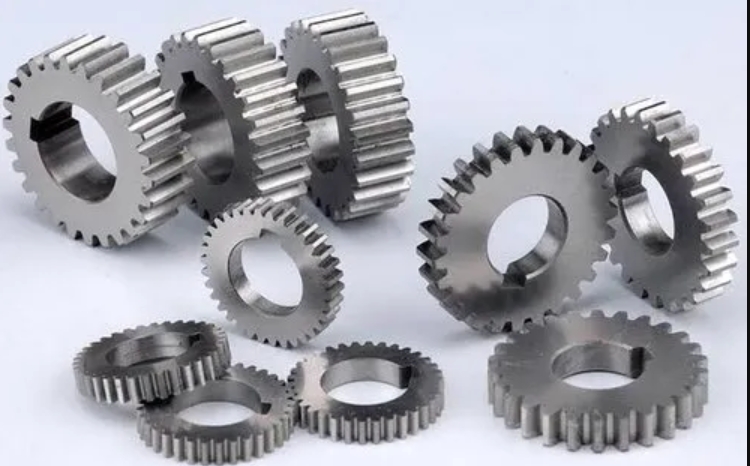
Spur gears are critical components in mechanical systems, requiring high surface integrity for optimal performance. This study investigates the particle-gear interaction during spindle finishing, focusing on contact forces, relative velocities, and parameter optimization. Using Discrete Element Method (DEM) simulations validated through experimental strain testing, we analyze how process variables influence material removal mechanisms.

1. Numerical Modeling
The DEM model simulates a standard spur gear (module m = 5 mm, 23 teeth) interacting with 3 mm alumina particles. Key material properties are:
| Material | Density (kg/m³) | Poisson’s Ratio | Shear Modulus (MPa) |
|---|---|---|---|
| Steel Drum | 7,850 | 0.300 | 7,940 |
| Alumina Particles | 2,675 | 0.360 | 1,260 |
| 40Cr Gear | 7,870 | 0.277 | 8,080 |
Contact mechanics follow the modified Archard wear model:
$$ \Delta h = \frac{K P v}{H} \Delta t $$
where \( \Delta h \) = wear depth, \( K \) = dimensionless coefficient, \( P \) = normal pressure, \( v \) = relative velocity, \( H \) = material hardness.
2. Particle-Gear Interaction Analysis
The relative velocity between spur gear teeth and particles is expressed as:
$$ V = 2\pi n_1 \left[ r^2 \left(1 – \frac{n_2}{n_1}\right)^2 + R^2 + 2Rr\left(1 – \frac{n_2}{n_1}\right)\cos\theta \right]^{1/2} $$
| Parameter | Values |
|---|---|
| Embedment Depth (mm) | 80, 110, 140 |
| Drum Speed (rpm) | 12, 21, 30 |
| Speed Ratio (n₁:n₂) | 5:4 |
3. Results and Discussion
Key findings from DEM simulations reveal three distinct processing phases:
- Particle Infiltration: Initial particle entry into gear teeth (0-0.3T)
- Stable Contact: Sustained particle loading (0.3-0.7T)
- Particle Egress: Material exit from tooth spaces (0.7-1.0T)
Normal contact forces show significant depth dependence:
$$ F_{140\text{mm}} = 1.76 \times F_{80\text{mm}} $$
Velocity variations correlate strongly with rotational speed:
$$ v_{30\text{rpm}} = 2.48 \times v_{12\text{rpm}} $$
| Depth (mm) | Axial Roughness Reduction (%) | Profile Direction Variation |
|---|---|---|
| 80 | 17 (Upper) 36 (Lower) |
±12% |
| 140 | 62 (Upper) 55 (Lower) |
±9% |
4. Experimental Validation
Strain testing on spur gear specimens confirms simulation predictions:
| Parameter | Change | Effect | ||
|---|---|---|---|---|
| Increase | Magnitude | Contact Force | Velocity | |
| Embedment Depth | 80→140 mm | +75% | +76% | +4% |
| Rotational Speed | 12→30 rpm | +150% | +18% | +148% |
5. Conclusions
This analysis demonstrates that spindle finishing of spur gears exhibits:
- Periodic particle interaction with 22.45× higher forces during stable contact phase
- Asymmetric loading (upper tooth forces = 1.5-1.8× lower tooth)
- Depth-controlled axial uniformity improvement (62% vs. 17% roughness reduction)
- Speed-dependent velocity gradients (2.48× increase at maximum RPM)
The results provide quantitative guidelines for optimizing spur gear finishing processes through parameter selection based on desired surface characteristics.
