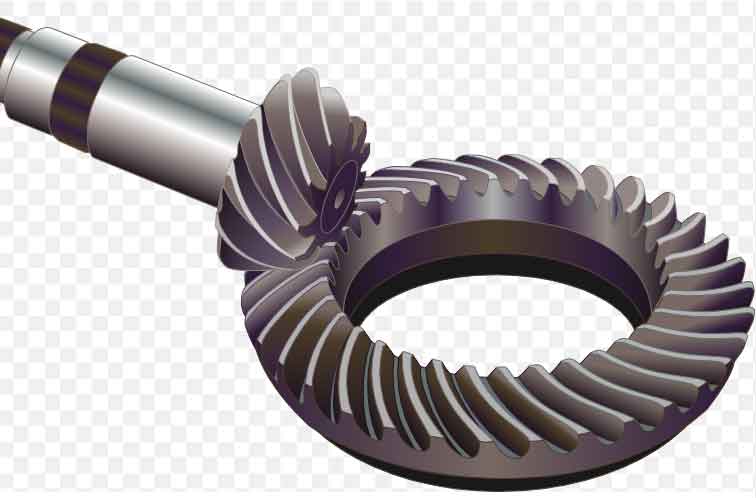
Precision engineering is essential for the design and manufacturing of spiral bevel gears to ensure their optimal performance and reliability. Here are some key insights into precision engineering with spiral bevel gears:

1. CAD Modeling and Simulation:
The design process for spiral bevel gears begins with detailed CAD modeling. CAD software allows engineers to create precise 3D models of the gear geometry and tooth profiles. Additionally, advanced simulation tools can be used to analyze gear meshing, tooth contact patterns, and stress distribution to ensure optimal gear performance under different load conditions.
2. Gear Geometry and Tooth Profile:
The geometry of spiral bevel gears is critical for their operation. The involute tooth profile is commonly used for spiral bevel gears due to its favorable characteristics, including smooth engagement, minimal backlash, and uniform load distribution. Precision gear grinding or gear cutting processes are employed to achieve accurate tooth profiles and precise gear geometry.
3. High-Quality Materials:
The choice of materials for spiral bevel gears is crucial for their durability and performance. High-quality alloy steels or specialty materials with excellent wear resistance and strength properties are typically used to withstand the demanding operating conditions.
4. CNC Machining and Grinding:
Computer Numerical Control (CNC) machining and grinding are commonly used in the manufacturing process of spiral bevel gears. CNC machines provide high precision and repeatability, ensuring consistent gear quality. Gear grinding is often used for the finishing process to achieve the desired tooth surface finish and dimensional accuracy.
5. Inspection and Quality Control:
Precision engineering requires rigorous quality control measures. Advanced inspection techniques, such as coordinate measuring machines (CMMs) and gear testing machines, are used to verify the gear’s dimensional accuracy, tooth profile, and alignment. Non-destructive testing (NDT) methods are also employed to detect any internal defects.
6. Gear Cutting Methods:
Spiral bevel gears can be manufactured using various cutting methods, including face milling, face hobbing, and face grinding. Each method offers unique advantages in terms of gear quality and production efficiency. The selection of the appropriate gear cutting method depends on factors such as gear size, complexity, and production volume.
7. Tooth Contact Pattern Adjustment:
Achieving proper tooth contact patterns is essential for smooth and efficient gear operation. During the manufacturing process, adjustments may be made to the machine settings or gear tooth surfaces to optimize the tooth contact pattern, ensuring even load distribution across the gear teeth.
8. Gear Assembly and Testing:
After the individual gear components are precision machined, they are assembled into gear sets. Gear sets are then tested for proper meshing, backlash, and noise levels. Testing ensures that the final assembled gears meet the required performance specifications.
9. Surface Coatings:
Surface coatings or treatments can be applied to improve gear performance, such as reducing friction, enhancing wear resistance, or improving corrosion resistance.
Precision engineering practices are vital to ensure the high-quality production of spiral bevel gears, meeting strict performance and reliability standards. By incorporating advanced design and manufacturing techniques, engineers can create spiral bevel gears that deliver optimal efficiency, noise reduction, and durability in a wide range of industrial applications.
