
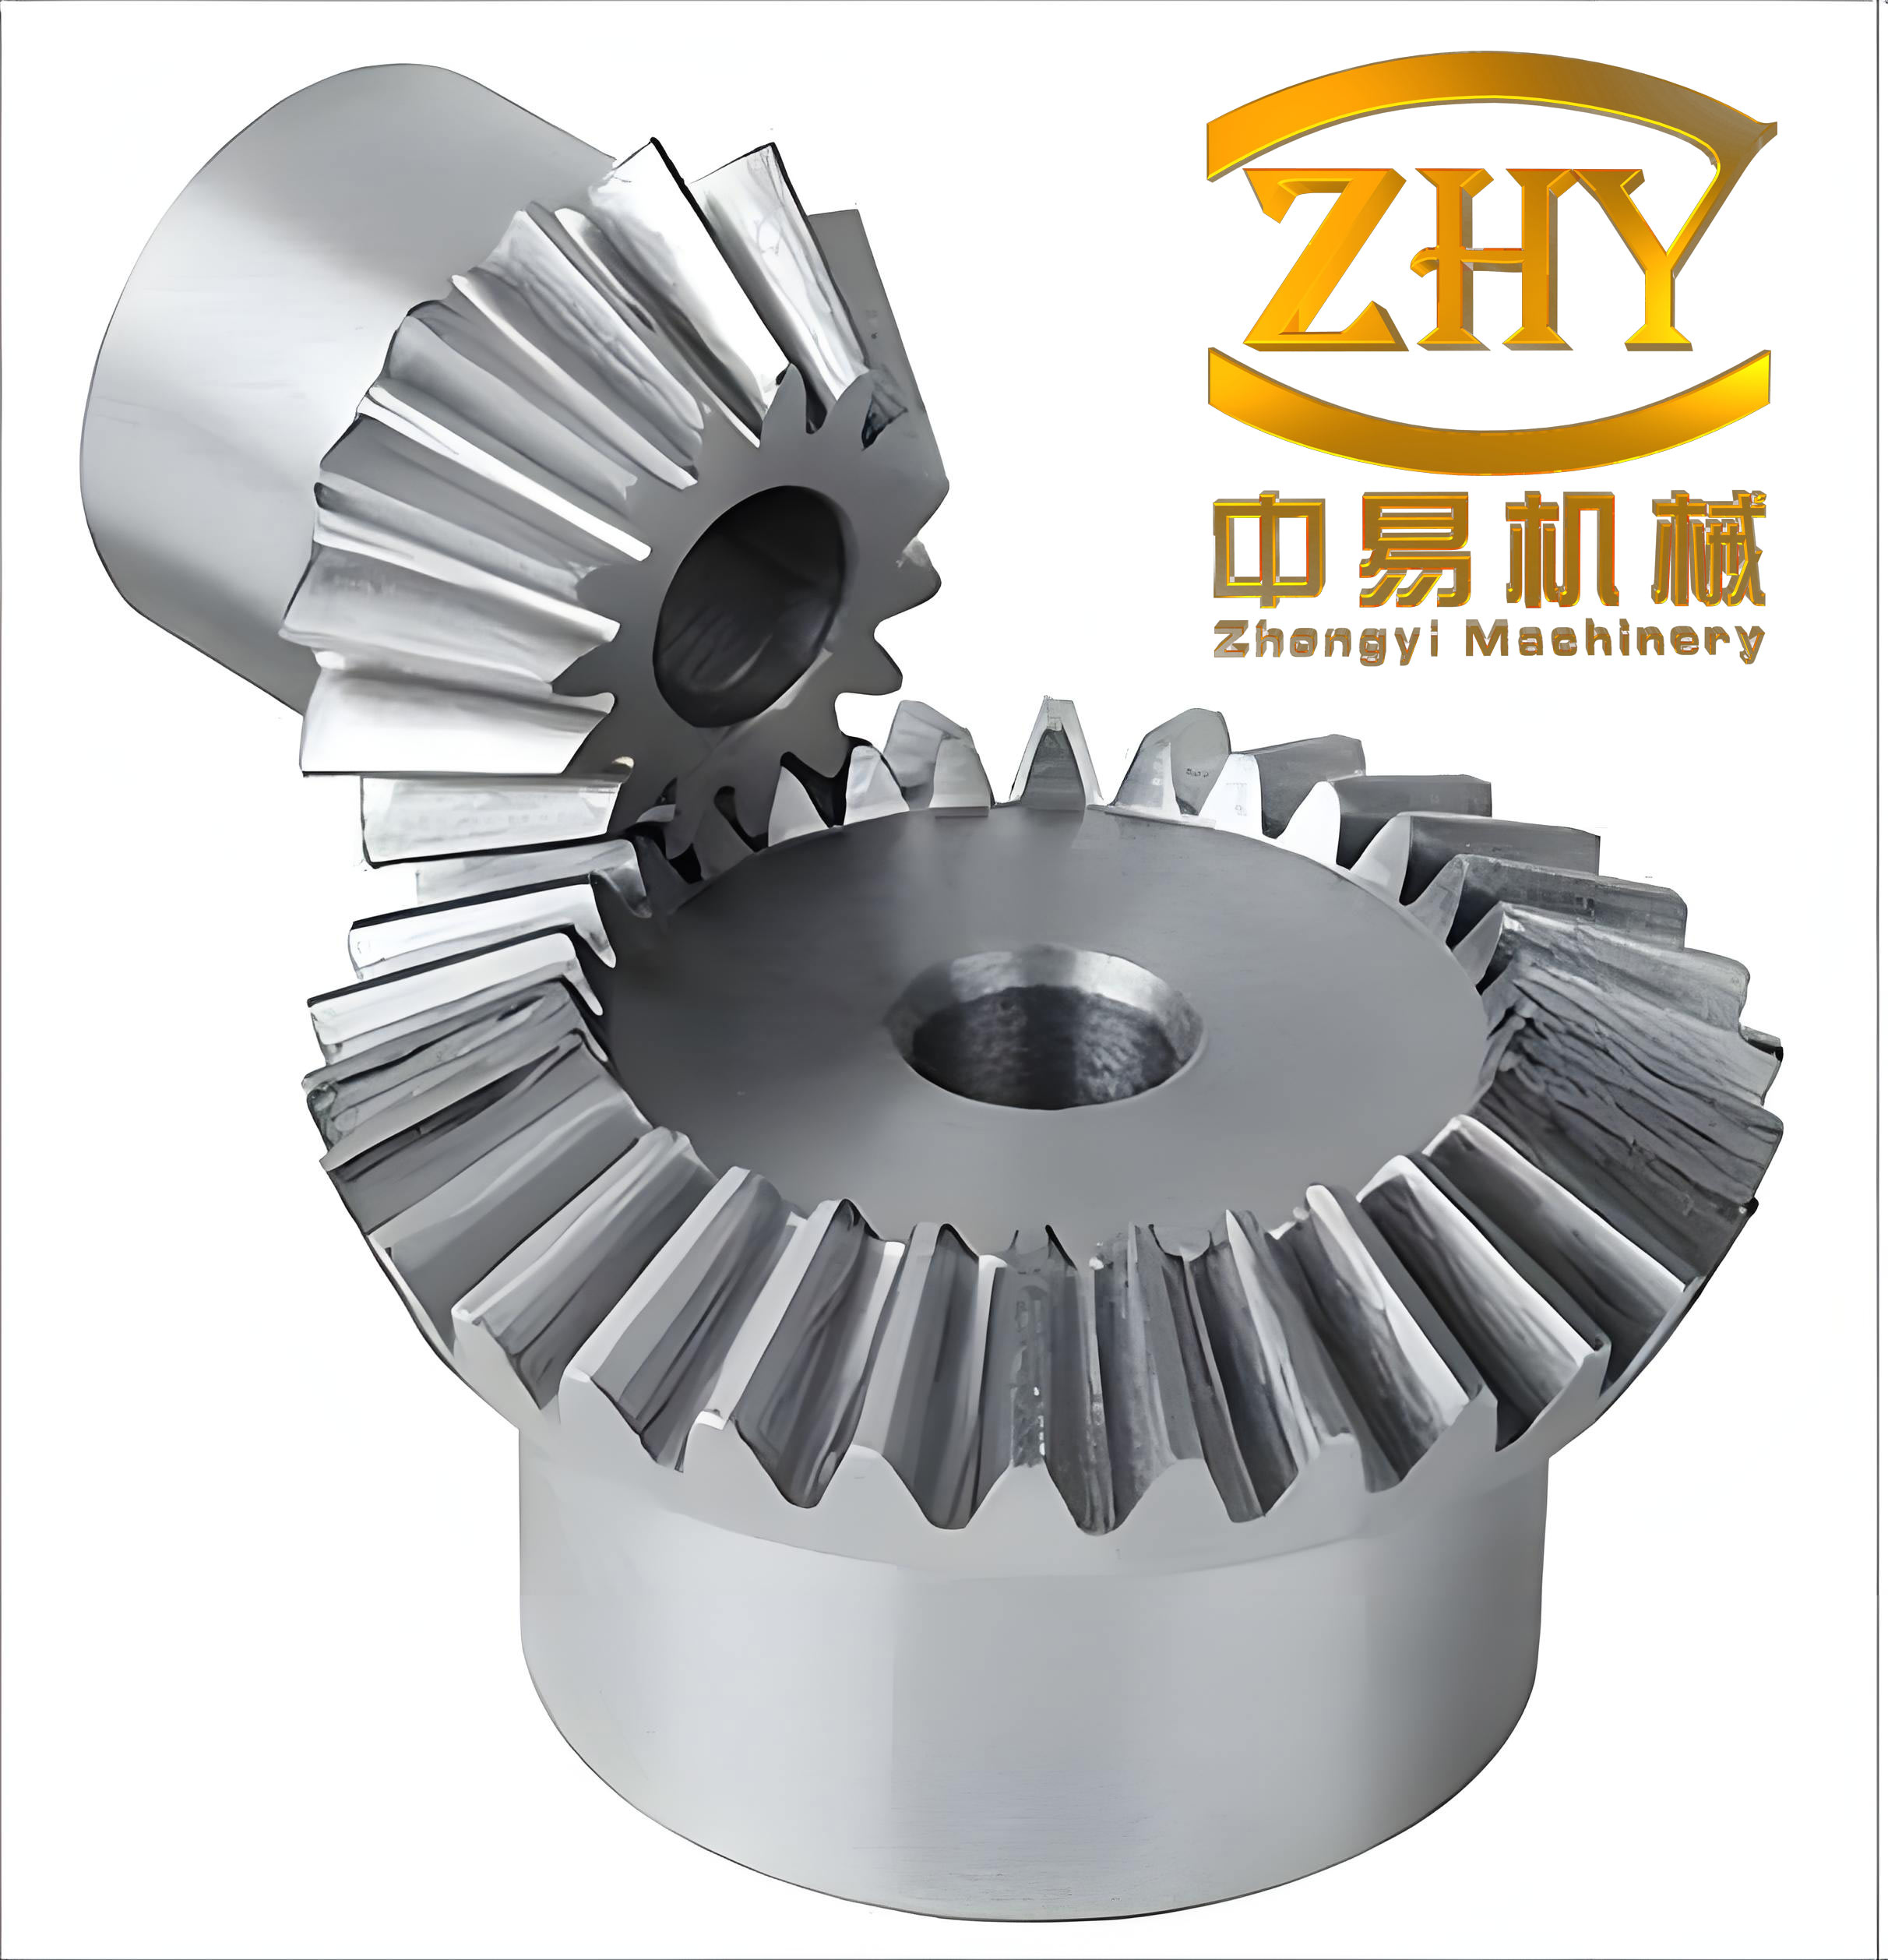
In my extensive experience working with gear manufacturing and precision metrology, one of the most persistent challenges has been the comprehensive inspection of the tooth form on electrodes used for Electrical Discharge Machining (EDM) of straight bevel gears. Typically, for a straight bevel gear, one can only readily measure the chordal tooth thickness and chordal height at the large end. However, verifying the integrity of the entire tooth profile—its true involute shape, root fillet, and overall geometry—presents a significant difficulty. This is particularly critical when the electrode itself is a straight bevel gear, as any form error will be directly replicated onto the forging die or final product. To address this, I developed and have successfully implemented a method that leverages computational power for accuracy and practical optical comparison for verification. This approach involves using a microcomputer to calculate and graphically represent the magnified involute profile from the developed back-cone, which is then used as a master template on a profile projector for direct gear inspection. This methodology not only ensures high measurement accuracy but also proves to be a highly cost-effective solution compared to acquiring dedicated, ultra-precise gear inspection equipment.
The core of the problem lies in the geometry of the straight bevel gear. The teeth are tapered, and their profiles are defined on the back cone, which when developed, represents a virtual spur gear. The large-end tooth profile of the straight bevel gear corresponds to the tooth profile of this virtual spur gear. For a standard straight bevel gear with a shaft angle of 90°, the geometric relationships are foundational. Let $z$ be the number of teeth, $m$ be the module at the large end, and $\alpha$ be the pressure angle. The pitch cone angle $\delta$ is given by:
$$ \delta = \arctan\left(\frac{z_1}{z_2}\right) $$
For a gear, its own pitch cone angle is defined relative to its mating partner. The key transformation is to the virtual spur gear on the developed back cone. The virtual number of teeth $z_v$ is calculated as:
$$ z_v = \frac{z}{\cos \delta} $$
The radius of the virtual pitch circle $r_v’$, the virtual base circle $r_{bv}$, and the virtual addendum circle $r_{av}$ are then:
$$ r_v’ = \frac{m z_v}{2} $$
$$ r_{bv} = r_v’ \cdot \cos \alpha $$
$$ r_{av} = r_v’ + h_a = r_v’ + (h_a^* + x)m $$
where $h_a^*$ is the addendum coefficient and $x$ is the radial modification (shift) coefficient at the large end. The total virtual tooth height $h_v$ is $h_v = (2h_a^* + c^*)m$, where $c^*$ is the bottom clearance coefficient.
| Parameter | Symbol | Formula (Large End) |
|---|---|---|
| Number of Teeth | $z$ | Given |
| Module | $m$ | Given |
| Pressure Angle | $\alpha$ | Given |
| Pitch Cone Angle | $\delta$ | $\delta = \arctan(z / z_{\text{mate}})$ |
| Virtual Number of Teeth | $z_v$ | $z_v = z / \cos \delta$ |
| Virtual Pitch Radius | $r_v’$ | $r_v’ = m z_v / 2$ |
| Virtual Base Radius | $r_{bv}$ | $r_{bv} = r_v’ \cdot \cos \alpha$ |
| Virtual Addendum Radius | $r_{av}$ | $r_{av} = r_v’ + (h_a^* + x)m$ |
| Chordal Thickness at Virtual Pitch Circle | $s_v$ | $s_v = m z_v \sin\left(\frac{\pi}{2z_v} + \frac{2x \tan \alpha}{z_v}\right)$ |
The precise generation of the magnified tooth profile plot begins with the parametric equations of the involute curve relative to the virtual gear’s center. For any point on the involute profile between the base circle and the addendum circle, defined by a radius $r_i$ (where $r_{bv} \le r_i \le r_{av}$), the corresponding roll angle $\theta_i$ and the pressure angle $\alpha_i$ at that radius are:
$$ \alpha_i = \arccos\left(\frac{r_{bv}}{r_i}\right) $$
$$ \theta_i = \tan(\alpha_i) – \alpha_i \quad \text{(in radians)} $$
This is the standard involute function, $\text{inv}(\alpha_i) = \tan \alpha_i – \alpha_i$.
To plot the profile, we need Cartesian coordinates $(x_i, y_i)$. We establish a coordinate system where the Y-axis passes through the center of the tooth. The coordinates for the left flank of the tooth are given by:
$$ x_i = r_i \cdot \sin\left( \theta_i – \theta_s \right) $$
$$ y_i = r_i \cdot \cos\left( \theta_i – \theta_s \right) $$
where $\theta_s$ is the half-tooth-space angle on the virtual pitch circle, adjusted for profile shift, which positions the profile symmetrically. It is calculated based on the standard tooth thickness relations. For the right flank, symmetry is used: $x_i’ = -x_i$, $y_i’ = y_i$.
The chordal tooth thickness $s_{ci}$ at any radius $r_i$ is a crucial parameter for both plotting and later verification. It is calculated as the linear distance between the left and right profile points at the same Y-coordinate level. Its midpoint’s vertical distance from the gear center, $H_i$, is simply $y_i$.
$$ s_{ci} = 2 \cdot |x_i| $$
The fundamental logic flow for the computer program I developed is straightforward: iterate through radii from the virtual base circle to the virtual addendum circle, compute the corresponding $(x_i, y_i, s_{ci})$, and output the results. The initial step is to calculate all the fundamental virtual gear parameters from the input specifications of the straight bevel gear. The program then systematically calculates the profile points. A key output for practical use is the chordal thickness $s_{c0}$ and chordal height $H_0$ at the virtual pitch circle (representing the large-end pitch cone), which are used for traditional sizing checks.
| Radius $r_i$ (mm) | Pressure Angle $\alpha_i$ (deg) | Involute Roll Angle $\theta_i$ (rad) | Coordinate $x_i$ (mm) | Coordinate $y_i$ (mm) | Chordal Thickness $s_{ci}$ (mm) |
|---|---|---|---|---|---|
| $r_{bv}=45.00$ | 0.000 | 0.000000 | 0.000 | 45.000 | 0.000 |
| $r_i=47.50$ | 18.190 | 0.013105 | 1.254 | 47.483 | 2.508 |
| $r_i=50.00$ | 25.841 | 0.036056 | 2.876 | 49.917 | 5.752 |
| $r_v’=51.50$ | 29.518 | 0.054165 | 4.210 | 51.327 | 8.420 |
| $r_i=53.00$ | 32.255 | 0.072450 | 5.597 | 52.702 | 11.194 |
| $r_{av}=54.00$ | 33.826 | 0.085253 | 6.582 | 53.596 | 13.164 |
With the coordinate data computed, the next step is to create a highly accurate, magnified drawing of the nominal tooth profile, including its tolerance zone. I use dimensionally stable, transparent drafting film or high-quality acetate. This film is secured onto the table of a precision jig borer or coordinate measuring machine. The Y-axis of the machine table is aligned with the tooth centerline. For each calculated point, I move the table to the magnified $H_i$ (or $y_i$) position. At this location, I carefully scribe a fine, perpendicular line across the film. On this line, I mark the precise left and right profile points corresponding to $\pm x_i$. This process is repeated for all data points from the base circle to the addendum. Subsequently, a French curve or a flexible spline is used to connect these marked points smoothly, creating the accurate involute profile curve.
The tooth profile above the addendum circle is simply drawn as a horizontal line (representing the tip land or, if applicable, the chamfer). The region below the base circle is non-involute. This portion is approximated by a straight line parallel to the Y-axis (tooth centerline). The top of this line connects tangentially to the end of the involute curve at the base circle point. The bottom of this line defines the start of the root fillet. Its vertical position $H_{root}$ is found by subtracting the magnified total tooth height from the addendum level. An approximation can be made using the initial computed values: $H_{root} \approx y_0 – (h_v \cdot \text{Magnification Factor})$, where $y_0$ is the $y$-coordinate at the virtual pitch circle from the initial calculation. The root fillet itself, with a specified radius $r_f$ (where $r_f = \rho_f^* m$, and $\rho_f^*$ is the fillet radius coefficient), is then carefully drawn tangent to this vertical line and to the line representing the bottom of the tooth space. Finally, the tooth profile tolerance, derived from the gear’s accuracy grade (e.g., AGMA or DIN standards), is applied. The nominal profile line is offset inwards by the magnified value of the profile form tolerance to create a tolerance band. The final drawing clearly shows the nominal tooth line and the adjacent zone representing the acceptable limits of variation.
| Tooth Feature | Drawing Representation | Notes |
|---|---|---|
| Involute Profile | Smooth curve from marked $(x_i, y_i)$ points. | From virtual base circle to virtual addendum circle. |
| Tooth Top | Straight horizontal line at $y = r_{av}$. | Represents the large-end tooth tip land. |
| Non-Involute Region | Straight vertical line from base circle point to $H_{root}$. | Approximation of the undercut/root transition zone. |
| Root Fillet | Arc of radius $r_f$, tangent to vertical line and root bottom. | Critical for stress concentration; must be inspected. |
| Tolerance Band | Zone parallel to the nominal profile, offset by $\pm F_{\alpha}/2$. | $F_{\alpha}$ is the total profile form tolerance per gear grade. |
The actual inspection of the physical straight bevel gear electrode is performed using a optical profile projector, such as a JGW-type or similar, with a magnification lens (e.g., 20x or 50x). The gear, without its tip chamfers, is mounted on a precision mandrel. This assembly is then placed on the projector’s rotary stage. The critical alignment step involves rotating the gear until the optical axis of the projector is perfectly coincident with the pitch cone line of the straight bevel gear. This is achieved by observing the projected image and adjusting until the tooth profile appears symmetrical and correctly oriented for measurement. Because the root cone angle is smaller than the pitch cone angle, transmitted light may not fully illuminate the root fillet. To solve this, I enhance the reflectivity of the large-end back-cone surface by ensuring it is finely finished. Using the projector’s surface illumination (reflected light mode) in conjunction with profile illumination often yields a clear, high-contrast image of the entire tooth form, including the root.
The master drawing on the transparent film is placed on the projector’s viewing screen, with its tooth centerline (Y-axis) and tip line carefully aligned with the crosshairs or grid on the screen. The magnified shadow of the actual straight bevel gear tooth is then projected onto the screen, superimposed over the drawing. The inspection involves a detailed visual and quantitative comparison:
- Visual Form Inspection: The involute portion of the shadow is observed for smoothness and freedom from waviness, bumps, or irregularities.
- Pressure Angle Check: The general slope of the involute profile in its functional region is compared to the drawing. A significant deviation indicates an incorrect pressure angle.
- Dimensional Verification: Using the projector’s micrometer stage, key dimensions are measured on the shadow and compared to the nominal (and tolerance) lines on the drawing:
- Total tooth height ($h$).
- Chordal tooth height ($\bar{h}_a$).
- Chordal tooth thickness ($\bar{s}$) at the large-end pitch line.
- Root Fillet Conformity: The shape and size of the root fillet in the shadow are checked against the drawn fillet arc.
- Composite Error Assessment: The entire tooth shadow must fall within the pre-drawn tolerance band. Any portion of the shadow protruding beyond the tolerance zone indicates a form error that exceeds the allowable limit for the specified accuracy grade of the straight bevel gear.
Any deviation identified through this process signifies a non-conforming part. The results provide direct feedback for adjusting the gear-cutting machine, correcting the electrode fabrication process, or re-grinding the cutting tool.
The mathematical rigor behind the profile calculation guarantees the fundamental accuracy of the master template. The primary source of measurement uncertainty in this method stems from practical execution: the accuracy of scribing the master drawing, the alignment of the gear on the projector, the resolution of the projector’s optics and stage, and the skill of the inspector in judging the fit of the shadow within the tolerance band. In a controlled environment, I have found the overall limit of error for this method to be within ±3 to ±5 micrometers on the actual gear scale, depending on magnification and care. This level of precision is more than sufficient for inspecting electrodes destined for precision forging die manufacture, where the final gear quality is paramount. This computer-aided graphical inspection technique effectively bridges the gap between high-cost, dedicated gear analyzers and the need for reliable, affordable quality control in the production of critical components like straight bevel gears for automotive differentials. It transforms the challenging inspection of the straight bevel gear’s complex tooth form into a manageable, precise, and highly visual process.