
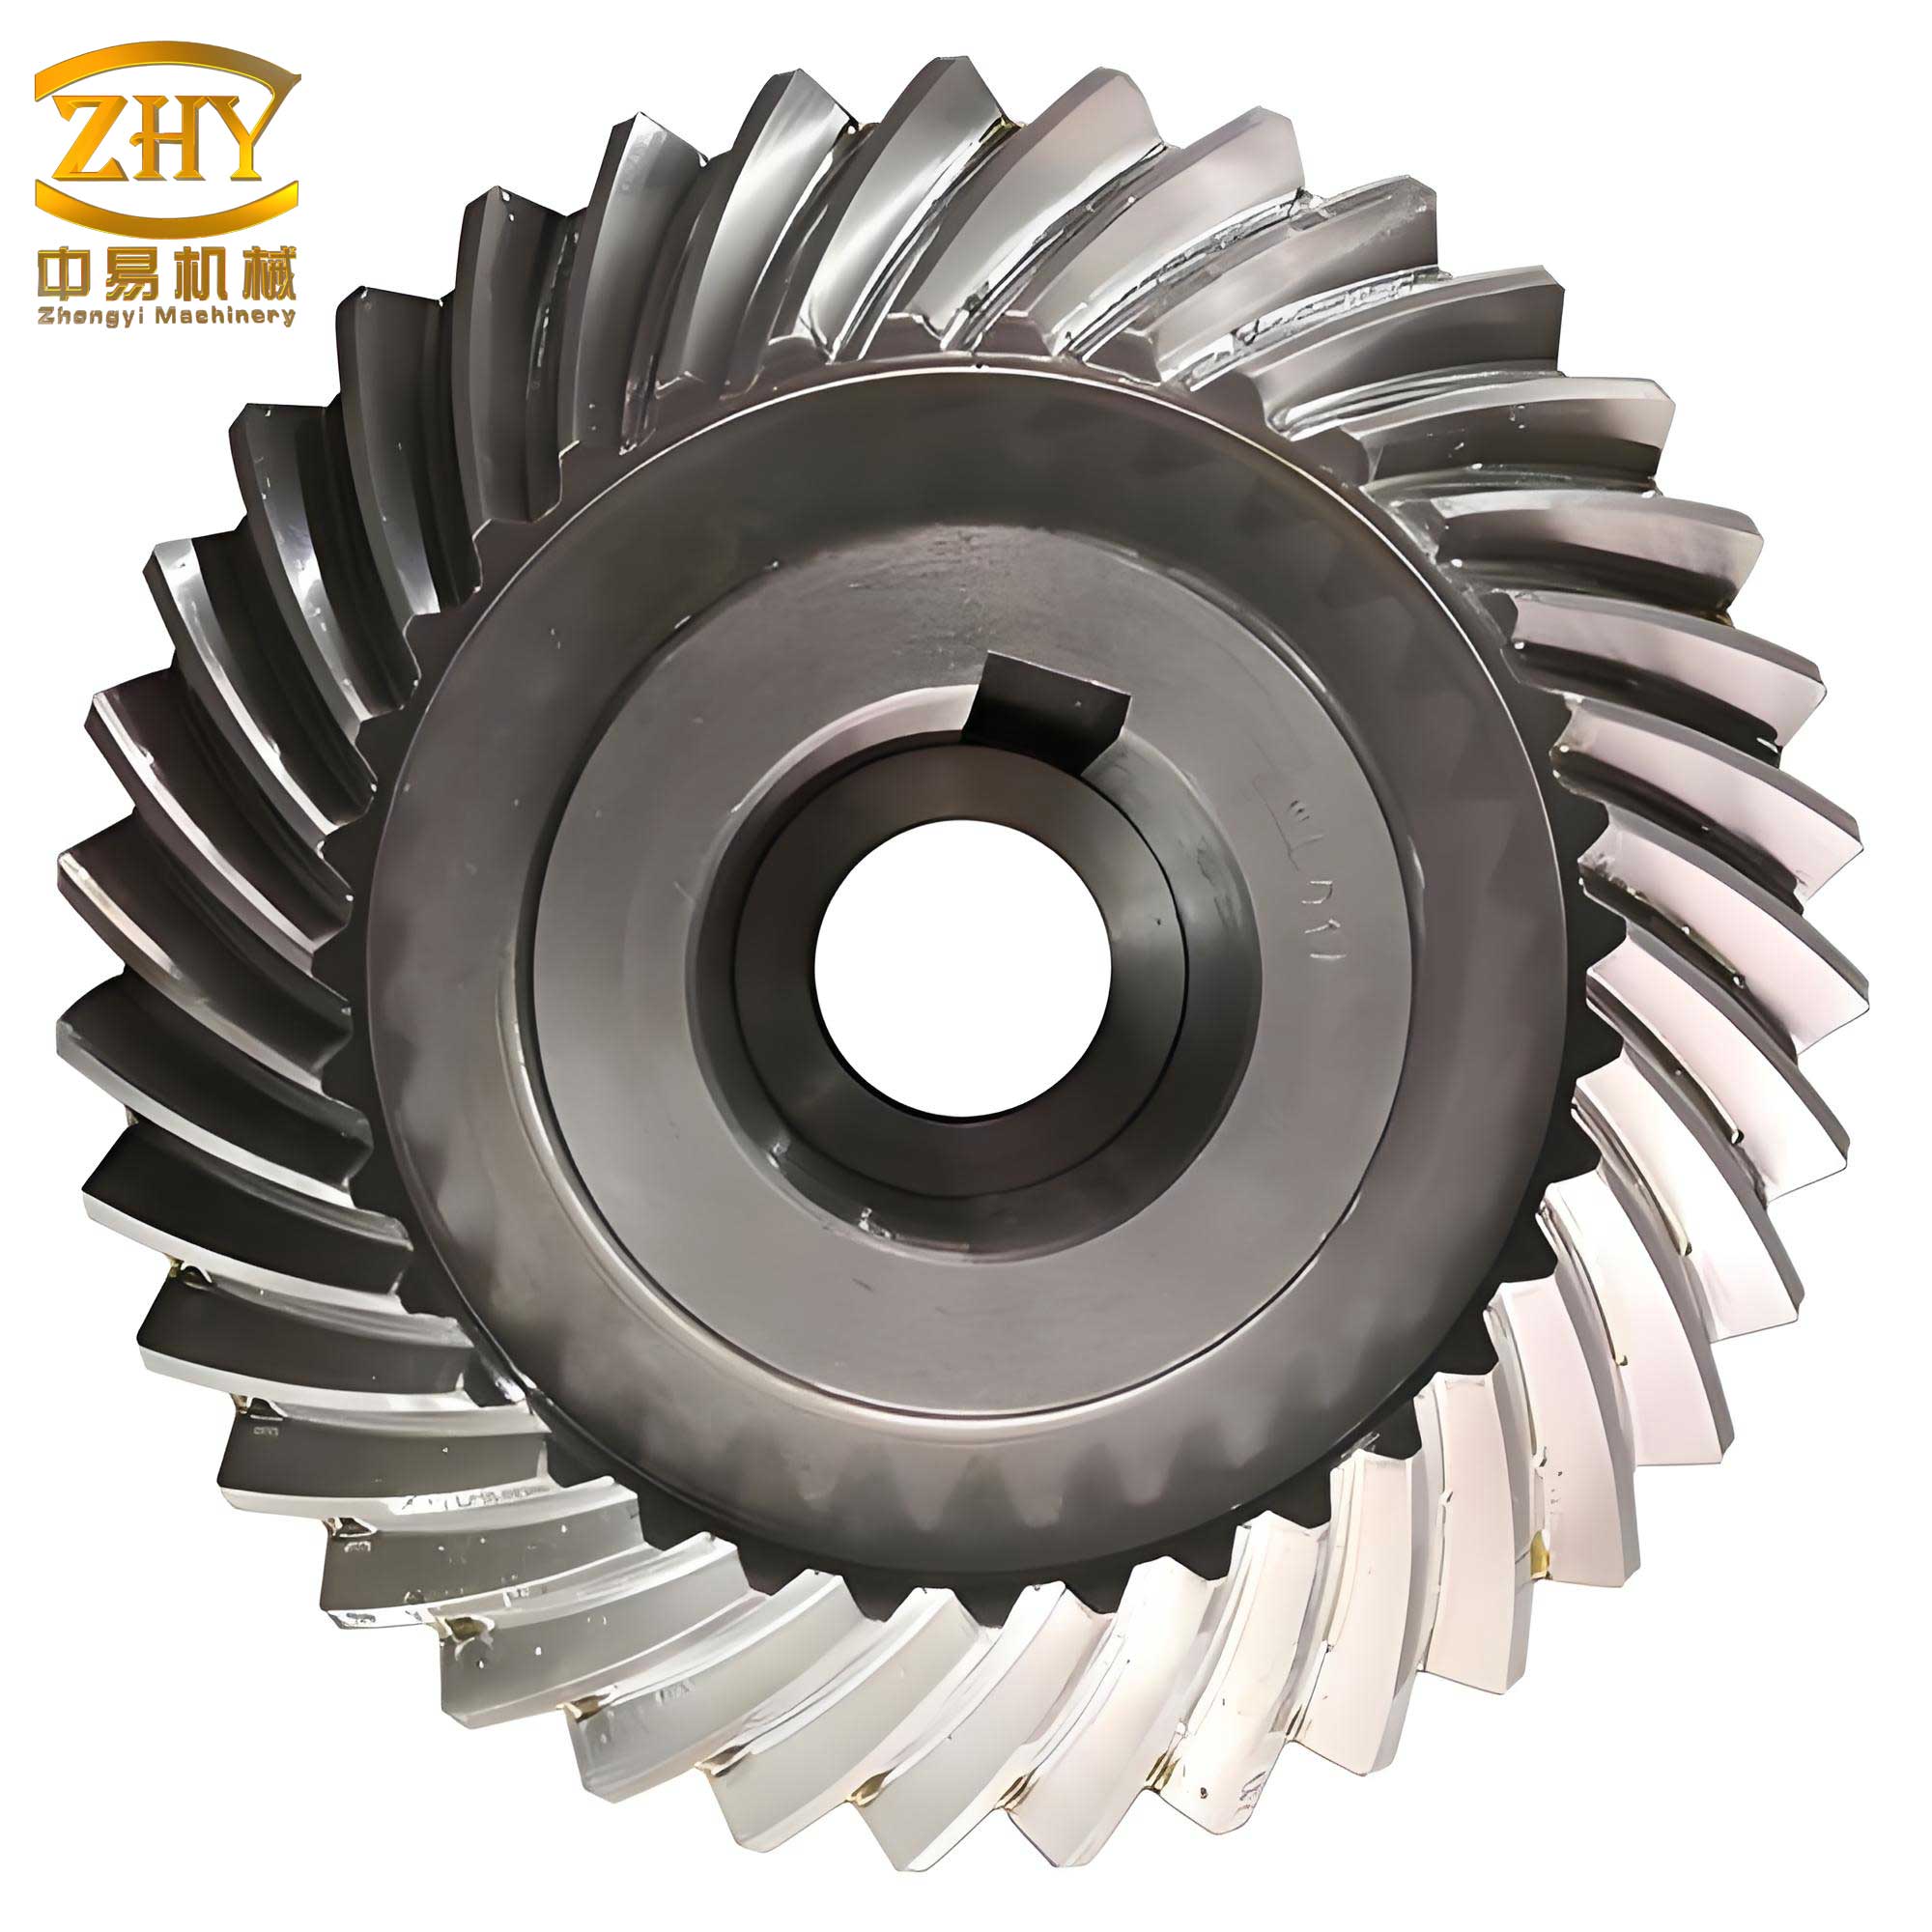
In the field of mechanical transmission, spiral gears play a crucial role due to their ability to provide smooth and efficient power transfer. However, accurately measuring key parameters such as the helix angle on the pitch circle of spiral gears has long been a challenge for engineers and technicians. Without precise knowledge of the helix angle, it is impossible to fully determine the gear’s specifications, including pitch diameter, lead, and module. This issue becomes even more complex for modified or non-standard spiral gears. In this article, I will share my experiences and insights into developing a measurement instrument designed to simplify the process of determining the helix angle on spiral gears. My focus is on practical methods that can be implemented in most workshop settings, even with limited resources.
The fundamental problem with spiral gears is that while parameters like pressure angle and module can be measured using tools like gear calipers, the helix angle on the pitch circle remains elusive. This angle is essential for calculating the lead and pitch diameter, which are critical for manufacturing and inspection. Traditionally, various methods have been employed, but they often involve cumbersome steps or require specialized equipment. For instance, some advanced units use instruments to measure the helix angle on the base cylinder and then compute the pitch circle helix angle. However, this approach is not accessible to most workshops, leading to inefficiencies. My preliminary research aimed to address this gap by developing a simple yet effective measurement instrument. The core idea revolves around the principle that a single-tooth gear, when meshed with a spiral gear, can directly indicate the helix angle on the pitch circle. This instrument, which I designed and tested, eliminates the need for complex calculations and reduces measurement time significantly.
Before delving into the instrument’s design, let me outline the traditional measurement methods for spiral gears. These methods highlight the challenges that inspired the development of my instrument. The first method, which I refer to as the “primitive measurement approach,” involves determining the lead of the spiral gear through indirect means. This process starts with measuring the outside diameter of the spiral gear. If the gear has an odd number of teeth, making direct measurement difficult, a sleeve can be fabricated to fit over the gear, and the inside diameter of the sleeve is used to infer the outside diameter. Next, the gear is coated with ink or similar substance, and its tooth traces are rolled onto a piece of paper placed on a flat surface. By using a protractor, the spiral angle on the tip circle, denoted as $\beta_a$, can be measured from these traces. This angle is related to the helix angle on the outside diameter, but it is not the same as the pitch circle helix angle, which is what we ultimately need.
To calculate the lead of the spiral gear, we use the following formula based on the outside diameter and the tip circle spiral angle:
$$ L = \pi \cdot d_a \cdot \cot(\beta_a) $$
where $d_a$ is the outside diameter and $\beta_a$ is the spiral angle on the tip circle. Once the lead $L$ is obtained, it can be verified using a universal milling machine. The gear is mounted on the machine, and a dial indicator is used to check the spiral surface as the table moves. If the dial indicator shows minimal fluctuation, the lead is correct; otherwise, adjustments are made. However, this method has a major flaw: it relies on assuming the pitch diameter based on the gear’s meshing with a master gear or rack, which is inaccurate, especially for modified spiral gears. The pitch circle helix angle $\beta$ is then calculated using the lead and the assumed pitch diameter $d$:
$$ \tan(\beta) = \frac{L}{\pi \cdot d} $$
This approach is not only time-consuming but also prone to errors, as it does not directly measure the helix angle on the pitch circle. Therefore, I sought a more reliable solution.
With the advent of gear measurement calipers, the process improved slightly. These calipers allow for direct measurement of the module or diametral pitch and pressure angle of spiral gears. However, they still do not provide the helix angle on the pitch circle. In this enhanced method, the lead is determined as before, but now the vertical circular pitch on the pitch circle is known from the caliper measurements. The helix angle $\beta$ can then be calculated using the formula:
$$ \tan(\beta) = \frac{L}{\pi \cdot d} = \frac{L}{p_z \cdot z} $$
where $p_z$ is the vertical circular pitch and $z$ is the number of teeth. The pitch diameter $d$ can be derived from:
$$ d = \frac{z \cdot m_n}{\cos(\beta)} $$
where $m_n$ is the normal module. This method is more accurate than the primitive one, but it still requires lead measurement and calculations, which can be tedious. To illustrate, consider an example: a spiral gear with an outside diameter of 5 inches, 20 teeth, and right-hand spiral. Using gear calipers, the diametral pitch is measured as 4, and the pressure angle as 20°. The tip circle spiral angle $\beta_a$ is measured as 15°30′. The lead is calculated as:
$$ L = \pi \cdot 5 \cdot \cot(15°30′) \approx 56.5 \text{ inches} $$
Then, assuming a vertical circular pitch from calipers, the pitch circle helix angle $\beta$ is computed. For instance, if $p_z = 0.7854$ inches, then:
$$ \tan(\beta) = \frac{56.5}{0.7854 \cdot 20} \approx 3.6 \Rightarrow \beta \approx 74.5° $$
This value can be refined through verification on a milling machine. Nonetheless, the process underscores the need for a direct measurement tool, which led me to design the spiral gear measurement instrument.
The principle behind my instrument is based on the kinematic relationship between spiral gears and a single-tooth gear, often called a “master tooth.” When a spiral gear meshes with a spiral rack or a single-tooth gear, the inclination of the tooth must match the helix angle on the pitch circle of the spiral gear. If the single-tooth gear is adjusted to mesh perfectly with the spiral gear, its angle relative to the gear axis will directly indicate the pitch circle helix angle. This eliminates the need for lead calculations and assumptions about pitch diameter. The instrument consists of three main components: the main body, a spiral gear fixing frame, and an indicator rod. The main body includes a handwheel that drives the fixing frame via a screw mechanism. The fixing frame holds the spiral gear between centers, ensuring alignment with the indicator rod. The indicator rod is the heart of the instrument, featuring a replaceable single-tooth gear that can be adjusted for different pressure angles. The rod has a graduated scale or dial to read the helix angle directly.
I designed two versions of the indicator rod to cater to different precision and manufacturing capabilities. The first design uses a gear train to drive separate degree and minute hands, similar to a clock mechanism. This allows for direct reading of angles in degrees and minutes, but it is complex and costly to manufacture. The second design employs a differential dial, which simplifies the structure by using a single graduated disk. While this design is easier to produce, it requires reading minutes from a vernier scale, much like a caliper. Both designs aim to provide accurate measurements, but the choice depends on available resources. Below, I summarize the parts for each design in tables to clarify their construction.
| Part Number | Part Name | Description |
|---|---|---|
| 1 | Single-Tooth Gear | Adjustable for pressure angle; slides in a slot on the indicator rod. |
| 2 | Indicator Rod | Houses the single-tooth gear and has a graduated scale for reading angles. |
| 3 | Driving Gear | Transmits motion from the rod to the degree hand via a gear train. |
| 4 | Degree Hand | Indicates degrees on a dial; gear ratio ensures accurate movement. |
| 5 | Minute Hand | Indicates minutes on the same dial; driven by a separate gear train. |
| 6 | Fixed Bracket | Supports the indicator rod and ensures alignment with the spiral gear. |
| 7 | Locking Screw | Secures the single-tooth gear in position after adjustment. |
The gear train in the first design ensures that when the indicator rod rotates, the degree and minute hands move proportionally. For example, if the rod rotates by 1 degree, the degree hand moves by 1 degree, and the minute hand moves by 60 minutes through a 60:1 ratio. This design is precise but requires high-quality gears to avoid backlash. The formula for the gear ratio can be expressed as:
$$ \text{Gear Ratio} = \frac{\text{Teeth on Driven Gear}}{\text{Teeth on Driving Gear}} $$
In contrast, the second design simplifies this mechanism by using a differential dial. The dial is directly attached to the indicator rod and has graduated marks for degrees. Minutes are read from a vernier scale engraved on the rod. This design reduces the number of parts and is more economical. Below is the parts list for this version.
| Part Number | Part Name | Description |
|---|---|---|
| 1 | Single-Tooth Gear | Same as in the first design; adjustable for pressure angle. |
| 2 | Indicator Rod | Features a differential dial and vernier scale for angle reading. |
| 3 | Differential Dial | Rotates with the rod; marked with degree divisions from 0° to 360°. |
| 4 | Vernier Scale | Etched on the rod; allows reading of minutes up to 1′ precision. |
| 5 | Ball Bearing | Supports the rod for smooth rotation; reduces friction. |
| 6 | Locking Mechanism | Holds the rod in place during measurement to prevent drift. |
| 7 | Base Plate | Provides stability and mounts the entire instrument on a workbench. |
The differential dial design relies on accurate graduation of the dial and the vernier scale. The helix angle $\beta$ is read directly as:
$$ \beta = \text{Degree reading} + \text{Minute reading from vernier} $$
For instance, if the dial shows 25° and the vernier aligns at 30′, then $\beta = 25.5°$. This method is straightforward but requires careful calibration during manufacturing.
Now, let me describe how to use the instrument for measuring spiral gears. The procedure is designed to be user-friendly, even for operators with basic training. First, adjust the single-tooth gear on the indicator rod to match the pressure angle of the spiral gear being measured. This is done using a pressure angle template, which is a flat gauge with the desired angle (e.g., 20°, 14.5°). The template is placed against the single-tooth gear, and the gear is rotated until its tooth flank contacts the template uniformly. Once adjusted, the single-tooth gear is locked in place with a screw. Next, mount the spiral gear on the fixing frame between centers, ensuring it is secure and aligned. Then, turn the handwheel to advance the spiral gear towards the indicator rod. Simultaneously, rotate the indicator rod gently to allow the single-tooth gear to mesh with the spiral gear. Continue advancing until the meshing is firm and full contact is achieved. At this point, the indicator rod will have rotated to an angle that corresponds to the pitch circle helix angle of the spiral gear. Read the angle from the scale or dial on the rod. This reading is the helix angle $\beta$ directly, without any need for calculations.
To ensure accuracy, the instrument must be calibrated and manufactured with precision. Key factors include the alignment of centers, the quality of the single-tooth gear, and the graduation of the scale. For high-precision applications, the measured helix angle can be verified using a universal milling machine with a dial indicator, as described earlier. The lead $L$ can be recalculated from the measured helix angle and pitch diameter $d$ using:
$$ L = \pi \cdot d \cdot \tan(\beta) $$
where $d$ can be derived from gear caliper measurements or other methods. If discrepancies are found, the helix angle can be fine-tuned, and the process repeated until consistency is achieved. This verification step is crucial for critical applications where spiral gears must meet tight tolerances.
In terms of instrument accuracy, it depends heavily on manufacturing capabilities. For workshops with advanced equipment, the indicator rod can be made with minimal error, perhaps within ±1 minute of arc. However, for simpler setups, errors might be larger, necessitating the verification step. The single-tooth gear must be ground accurately to the correct pressure angle, and its tooth thickness should approximate the space width of the spiral gear to ensure proper meshing on the pitch circle. I recommend using hardened steel for the single-tooth gear to avoid wear over time. Additionally, the instrument’s base should be made from stable material like cast iron to prevent deformation during use.
The application of this instrument extends beyond just measuring spiral gears. It can be used for inspection in production lines, reverse engineering of unknown spiral gears, and quality control in gear manufacturing. For example, when dealing with a batch of spiral gears, the instrument can quickly check if each gear meets the specified helix angle, reducing scrap and rework. Moreover, it can be adapted for different gear sizes by changing the centers or the single-tooth gear. This flexibility makes it a valuable tool in various industrial settings.
From a theoretical perspective, the relationship between spiral gears and their helix angles is fundamental to gear geometry. The helix angle $\beta$ influences many parameters, such as the normal module $m_n$, axial pitch $p_x$, and transverse module $m_t$. These are related by:
$$ m_n = m_t \cdot \cos(\beta) $$
$$ p_x = \frac{\pi \cdot m_n}{\sin(\beta)} $$
Understanding these relationships helps in designing spiral gears for specific applications, such as high-speed transmissions or heavy-load machinery. My instrument simplifies the practical side of this understanding by providing direct measurement.
In conclusion, the spiral gear helix angle measurement instrument I developed offers a practical solution to a long-standing problem in gear metrology. By leveraging the meshing principle between a single-tooth gear and a spiral gear, it allows for direct reading of the pitch circle helix angle, eliminating complex calculations and reducing measurement time. While the instrument’s accuracy depends on manufacturing quality, it is accessible to most workshops and can be enhanced with verification steps. The two designs—one with a gear train and one with a differential dial—cater to different precision needs and resource constraints. I believe that this instrument can significantly improve the efficiency and accuracy of spiral gear inspection, contributing to better gear performance and reliability. Future work could focus on automating the reading process or integrating digital sensors for even higher precision. Nonetheless, the core principle remains valid: direct measurement through kinematic coupling is a powerful approach for spiral gears.
Throughout this research, I have emphasized the importance of spiral gears in mechanical systems. Their unique geometry, characterized by helical teeth, enables smoother operation and higher load capacity compared to spur gears. However, this complexity demands precise measurement techniques. My instrument addresses this demand by providing a straightforward tool that bridges the gap between theory and practice. I encourage engineers and technicians to explore such innovative solutions to overcome common challenges in gear technology. With continued advancements, we can further optimize the design and inspection of spiral gears for ever-more demanding applications.