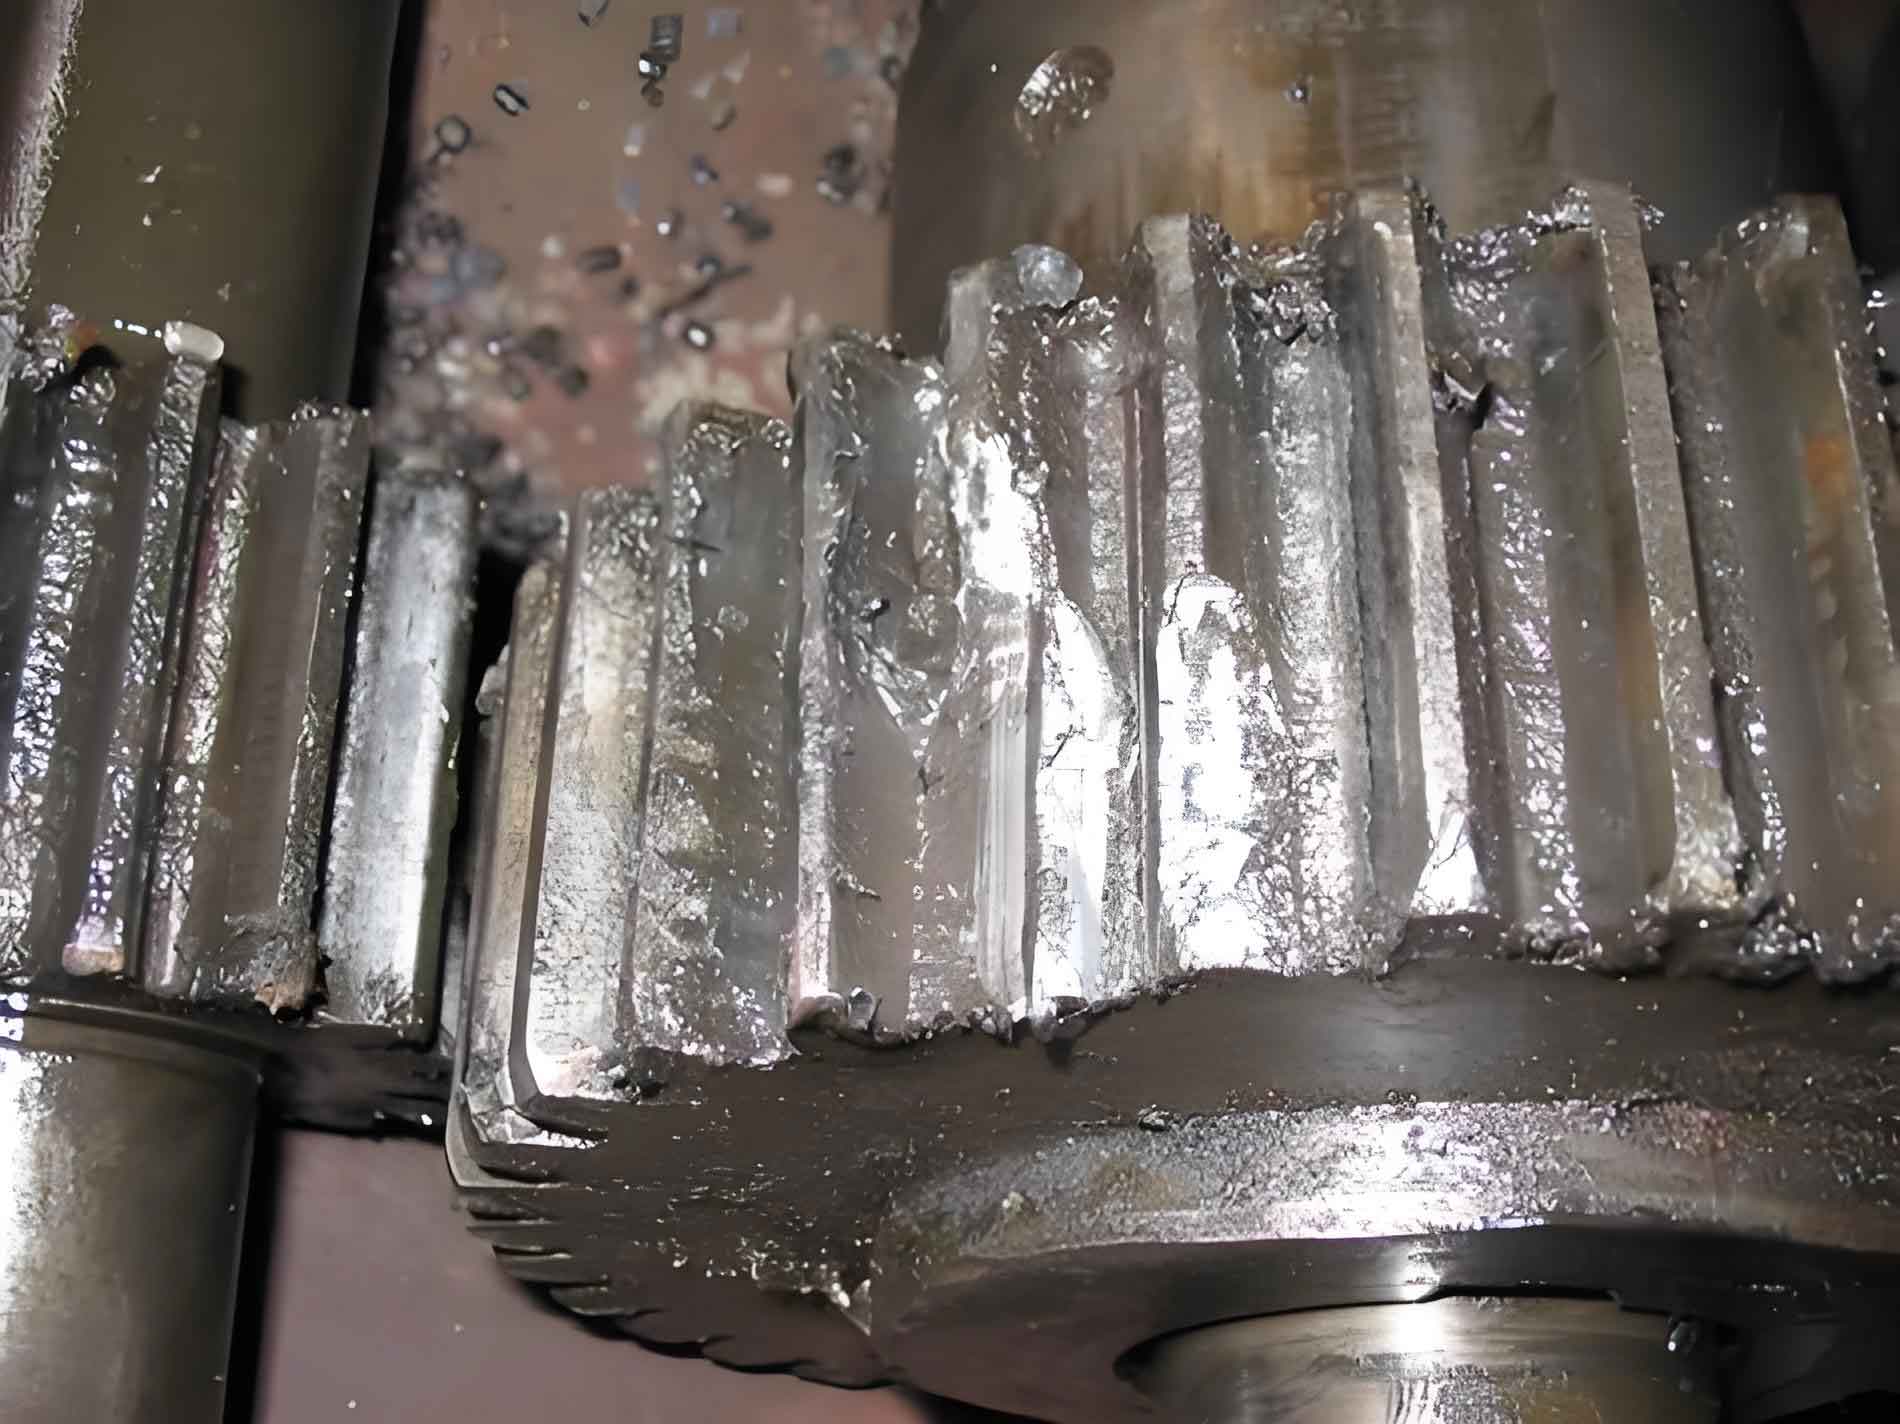
Surface integrity governs the contact fatigue performance of gears, where microscopic imperfections trigger catastrophic gear failure. To quantify surface integrity’s impact, we characterize 18CrNiMo7-6 and 16Cr3NiWMoVNbE carburized gears under grinding, shot peening, dual shot peening, and barrel finishing. Contact fatigue testing reveals dual shot peening elevates subsurface compressive stress to 1250 MPa and surface hardness to 685 HV, boosting fatigue limits by 19.6%. CatBoost algorithms identify critical parameters dictating gear failure resistance:
$$H_{\text{lim}} = 5.5 \times 10^{-7} e^{-0.0045 \cdot \text{SRCS}} – 2.3 \times 10^{-2} e^{0.018 \cdot \text{SH}} Sa^{-0.0016} – 15.8 \cdot \text{MRCS}^{2.1} + 1817.5$$
Surface Integrity Characterization
Residual stress gradients and hardness distributions define fatigue resistance. Key parameters include:
| Material | Process | Sa (μm) | Surface σcomp (MPa) | Max σcomp (MPa) | Surface Hardness (HV) |
|---|---|---|---|---|---|
| 18CrNiMo7-6 | Grinding | 0.75 | -551 | -551 | 659 |
| 18CrNiMo7-6 | Dual Shot Peening | 0.89 | -734 | -1285 | 685 |
| 16Cr3NiWMoVNbE | Dual Shot Peening | 0.41 | -1166 | -1399 | 787 |
Compressive stress depth profiles follow exponential decay:
$$\sigma_{\text{residual}}(z) = \sigma_{\text{surface}} \cdot e^{-kz}$$
where z denotes depth and k the material-specific decay coefficient.
Fatigue Performance Enhancement
Post-processing transforms surface morphology, reducing stress concentrators that initiate gear failure. Post-peening barrel finishing achieves Sa=0.23μm, while dual shot peening + fine particle peening elevates surface hardness to 690 HV. Contact fatigue limits demonstrate:
| Process | Fatigue Limit (MPa) | Increase vs. Grinding |
|---|---|---|
| Grinding (18CrNiMo7-6) | 1570 | Baseline |
| Dual Shot Peening (18CrNiMo7-6) | 1877 | 19.6% |
| DSP+Barrel Finishing (18CrNiMo7-6) | 1911 | 21.7% |
| Dual Shot Peening (16Cr3NiWMoVNbE) | 1989 | 9.5% |

Parameter Contribution Analysis
CatBoost regression quantifies gear failure resistance drivers:
$$ \text{Contribution}_{\text{total}} = \sum_{\text{splits}} \sum_{\text{trees}} \Delta L $$
Dominant parameters and weights:
| Parameter | Contribution | Relationship to Fatigue Limit |
|---|---|---|
| Surface Hardness (HV) | 39.5% | Exponential: $e^{0.018\cdot\text{SH}}$ |
| Max Residual Compression (MPa) | 24.7% | Power-law: $\text{MRCS}^{-2.1}$ |
| Surface Residual Compression (MPa) | 23.5% | Exponential: $e^{-0.0045\cdot\text{SRCS}}$ |
| Surface Roughness Sa (μm) | 12.3% | Power-law: $Sa^{-0.0016}$ |
Prediction Model Validation
The multivariate model achieves 2.9% mean prediction error across 11 process conditions. Residual stress dominates subsurface crack suppression, while hardness governs micropitting resistance – both critical for preventing gear failure. Surface roughness modulates stress concentration factors:
$$K_t = 1 + 2.1\left(\frac{S_z}{S_m}\right) \quad \text{for} \quad \frac{S_z}{S_m} \leq 0.3$$
where $S_z$ = maximum valley depth and $S_m$ = mean peak spacing.
Optimized processing sequences (e.g., shot peening + barrel finishing) simultaneously maximize compressive stress depth ($>$0.24mm) and minimize stress concentrators (Str $>$0.88), delaying crack nucleation and preventing gear failure.
