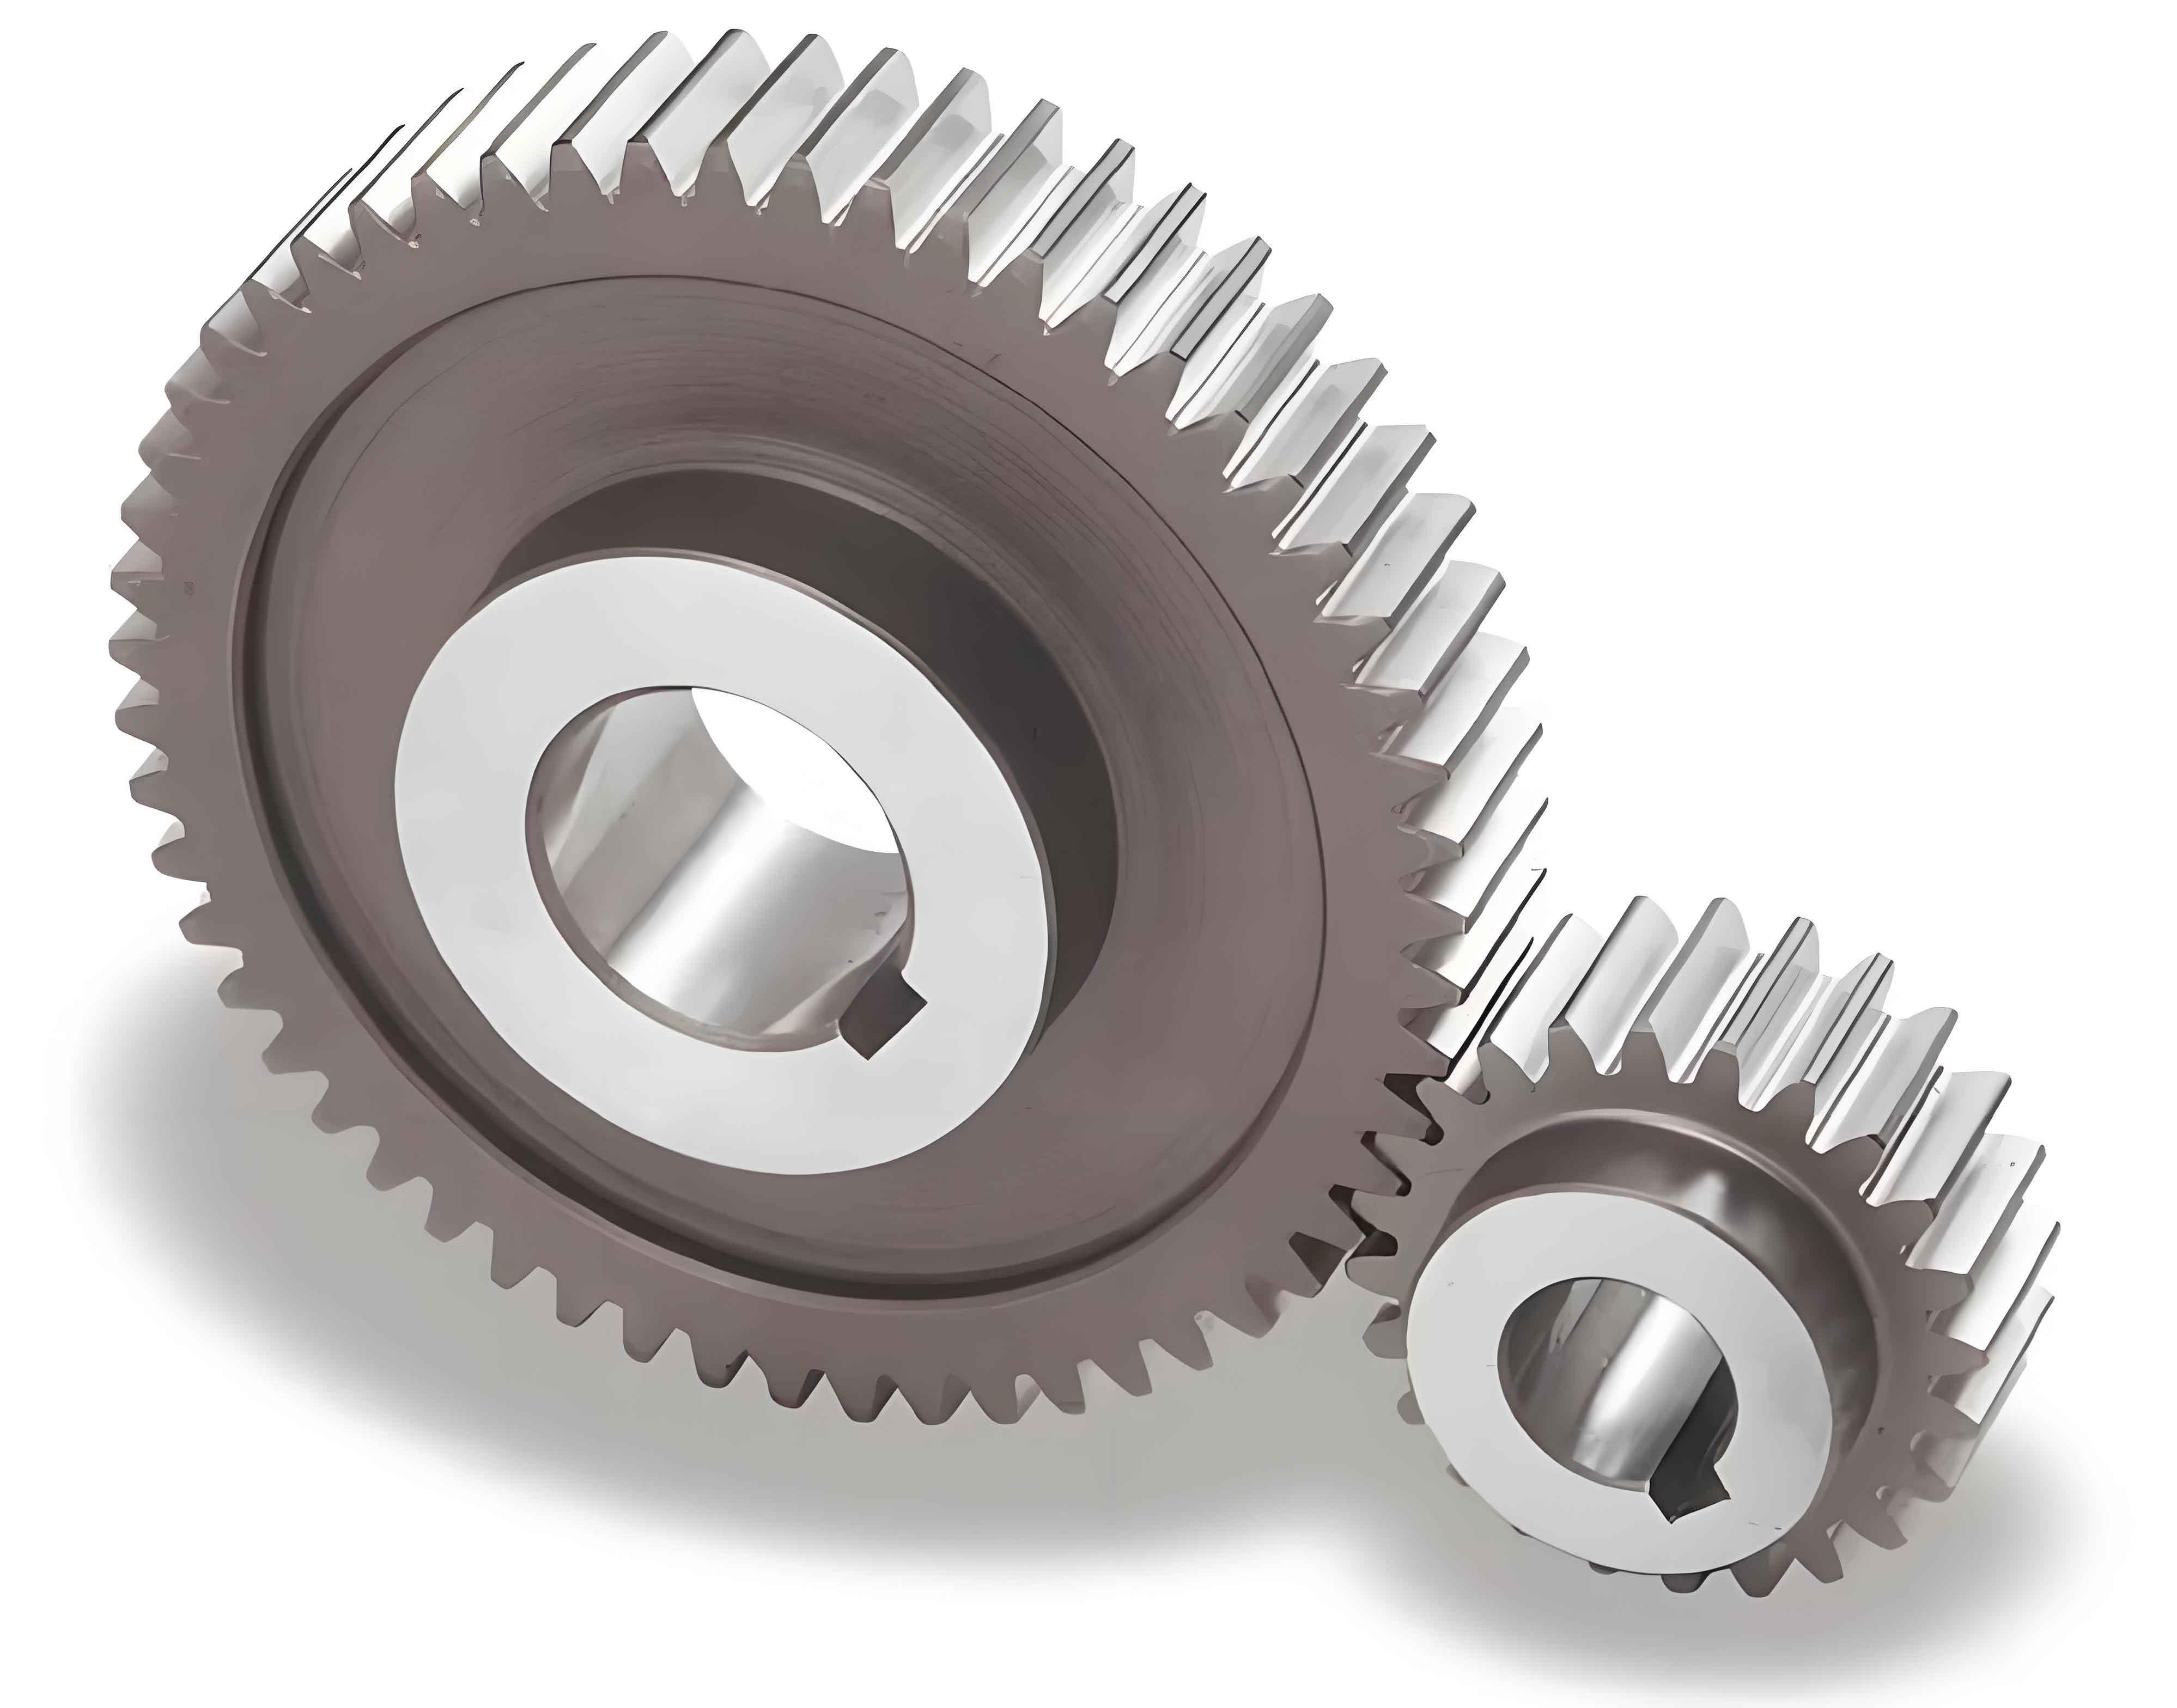
Spur gears are critical transmission components in mechanical systems, requiring precise measurement of geometric parameters and deviations. This study proposes a non-contact measurement system combining machine vision and advanced image processing algorithms to address efficiency and accuracy challenges in traditional methods.

1. System Architecture
The hardware configuration includes:
| Component | Specification |
|---|---|
| Camera | MER-630-60U3C CMOS (3088×2064 pixels) |
| Lens | H0514-MP2 (f=5mm) |
| Lighting | OPT-FL175175-W backlight + BP45 ring light |
The imaging model follows:
$$
\begin{bmatrix}
u \\
v \\
1
\end{bmatrix}
=
\frac{1}{Z_c}
\begin{bmatrix}
f_x & 0 & c_x \\
0 & f_y & c_y \\
0 & 0 & 1
\end{bmatrix}
\begin{bmatrix}
X_w \\
Y_w \\
Z_w
\end{bmatrix}
$$
2. Calibration Methodology
Radial and tangential distortion coefficients were calculated using checkerboard patterns:
$$
x’ = x(1 + k_1r^2 + k_2r^4) + 2p_1xy + p_2(r^2 + 2x^2) \\
y’ = y(1 + k_1r^2 + k_2r^4) + p_1(r^2 + 2y^2) + 2p_2xy
$$
| Parameter | Value |
|---|---|
| Focal Length (fx/fy) | 1393.61/1394.04 px |
| Principal Point (cx/cy) | 642.27/525.14 px |
| k1, k2 | -0.1488, 0.2047 |
3. Autofocus Algorithm
The improved Brenner function enhances focusing accuracy:
$$
F = \sum{(I(x+2,y) – I(x,y))^2} + \sum{(I(x,y+2) – I(x,y))^2}
$$
Focus search combines Gaussian fitting and hill climbing:
$$
f(d) = a \cdot e^{-\frac{(d-\mu)^2}{2\sigma^2}}
$$
4. Edge Detection
The hybrid detection strategy achieves 0.03mm accuracy:
| Method | Accuracy (px) | Time (ms) |
|---|---|---|
| Canny | ±0.5 | 32 |
| Zernike Optimized | ±0.12 | 68 |
5. Gear Parameter Measurement
Key measurement algorithms for spur gears:
$$
d_a = 2m(z+2) \\
d_f = m(z-2.5) \\
f_p = |p_{actual} – \pi m|
$$
| Parameter | Proposed System | Gear Measuring Center |
|---|---|---|
| Addendum Diameter | 66.0261 | 66.0129 |
| Tooth Profile Error | 0.0305 | 0.0160 |
| Single Pitch Error | 0.0228 | 0.0171 |
The system demonstrates <1.5% repeatability error and meets ISO 1328-1 Grade 9 requirements for spur gear inspection. Future work will extend this methodology to helical and bevel gear measurement scenarios.
