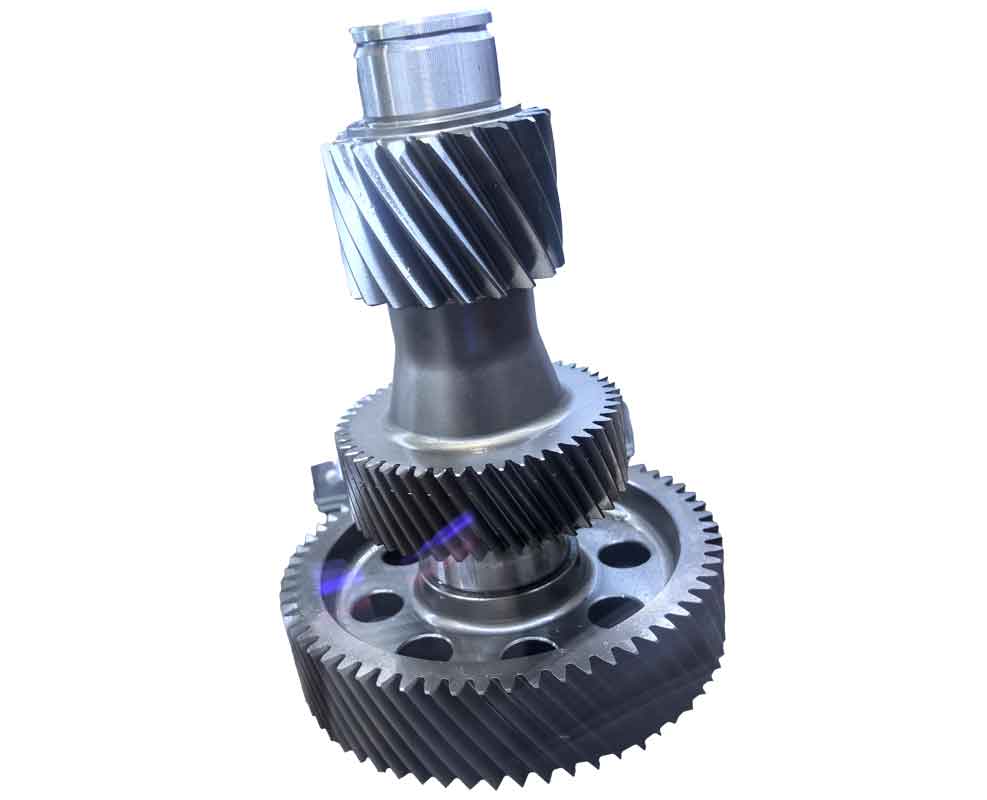
Traditional spiral bevel gears exhibit variable helix angles across meshing points, causing vibration, noise, and accelerated wear. Logarithmic spiral bevel gears overcome this limitation through constant helix angles enabled by their unique tooth geometry. However, their complex curvature introduces manufacturing challenges. This research develops a comprehensive reverse gear methodology to reconstruct actual tooth surfaces and quantify machining deviations.
1. Reverse Engineering Framework
Our reverse gear workflow integrates data acquisition, preprocessing, surface reconstruction, and error quantification:
$$ \text{Process} = \left\{ \text{Scanning} \rightarrow \text{Filtering} \rightarrow \text{NURBS Modeling} \rightarrow \text{Deviation Analysis} \right\} $$
| Stage | Methods/Tools | Key Parameters |
|---|---|---|
| Data Acquisition | 3D FAMILY-LSH600 laser scanner | Accuracy: ±0.01mm, Speed: 15,000 pts/sec |
| Preprocessing | Imageware Space Sampling | Distance tolerance: 0.5mm |
| Surface Modeling | NURBS Interpolation | B-spline order: k=3, Control points: 118,306 |
| Error Mapping | Differential Surface Analysis | Grid resolution: 5×7 points |
2. Data Acquisition and Preprocessing
We captured 876,011 raw data points using structured-light laser scanning. Preprocessing eliminated noise and optimized computational efficiency:
$$ \text{Reduction Ratio} = \frac{N_{\text{initial}} – N_{\text{final}}}{N_{\text{initial}}} \times 100\% = \frac{876,011 – 118,306}{876,011} \times 100\% \approx 86\% $$

3. NURBS-Based Surface Reconstruction
The reconstructed tooth surface employs cubic B-spline basis functions:
$$ \begin{aligned}
N_{i,0}(u) &= \begin{cases}
1 & \text{if } u_i \leq u < u_{i+1} \\
0 & \text{otherwise}
\end{cases} \\
N_{i,k}(u) &= \frac{u – u_i}{u_{i+k} – u_i} N_{i,k-1}(u) + \frac{u_{i+k+1} – u}{u_{i+k+1} – u_{i+1}} N_{i+1,k-1}(u)
\end{aligned} $$
The parametric surface equation is:
$$ \mathbf{P}(u,v) = \sum_{i=0}^{m} \sum_{j=0}^{n} \mathbf{d}_{i,j} N_{i,k}(u) N_{j,l}(v) $$
where control points $\mathbf{d}_{i,j}$ were solved through the linear system:
$$ \begin{bmatrix}
b_1 & c_1 & & & \\
a_2 & b_2 & c_2 & & \\
& \ddots & \ddots & \ddots & \\
& & a_{n-1} & b_{n-1} & c_{n-1} \\
& & & a_n & b_n
\end{bmatrix}
\begin{bmatrix}
\mathbf{d}_1 \\
\mathbf{d}_2 \\
\vdots \\
\mathbf{d}_{n-1} \\
\mathbf{d}_n
\end{bmatrix} =
\begin{bmatrix}
\mathbf{e}_1 \\
\mathbf{e}_2 \\
\vdots \\
\mathbf{e}_{n-1} \\
\mathbf{e}_n
\end{bmatrix} $$
Reconstruction accuracy was validated through point-cloud comparison:
| Error Type | Maximum (mm) | Average (mm) |
|---|---|---|
| Geometric Deviation | 0.1533 | 0.1000 |
| Transverse Direction | 0 | 0 |
4. Tooth Surface Error Analysis
De Boor’s algorithm computed 35 discrete points on the reconstructed surface. Normal deviations from theoretical surfaces were calculated as:
$$ \delta_n = \left( \mathbf{P}_{\text{actual}} – \mathbf{P}_{\text{theory}} \right) \cdot \mathbf{n} $$
where $\mathbf{n}$ is the unit normal vector at the theoretical point.
The differential surface equation characterizes systematic errors:
$$ h(x,y) = a_0 + a_1x + a_2y + a_3x^2 + a_4y^2 + \cdots $$
with coefficients mapping to manufacturing imperfections:
| Coefficient | Error Source | Quantification |
|---|---|---|
| $a_0$ | Positional offset | $\theta_{\min} = -\frac{\sum \delta_i \mathbf{n}_i \cdot \mathbf{t}_i}{\sum (\mathbf{n}_i \cdot \mathbf{t}_i)^2}$ |
| $a_1, a_2$ | Pressure angle/spiral angle | $\psi = \frac{1}{n} \sum \frac{\varepsilon_{i,j} – \varepsilon_{i,j-1}}{x_{i,j} – x_{i,j-1}}$ |
| $a_3, a_4$ | Crown curvature | $\xi = \frac{1}{m} \sum \left( \varepsilon_{i,\text{mid}} – \frac{\varepsilon_{i,1} + \varepsilon_{i,n}}{2} \right)$ |
5. Error Correction and Validation
After parameter correction based on differential surface analysis, maximum deviation decreased from 55μm to 43μm, with minimum error shifting from -40μm to 10μm. This demonstrates the reverse gear approach’s efficacy for precision enhancement.
6. Conclusion
This study establishes a robust reverse gear methodology for logarithmic spiral bevel gears, achieving 0.1533mm surface reconstruction accuracy. The differential surface framework quantifies manufacturing errors into actionable parameters, reducing profile deviations by 21.8%. Implementation in CNC machining compensation can significantly improve gear performance and longevity. Future work will integrate real-time correction during gear cutting, further advancing the reverse gear paradigm for complex gear manufacturing.
