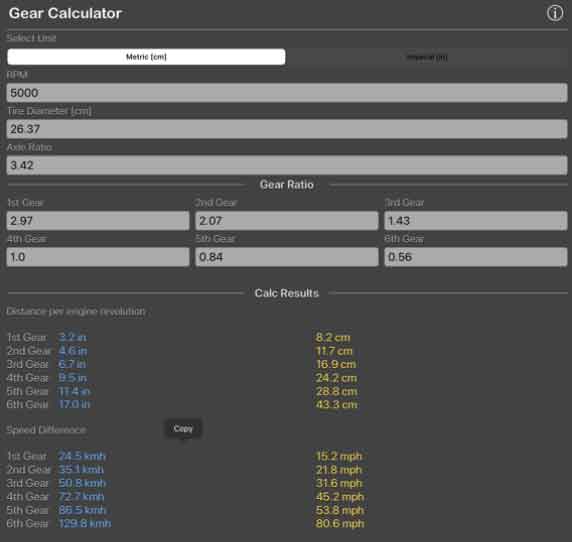
Here’s a step-by-step tutorial on how to simplify gear design using a gear calculator:

Step 1: Select a Gear Calculator: Choose a reliable gear calculator tool or software that suits your specific gear design needs. There are various gear calculators available online or as downloadable software.
Step 2: Determine Application Requirements: Identify the requirements of your gear application, such as desired gear ratio, input and output speeds, power or torque requirements, and any design constraints or standards to follow. Having a clear understanding of these parameters is crucial for accurate gear design.
Step 3: Choose Gear Type and Configuration: Select the appropriate gear type and configuration based on your application requirements. The gear calculator should provide options for various gear types, such as spur gears, helical gears, bevel gears, or worm gears. Determine whether you have a simple gear pair or a more complex gear arrangement, such as a planetary gear system.
Step 4: Input Gear Data: Enter the necessary gear data into the calculator. This typically includes the number of teeth for each gear (driving and driven), module or diametral pitch, pressure angle, helix angle (for helical gears), and other relevant parameters. Ensure that you input the correct values for accurate calculations.
Step 5: Perform Gear Design Calculations: Use the gear calculator to perform the required gear design calculations. This may include determining the gear ratio, pitch diameter, tooth profile parameters, contact ratios, load distribution analysis, efficiency estimation, and other relevant design factors.
Step 6: Evaluate Design Results: Review the results provided by the gear calculator. Assess the calculated gear parameters and performance characteristics to determine if they meet your application requirements. Pay attention to factors such as load capacity, stress levels, noise and vibration, and efficiency.
Step 7: Iterate and Optimize: If the initial design does not meet your desired specifications, iterate and optimize the design using the gear calculator. Adjust the gear parameters, such as the number of teeth, gear dimensions, or tooth profile, and recalculate the design. Repeat this process until the desired performance and specifications are achieved.
Step 8: Validate Design: Once you are satisfied with the design results from the gear calculator, validate the design through further analysis, simulation, or prototyping. Verify the calculated parameters using engineering principles, practical considerations, and any applicable standards or guidelines.
Step 9: Document and Finalize: Document the gear design specifications, including the gear parameters, materials, manufacturing processes, and any additional design considerations. Ensure that the documentation is clear and comprehensive for future reference and production purposes.
Step 10: Continued Monitoring and Improvement: Throughout the gear system’s life cycle, monitor its performance and make any necessary adjustments or improvements. If there are changes in application requirements or operating conditions, revisit the gear calculator to evaluate the impact on gear design and optimize accordingly.
Remember, a gear calculator is a powerful tool, but it should be used in conjunction with engineering expertise and understanding of gear design principles. While the calculator streamlines the design process, it is important to validate and verify the results using real-world testing and validation methods.
By following this step-by-step tutorial and utilizing a gear calculator, you can simplify and optimize the gear design process, leading to efficient and reliable gear systems.
