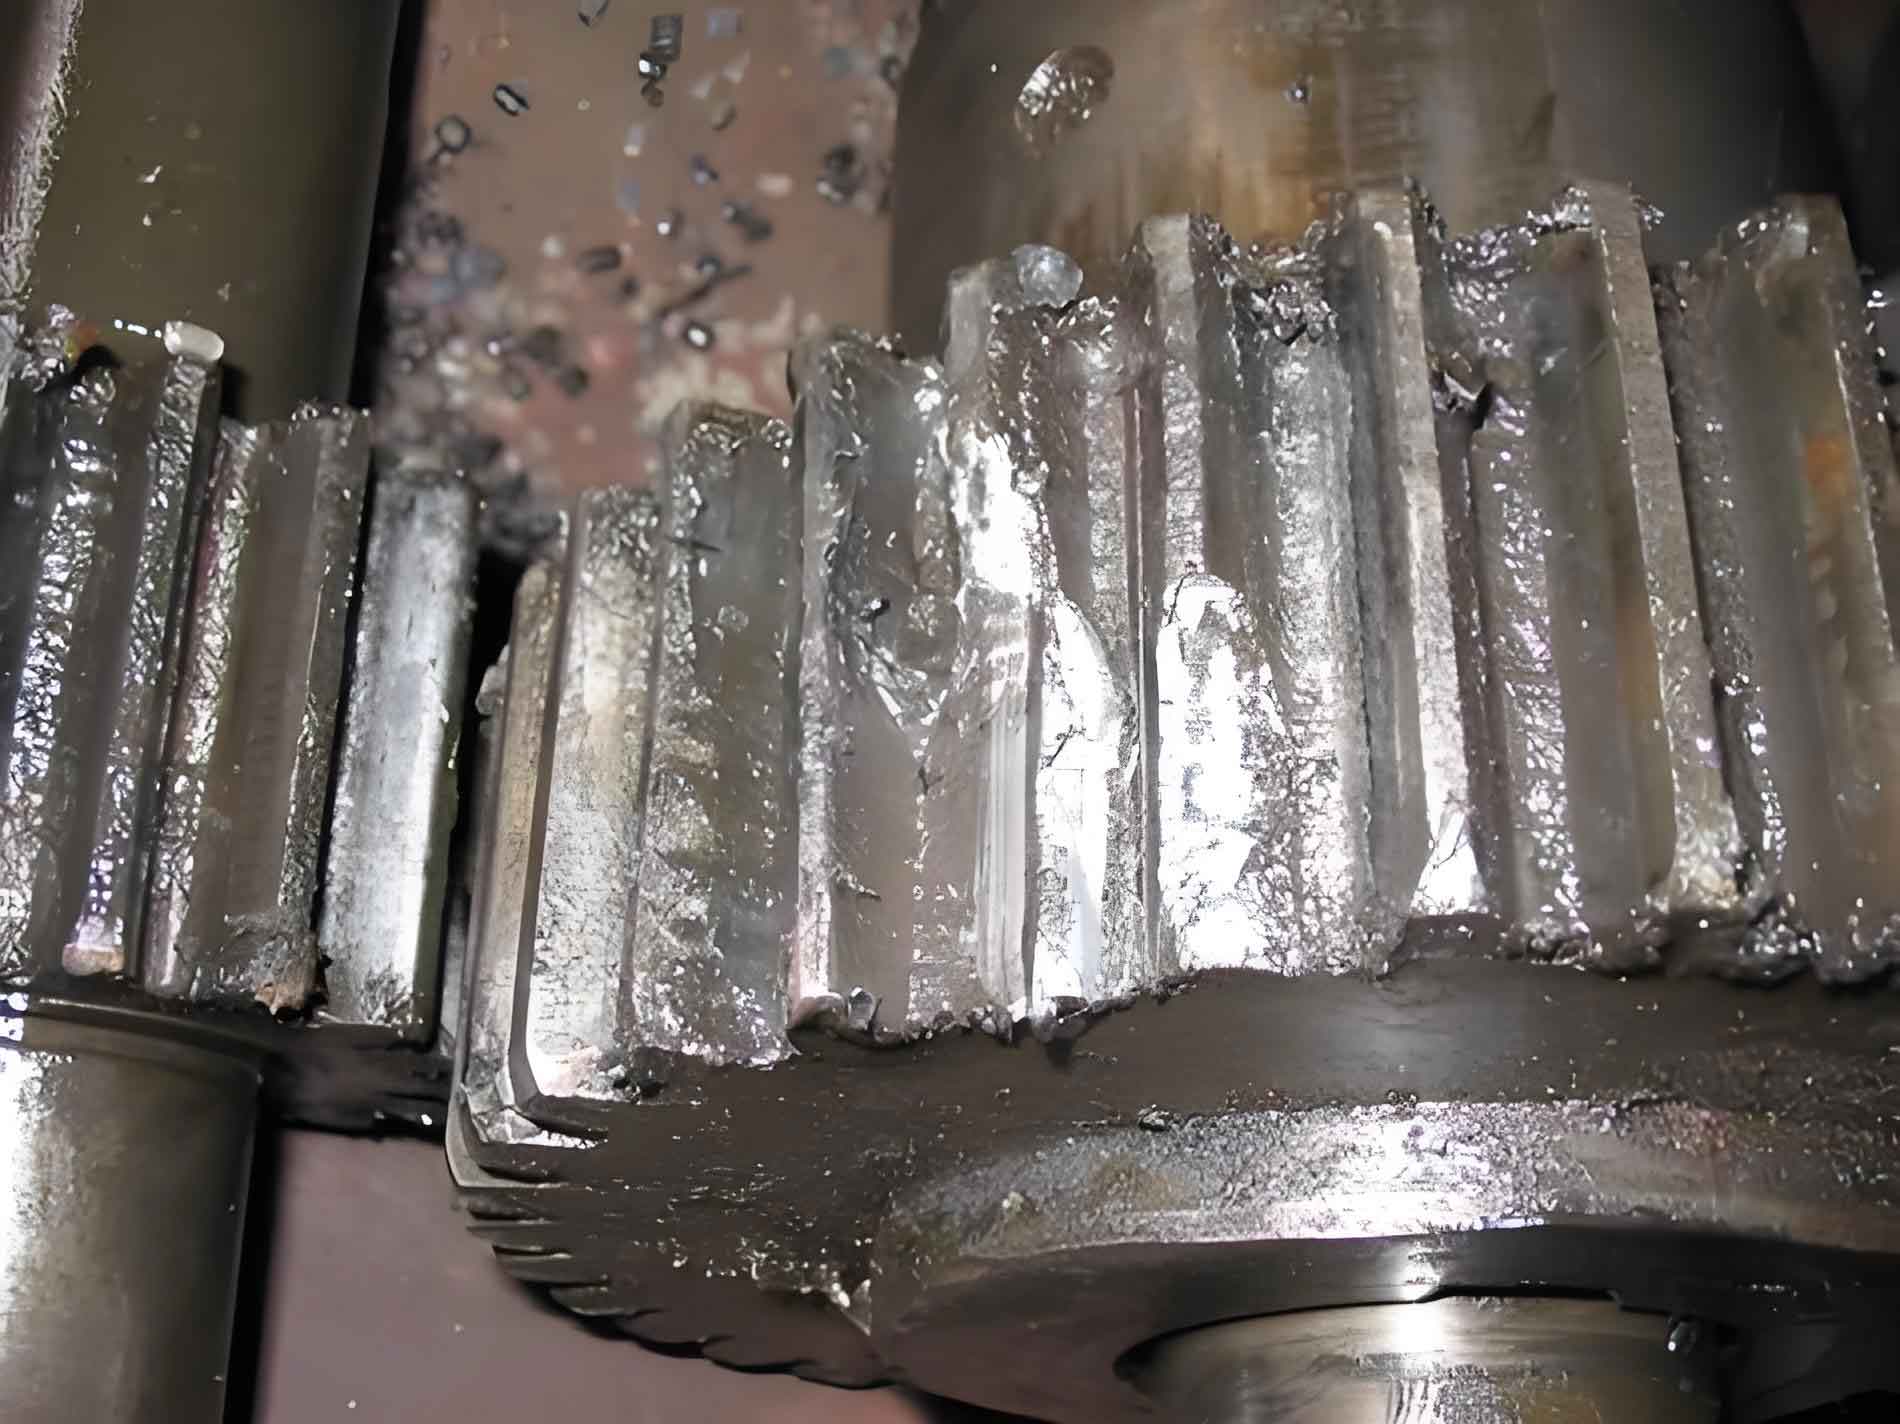
To address gear failure issues in super-reduction ratio hypoid gears, we developed a comprehensive methodology for gear blank parameter calculation and fatigue analysis. The geometric parameters of the gear pair (2:60 tooth ratio) were optimized using an iterative calculation method derived from Gleason’s hypoid design principles. The fundamental design parameters are summarized below:
| Parameter | Pinion | Gear |
|---|---|---|
| Number of Teeth | 2 | 60 |
| Module (mm) | 7.806 | 47.80 |
| Midpoint Normal Module (mm) | 5.961 | – |
| Face Width (mm) | 88.19 | 238.86 |
| Offset Distance (mm) | 133.84 | |
| Pressure Angle (°) | 20.00 | |
| Shaft Angle (°) | 90.00 | |
| Outer Cone Distance (mm) | 165.81 | – |
| Addendum (mm) | 11.90 | 0.00 |
| Dedendum (mm) | 2.63 | 14.53 |
| Whole Depth (mm) | 14.53 | 14.53 |
The iterative calculation process for determining the relative angular velocity and motion between the gear generating surface and workpiece is defined by:
$$ \omega_{p1} = g_1 – R_{a1} p_1 $$
$$ v_{p1} = \omega_{p1} r_{m01} – R_{a1} p_1 m_1 + H_{l1} g_1 $$
where \( g_1 \) represents the axial unit vector of the pinion generating gear and \( p_1 \) denotes the pinion axis direction.
Tooth surface coordinates were calculated using MATLAB based on the derived meshing equations:
$$ r_1 = |r_1 \times p_1| $$
$$ L_1 = -r_1 p_1 $$
Discrete points were imported into SolidWorks to generate the 3D model through surface reconstruction techniques. The resulting assembly was analyzed in Ansys Workbench using 20CrNi4A material properties (Density: 7800 kg/m³, Elastic Modulus: 207 GPa, Poisson’s Ratio: 0.29).

Transient structural analysis revealed critical stress distribution patterns. The maximum contact stress (552.94 MPa) occurred near the tooth root, below the material’s allowable stress (861 MPa). Equivalent stress distribution showed peak values of 667.59 MPa at the meshing interface:
$$ \sigma_{max} = 667.59 \text{ MPa} < \sigma_{allowable} = 861 \text{ MPa} $$
Fatigue life assessment under varying operational conditions demonstrated significant gear failure dependencies:
| Parameter Variation | Minimum Fatigue Life (Cycles) | Gear Failure Mechanism |
|---|---|---|
| Base Case (500 N·m, 1000 RPM) | 8,721.8 | Stress concentration at root |
| Torque Increase (+50 N·m) | -12.3% | Accelerated pitting initiation |
| Speed Increase (+100 RPM) | -4.7% | Thermal-induced scuffing |
| Root Fillet Radius 2.0mm | +15.2% | Reduced stress concentration |
The relationship between torque and gear failure indicators followed predictable trends:
$$ \Delta \sigma \propto \Delta T^{1.2} $$
where \( \Delta \sigma \) represents principal stress variation and \( \Delta T \) denotes torque increase. Increasing the root fillet radius from 1.9mm to 2.1mm reduced peak stress by 18.6%, directly mitigating gear failure risks. Damage accumulation analysis confirmed safe operation within design limits:
$$ D_{max} = 0.11466 < 1.0 $$
$$ \text{Safety Factor} = 2.1022 > 1.0 $$
These findings demonstrate that controlled root fillet optimization effectively counters gear failure mechanisms in super-reduction ratio hypoid gears under high-torque applications.
