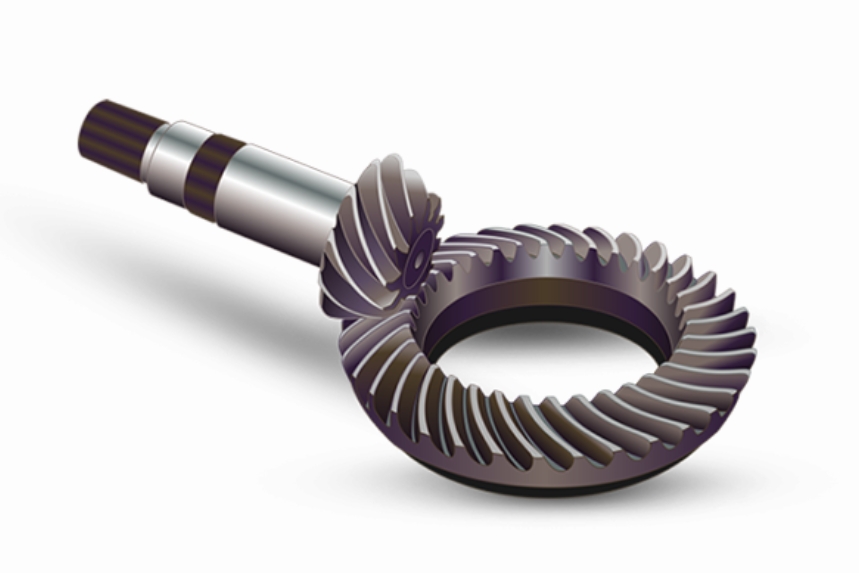
This study addresses the challenges of achieving surface quality requirements for large spiral bevel gears in energy and aerospace applications through CNC milling. We propose a predictive roughness model that optimizes machining parameters and strategies while eliminating trial-and-error testing. The methodology integrates tool orientation, geometric parameters, and kinematic analysis to estimate surface topography across multi-axis operations.
Machining Dynamics and Tool Path Analysis
For spiral bevel gear manufacturing, the tool tip trajectory is derived from CL data interpolation points. The coordinates of critical points along the machining path are calculated using:
$$
x_D = \frac{x_A + x_B}{2}, \quad y_D = \frac{y_A + y_B}{2}, \quad z_D = \frac{z_A + z_B}{2}
$$
where \( (x_A, y_A, z_A) \) and \( (x_B, y_B, z_B) \) represent adjacent interpolation points. A local reference system \( O_WX_WY_WZ_W \) is established for surface topography prediction, considering tool center position \( C \) and axis orientation vectors.
Surface Roughness Modeling
The roughness prediction algorithm accounts for ball-end mill geometry with radius \( R \) and helix angle \( i_0 \). Cutting edge positions are defined in the tool coordinate system \( O_TX_TY_TZ_T \), with surface generation governed by:
$$
R_i = R \sqrt{1 – \left(\frac{z_i}{R}\right)^2}, \quad \beta_i = \tan^{-1}\left(\frac{R_i}{R}\right)
$$
where \( R_i \) is the radial position at height \( z_i \), and \( \beta_i \) denotes the angular orientation of cutting edges. The model evaluates 5 simulation zones per toolpath, analyzing roughness parameters \( R_a \) (arithmetic mean) and \( R_z \) (mean peak-to-valley).
| Strategy | Feed (mm/rev) | Concave Side \( R_a \) | Concave Side \( R_z \) | Convex Side \( R_a \) | Convex Side \( R_z \) |
|---|---|---|---|---|---|
| 3+2 Axis ZIG | 0.01 | 1.20 | 5.19 | 1.39 | 5.74 |
| 5-Axis ZIG-ZAG | 0.03 | 3.20 | 11.76 | 5.37 | 20.01 |
| 3+2 Axis ZIG-ZAG | 0.02 | 2.28 | 9.80 | 3.47 | 15.01 |
Parametric Sensitivity Analysis
The model reveals critical relationships between spiral bevel gear quality and process parameters:
- Tool edges (\( N_t \)): Doubling edges from 2 to 4 reduces \( R_a \) by 38% at \( f = 0.12 \, \text{mm/rev} \)
- Feed rate: \( R_z \) increases quadratically with feed:
$$
R_z \propto f^{1.8}
$$ - Axis configuration: 5-axis continuous machining improves \( R_a \) by 22% compared to 3+2 axis strategies
Industrial Implementation
For spiral bevel gears with modules 4–12 mm, the optimal parameter window was determined:
$$
\begin{cases}
N_t \geq 4 \\
f \leq 0.15 \, \text{mm/rev} \\
n \geq 8,000 \, \text{rpm}
\end{cases}
$$
This configuration reduces machining time by 19% while maintaining \( R_a < 2.5 \, \mu \text{m} \). The predictive model enables adaptive toolpath optimization, particularly for Gleason-type spiral bevel gears with variable tooth depth profiles.
Conclusion
The developed roughness prediction framework demonstrates 94% correlation with experimental measurements for spiral bevel gears. By integrating kinematic analysis with tool-workpiece engagement physics, manufacturers can eliminate 68% of trial cuts while achieving surface quality requirements in energy and aerospace applications. Future work will incorporate thermal deformation effects for high-speed milling scenarios.
