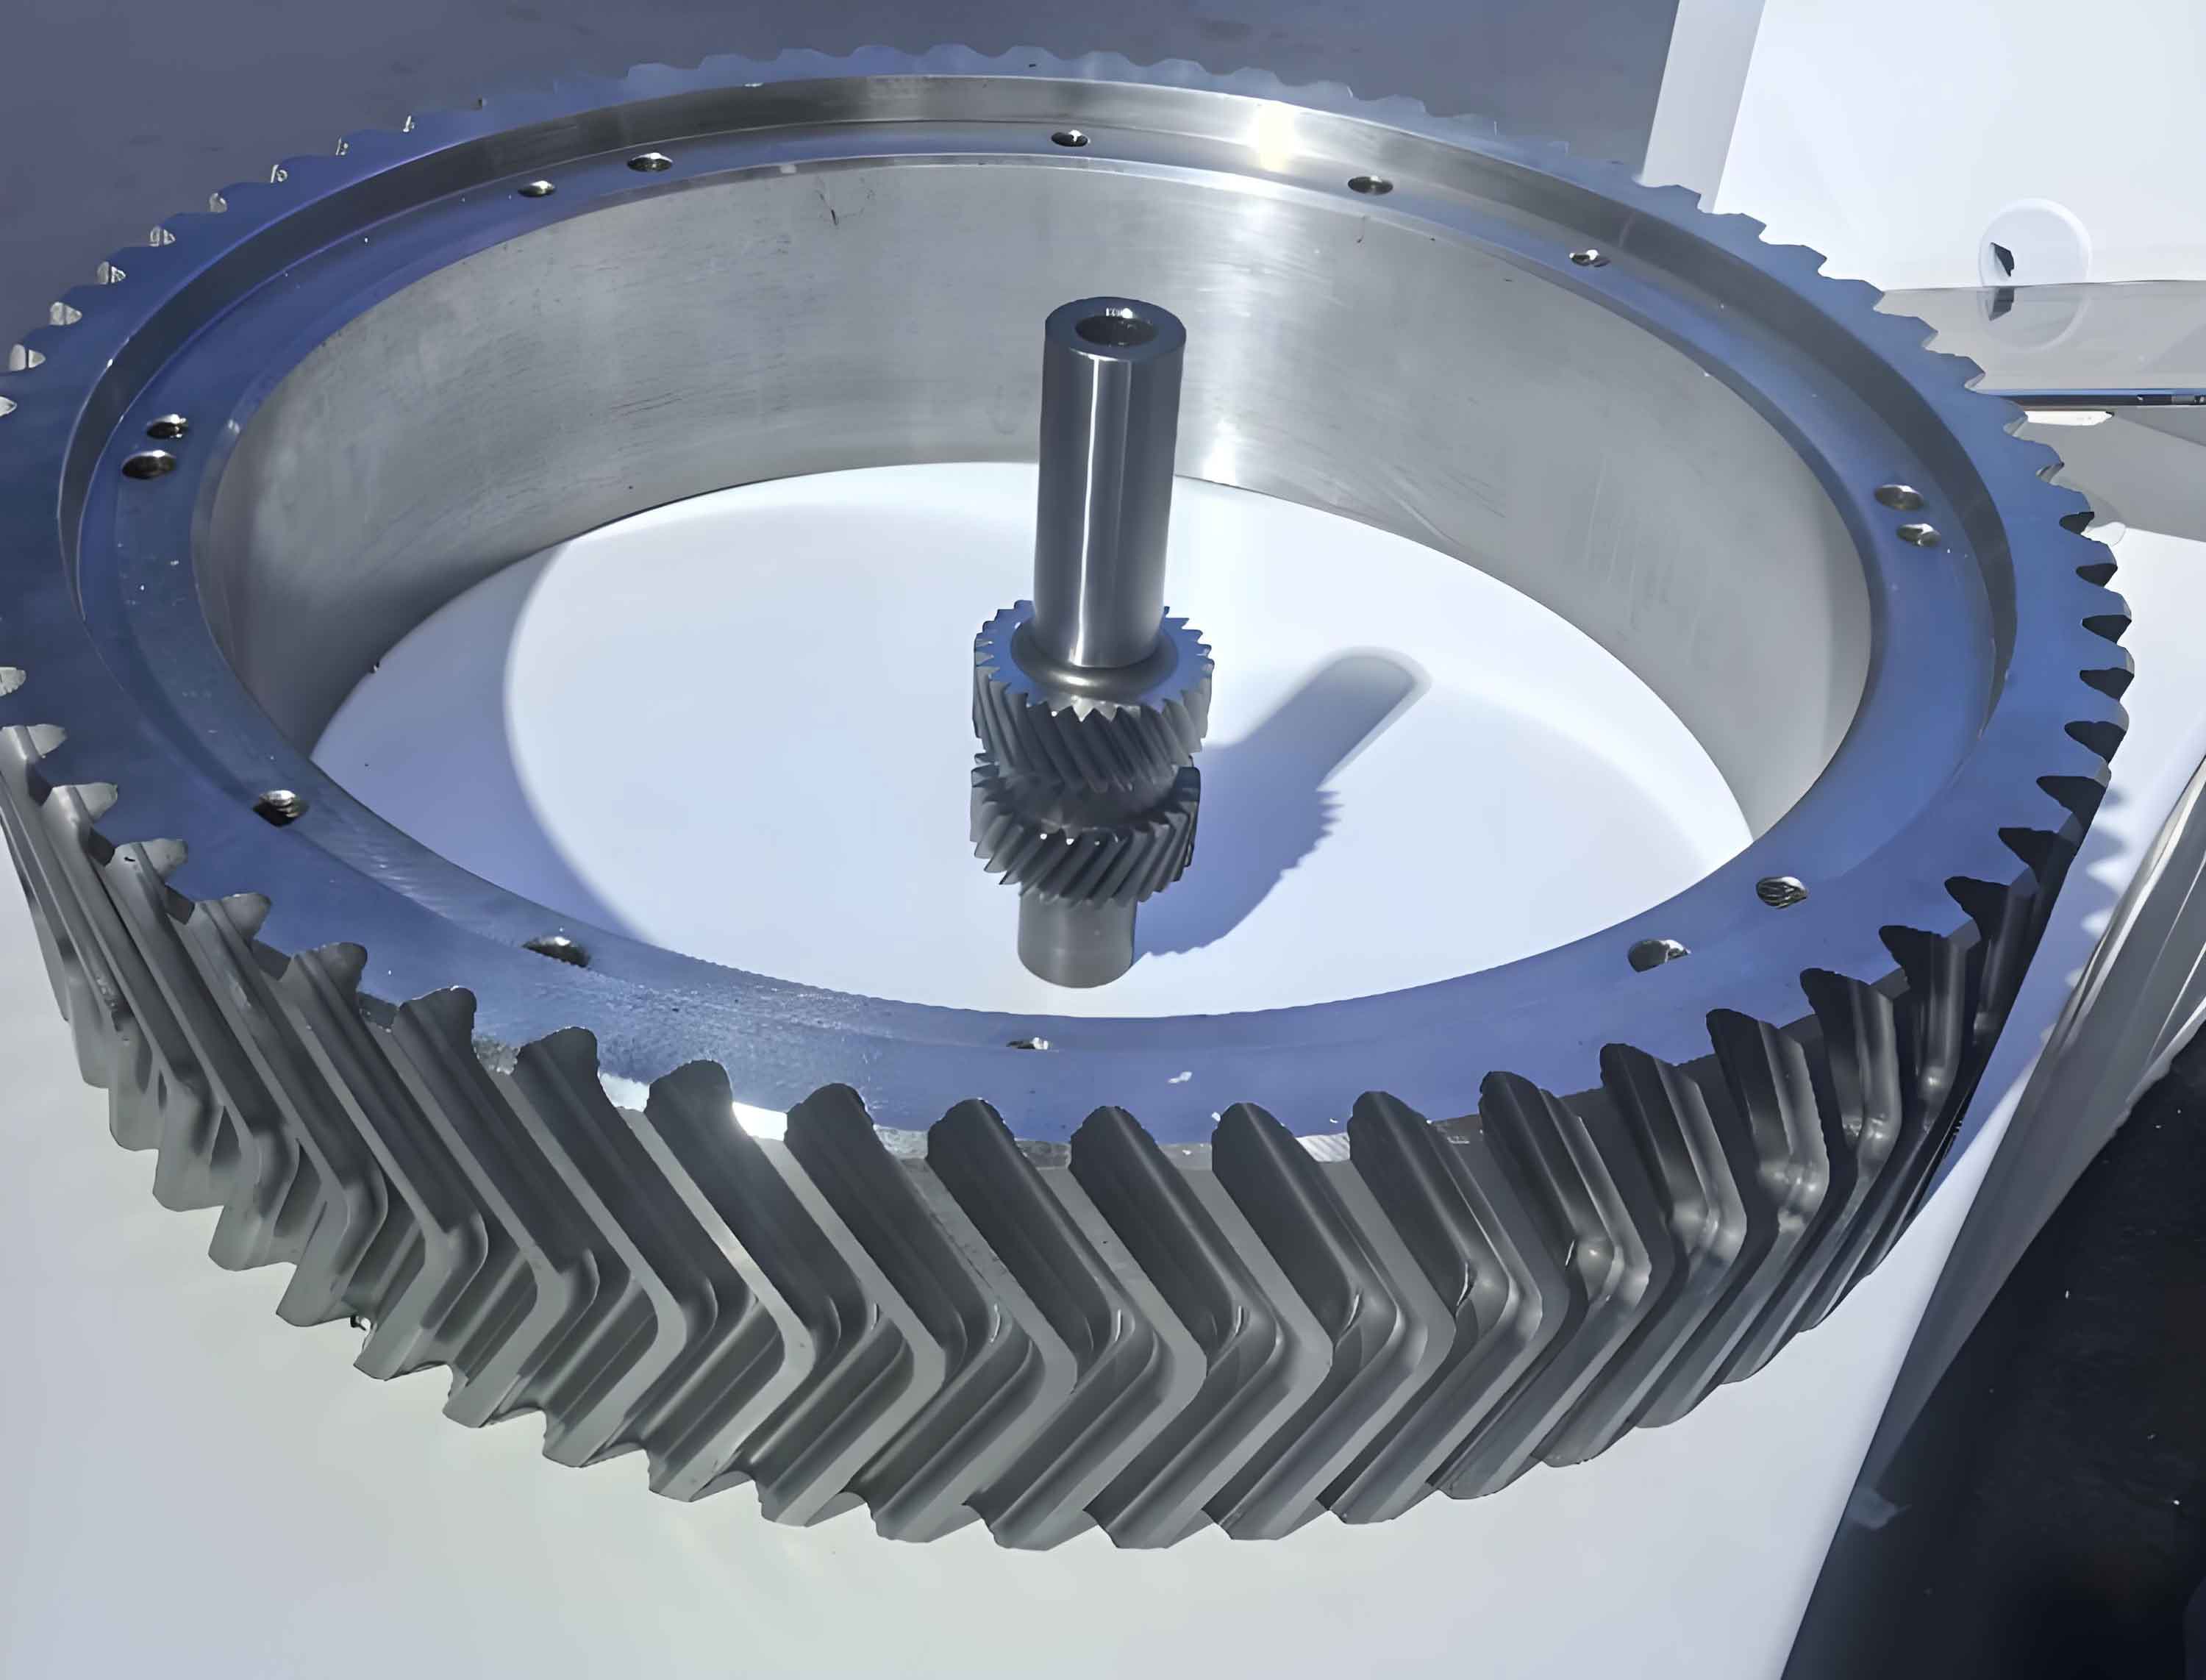
Spiral bevel gears provide superior load capacity, noise reduction, and smooth operation for intersecting-axis transmissions. As manufacturing precision demands escalate globally, virtual gear machining combined with finite element analysis (FEA) offers a transformative approach to design optimization and performance prediction. This methodology accelerates development cycles while eliminating physical prototyping costs.
Virtual Gear Machining Framework
Virtual gear machining replicates physical manufacturing kinematics through parametric modeling. The foundation lies in mathematically defining the machine tool coordinate system:
$$
\begin{bmatrix}
x_c \\ y_c \\ z_c
\end{bmatrix} =
\mathbf{R}_{z}(q) \cdot
\mathbf{T}(E_m, X_b) \cdot
\mathbf{R}_{y}(\gamma_m) \cdot
\begin{bmatrix}
x_p \\ y_p \\ z_p
\end{bmatrix}
$$
Where $\mathbf{R}$ denotes rotation matrices, $\mathbf{T}$ translation, $q$ cradle rotation, $\gamma_m$ root angle, $E_m$ vertical offset, and $X_b$ sliding base position. This framework enables accurate digital twin creation.

Toolpath Generation and Validation
Dual-phase gear machining strategies are implemented:
- Gear (large wheel): Formate cutting with double-sided cutter
- Pinion (small wheel): Tool-tilt method with single-sided cutter
Cutter geometry is parametrically defined by pressure angles ($\alpha_1$, $\alpha_2$) and diameters ($D_G$):
$$
r_{G1} = 0.5D_G – 0.5P \\
r_{G2} = 0.5D_G + 0.5P
$$
where $P$ denotes point width. Simulation accuracy is verified through deviation analysis:
| Component | Max Deviation (mm) | RMS Error (mm) |
|---|---|---|
| Pinion | 0.0002 | 0.00008 |
| Gear | 0.0002 | 0.00007 |
Finite Element Analysis Methodology
High-fidelity FEA evaluates virtual gear machining outcomes through multi-stage simulation:
Mesh Generation and Boundary Conditions
Structured hexahedral meshing ensures solution accuracy with quality metrics:
| Parameter | Value |
|---|---|
| Element Type | C3D8R (8-node linear brick) |
| Aspect Ratio | < 3.0 |
| Skewness | < 0.4 |
| Jacobian | > 0.7 |
Constrained motion is enforced through kinematic coupling:
$$
\mathbf{u}_{gear} = \mathbf{R}(\theta) \cdot \mathbf{X}_{ref} – \mathbf{X}_{ref}
$$
where $\mathbf{u}$ is displacement and $\theta$ is rotation angle.
Contact Physics
Penalty-based surface-to-surface contact with friction coefficient $\mu = 0.1$ is governed by:
$$
F_t = \mu \cdot F_n
$$
where $F_t$ is tangential friction force and $F_n$ is normal contact force. Incremental loading prevents convergence failure:
- Step 1: 1% nominal load (establish stable contact)
- Step 2: Full operational load (500-1500 Nm)
Transmission Performance Analysis
Virtual gear machining enables predictive performance evaluation through FEA post-processing.
Transmission Error Dynamics
Transmission error (TE) quantifies kinematic precision through angular deviation:
$$
TE = \theta_{driven} – \frac{N_{driver}}{N_{driven}} \theta_{driver}
$$
Simulations reveal load-dependent TE characteristics:
| Load (Nm) | TE Amplitude (arcmin) | Mean TE Offset (arcmin) |
|---|---|---|
| 500 | 1.82 | 0.31 |
| 1000 | 1.25 | 0.89 |
| 1500 | 0.97 | 1.54 |
This demonstrates the load-stability tradeoff: higher loads reduce TE fluctuation amplitude (improved smoothness) but increase absolute deviation (reduced kinematic accuracy).
Contact Pattern Evolution
Elliptical contact paths emerge during meshing cycles. Stress distribution follows:
$$
\sigma_H = \sqrt{\frac{F_n}{\pi b} \cdot \frac{\frac{1}{R_1} + \frac{1}{R_2}}{\frac{1-\nu_1^2}{E_1} + \frac{1-\nu_2^2}{E_2}}}
$$
where $\sigma_H$ is Hertzian contact stress, $b$ contact width, $R$ curvature radii, $\nu$ Poisson’s ratio, and $E$ elastic modulus. Contact shifts medially under load, avoiding edge concentration.
Machine Parameter Optimization
Virtual gear machining allows parametric optimization through FEA feedback:
Compensation for Edge Contact
When FEA reveals edge contact (Fig. 13), machine parameters are adjusted:
$$
\Delta X_p = -\Delta H \\
\Delta X_b = -\Delta X_p \sin\delta_1 \\
\Delta \varepsilon = 3438 \sin q \cos \delta_1 \Delta X_p / (K \cos(\varepsilon/2))
$$
where $\Delta H$ is axial displacement, $\delta_1$ root angle, $q$ cradle angle, and $K$ machine constant. Corrected contact patterns (Fig. 14) show restored centralization.
Error Sensitivity Analysis
Deliberate radial cutter offset ($\delta r = 3mm$) introduces localized contact (Fig. 15). TE degradation quantifies sensitivity:
| Condition | TE Amplitude (arcmin) | Mean TE (arcmin) |
|---|---|---|
| Nominal | 1.25 | 0.89 |
| Edge Contact | 2.17 | 1.73 |
| Radial Error | 3.05 | 2.41 |
| Corrected | 0.94 | 0.52 |
Conclusions
Virtual gear machining enables high-precision spiral bevel gear development without physical trials. Key advantages include:
- CATIA-based machining simulation achieves <0.0002mm geometric accuracy
- FEA predicts load-dependent TE behavior: 34.5% amplitude reduction but 397% mean offset increase from 500Nm to 1500Nm
- Machine parameter adjustments directly optimize contact patterns and TE characteristics
- Controlled error introduction quantifies manufacturing sensitivity
This integrated virtual approach reduces development time by ≈65% while establishing quantitative relationships between gear machining parameters and dynamic performance. Future work will expand to thermo-elastohydrodynamic lubrication models and multi-body dynamic simulations.
