
In this article, I present a comprehensive approach to designing and modeling a worm gear transmission using Autodesk Inventor 2021. The process encompasses creating three-dimensional models of all components, assembling them with proper constraints, setting part properties, and automatically generating engineering drawings that conform to international standards. Throughout the workflow, I emphasize the use of the ‘worm gear’ term repeatedly to highlight its central role. The methodology integrates parametric design, resource center standard parts, and automated drawing generation, significantly reducing design time compared to traditional two-dimensional drafting.
1. Creating the Three-Dimensional Model of the Worm Gear Transmission
1.1 Setting Up the Project and Basic Components
I began by opening Inventor 2021 and creating a new project file specifically for the worm gear drive. The project library was set to ‘Read-Write’ mode to allow full customization. Using standard modeling commands such as work planes, sketches, extrusion, mirror, drilling, fillet, and circular pattern, I built the housing (box) and cover models. One key advantage was the ability to directly assign tolerances on dimensions during modeling, for example:
– Diameter ϕ52 with tolerance +0.0/-0.021 mm,
– Six threaded holes M6×1.
These tolerances automatically appear in the retrieved model annotations when generating detail drawings. Similarly, I modeled oil plugs, washers, sleeves, and sealing end caps using the same techniques.
1.2 Creating the Worm and Worm Gear Using the Generator
To design the worm gear pair, I used Inventor’s ‘Worm Gear Component Generator’. First, I created a new .iam assembly file. In the generator dialog, I filled in the required parameters under the ‘Design’ tab:
| Parameter | Symbol | Value / Description |
|---|---|---|
| Transmission ratio | $$i$$ | 40 |
| Transverse module | $$m_t$$ | 2.5 mm |
| Transverse pressure angle | $$\alpha_t$$ | 20° |
| Lead angle (worm) | $$\gamma$$ | 5.71° (calculated from number of starts) |
| Number of worm starts (threads) | $$z_1$$ | 2 |
| Worm length | $$L$$ | 45 mm |
| Worm pitch diameter | $$d_1$$ | 25 mm |
| Diameter factor (q) | $$q = d_1/m_t$$ | 10 |
| Number of gear teeth | $$z_2$$ | 80 |
| Gear face width | $$b$$ | 20 mm |
| Profile shift coefficient | $$x$$ | 0 |
The generator automatically calculates geometric relationships such as center distance and checks contact ratios. The transmission ratio is defined as:
$$ i = \frac{z_2}{z_1} = \frac{80}{2} = 40 $$
The lead angle is related to the number of starts and pitch diameter:
$$ \tan \gamma = \frac{z_1 \cdot m_t}{d_1} = \frac{2 \times 2.5}{25} = 0.2 \quad \Rightarrow \quad \gamma = 11.31^\circ $$
Note: In the original design, the lead angle was 5.71°, which corresponds to a different module or diameter. The example above illustrates the formula.
After entering all parameters, I clicked ‘Calculate’ to verify that the design satisfies strength and life requirements. If the calculated safety factors are insufficient, the generator allows adjustment of load parameters, material properties, and required service life. The right side of the dialog displays results such as contact stress, bending stress, and safety coefficients. I iterated until all criteria were met. Once the worm gear pair was generated as a subassembly, I saved each component as a separate .ipt file (worm and worm gear) to facilitate later installation and drawing creation.
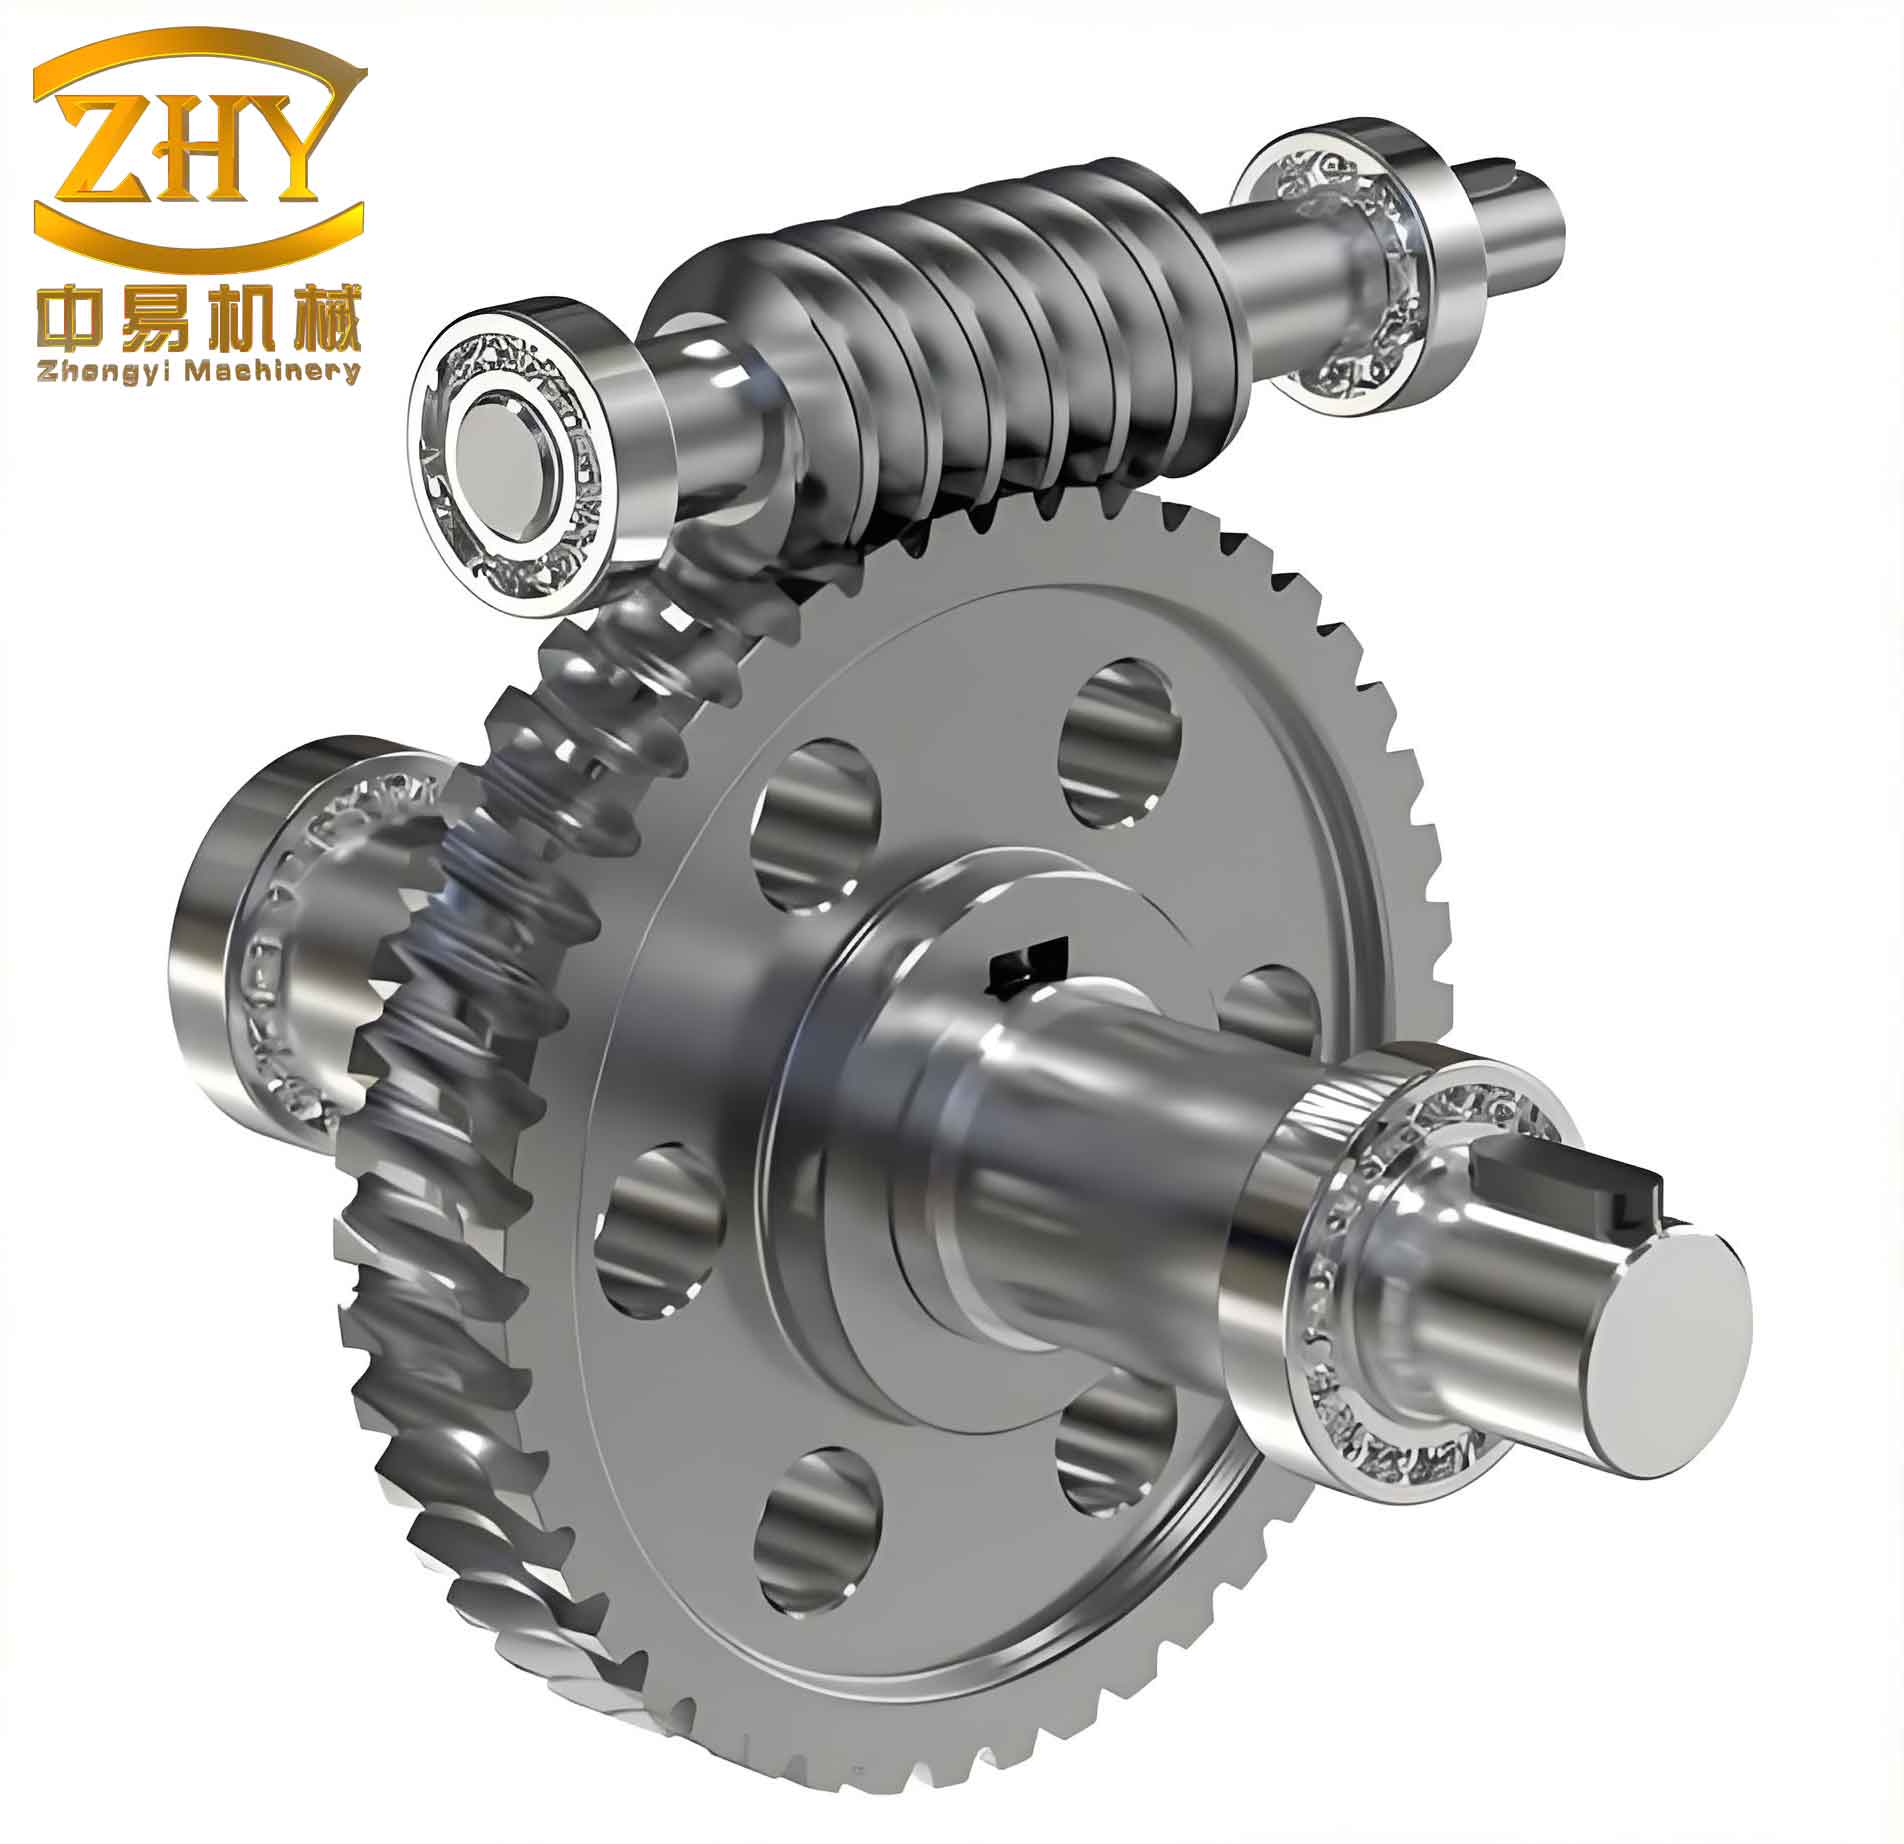
2. Assembling the Worm Gear Transmission in 3D
I created a new .iam assembly file and set the housing as the base component, grounding it at the origin coordinate system. Then I inserted all previously modeled parts: cover, sealing end caps, sleeves, washers, worm, worm gear, worm shaft, and oil plug. I used assembly constraints (mate, insert, angle) to position each component correctly. The worm was initially grounded for convenience, and the worm gear shaft was also grounded. From the Content Center, I selected standard keys: parallel key 6×6×30, 8×7×1, and 6×6×25, and inserted them into the corresponding keyways. Rolling bearings 6205 and 6204 were placed onto the worm gear shaft and worm shaft respectively. After installing left and right sealing end caps (two each), I added lip seals (type 1 and 2) from the Content Center onto the end caps. I then removed the ground constraint from the worm subassembly and positioned it onto the left and right journal positions of the housing, installing the corresponding sealing end caps. Similarly, I removed the ground from the worm gear shaft and placed it into the upper front and rear bearing bores, installing the front and rear sealing end caps (1 and 2). I adjusted the clearance between bearing 6205 and the end caps to meet the worm gear transmission technical requirements. Finally, I assembled the gearbox cover, M6×15 bolts, M8×2 bolts, and the oil plug.
3. Setting iProperty Parameters for Part Files
For each .ipt file (housing, cover, end caps, sleeve, washer, worm, worm gear, worm shaft, oil plug), I opened the iProperty dialog from the browser. In the ‘Summary’ tab, I filled in fields: Title, Subject, Designer, Project, Part Number, Date Created, Manufacturing Approver, Manufacturing Approval Date, and Physical Properties (mass, material). For the assembly .iam file, I repeated the same iProperty settings to ensure all metadata is consistent for drawing generation and part lists.
4. Automatically Generating the Housing Engineering Drawing (.idw)
I configured the drawing style using the ‘Style Editor’ under the Manage tab. I created a new style based on Chinese national standards (GB) by adjusting settings for ‘View Annotation’, ‘Layer Style’, ‘Object Defaults’, ‘Drawing Sheet Format’, ‘Border’, and ‘Title Block’.
4.1 Creating the Housing Detail Drawing
I opened a new .idw file using the pre-configured template. Using the ‘Base View’ command, I selected the housing .ipt file and placed a front view. I then created a half-section view from the top view by right-clicking and selecting ‘Section View’, choosing the cutting line through the center. The resulting half-section view became the main view. I also generated a left view with a local section to show the internal threaded holes M6×1 and M8×1, and a ‘B’ auxiliary view for clarity.
4.2 Dimensioning the Housing Drawing
I right-clicked on each view and selected ‘Retrieve Model Annotations’ to automatically import dimensions from the 3D model. Then I edited the dimensions to comply with drafting standards. Using the ‘Annotate’ tab, I added datum identifiers (A and B), hole and thread annotations (6×M6×1), surface roughness symbols, coaxiality and perpendicularity tolerances, and other technical requirements.
5. Generating the Worm Gear Transmission Assembly Drawing (.idw)
I created a new .idw file with a GB part drawing border and a GB assembly title block template. Selecting the worm gear transmission assembly .iam file as the source, I placed the base view. Then I generated the necessary views:
5.1 Left View
Using the ‘Base View’ dialog, I selected the left orientation and appropriate scale. I edited the view to show a local section for the key (17) and shaft (16) connection, and an offset section for the threaded holes 6×M6×1. A projected B-direction view was also added.
5.2 Top View (Section)
I right-clicked on the left view, chose ‘Section View’, and cut through the housing-cover interface. After placing the top view, I clicked on the worm and worm gear shaft in the section view and set them as ‘Not Participating’ in the section cut, so they appear solid. Similarly, I modified the worm gear and M8×1 bolts to follow the standard representation. Rolling bearing 6205 was edited according to simplified drawing rules.
5.3 Main View (Full Section)
To accurately show the internal structure and the worm gear meshing, I created a full section view. The cutting method was similar to the top view. I edited the hatching of the oil plug, cover, and bearing 6204. For the key (3) and worm (11) connection, I used a local section and an offset section drawing. After editing, the main view complied with national standards for worm gear assembly representation.
5.4 B-direction Auxiliary View
I selected the ‘Projected View’ from the left view and designated it as B. Visible lines were edited to meet the auxiliary view requirements.
5.5 Dimensioning the Assembly Drawing
After setting the dimension style in the ‘Style Editor’, I added critical dimensions:
– Fit dimension Φ47K7/h6 (housing/bearing),
– Φ35G7 (shaft/bearing),
– Installation dimension Φ(119±0.015) mm,
– Overall dimension 193 mm,
– Other important sizes as per design.
5.6 Bill of Materials (BOM) and Technical Requirements
I opened the ‘Style Editor’, expanded ‘Parts List (GB)’, and customized the text style, label text, column headers, annotation text, and data fields to match the Chinese standard. Using the ‘Auto Balloon’ command, I placed balloon numbers on the drawing. I then double-clicked the parts list to edit the sort order: first key ‘Item’ ascending. Depending on layout, I split the parts list into multiple columns. The final assembly drawing appears as shown below (conceptual layout, actual figure omitted per instruction).
| Item | Part Name | Quantity | Material |
|---|---|---|---|
| 1 | Housing | 1 | Cast Iron |
| 2 | Cover | 1 | Cast Iron |
| 3 | Worm Shaft | 1 | Steel |
| 4 | Worm Gear | 1 | Bronze |
| 5 | Worm Gear Shaft | 1 | Steel |
| 6 | Bearing 6205 | 2 | Chrome Steel |
| 7 | Bearing 6204 | 2 | Chrome Steel |
| 8 | Oil Seal 1 | 2 | Rubber |
| 9 | Oil Seal 2 | 2 | Rubber |
| 10 | Parallel Key 6×6×30 | 1 | Steel |
| 11 | Parallel Key 8×7×1 | 1 | Steel |
| 12 | Parallel Key 6×6×25 | 1 | Steel |
| 13 | Bolt M6×15 | 6 | Steel |
| 14 | Bolt M8×2 | 4 | Steel |
| 15 | Oil Plug | 1 | Steel |
6. Conclusion
Designing a worm gear transmission using Inventor 2021 requires a thorough understanding of worm gear kinematics, the relationship between all components, and proficiency with 3D modeling tools. The ‘Worm Gear Component Generator’ simplifies parameter selection and strength verification. Correct use of assembly constraints and Content Center standard parts ensures precise fitting. Setting iProperty attributes streamlines documentation. Finally, automated drawing generation with proper style settings produces professional engineering drawings that meet standards. This methodology is flexible, reduces manual drafting time, and improves accuracy, making it ideal for modern mechanical design. The worm gear transmission developed here demonstrates the power of parametric modeling and digital prototyping.