
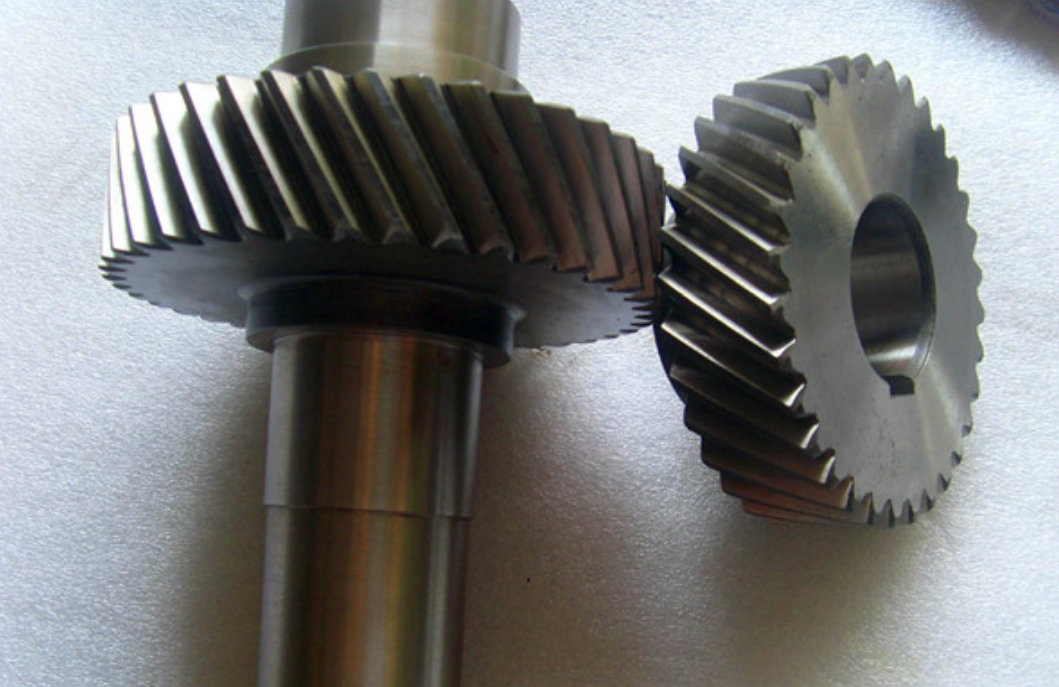
In the realm of gear metrology, measuring the tooth thickness of cylindrical gears using measuring pins or balls is a widely adopted practice. This method becomes particularly essential for helical gears when the face width is less than \(W \sin\beta_b\), where \(W\) is the span measurement and \(\beta_b\) is the base helix angle. Under this condition, measuring the span is impossible, and the ball measurement distance, denoted as \(M\), serves as the critical parameter for assessing gear tooth thickness. Traditional calculation of \(M\) for helical gears involves complex formulas that require consulting involute function tables or employing iterative numerical methods. This process is not only tedious and time-consuming but also prone to errors, sometimes yielding inconsistent results even after multiple recalculations.
This article presents an alternative, simplified approach: utilizing the powerful drafting and precise dimensioning capabilities of CAD software, specifically CAXA Electronic Drafting Board, to graphically determine the ball measurement distance \(M\) for helical gears. This graphical method eliminates the need for involute function tables and iterative calculations, offering a solution that is intuitive, visual, fast, and less susceptible to mistakes. The core idea leverages the fact that the transverse tooth profile of a helical gear is a true involute, which can be accurately generated using the dedicated gear module in CAXA.
1. Fundamental Parameters Required for the Graphic Solution
The graphical determination of \(M\) requires a specific set of parameters derived from the basic specifications of the helical gear. The calculation is performed in the transverse plane.
1.1 Derivation of the Formula for the Imaginary Ball Diameter
When two balls of identical diameter \(d_p\) are placed in diametrically opposite tooth spaces (for an even number of teeth) or spaces spanning \((z-1)/2\) teeth (for an odd number of teeth), they contact the tooth flanks. However, for helical gears, the contact points do not lie in a transverse plane passing through the ball centers. To facilitate analysis in the transverse section, a concept of an “imaginary ball” is introduced. An imaginary circle of diameter \(d_{pt}\), centered on the actual ball’s center, is tangent to the transverse tooth profile. The relationship between the actual ball diameter \(d_p\) and this imaginary diameter \(d_{pt}\) is derived from the geometry of the helical involute surface and is given by:
$$ d_{pt} = \frac{d_p}{\cos \beta_b} $$
where \(\beta_b\) is the base helix angle of the helical gear.
1.2 Formulas for Basic Parameters
Before proceeding to the graphical stage, the following parameters must be calculated from the known gear data: normal module (\(m_n\)), normal pressure angle (\(\alpha_n\)), helix angle at the reference cylinder (\(\beta\)), number of teeth (\(z\)), and normal profile shift coefficient (\(x_n\)). The sequence of calculations is as follows:
| Parameter | Formula | Description |
|---|---|---|
| Transverse Pressure Angle, \(\alpha_t\) | $$ \tan\alpha_t = \frac{\tan\alpha_n}{\cos\beta} $$ | Pressure angle in the transverse plane. |
| Base Helix Angle, \(\beta_b\) | $$ \sin\beta_b = \sin\beta \cos\alpha_n $$ | Helix angle on the base cylinder. |
| Transverse Module, \(m_t\) | $$ m_t = \frac{m_n}{\cos\beta} $$ | Module in the transverse plane. |
| Reference Diameter, \(d\) | $$ d = m_t z $$ | Pitch circle diameter. |
| Transverse Arc Tooth Thickness, \(s_t\) | $$ s_t = \frac{m_n (\pi/2 + 2 x_n \tan\alpha_n)}{\cos\beta} $$ (Use ‘+’ for external, ‘-‘ for internal gears) |
Tooth thickness along the pitch circle arc in the transverse section. |
| Transverse Chordal Tooth Thickness, \(\widetilde{s}_t\) | $$ \widetilde{s}_t = d \sin\left(\frac{s_t}{d}\right) $$ | Chord length corresponding to the transverse arc tooth thickness. This is crucial for accurate graphic construction. |
| Imaginary Ball Diameter, \(d_{pt}\) | $$ d_{pt} = \frac{d_p}{\cos\beta_b} $$ | Diameter of the circle in the transverse plane representing the ball. |
Once these parameters (\(\alpha_t\), \(m_t\), \(d\), \(\widetilde{s}_t\), \(d_{pt}\)) are computed, the graphical construction in CAXA can begin.
2. Graphical Determination of M Using CAXA
The process involves creating an accurate transverse tooth profile of the helical gear in CAXA and then performing geometric constructions to find \(M\).
2.1 Drawing the Transverse Tooth Profile and Reference Circle
Using the calculated transverse parameters, the gear profile is generated not with its true profile shift, but as a standard gear. The reason is that the CAXA gear module’s accuracy for specifying non-standard tooth thickness directly may be insufficient for our high-precision need. We will later correct the tooth space width graphically. The steps are:
| Step | Action in CAXA | Note |
|---|---|---|
| 1 | Launch CAXA and navigate to the “Gear” tool (usually under “Advanced Drafting”). | |
| 2 | In the “Involute Gear Parameters” dialog, select “External Gear”. Input the transverse parameters: – Tooth Number (\(z\)) – Module: Enter \(m_t\) – Pressure Angle: Enter \(\alpha_t\) – Profile Shift Coefficient: Set to 0. |
We use transverse, not normal, parameters here. |
| 3 | In the “Preview” dialog: – Set “Fillet Radius at Tip” to 0. – Set “Fillet Radius at Root” to a small value. – Uncheck “Effective Teeth”. – Set “Precision” to a high value (e.g., 0.001). – Check “Center Line”. Click “Finish”. |
This generates a precise transverse tooth profile for a standard gear. |
| 4 | Draw the reference (pitch) circle using the “Circle” tool with diameter \(d\). | This circle is essential for the next step of correcting the tooth space width. |
2.2 Graphic Construction to Find M
The generated profile has the correct shape but an incorrect tooth thickness. We must adjust the specific tooth spaces where the balls will be placed to have the exact transverse chordal tooth thickness \(\widetilde{s}_t\). Let’s consider an example of an external helical gear with an odd number of teeth, \(z=35\). The balls will be placed in tooth spaces A and B, which are \((35-1)/2 = 17\) teeth apart.
The construction proceeds as follows:
- Correct Tooth Space Width: The reference circle intersects a right tooth flank of the initial profile at point C (for space A). Using point C as the center, draw an arc with radius \(\widetilde{s}_t\). This arc intersects the reference circle at point G on the side of space A. Now, use the “Offset” command in “Point mode” to create a line \(D’\) that is offset from the left flank \(D\) of space A and passes through point G. Delete the original flank \(D\). Now, space A is bounded by the corrected flank \(D’\) and the opposite flank \(M\), having the exact theoretical width at the reference circle. Repeat this process for space B to get corrected flank \(F’\).
- Locate Imaginary Ball Centers: The imaginary ball of diameter \(d_{pt}\) must be tangent to the two corrected flanks of a tooth space. Offset both flanks of space A (i.e., \(D’\) and \(M\)) inward by a distance equal to the imaginary ball radius, \(d_{pt}/2\). The two offset lines intersect at point \(O_1\), the center of the imaginary ball for space A. Repeat for space B to find center \(O_2\).
- Draw Actual Balls and Measure M: With centers \(O_1\) and \(O_2\), draw circles with the actual ball diameter \(d_p\). Draw the line \(O_1O_2\) and extend it in both directions to intersect the ball circles. Use the “Dimension” tool to measure the distance between the two furthest intersection points. This measured value is the ball measurement distance \(M\).
For the example gear with parameters \(z=35\), \(m_n=2.5\), \(\alpha_n=20^\circ\), \(\beta=19^\circ\), \(x_n=+0.112\), and \(d_p=4.7625\), the graphical method yielded \(M = 100.5395 \text{ mm}\). This result is in excellent agreement with the value of \(100.539 \text{ mm}\) obtained through traditional complex formula calculation, demonstrating the high accuracy of the graphical approach for helical gears.
3. Advantages, Considerations, and Conclusion
The CAXA-based graphical method for finding the ball measurement distance \(M\) presents significant advantages over the conventional formula-based approach for helical gears.
Key Advantages:
- Intuitive and Visual: The process translates abstract mathematical iterations into concrete geometric constructions, making it easier to understand and verify.
- Eliminates Look-up Tables and Iteration: It completely bypasses the need for involute function tables and iterative solvers, simplifying the workflow.
- Fast and Less Error-Prone: Once the basic parameters are calculated, the graphic construction in CAXA is quick. The risk of calculation errors inherent in complex formulas is minimized.
- General Applicability: The same graphical procedure applies to both standard and profile-shifted external helical gears, as well as to gears with even or odd numbers of teeth, without requiring different formula sets.
Important Consideration:
A current limitation is that the gear generation module in some versions of CAXA (e.g., CAXA 2009) may not produce perfectly accurate tooth profiles for internal helical gears. Therefore, while this graphical method is highly recommended for external helical gears, its application to internal gears should be reconsidered until the software’s internal gear modeling is verified or improved.
Conclusion:
In summary, utilizing CAXA’s drafting capabilities to graphically determine the ball measurement distance \(M\) for helical gears offers a practical, accurate, and efficient alternative to traditional computational methods. The technique is characterized by clear logic, visual simplicity, and speed, making it a valuable tool for engineers and technicians involved in the inspection and quality control of helical gears. By following the outlined procedure—calculating the necessary transverse parameters, generating the gear profile, and performing the geometric corrections and constructions—one can reliably obtain the critical \(M\) value without the complexities of classical gear calculation techniques.