
In the realm of gear manufacturing, the production of large straight bevel gears presents unique challenges, particularly when dedicated gear-cutting machinery is unavailable. This narrative recounts our firsthand experience in successfully machining a single-piece, large-diameter straight bevel gear using an adapted form milling method. The core of our approach lay in creatively combining standard machine tools with minimal custom fixtures to achieve the required precision for these critical components. Straight bevel gears, characterized by their conical pitch surfaces and straight, tapered teeth, are essential in power transmission systems where shafts intersect, often at 90-degree angles. Their large-scale versions are frequently required in heavy machinery, aerospace, and marine applications, making their accurate fabrication paramount.
The primary obstacle was the absence of a specialized gear hobber or generator capable of handling gears with diameters exceeding conventional limits. Our objective was to produce a straight bevel gear with a significant diameter and a specified accuracy level, adhering to strict tolerances. The solution emerged from leveraging existing workshop equipment: a universal tool milling machine, a mechanical sliding table, and a standard indexing head. By integrating these elements with purpose-built jigs and fixtures, we established a viable machining setup. The process underscored the versatility of form milling for generating tooth profiles on straight bevel gears, especially in low-volume or prototype scenarios.
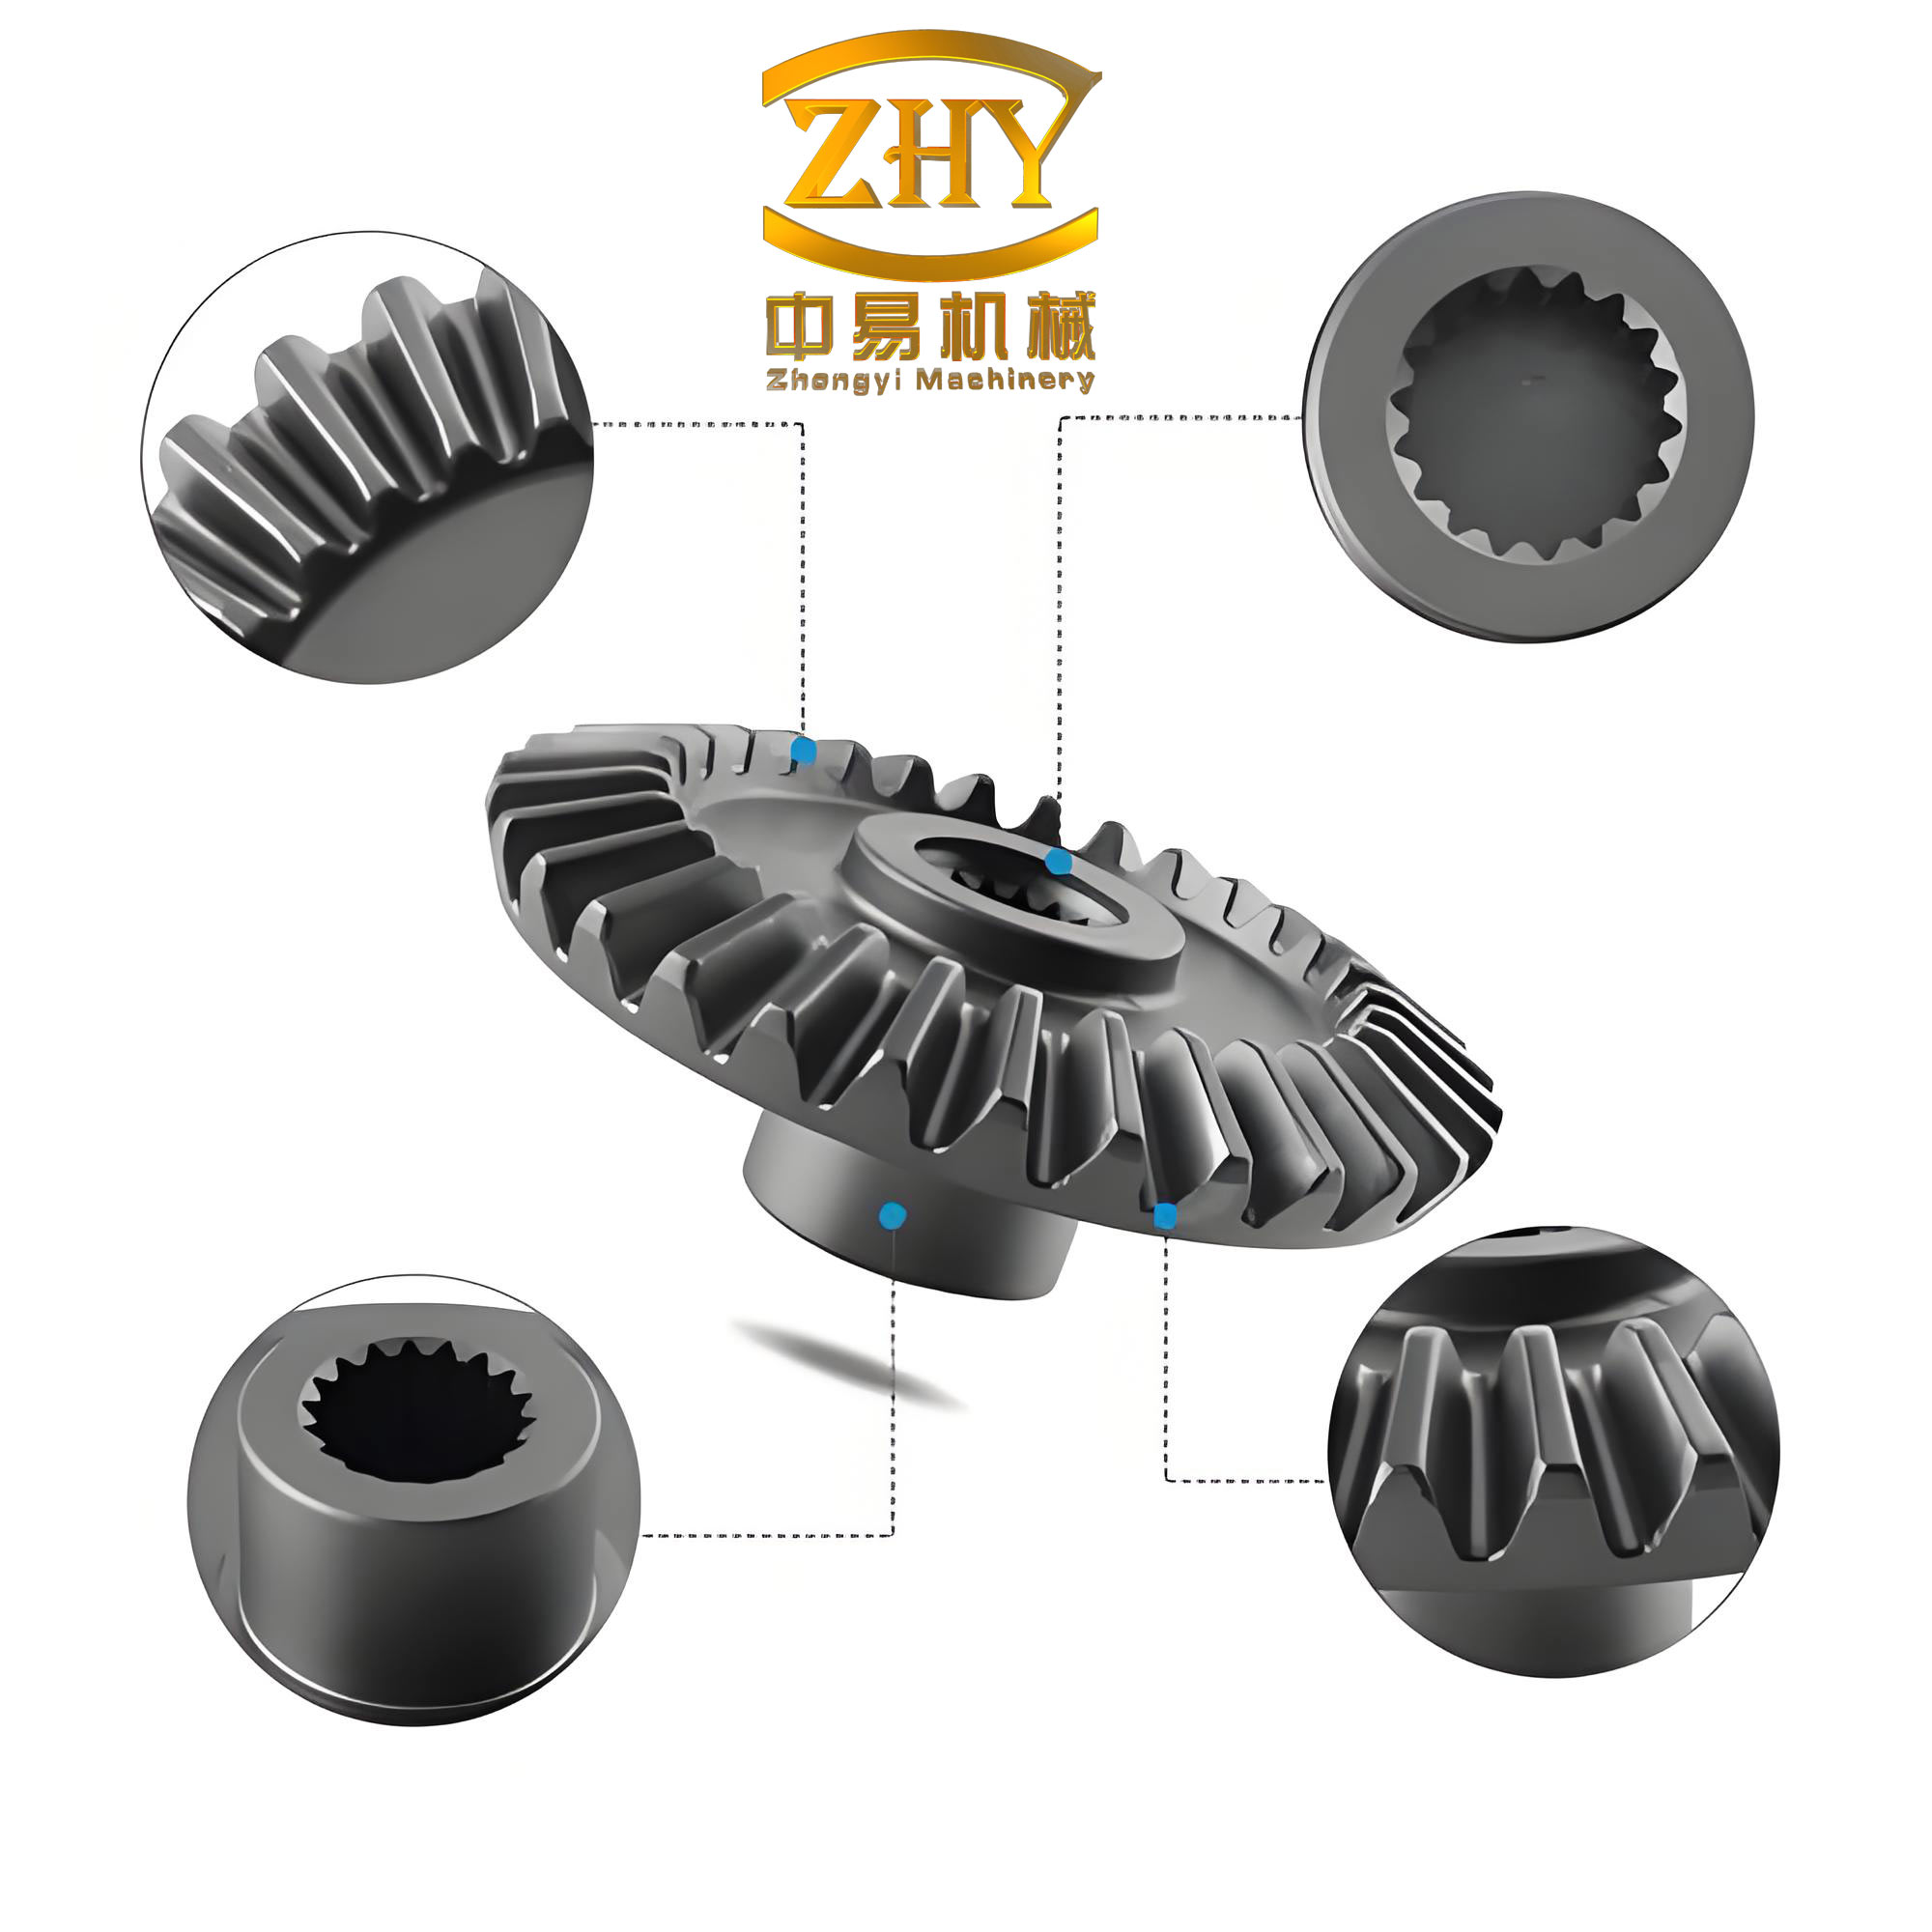
The geometry of straight bevel gears is fundamental to the machining strategy. Key parameters must be precisely calculated to ensure proper meshing and load distribution. Below is a summary of the essential geometric elements for straight bevel gears, which guided our setup and toolpath planning.
| Parameter | Symbol | Typical Formula | Role in Form Milling |
|---|---|---|---|
| Pitch Diameter (Large End) | D | Design-specific | Determines the blank size and cutting envelope |
| Pitch Cone Angle | γ | $$ \gamma = \tan^{-1}\left(\frac{D}{2R}\right) $$ where R is cone distance | Defines the taper of the gear; influences workpiece orientation |
| Root Cone Angle | δ | $$ \delta = \gamma – \theta_f $$ where θ_f is dedendum angle | Critical for tilting the workpiece during setup to align the tooth root line |
| Face Width | F | Usually 1/3 of cone distance | Limits the length of the tooth to be cut |
| Module (at Large End) | m | $$ m = \frac{D}{z} $$ with z as tooth count | Governs tooth size and cutter selection |
| Pressure Angle | α | Standardly 20° | Defines the tooth profile shape; the form cutter must match this angle |
| Whole Depth | h | $$ h = 2.25m $$ for full-depth teeth | Sets the total depth of cut required |
Our machining centerpiece was the integration of a universal tool milling machine with a mechanical sliding table and an indexing head. The connection was secured via a custom-made steel linking plate, ensuring rigidity between the milling machine’s base and the sliding table. To establish the necessary inclination corresponding to the root cone angle of the straight bevel gear, we fabricated two inclined pads or wedges. These were placed between the sliding table and the indexing head, effectively tilting the entire workpiece mounting assembly. This tilt is crucial because, in form milling straight bevel gears, the cutter must move parallel to the root line of the tooth space. A height gauge was employed to consistently reference and control the depth of cut for each tooth. The indexing head, with a standard constant of 40, provided the precise angular division required to space the teeth around the gear blank. The sliding table facilitated the controlled transverse offset needed to machine both flanks of the teeth for straight bevel gears. The complete assembly is summarized in the following table.
| Component | Model/Type | Primary Function in Setup | Adaptation for Straight Bevel Gears |
|---|---|---|---|
| Universal Tool Milling Machine | Standard Workshop Model | Provides primary rotary motion to the form cutter and vertical/longitudinal feed. | Equipped with a form milling cutter matching the tooth profile of the straight bevel gear. |
| Mechanical Sliding Table | Precision Ground Slide | Offers controlled transverse (cross) movement. | Used to apply the calculated offset (e value) for generating the tooth taper. Fitted with a dial indicator for micron-level readout. |
| Indexing Head | Standard with 40:1 worm ratio | Enables precise rotation of the workpiece for dividing the circumference. | Used with indexing plates to achieve the exact number of divisions corresponding to the tooth count of the straight bevel gear. |
| Linking Plate | Custom Fabricated Steel Plate | Mechanically couples the milling machine base to the sliding table. | Ensures a stable, vibration-free connection critical for the accuracy of straight bevel gears. |
| Inclined Pads/Wedges | Precision-machined to angle δ | Creates a permanent tilt in the workpiece mounting plane. | Angle δ equals the root cone angle of the specific straight bevel gear, aligning the blank correctly. |
| Work Holding Fixture | Custom Mandrel or Chuck | Secures the gear blank to the indexing head. | Designed to hold the large-diameter blank securely while allowing full access for milling. |
The heart of the indexing process for machining straight bevel gears lies in calculating the correct division. The indexing head’s worm gear has a constant ratio, typically K=40, meaning 40 turns of the index crank rotate the spindle one full revolution. For a gear with z teeth, the number of crank turns (or equivalent holes on an indexing plate) per division is given by:
$$ n = \frac{K}{z} = \frac{40}{z} $$
Since n is often not a whole number, we use indexing plates with various hole circles. The formula to find the correct hole circle and the number of holes to advance becomes:
$$ \text{Holes to advance} = \frac{40}{z} \times \text{Number of holes in the selected circle} $$
For instance, consider machining a large straight bevel gear with z = 65 teeth. The calculation proceeds as follows:
$$ n = \frac{40}{65} = 0.6153846… $$
This is not a convenient fraction. We must find an indexing plate with a hole circle (N) that allows us to approximate this turn fraction. Multiplying n by various N values:
$$ \text{For N=39: } 0.6153846 \times 39 = 24 \text{ (exactly)} $$
Thus, using a 39-hole circle, we advance 24 holes per tooth. The indexing calculation is fundamental to ensuring equal spacing of teeth on the straight bevel gear. The table below illustrates indexing solutions for different tooth counts common in large straight bevel gears.
| Tooth Count (z) of Straight Bevel Gear | Indexing Head Constant (K) | Required Crank Turns (n=K/z) | Recommended Hole Circle (N) | Holes to Advance per Tooth (n × N) |
|---|---|---|---|---|
| 40 | 40 | 1 | Any | N (e.g., 1 full turn) |
| 48 | 40 | $$ \frac{40}{48} = \frac{5}{6} $$ | 30 | 25 |
| 60 | 40 | $$ \frac{40}{60} = \frac{2}{3} $$ | 39 | 26 |
| 72 | 40 | $$ \frac{40}{72} = \frac{5}{9} $$ | 45 | 25 |
| 80 | 40 | 0.5 | Any even-numbered circle | N/2 |
| 100 | 40 | 0.4 | 25 | 10 |
Another critical calculation for form milling straight bevel gears is the transverse offset value, often denoted as ‘e’. This offset is applied between cutting the two flanks of a tooth to account for the tapered tooth shape. For a straight bevel gear, the offset at the cutter location can be derived from the geometry. The approximate offset per side for generating the correct tooth taper is related to the face width and the pitch cone angles. A simplified formula used in practice for setting the sliding table is:
$$ e \approx \frac{F \cdot m}{D} $$
Where F is the face width, m is the module at the large end, and D is the pitch diameter. However, a more precise method involves calculating based on the tool geometry and desired backlash. In our operation, the offset was determined through a combination of calculation and trial cuts, measured precisely using the dial indicator on the sliding table. This step is vital for ensuring the proper tooth thickness variation from the large to the small end of the straight bevel gear.
The actual machining sequence for the large straight bevel gear was meticulous and multi-stage. We employed a form milling cutter whose profile matched the tooth space of the straight bevel gear at the large end, considering the pressure angle and tooth depth. The process flowchart below outlines the major steps.
- Setup and Alignment: Mount the gear blank securely on the indexing head mandrel. Use the inclined pads to tilt the entire indexing head assembly so that the blank’s axis forms the root cone angle (δ) with the milling table’s base plane. Align the center of the blank with the axis of the milling cutter. Set the initial cutter height using the height gauge as a reference for the tooth depth at the large end.
- Indexing Configuration: Select the appropriate indexing plate based on the tooth count (z) of the straight bevel gear. Calculate and set the sector arms to advance the correct number of holes for each division.
- Rough Milling – First Flank (Series of Cuts): Starting from the small end of the tooth space, perform a series of roughing cuts along the length of the gear face. The cutter is fed vertically to a pre-calculated depth for each pass, moving longitudinally to generate the slot. Typically, two or three roughing passes were used to remove the bulk of material without overloading the cutter. After each complete tooth slot is roughed, the workpiece is indexed to the next position.
- Applying Transverse Offset: After roughing all teeth on one flank, the sliding table is moved transversely by the calculated offset value ‘e’. This repositions the gear blank relative to the cutter to machine the opposite flank of the teeth for the straight bevel gear.
- Rough Milling – Second Flank: Repeat the roughing sequence for the opposite flanks of all teeth. At this stage, the basic tapered tooth slots are formed.
- Finishing Cuts: With a sharp form cutter and reduced feed rates, perform finishing cuts on both flanks. The depth of cut is finely adjusted to achieve the final dimensions and surface finish specified for the straight bevel gear. Care is taken to ensure the tooth thickness at the large and small ends meets the drawing requirements.
- In-process Verification: After machining a few teeth, use gear tooth calipers or pins to measure the chordal thickness at the large end. Adjust the transverse offset or cutter depth incrementally if necessary. The height gauge is consistently used to verify cutting depth consistency across all teeth of the straight bevel gear.
The success of machining straight bevel gears via this method hinges on rigorous accuracy control. We implemented several measurement techniques to validate the gear geometry. The primary measurements focused on the large end, as it is the reference plane. Key parameters checked included: circular pitch error, tooth profile deviation, and cumulative pitch error. For large straight bevel gears, specialized gear checking equipment might be unavailable, so we relied on comparative and indirect methods. The following table summarizes our accuracy assurance protocol.
| Aspect Measured | Tool/Method Used | Procedure | Acceptance Criterion for Straight Bevel Gears |
|---|---|---|---|
| Tooth Spacing (Indexing Error) | Precision Indexing Head with Dial Indicator | Mount a dial indicator tip on a tooth flank. Rotate the gear via the indexing head and record the variation at each tooth position. | Cumulative error over all teeth within a tolerance band (e.g., ±0.02 mm). |
| Tooth Thickness at Large End | Gear Tooth Vernier Calipers or Pins over Balls | Measure the chordal tooth thickness at several points around the circumference. For pin measurement, place two precision pins in opposite tooth spaces and measure over the pins. | Mean thickness within drawing limits; variation indicates taper or offset errors. |
| Tooth Profile Form | Form Template or Optical Comparator | A hardened template of the correct tooth profile is placed against the machined tooth. Deviations are observed via backlight or measured with feeler gauges. | Profile deviation must not exceed a specified value, ensuring proper contact for straight bevel gears. |
| Root Cone Angle Tilt | Sine Bar and Dial Indicator | Place the machined gear on a sine bar set to the theoretical root cone angle. Sweep a dial indicator along a machined root line. | Indicator reading shows minimal deviation, confirming correct setup tilt. |
| Surface Finish | Surface Roughness Tester | Take readings on the tooth flanks after finishing cuts. | Ra value meeting the required standard for smooth operation of straight bevel gears. |
The mathematics behind the form milling process for straight bevel gears is extensive. Beyond basic indexing, the cutter path and depth calculations involve trigonometric relationships based on the gear’s conical geometry. For instance, the actual depth of cut (DOC) varies along the face width because the tooth depth is constant, but the outer and inner diameters change. The DOC at any point along the tooth length, measured from the pitch cone, can be expressed as a function of the distance from the large end. Let L be the cone distance (slant height), and let x be the distance from the large end along the pitch cone. The local pitch radius r(x) is:
$$ r(x) = \frac{D}{2} – x \sin(\gamma) $$
The corresponding tooth depth h is constant for standard full-depth teeth. However, the machined slot depth from the blank outer surface varies. The required cutter infeed at a position x to achieve the correct tooth depth involves calculating the radial distance from the blank’s outer conical surface to the root line. This is derived from the root cone angle δ and the blank’s initial dimensions. Such calculations ensure the form cutter generates the correct tapered slot for the straight bevel gear.
Another important formula is for checking the chordal tooth thickness (s_c) at the large end, a common verification measurement:
$$ s_c = D \sin\left(\frac{90^\circ}{z}\right) $$
Where the term 90°/z converts to the tooth thickness angle in degrees. For more precision, incorporating the pressure angle (α) is necessary. The theoretical chordal thickness at the pitch circle is:
$$ s_c = m z \sin\left(\frac{\pi}{2z}\right) $$
Where m is the module. These formulas were integral to our post-machining inspection of the straight bevel gear.
Reflecting on the entire project, the form milling method proved highly effective for the one-off production of a large straight bevel gear. The adaptability of standard milling and indexing equipment, when combined with thoughtful fixture design and precise calculations, can overcome the lack of dedicated gear machinery. Key lessons learned include the paramount importance of rigid setup to prevent chatter, the necessity of meticulous indexing and offset calculations, and the value of iterative trial cuts for fine-tuning. This experience demonstrates that with sufficient engineering ingenuity, high-precision straight bevel gears can be manufactured even in resource-constrained environments. The knowledge gained extends beyond this single gear; the methodology can be adapted for other large, tapered gear forms and for small-batch production of straight bevel gears. Future improvements could involve CNC integration of the sliding and indexing motions for enhanced automation and repeatability, further pushing the boundaries of what’s possible in flexible gear manufacturing.
In conclusion, machining large straight bevel gears via the form milling method is a viable and precise alternative when conventional gear cutters are unavailable. It demands a deep understanding of gear geometry, careful planning of machine tool integration, and rigorous process control. The successful fabrication of our large-diameter straight bevel gear stands as a testament to the power of adaptive manufacturing techniques. The principles outlined here—from geometric calculations and indexing strategies to setup protocols and verification methods—provide a comprehensive framework for engineers tackling similar challenges in the production of straight bevel gears and other complex mechanical components.