
The design and analysis of power transmission components are fundamental to mechanical engineering. Among these, the miter gear, a specific type of bevel gear with a 1:1 ratio and typically 90-degree shaft intersection, holds a critical place in applications requiring precise redirection of rotational motion and torque. This article explores a modern, integrated approach to miter gear development, focusing on parametric three-dimensional modeling and subsequent finite element analysis (FEA) to validate and optimize designs. The methodology leverages the power of commercial CAD software, extended through application programming, to create a flexible and efficient design pipeline.
At its core, a miter gear is a bevel gear where the number of teeth on the pinion and gear are equal, resulting in equal pitch diameters. This geometry ensures that the input and output shafts rotate at the same speed while changing the axis of rotation. The design and manufacture of accurate miter gear teeth are complex due to their conical shape and the spherical involute tooth profile. Traditional design methods can be time-consuming and error-prone when dealing with multiple design iterations. Therefore, implementing a parametric design system is not just a convenience but a necessity for efficiency and accuracy. The primary advantages of this approach include:
- Rapid Iteration: Instant generation of new three-dimensional models by changing key input parameters.
- Design Consistency: Automatic enforcement of geometric and mechanical relationships, reducing human error.
- Library Creation: Easy establishment of a standardized company or project-specific gear model library.
- Seamless Analysis Integration: Direct use of the generated model for simulation, ensuring the analyzed geometry is always up-to-date with the design intent.
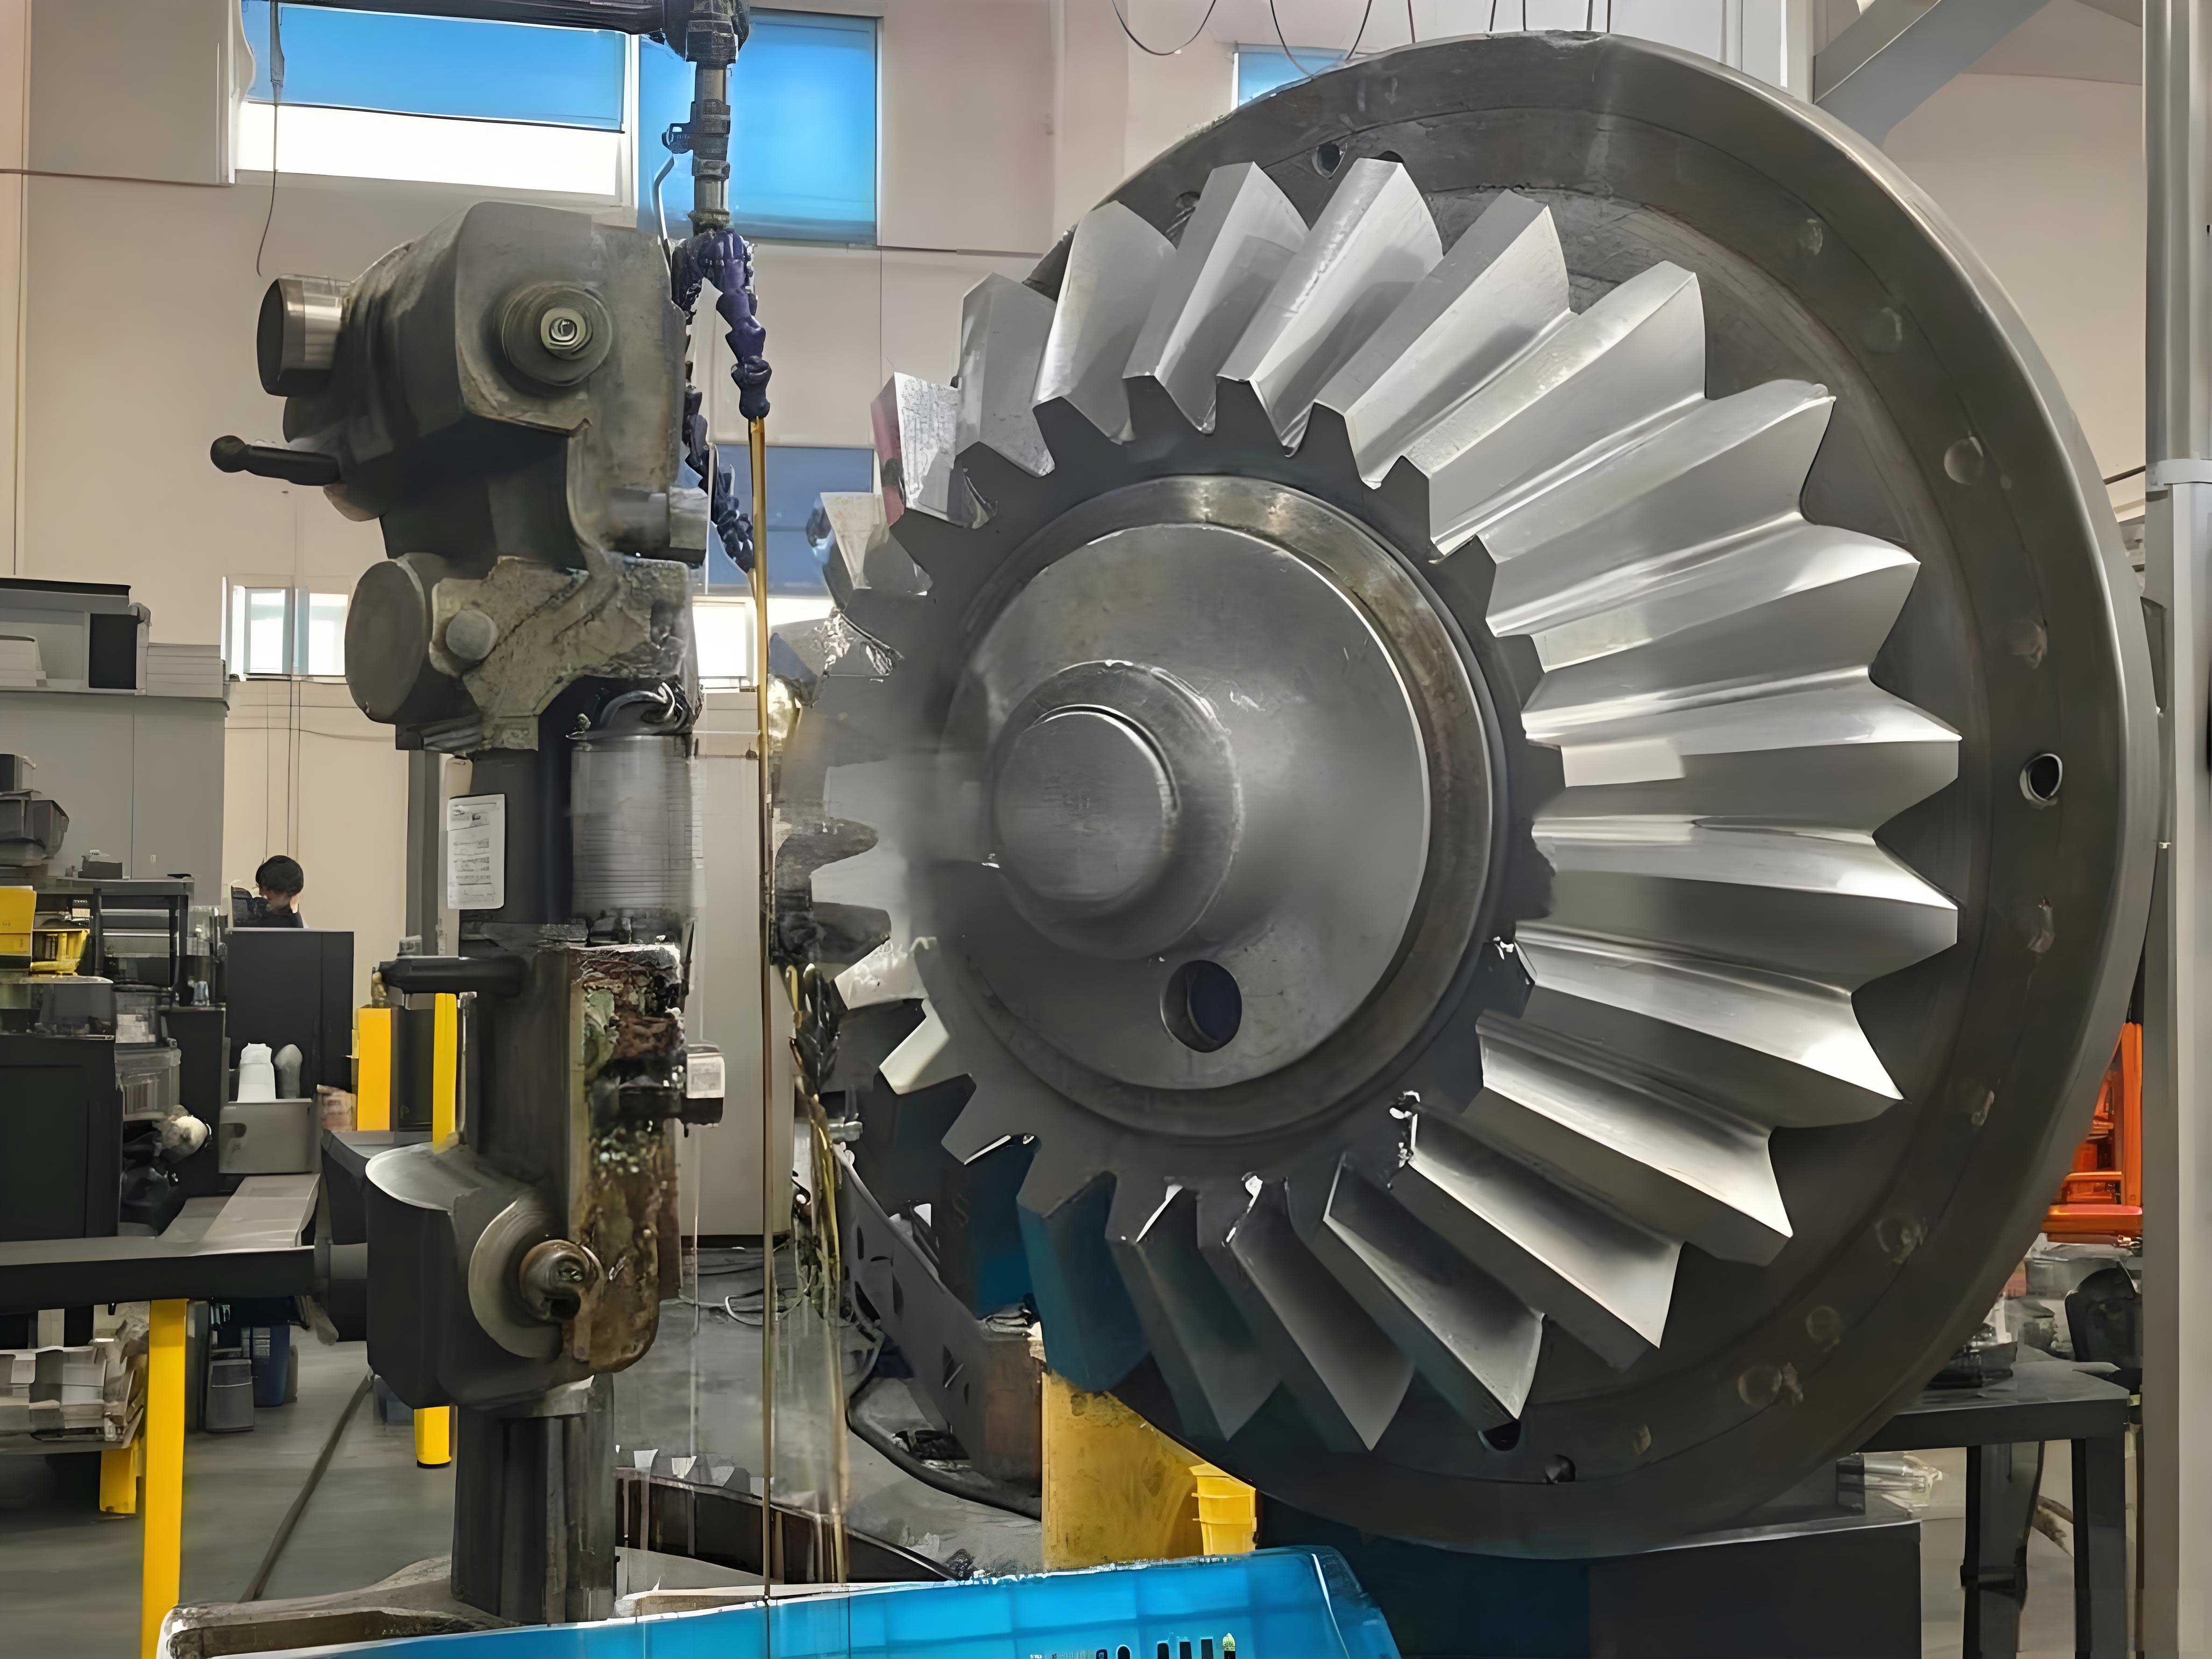
Parametric Design Methodology and Implementation
Parametric design transforms a static model into a dynamic one governed by variables and rules. For a miter gear, this involves identifying the independent parameters that fully define its geometry and then creating a model where all dependent dimensions are driven by these parameters through mathematical relations. The implementation typically follows one of two paths: using built-in configuration tools (like linked design tables) or, for greater control and automation, using the software’s Application Programming Interface (API) for secondary development. The latter approach is more powerful for creating standalone applications and is the focus of this guide.
The process begins with a thorough analysis of the miter gear‘s geometry. The tooth profile is based on a spherical involute, which is challenging to model directly. A practical and standard approximation uses the “back cone” or “Tredgold’s” method. The back cone is an imaginary cone tangent to the sphere at the pitch circle’s large end. When this cone is developed onto a plane, it creates an equivalent spur gear whose teeth closely approximate the shape of the bevel gear teeth. All subsequent calculations for tooth form are based on this equivalent spur gear, simplifying the modeling process significantly.
The first critical step is to define the independent design variables. For a standard miter gear pair, these are few but powerful. They form the minimal set needed to generate a complete and mechanically valid model. From these, all other geometric features are derived.
| Independent Design Variable | Symbol | Typical Value / Note |
|---|---|---|
| Number of Teeth (for one gear) | $$ z $$ | e.g., 20, 30, 40 (For a miter gear, $$ z_1 = z_2 $$) |
| Module (at large end) | $$ m $$ | Standardized values (e.g., 2 mm, 3 mm, 5 mm) |
| Pressure Angle | $$ \alpha $$ | Commonly 20° |
| Face Width | $$ b $$ | Often defined via face width factor $$ \psi_R $$, where $$ b = \psi_R R $$ and $$ \psi_R \approx 0.25 – 0.3 $$ |
| Shaft Angle | $$ \Sigma $$ | 90° for a standard miter gear |
From these inputs, a series of crucial geometric parameters are calculated automatically using established gear theory formulas. These derived parameters are essential for sketching the gear blank and defining the tooth profile.
| Derived Geometric Parameter | Calculation Formula |
|---|---|
| Pitch Diameter (at large end) | $$ d = m \cdot z $$ |
| Pitch Cone Angle (for each gear) | For a 90° shaft angle: $$ \delta = \arctan(z_1 / z_2) = 45° $$ for a miter gear. |
| Cone Distance | $$ R = \frac{d}{2 \sin(\delta)} = \frac{m \cdot z}{2 \sin(45°)} = \frac{m \cdot z}{\sqrt{2}} $$ |
| Addendum | $$ h_a = h_a^* \cdot m $$, where $$ h_a^* = 1 $$ for standard full-depth teeth. |
| Dedendum | $$ h_f = (h_a^* + c^*) \cdot m $$, where $$ c^* $$ is the clearance coefficient (~0.25). |
| Addendum Cone Angle | $$ \theta_a = \arctan(h_a / R) $$ |
| Dedendum Cone Angle | $$ \theta_f = \arctan(h_f / R) $$ |
| Outside Cone Angle | $$ \delta_a = \delta + \theta_a $$ |
| Root Cone Angle | $$ \delta_f = \delta + \theta_f $$ |
| Equivalent Number of Teeth (for tooth form) | $$ z_v = \frac{z}{\cos(\delta)} $$ |
| Base Circle Diameter (of equivalent gear) | $$ d_b = d_v \cdot \cos(\alpha) = (m \cdot z_v) \cdot \cos(\alpha) $$ |
The creation of a parametric model programmatically involves a structured sequence of operations. A programming language like Visual Basic for Applications (VBA) or a standalone application in VB.NET/C# can communicate with the CAD software’s API. The general workflow is as follows:
- Initialize and Create Part: The program starts a new instance of the CAD software or connects to an existing one, then creates a new part document.
- Declare and Acquire Variables: The independent variables ($$ z, m, \alpha, b $$) are either set within the code or, preferably, collected from a custom user form/dialog box.
- Calculate Derived Parameters: Using the formulas from the table above, all dependent dimensions are computed.
- Sketch Gear Blank Profile: On a reference plane (e.g., Front Plane), a sketch is created. Key points defining the pitch cone, addendum cone, and dedendum cone lines are placed using the calculated angles and distances (like $$ R, \delta, \delta_a, \delta_f $$). This open profile is then revolved around the gear axis to create the solid conical blank.
- Generate Involute Tooth Profile: This is the most critical step. The involute curve for the equivalent spur gear is calculated. The Cartesian parametric equations for an involute are:
$$ x(\theta) = r_b (\cos\theta + \theta \sin\theta) $$
$$ y(\theta) = r_b (\sin\theta – \theta \cos\theta) $$
where $$ r_b $$ is the base circle radius ($$ d_b/2 $$) and $$ \theta $$ is the involute roll angle (in radians). The program calculates a series of $$ (x, y) $$ points by varying $$ \theta $$ and uses the API to create a spline through these points, forming one side of the tooth profile at the large end. A similar, scaled profile is created for the small end of the tooth. - Create Single Tooth Space: The large-end and small-end tooth profiles are connected using a lofted cut feature, which removes material from the blank to create one complete tooth gap.
- Pattern the Tooth Space: The loft-cut feature is patterned circularly around the gear axis. The number of instances in the pattern is equal to the number of teeth $$ z $$. This completes the core toothed section of the miter gear.
- Add Final Features: Additional features like the hub, bore, keyway, and hub bolts are added parametrically, with their dimensions also linked to the primary gear parameters (e.g., bore diameter proportional to pitch diameter).
The resulting application provides a simple interface where an engineer inputs the basic requirements. Upon clicking “Generate,” a fully defined, accurate 3D model of the miter gear is created in the CAD environment within seconds, ready for further use in assemblies or analysis.
Finite Element Analysis for Miter Gear Validation and Optimization
Creating a geometric model is only the first step. Verifying its structural integrity under load is essential before manufacturing. Finite Element Analysis is the premier computational tool for this task. For a miter gear, FEA helps identify stress concentrations, predict deformation, and check for potential failure modes like bending fatigue at the tooth root. Integrating FEA directly with the parametric model creates a powerful design-validate-optimize loop.
The process of performing FEA on a parametrically generated miter gear follows a systematic procedure. Modern CAD-embedded FEA tools (like SolidWorks Simulation, ANSYS Workbench, etc.) make this process relatively streamlined.
| FEA Step | Description and Considerations for Miter Gears |
|---|---|
| 1. Model Preparation | Use the parametric model directly. For static stress analysis, minor cosmetic features (e.g., small fillets, chamfers) that don’t significantly affect global stress can be suppressed to simplify meshing. However, root fillets are critical and must be included. |
| 2. Material Assignment | Assign the appropriate isotropic material properties. Common choices for miter gears include hardened steels (e.g., AISI 4140, 4340) or case-hardened steels. The properties must be defined:
|
| 3. Defining Fixtures (Constraints) | Apply realistic constraints to simulate the gear’s mounting. The inner bore surface is typically fixed (zero displacement in all directions) or constrained with a frictionless or cylindrical support to allow only rotation about the shaft axis. The back face of the hub may also be constrained to prevent axial movement. |
| 4. Applying Loads | This is a crucial step. A simplified static load is applied to simulate the peak torque transmission. The resultant force $$ F_n $$ is calculated from the transmitted torque $$ T $$ and the pitch radius at the large end $$ r $$: $$ F_n \approx \frac{T}{r \cdot \cos(\alpha)} $$ This force is applied normal to a single tooth’s flank, typically at the highest point of single tooth contact (HPSTC) to induce maximum bending stress. The force vector is decomposed in the global coordinate system into radial, axial, and tangential components. For more accuracy, the load can be distributed over a small area on the tooth flank. |
| 5. Meshing | Generate a finite element mesh. Using parabolic tetrahedral (solid) elements is standard. A curvature-based mesh with local refinement in high-stress areas (tooth root fillet, loaded tooth flank) is necessary for accurate results. Mesh convergence studies should be performed to ensure the results are independent of element size. |
| 6. Running the Solver | Execute the linear static analysis. The solver calculates displacements, strains, and stresses at every node in the model. |
| 7. Post-Processing Results | Analyze the resulting contour plots:
|
To illustrate with a concrete example, consider a miter gear made from AISI 1045 steel with a quenched and tempered treatment. The material properties for FEA would be defined as follows:
| Material Property | Value |
|---|---|
| Elastic Modulus ($$ E $$) | 205 GPa |
| Poisson’s Ratio ($$ \nu $$) | 0.29 |
| Yield Strength ($$ \sigma_y $$) | 450 MPa |
| Ultimate Tensile Strength ($$ \sigma_{UTS} $$) | 750 MPa |
After applying a torque corresponding to the gear’s intended service load, the FEA results would reveal a characteristic pattern. A high-stress concentration appears at the root fillet of the loaded tooth, aligning perfectly with the theoretical prediction for bending fatigue failure. The maximum von Mises stress value, $$ \sigma_{vm-max} $$, is extracted from the analysis. The global factor of safety is then calculated simply as:
$$ FOS = \frac{\sigma_y}{\sigma_{vm-max}} $$
If the calculated FOS is unacceptably low (e.g., less than 1.5 for a well-defined, static load), the design is flagged as unsafe. This is where the parametric model proves its immense value. Instead of manually redrawing the gear, the designer simply returns to the parametric input interface, modifies a key variable—such as increasing the face width $$ b $$ or the module $$ m $$—and regenerates the model. This new model is then subjected to FEA again. This iterative loop: Parameter Change → Model Regeneration → Re-analysis, can be performed rapidly until the stress levels are within acceptable limits and the factor of safety meets all criteria. This process directly optimizes the miter gear design for weight, material usage, and performance.
Conclusion
The integration of parametric design and finite element analysis represents a state-of-the-art methodology for developing robust and efficient mechanical components like the miter gear. By establishing a parametric model driven by fundamental gear parameters, designers escape the constraints of static, one-off designs. The ability to generate a new, perfectly accurate 3D model in moments forms the foundation for agile engineering. Coupling this generative capability with the predictive power of FEA closes the design loop, transforming intuition and handbook calculations into a precise, simulation-driven optimization process.
For the miter gear, this approach systematically addresses the primary failure mode—tooth root bending fatigue—by allowing designers to visualize stress concentrations and quantitatively assess safety factors. The immediate feedback enables informed decisions about changing geometric parameters (module, face width, root fillet radius) or material specifications to meet performance targets. Ultimately, this combined framework of parametric modeling and finite element analysis significantly accelerates development cycles, enhances reliability, and contributes to the creation of superior power transmission systems, ensuring that the humble yet vital miter gear performs its duty with unwavering precision and durability.