
In my years of experience in mechanical manufacturing, I have encountered numerous challenges in producing high-precision gear shafts. These components are critical in advanced machinery such as wind turbines and nuclear power equipment, where reliability and accuracy are paramount. A gear shaft, especially when slender and long, presents significant machining difficulties due to deformation and precision control issues. Traditional machining approaches often lead to errors, but through practical exploration, I have developed methods that effectively ensure quality. This article delves into the machining techniques for high-precision gear shafts, emphasizing process optimization, control points, and analytical tools. I will use tables and formulas extensively to summarize key aspects, and the keyword “gear shaft” will be repeatedly highlighted to underscore its importance.
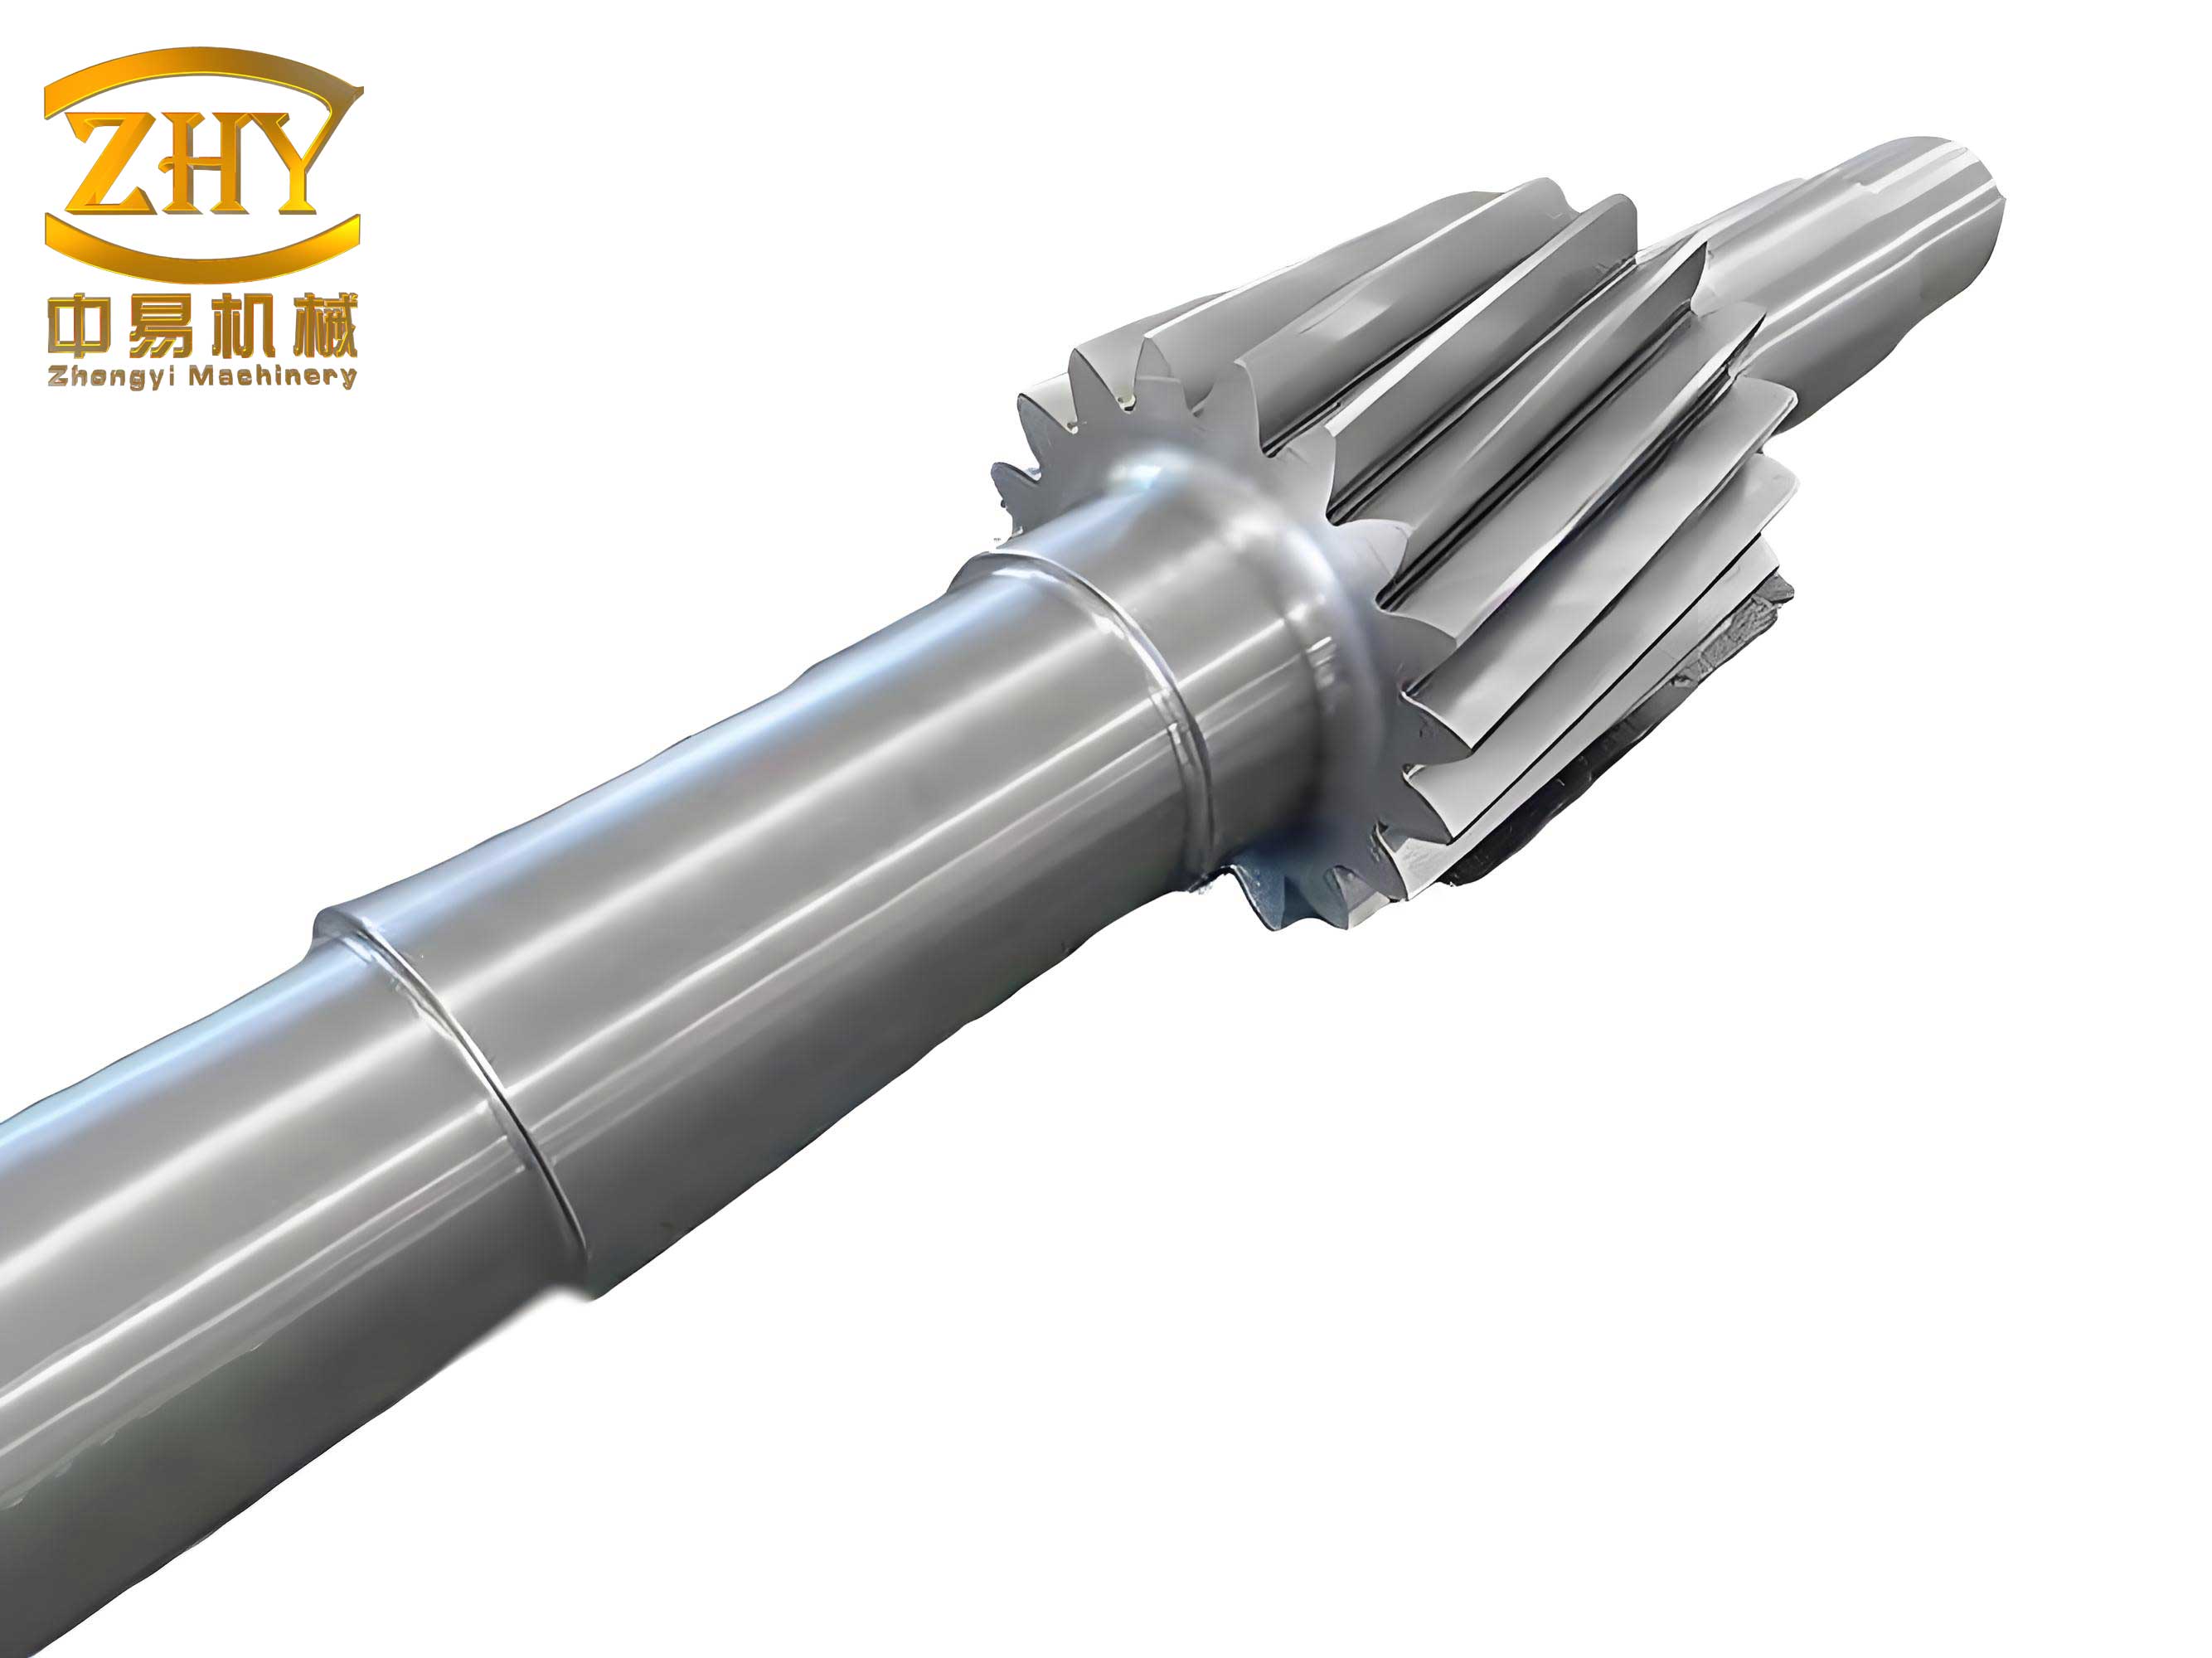
The machining of a gear shaft involves a series of interdependent steps, each requiring meticulous attention to detail. The primary goal is to achieve tight tolerances, such as a gear accuracy grade of 5, while maintaining coaxiality between bearing journals and the pitch circle. In my practice, I have found that deviations from conventional sequences can yield superior results. For instance, instead of finishing the gear teeth last, I integrate grinding operations earlier to mitigate deformation. This approach is particularly vital for slender gear shafts, where length exacerbates machining errors. Below, I outline a comprehensive methodology, supported by tables and formulas, to guide the production of high-precision gear shafts.
Machining Challenges for Gear Shafts
A gear shaft, by its nature, combines rotational symmetry with complex gear geometry. The challenges stem from material properties, thermal treatments, and mechanical stresses. Slender gear shafts, often with length-to-diameter ratios exceeding 10:1, are prone to deflection during machining, leading to inaccuracies in gear tooth profiles and journal alignments. Additionally, processes like carburizing and quenching induce significant distortion, which must be compensated for in the machining sequence. In my analysis, the root cause lies in residual stresses and improper support during operations. To address this, I employ a multi-stage process that balances material removal with stress relief.
Key parameters affecting gear shaft performance include gear module, pressure angle, and hardness. These can be modeled mathematically. For example, the pitch diameter \( D_p \) of a gear shaft is given by:
$$ D_p = m \times z $$
where \( m \) is the module and \( z \) is the number of teeth. The tooth thickness \( s \) at the pitch circle can be approximated as:
$$ s = \frac{\pi \times m}{2} $$
Deformation during machining, such as bending, can be estimated using beam theory. For a gear shaft under a distributed load, the deflection \( \delta \) at the center is:
$$ \delta = \frac{5 \times w \times L^4}{384 \times E \times I} $$
where \( w \) is the load per unit length, \( L \) is the length, \( E \) is Young’s modulus, and \( I \) is the moment of inertia. These formulas inform the need for supports like steady rests and follow rests, which I will detail later.
Detailed Machining Process for High-Precision Gear Shafts
My machining process for a gear shaft involves nine primary steps, each designed to control distortion and achieve precision. I have summarized these in Table 1, which outlines the sequence, operations, and key parameters. This table serves as a quick reference, but I will elaborate on each step below.
| Step | Operation | Key Parameters | Notes |
|---|---|---|---|
| 1 | Rough turning, stress relieving, semi-finish turning | Leave 6 mm allowance on most diameters | Critical for initial shape and stress relief |
| 2 | Gear hobbing before grinding | Leave 0.5 mm grinding allowance | Compensates for post-heat treatment distortion |
| 3 | Carburizing | Depth as per material specs | Enhances surface hardness |
| 4 | Turning to near-final dimensions | Leave 0.6 mm grinding allowance on journals | Prepares for final grinding |
| 5 | Quenching | Temperature and time control | Induces hardness but causes distortion |
| 6 | Grinding of major journals | Achieve specified tolerances | Uses cylindrical grinding machines |
| 7 | Precision gear grinding | Check runout within 0.01 mm | Ensures gear accuracy grade 5 |
| 8 | Turning of bearing journals with supports | Leave 0.1 mm grinding allowance | Uses steady and follow rests |
| 9 | Final grinding of bearing journals | Achieve final dimensions | Guarantees coaxiality with pitch circle |
Step 1 involves three sub-operations: rough turning, stress relieving through tempering, and semi-finish turning. For a typical gear shaft, I start with a blank and remove bulk material, leaving an allowance of 6 mm on most diameters. The key here is to machine critical sections like the Ø40 mm and Ø50 mm journals to intermediate sizes, such as Ø70 mm, to reduce subsequent distortion. This pre-stress relief is crucial for a stable gear shaft foundation.
In Step 2, I perform gear hobbing before any final grinding. The gear shaft is aligned using the tip circle, with a runout tolerance of 0.02 mm. A grinding allowance of 0.5 mm is left on the gear teeth to accommodate distortion from later carburizing and quenching. This early hobbing allows for better control over the gear profile, as the gear shaft is less stressed at this stage. The hobbling parameters, such as feed rate and speed, depend on the gear module. For a module \( m \), the cutting speed \( V_c \) can be calculated as:
$$ V_c = \pi \times D_h \times N $$
where \( D_h \) is the hob diameter and \( N \) is the rotational speed. I optimize these to minimize heat generation.
Step 3 is carburizing, which enriches the surface layer of the gear shaft with carbon to enhance hardness. The carburizing depth \( d_c \) is critical and often follows Fick’s law of diffusion:
$$ d_c = k \times \sqrt{t} $$
where \( k \) is a material constant and \( t \) is time. I monitor this closely to avoid excessive case depth that could lead to brittleness.
Step 4 involves turning the gear shaft to near-final dimensions. After carburizing, I machine the overall length and faces, then turn journals like Ø85 mm, Ø100 mm, and Ø90 mm, leaving a 0.6 mm grinding allowance. The Ø40 mm and Ø50 mm sections are turned to Ø70 mm again, maintaining consistency. This step prepares the gear shaft for quenching by reducing mass unevenness.
Step 5 is quenching, which hardens the gear shaft but introduces significant distortion. The quenching process induces thermal stresses, causing dimensional changes. I use controlled cooling rates to minimize this, but some distortion is inevitable, hence the allowances in previous steps.
In Step 6, I grind the major journals, such as Ø85 mm, Ø100 mm, Ø90 mm, and Ø135.96 mm, to their final specifications. The gear shaft is mounted between centers, and cylindrical grinding is performed. The grinding wheel speed \( V_g \) and workpiece speed \( V_w \) are balanced to avoid burn marks. A common formula for material removal rate \( Q \) is:
$$ Q = a_e \times v_f $$
where \( a_e \) is the depth of cut and \( v_f \) is the feed rate. I keep \( Q \) low to prevent overheating.
Step 7 is precision gear grinding, the most critical phase for the gear shaft. I align the gear shaft using the tip circle with a runout tolerance of 0.01 mm. Before grinding, I check the runout of journals like Ø85 mm, Ø100 mm, Ø40 mm, and Ø70 mm to ensure they are within 0.01 mm. Then, using a gear grinding machine, I finish the teeth to achieve a grade 5 accuracy. The gear tooth profile is governed by the involute function. For a pressure angle \( \alpha \), the involute curve can be expressed parametrically:
$$ x = r_b (\cos \theta + \theta \sin \theta) $$
$$ y = r_b (\sin \theta – \theta \cos \theta) $$
where \( r_b \) is the base radius. This ensures smooth meshing in the final gear shaft application.
Step 8 involves turning the bearing journals, such as Ø50 mm and Ø40 mm, with supports. I align the gear shaft using the Ø85 mm and Ø90 mm journals and the pitch circle, maintaining a runout of 0.01 mm. A steady rest supports the gear shaft at points A and B, while two follow rests support the Ø50 mm section during turning. This setup, illustrated in the image above, prevents deflection. I leave a 0.1 mm grinding allowance for the final operation.
Step 9 is the final grinding of the bearing journals. Using the same alignment as in Step 8, I grind Ø50 mm and Ø40 mm to their final dimensions. The supports ensure coaxiality with the pitch circle, which is verified using a dial indicator. The final gear shaft is then inspected on a gear measuring machine (e.g., PFSU1200), where all journals show runout under 0.01 mm and gear accuracy meets grade 5.
Key Control Points in Gear Shaft Machining
To achieve high precision in a gear shaft, I focus on several control points that deviate from traditional methods. These are summarized in Table 2, which lists the control aspect, method, and target value. This systematic approach minimizes errors and enhances repeatability.
| Control Aspect | Method | Target Value |
|---|---|---|
| Coaxiality of journals and pitch circle | Use pitch circle as reference for alignment | Runout ≤ 0.01 mm |
| Gear tooth accuracy | Grind teeth after major journal grinding | Grade 5 per ISO 1328 |
| Deformation control | Multiple roughing and semi-finishing passes | Distortion ≤ 0.05 mm |
| Support during machining | Employ steady and follow rests | Deflection ≤ 0.02 mm |
| Heat treatment compensation | Leave allowances in hobbing and turning | Allowance 0.5-0.6 mm |
The foremost control point is maintaining coaxiality between the bearing journals and the pitch circle of the gear shaft. In traditional machining, the gear teeth are often ground last, but this can lead to misalignment due to residual stresses. Instead, I use the pitch circle as a datum for subsequent operations. The pitch circle diameter \( D_p \) is central to this. During alignment, I ensure that the runout of reference journals relative to the pitch circle is within 0.01 mm. This is critical for the gear shaft’s performance in rotational assemblies.
Another key point is controlling deformation throughout the process. For a slender gear shaft, bending during machining can be modeled as a cantilever beam. The maximum deflection \( \delta_{max} \) under a point load \( P \) at the free end is:
$$ \delta_{max} = \frac{P \times L^3}{3 \times E \times I} $$
To counteract this, I use supports like steady rests, which act as additional constraints. The reaction forces \( R_A \) and \( R_B \) at supports A and B can be calculated using statics:
$$ \sum F_y = 0: R_A + R_B = P $$
$$ \sum M_A = 0: R_B \times d = P \times L $$
where \( d \) is the distance between supports. By optimizing \( d \), I minimize deflection in the gear shaft.
Heat treatment compensation is also vital. Carburizing and quenching cause volumetric changes in the gear shaft. The strain \( \epsilon \) induced can be approximated by:
$$ \epsilon = \alpha \times \Delta T $$
where \( \alpha \) is the coefficient of thermal expansion and \( \Delta T \) is the temperature change. By leaving adequate allowances, such as 0.5 mm on gear teeth and 0.6 mm on journals, I accommodate this strain without compromising final dimensions.
Furthermore, gear tooth accuracy is ensured through precise grinding. The gear shaft’s tooth profile must adhere to involute geometry. The base circle radius \( r_b \) is related to the pitch radius \( r_p \) by:
$$ r_b = r_p \times \cos \alpha $$
where \( \alpha \) is the pressure angle. During grinding, I monitor parameters like profile deviation and pitch error, aiming for values within ISO 1328 grade 5 limits. For example, the single pitch error \( f_p \) should satisfy:
$$ f_p \leq 5 \times m + 0.25 \times \sqrt{d} $$
where \( d \) is the pitch diameter in mm. This mathematical control guarantees the gear shaft’s smooth operation.
Advanced Analytical Tools for Gear Shaft Optimization
In my practice, I leverage analytical tools to optimize gear shaft machining. Finite element analysis (FEA) is used to simulate stresses and deformations. For instance, I model the gear shaft as a 3D solid and apply machining loads to predict deflection. The stress tensor \( \sigma_{ij} \) is computed using Hooke’s law:
$$ \sigma_{ij} = C_{ijkl} \epsilon_{kl} $$
where \( C_{ijkl} \) is the stiffness tensor and \( \epsilon_{kl} \) is the strain tensor. This helps in identifying critical sections where additional supports are needed.
I also use statistical process control (SPC) to monitor gear shaft quality. Key dimensions are tracked using control charts. For example, the diameter of a journal over time can be plotted with upper and lower control limits (UCL and LCL) calculated as:
$$ UCL = \bar{X} + A_2 \times \bar{R} $$
$$ LCL = \bar{X} – A_2 \times \bar{R} $$
where \( \bar{X} \) is the mean, \( \bar{R} \) is the average range, and \( A_2 \) is a constant. This ensures consistency across multiple gear shaft productions.
Moreover, I employ optimization algorithms to determine optimal machining parameters. For a gear shaft, variables like cutting speed \( V \), feed \( f \), and depth of cut \( a_p \) are optimized to minimize surface roughness \( R_a \) while maximizing tool life. A response surface methodology (RSM) model might be:
$$ R_a = \beta_0 + \beta_1 V + \beta_2 f + \beta_3 a_p + \beta_{12} V f + \cdots $$
where \( \beta_i \) are coefficients. By solving this, I achieve efficient gear shaft machining with reduced waste.
Case Study: Application in Wind Turbine Gear Shafts
To illustrate the effectiveness of my methods, consider a gear shaft for a wind turbine. This gear shaft is typically long (over 2 meters) and requires high torque transmission. The machining process follows the steps outlined earlier, but with additional considerations for size. I use larger steady rests and custom follow rests to support the gear shaft during turning and grinding. The gear teeth are often helical, adding complexity. The helix angle \( \beta \) affects the gear shaft’s load capacity and is given by:
$$ \tan \beta = \frac{\pi \times D_p \times \tan \alpha}{P_n} $$
where \( P_n \) is the normal pitch. During hobbing, I adjust the machine settings to account for \( \beta \).
After machining, the gear shaft undergoes rigorous testing. On a gear measuring machine, I verify parameters like tooth contact pattern and noise level. The transmission error \( TE \), critical for wind turbine efficiency, is minimized through precise grinding. \( TE \) can be expressed as:
$$ TE = \Delta \phi_2 – \Delta \phi_1 $$
where \( \Delta \phi_1 \) and \( \Delta \phi_2 \) are angular deviations of the driving and driven gears. My methods keep \( TE \) below 10 arcseconds for such gear shafts.
Future Directions in Gear Shaft Machining
The field of gear shaft machining is evolving with advancements in technology. In my view, additive manufacturing will play a role in producing near-net-shape gear shaft blanks, reducing material waste. Digital twins, where a virtual model of the gear shaft simulates machining in real-time, can further optimize processes. Additionally, AI-driven predictive maintenance for machining tools will enhance consistency.
Formulas will continue to guide innovation. For example, the surface integrity of a gear shaft after grinding can be modeled using fractal geometry. The roughness profile \( R(z) \) might follow a Weierstrass function:
$$ R(z) = \sum_{n=0}^{\infty} \gamma^n \cos(2\pi \gamma^n z) $$
where \( \gamma \) is a constant. This helps in predicting wear characteristics.
In conclusion, the machining of high-precision gear shafts demands a holistic approach that combines traditional skills with modern analytics. By focusing on control points, using supports, and integrating mathematical models, I achieve accuracy and reliability. The gear shaft, as a cornerstone of machinery, benefits from these refined methods, ensuring performance in demanding applications like renewable energy and heavy industry.