
The transmission system utilizing screw gears, specifically the worm and worm wheel pair, represents a cornerstone of mechanical design for achieving motion between non-parallel, non-intersecting shafts. Their inherent advantages, including high reduction ratios, compactness, smooth and quiet operation, make them indispensable in applications ranging from automotive steering systems to heavy industrial machinery and precision instrumentation. However, the traditional design and modeling process for these components is often iterative, time-consuming, and prone to human error, particularly when ensuring optimal meshing conditions in the final assembly. This inefficiency directly impacts development cycles and product quality. To address this, a systematic approach towards parametric design and automated assembly is paramount. This article delves into a comprehensive methodology for the parametric design and automatic assembly of involute screw gears, analyzing critical factors influencing meshing interference and presenting solutions to enhance design fidelity and performance.
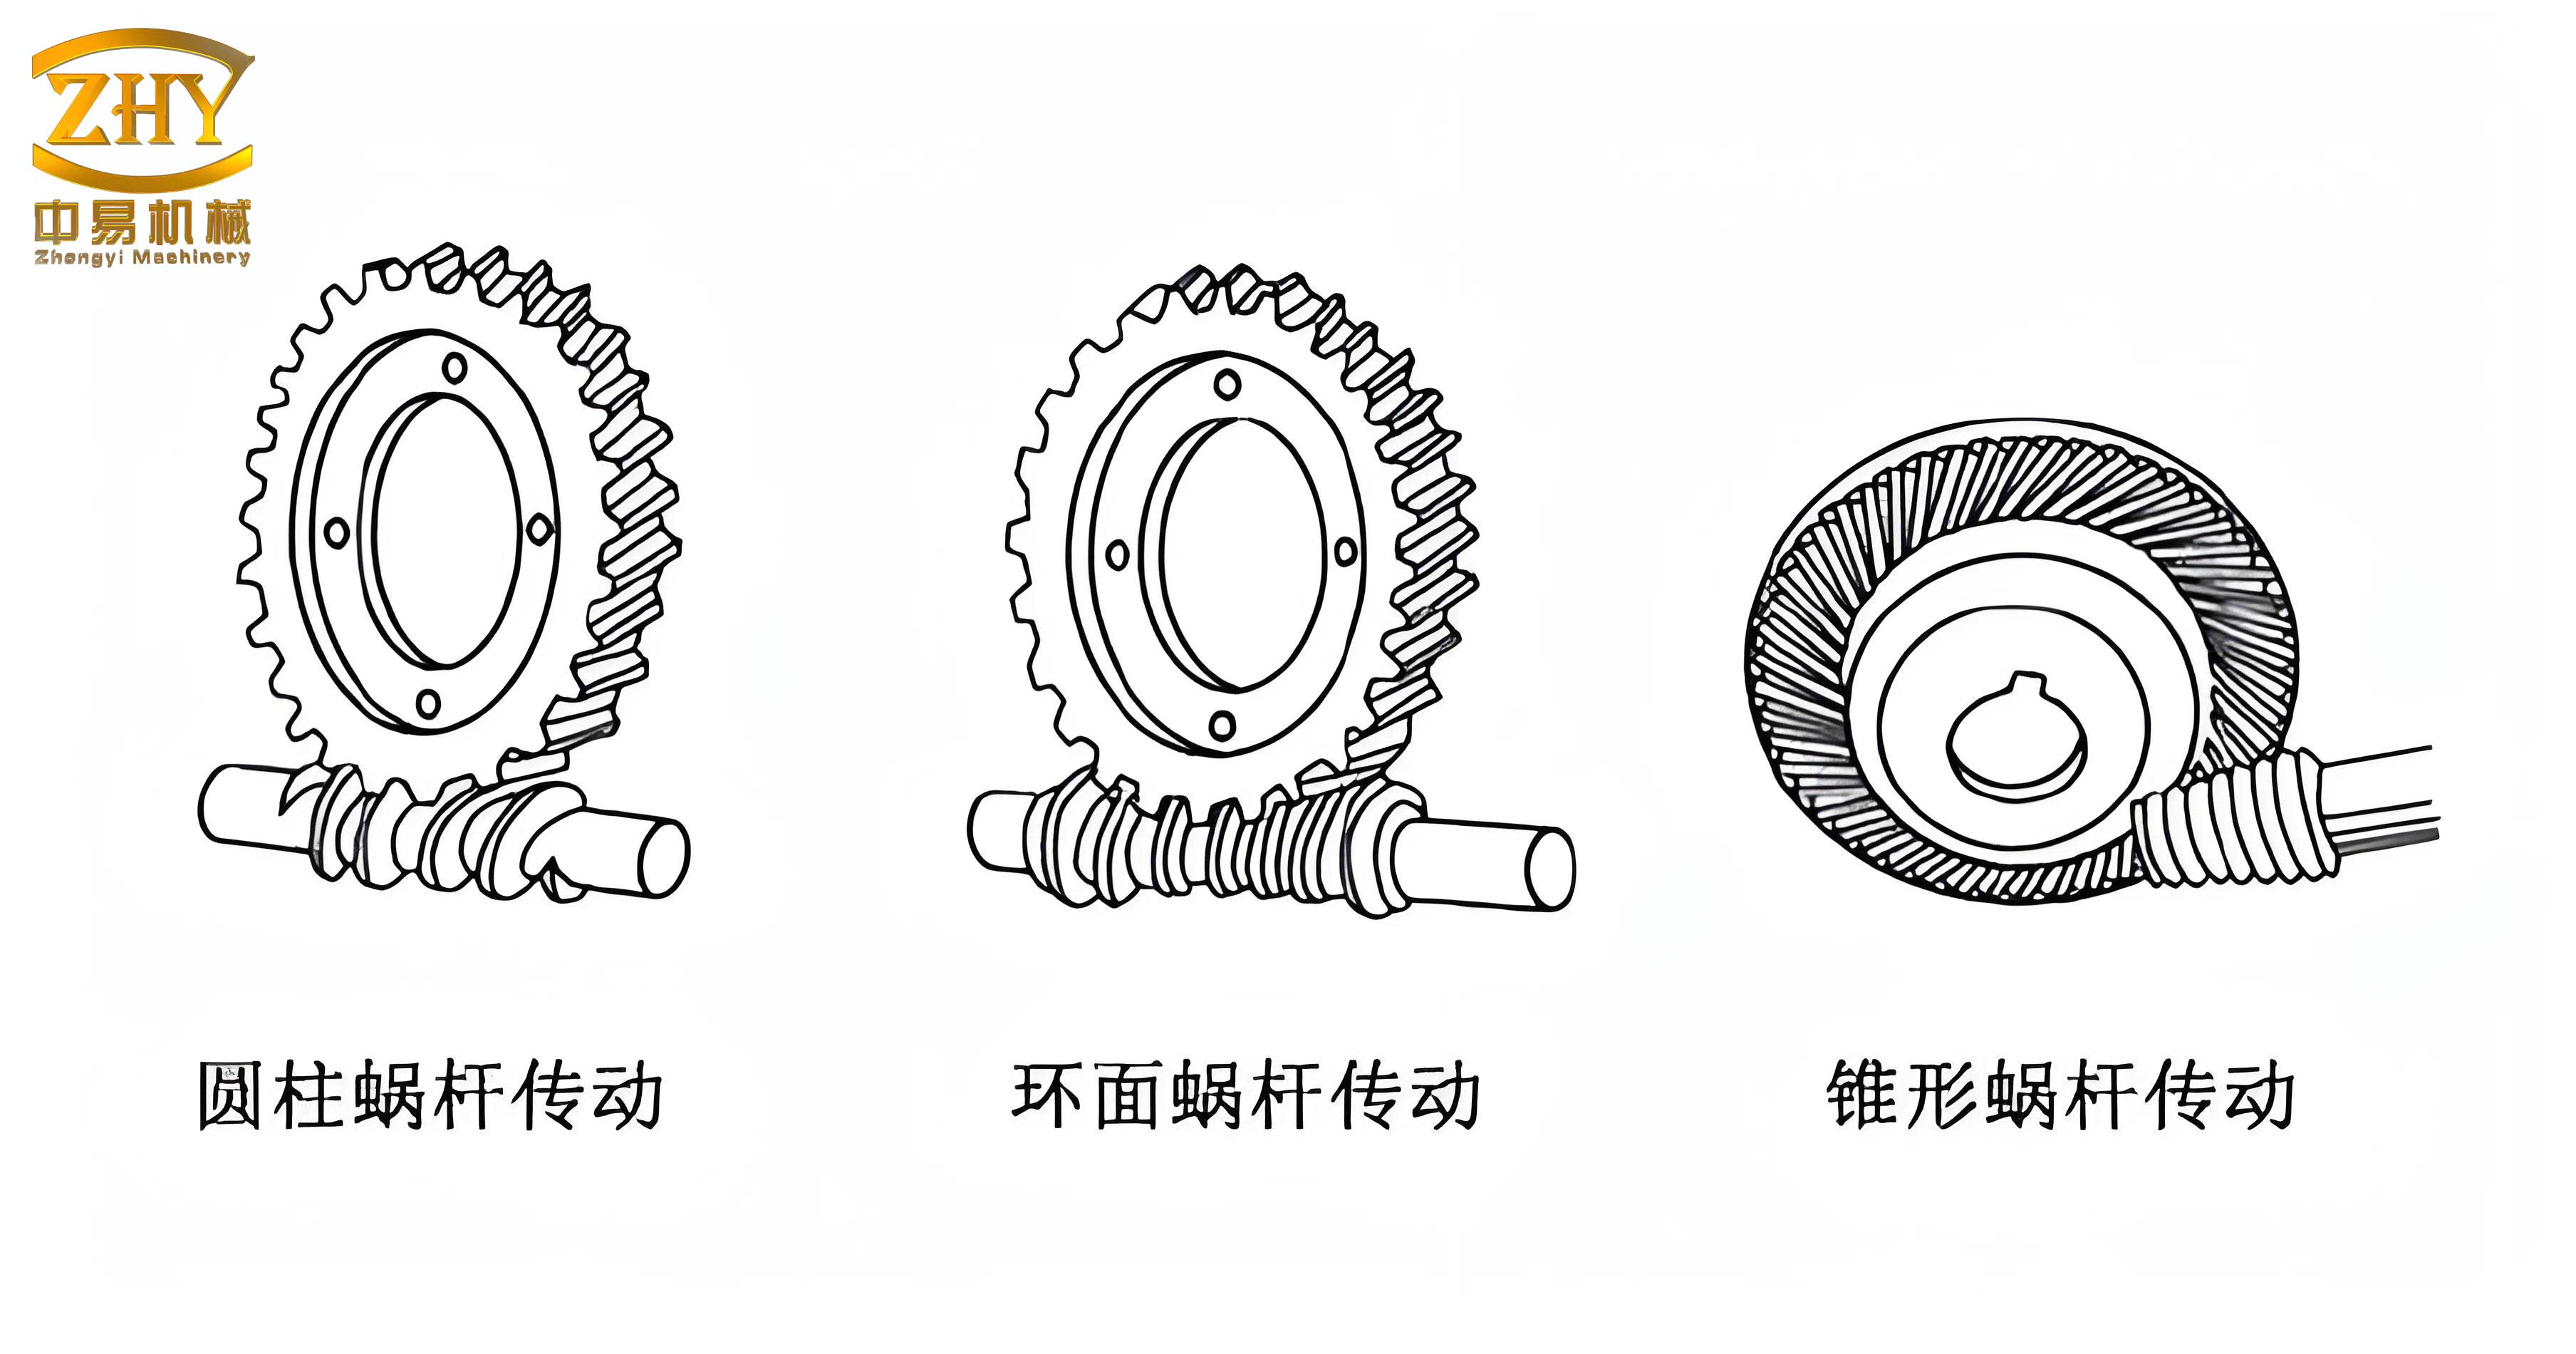
The core challenge in creating a robust parametric system for screw gears lies in managing the complex interdependencies between the worm and the worm wheel. A successful system must not only generate individual components accurately but also ensure their correct spatial relationship in an assembly with minimal interference. This requires a meticulously planned architecture where modifications to a few key control parameters propagate correctly through a network of associated dimensions, geometric constraints, and assembly relations. The foundational step is the creation of accurate, parameter-driven three-dimensional models for both the worm and the worm wheel. The heart of an involute screw gear’s performance is its tooth profile. The involute curve ensures conjugate action, where the mating tooth profiles transmit motion with a constant angular velocity ratio. The generation of this curve is mathematically defined. Imagine a base circle with radius \( r_b \). As a taut line is unwound from this circle, the trace of a point on the line forms the involute. The parametric equations governing a point \( K \) on the involute, defined by its pressure angle \( \alpha_K \), are given by its radius \( r_K \) and the involute function of \( \alpha_K \):
$$
r_K = \frac{r_b}{\cos(\alpha_K)}, \quad \theta_K = \text{inv}(\alpha_K) = \tan(\alpha_K) – \alpha_K
$$
These polar coordinates \( (r_K, \theta_K) \) can be converted to Cartesian coordinates \( (x, y) \) for modeling purposes:
$$
x = r_K \cos(\theta_K), \quad y = r_K \sin(\theta_K)
$$
Within a modern CAD environment like CATIA V5, these equations are implemented as “Law” or “Formula” curves. A time parameter \( t \) is used to sweep through a range of pressure angles, typically from 0° to the point where the involute reaches the addendum circle. For a worm wheel, the law defining the involute points can be expressed as:
$$
x(t) = \frac{r_b}{\cos(50\pi t)} \cos\left(\frac{\tan(50\pi t)}{\pi} – 50\pi t\right)
$$
$$
y(t) = \frac{r_b}{\cos(50\pi t)} \sin\left(\frac{\tan(50\pi t)}{\pi} – 50\pi t\right)
$$
Here, the factor 50 scales the parameter \( t \) (from 0 to 1) to cover an appropriate angular span for the tooth flank. This law is evaluated at discrete points (e.g., 7-10 points), and a high-order interpolating B-spline curve is fitted through them to create a precise geometric representation of the involute. This curve forms one side of the worm wheel tooth space. A mirror operation, combined with circles defining the addendum, dedendum, and pitch diameters, completes the two-dimensional tooth space profile. This sketch is then used in a helical sweep operation, where the guide curve is a helix defined by the worm wheel’s pitch and lead, to create the three-dimensional tooth gap. Repeating this tooth gap around the wheel blank via a circular pattern yields the complete worm wheel model.
The parametric modeling of the worm follows a similar but distinct principle. For a cylindrical involute worm (ZI-type), the tooth profile in its axial section is an involute. However, the law defining the points for the worm’s involute is simpler, corresponding to the standard parametric form:
$$
x(t) = r_b (\cos(t) + t \sin(t)), \quad y(t) = r_b (\sin(t) – t \cos(t))
$$
This curve is generated in a plane. The critical step is creating the helical path for the worm thread. The lead of the worm helix \( L \) is determined by the number of starts \( z_1 \) and the axial module \( m_x \): \( L = \pi m_x z_1 \). The helix angle \( \gamma \) on the pitch cylinder is given by \( \gamma = \arctan(L / (\pi d_1)) \), where \( d_1 \) is the worm pitch diameter. The two-dimensional tooth profile (the involute shape representing the thread space in the axial plane) is then swept along this helical path. It is crucial that the profile sketch is oriented normal to the helical path to ensure a geometrically correct thread form. The resulting swept cut creates a single thread space, which is then patterned linearly along the worm axis to form the complete threaded section.
The successful parametric definition of both components hinges on a well-structured table of parameters and relations. A master set of control parameters drives the entire system. These typically include module \( m \), number of worm starts \( z_1 \), number of worm wheel teeth \( z_2 \), pressure angle \( \alpha \), worm pitch diameter \( d_1 \) or diameter factor \( q \), and face width of the wheel \( b_2 \). From these, a vast array of associated parameters are calculated automatically using standardized gear design formulas. These formulas establish the critical data interaction between the worm and worm wheel models, ensuring conformity with the fundamental meshing condition: the axial module of the worm must equal the transverse module of the worm wheel, and their pressure angles must be identical.
| Control Parameter | Symbol | Typical Range/Value | Primary Influence |
|---|---|---|---|
| Axial Module | \( m_x \) | 2 – 10 mm | Tooth size, strength, pitch diameters |
| Number of Worm Starts | \( z_1 \) | 1 – 4 | Lead, reduction ratio, efficiency |
| Number of Wheel Teeth | \( z_2 \) | 24 – 80 | Reduction ratio (\( i = z_2 / z_1 \)) |
| Pressure Angle | \( \alpha \) | 20° | Tooth strength, contact ratio, radial load |
| Diameter Factor | \( q = d_1 / m_x \) | 8 – 14 | Worm stiffness, surface durability |
| Wheel Face Width | \( b_2 \) | (0.67 – 0.75) * \( d_a1 \) | Contact length, load capacity |
Automated assembly is the next critical phase. The parametric system must not only generate parts but also assemble them correctly. This is achieved by defining assembly constraints based on the geometric features and parameters of the models. The core constraint aligns the axes of the worm and the worm wheel with the prescribed center distance \( a \), calculated as \( a = (d_1 + d_2) / 2 \), where \( d_2 \) is the worm wheel pitch diameter. The second critical constraint controls the angular/axial positioning to bring the worm thread into correct mesh with the wheel teeth. A common method involves creating a reference point on the worm’s helical path (e.g., the start point of the helix) and a corresponding reference point in the worm wheel’s tooth space. Constraining these points to be coincident ensures a specific, repeatable meshing position. For dynamic simulation or to check meshing across the entire rotation, a “offset” constraint along the worm’s helical path can be driven by an angle parameter, allowing the worm to screw in and out of mesh, simulating rotation.
Despite a mathematically sound parametric model, interference in the assembled screw gears can occur due to various subtle factors. Rigorous error analysis is essential to optimize the design. Interference checking tools within CAD software can visually identify overlapping volumes. The primary sources of error and interference in parametric screw gears assemblies can be categorized as follows:
| Error Category | Description | Potential Cause & Impact | Mitigation Strategy |
|---|---|---|---|
| Design Parameter Error | Incompatible selection of primary design parameters. | Choosing an excessively large module for a given center distance leads to undercutting or severe tip interference. Incorrect helix angle mismatch. | Implement validation rules for parameter ranges. Use standardized design guides and formulas to check for undercutting conditions (\( z_2 \geq 2 q / \tan^3(\gamma) \) for certain conditions). |
| Modeling Fidelity Error | Discrepancies between the mathematical ideal and the CAD model. | Using a low-resolution law curve or too few points to define the involute. Approximating the helical sweep path. This creates geometric deviations from the true conjugate surface. | Increase the number of evaluated points on the law curve. Use high-precision spline fitting. Ensure the sweep profile is perfectly normal to the helical trajectory. |
| Assembly Constraint Error | Incorrect definition of mating conditions in the assembly. | Constraining to non-parametric or unstable geometric features. Incorrect center distance calculation or application. | Use stable, parameter-driven reference geometry (planes, axes, points) for constraints. Derive center distance from a master parameter equation. |
| Manufacturing Simulation Omission | Not accounting for tool geometry and generation process. | In practice, worm wheels are often generated by a hobber. The CAD model of a perfectly formed involute wheel may interfere with a worm modeled as a perfect involute helicoid, as the hobbing process has a specific geometry. | For high-fidelity models, consider modeling the worm wheel as the envelope of the hob (worm) surface, which more accurately reflects the manufactured part. |
A detailed analysis of parameter sensitivity is crucial. For instance, the module \( m \) is a highly sensitive parameter. Its variation affects not only the size but the very geometry of the meshing zone. As the module increases, the tooth thickness and height increase. If the center distance is fixed, an increase in module forces a decrease in the worm pitch diameter \( d_1 \) or the wheel pitch diameter \( d_2 \), which can lead to a thinning worm shaft or a wheel with a smaller root diameter, increasing the risk of interference at the tooth roots or tips. The table below illustrates a conceptual sensitivity analysis, showing how changing the module while trying to hold other factors relatively constant can lead to dramatic changes in clearance and contact patterns.
| Module \( m_x \) (mm) | Worm Tip Dia. \( d_{a1} \) | Wheel Root Dia. \( d_{f2} \) | Theoretical Contact Area | Interference Risk Assessment |
|---|---|---|---|---|
| 3.0 | Moderate | Moderate | Optimal | Low |
| 4.0 | Larger | Smaller | Reduced | Medium (Possible tip-root contact) |
| 5.0 | Significantly Larger | Significantly Smaller | Severely Reduced | High (Severe interference likely) |
Another critical factor often overlooked in basic parametric models is profile shift or modification (x-modification). Applying a profile shift to the worm wheel tooth (by shifting the tool during virtual generation) is a powerful method to adjust the center distance to a standard value and, more importantly, to avoid undercutting on worm wheels with a low number of teeth and to improve the contact pattern. A positive profile shift increases the tooth thickness at the root, strengthening the tooth and often pulling the contact area into a more favorable location on the tooth flank. The absence of profile shift in a simple model, especially for low \( z_2 \) or high reduction ratio screw gears, is a common cause of poor meshing and interference.
The final step in creating a usable system is automation through a custom driver application. This involves creating a graphical user interface (GUI) using a language like Visual Basic .NET or Python. This interface exposes the key control parameters (module, number of teeth, pressure angle, etc.) to the designer. Behind the GUI, a script or program interacts with the CAD software’s API (Application Programming Interface). When the user inputs new parameters and clicks “Generate” or “Update,” the program performs the following sequence: 1) Opens the template CAD assembly file. 2) Accesses the named parameters within the worm and worm wheel part documents. 3) Writes the new user-provided values to these parameters. 4) Triggers a regeneration/update command for the CAD software. 5) The CAD software recalculates all dependent geometry and constraints based on the new parameter values, automatically updating the 3D models and the assembly. This process encapsulates the entire design and assembly workflow into a single, efficient step, eliminating manual modeling and mating steps.
In conclusion, the parametric design and automated assembly of involute screw gears represent a significant advancement over traditional methods. By establishing a robust system of interdependent parameters, precise geometric modeling based on involute and helical laws, intelligent assembly constraints, and thorough error analysis, designers can achieve highly optimized screw gears pairs with minimal manual intervention. The system’s flexibility allows for rapid exploration of design alternatives, while the automation reduces errors and frees up engineering time for higher-level analysis. The integration of profile shift considerations and manufacturing-aware modeling can further enhance the fidelity of the virtual prototypes. Ultimately, such a parametric system serves as a powerful digital twin for screw gears, enabling predictable performance, improved quality, and accelerated development cycles in the design of these essential mechanical components. The continuous refinement of these models, incorporating more advanced contact mechanics and thermal analysis, promises even greater accuracy in predicting the real-world behavior of screw gears in demanding applications.