
The design and manufacture of screw gears, specifically worm and worm wheel pairs, is a fundamental task in mechanical engineering for transmitting motion and power between non-parallel, non-intersecting shafts. Traditional design methods are heavily reliant on manual calculations, extensive consultation of charts and curves, and iterative checks, which are not only time-consuming but also prone to human error. The subsequent 3D modeling process, often performed manually, adds another layer of complexity and repetition to the workflow. To address these inefficiencies, I have developed an integrated parametric design and modeling system. This system leverages the Inventor API (Application Programming Interface) to automate the design calculations and directly generate precise 3D solid models of the screw gears, significantly streamlining the entire process from initial parameters to a manufacturable digital prototype.
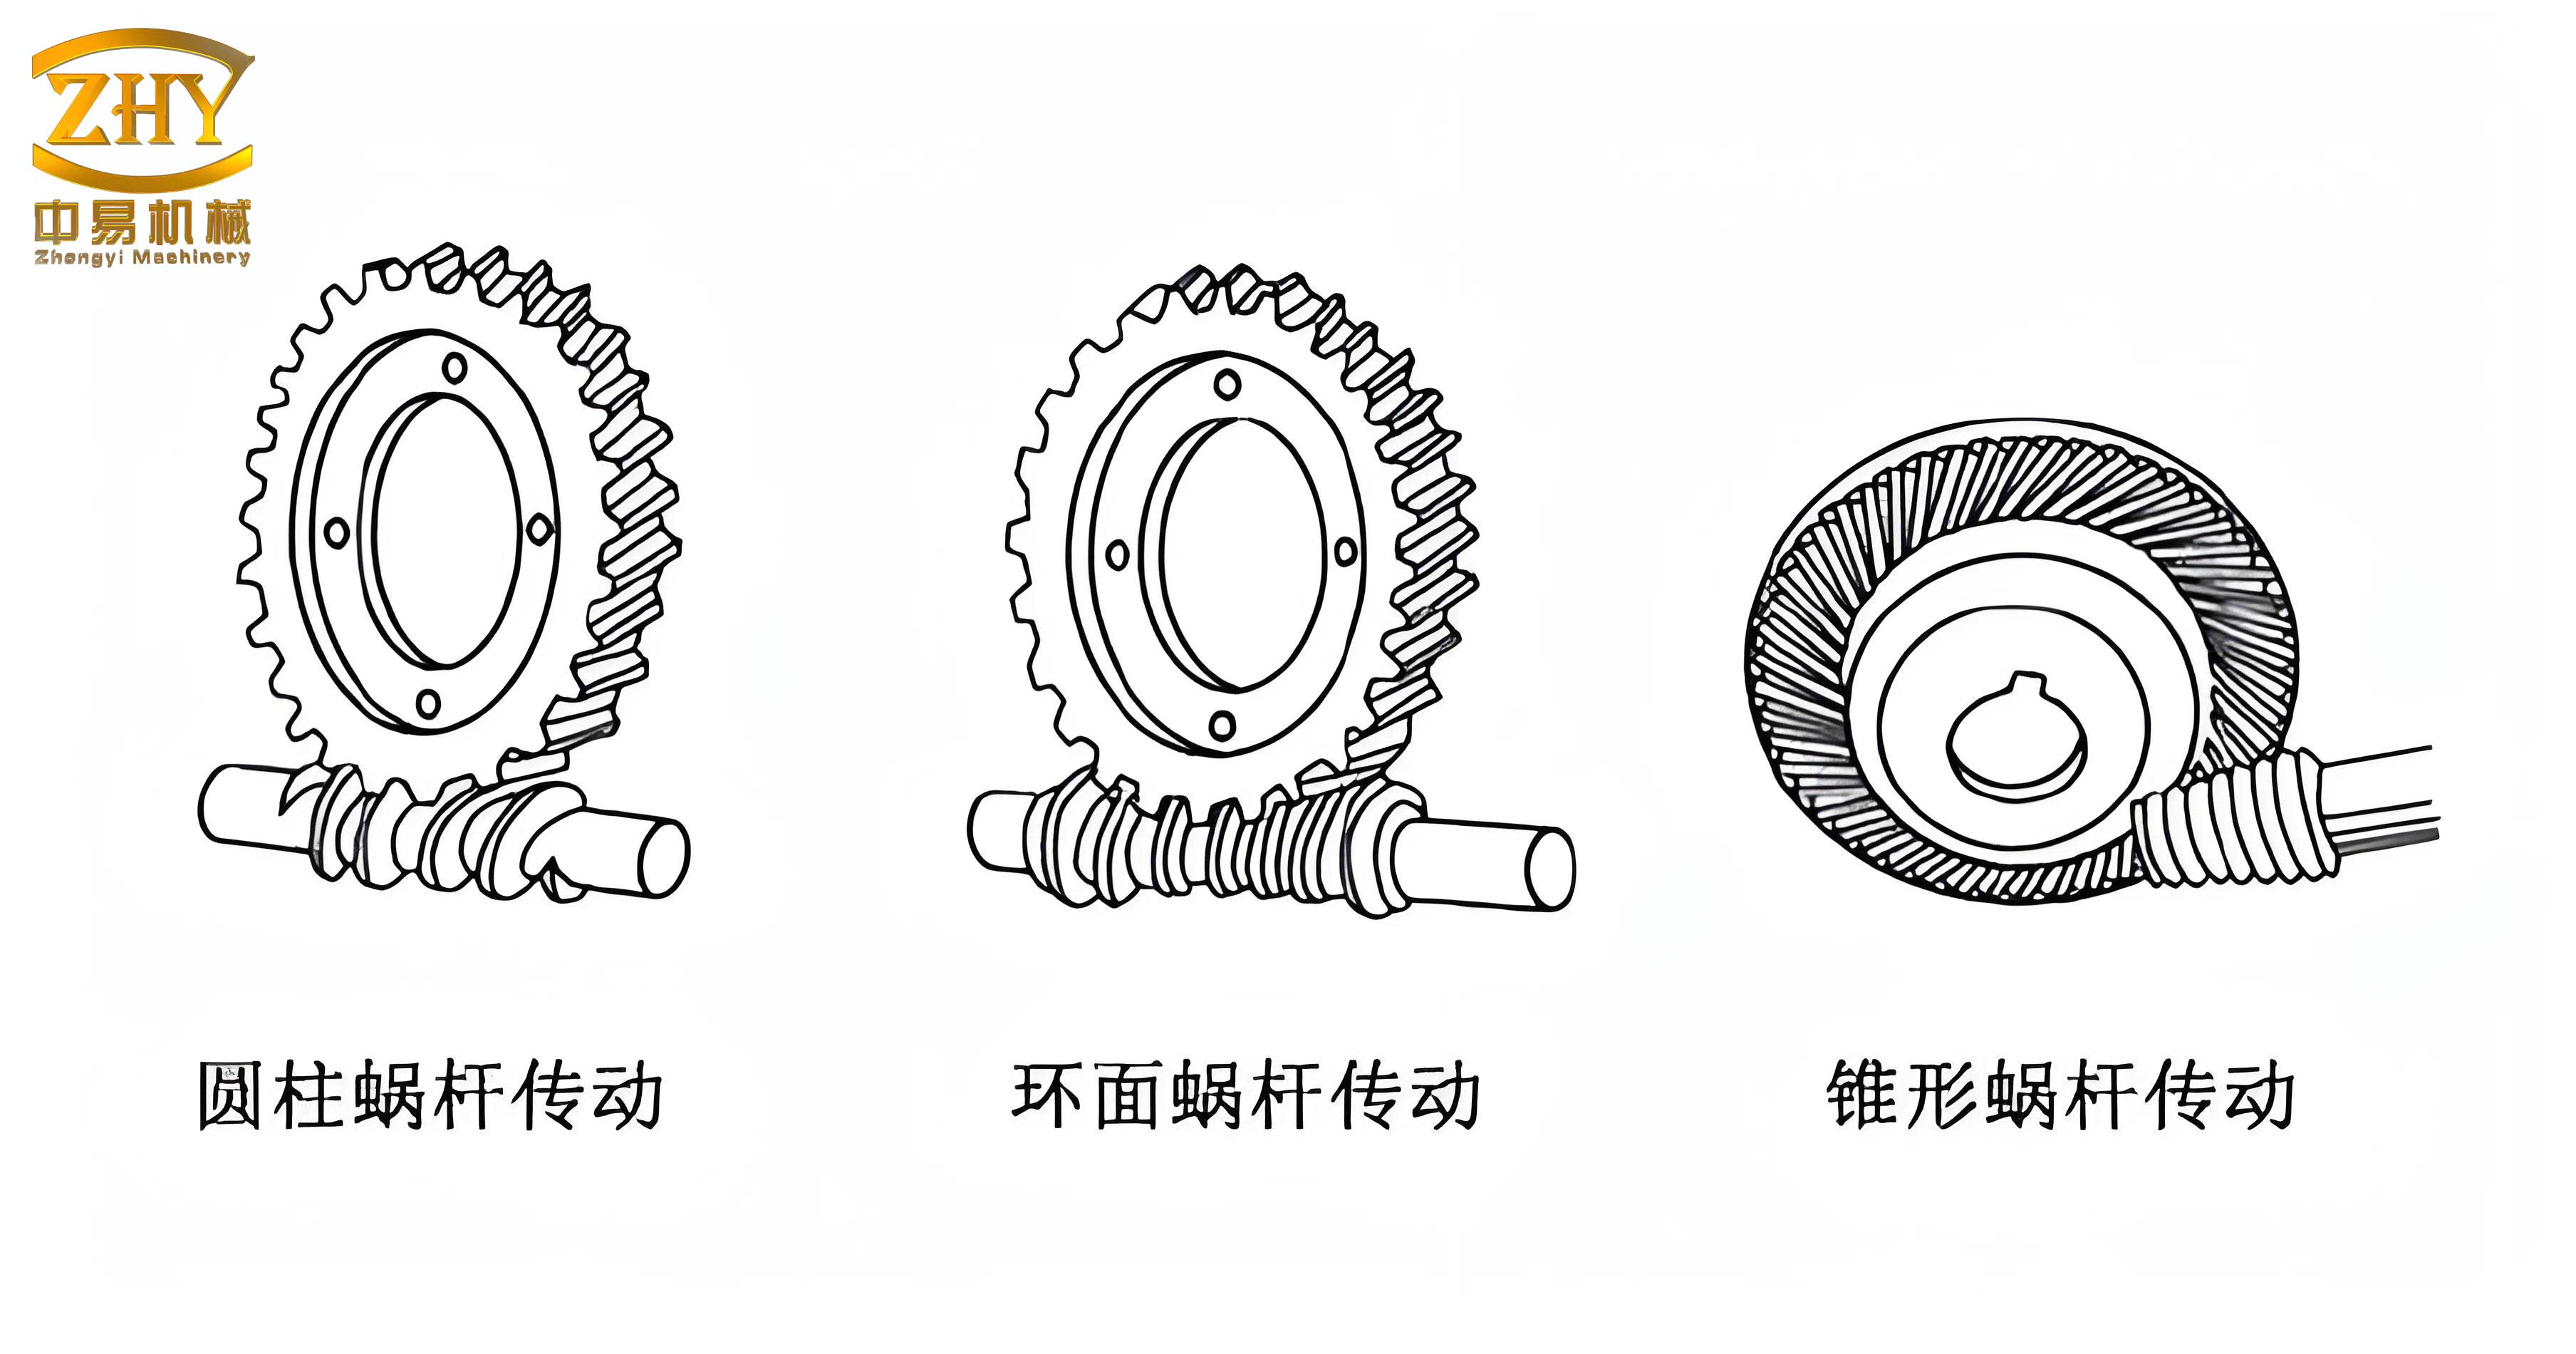
1. System Architecture and Development Platform
The developed system is architected into two core, seamlessly integrated modules: the Parametric Design Module and the 3D Modeling Module. The entire system is implemented using VBA (Visual Basic for Applications) as the programming language, which is natively supported within the Autodesk Inventor environment, ensuring tight integration and robust performance.
| Module | Primary Function | Output |
|---|---|---|
| Parametric Design Module | Performs strength calculation, geometry sizing, and material selection based on operational requirements and design standards. | A complete set of dimensional parameters for the screw gears, stored in a structured database or data file. |
| 3D Modeling Module | Accepts design parameters and utilizes Inventor API to construct feature-based, fully associative 3D models of the worm and worm wheel. | Precise 3D solid models (IPT/IAM files) ready for assembly, simulation, or manufacturing. |
The cornerstone of this automation is the Inventor API. An API provides a set of predefined functions and interfaces that allow external programs to control and extend the capabilities of a software application. By utilizing the Inventor API, my VBA program can programmatically create sketches, features, parts, and assemblies, manipulate parameters, and control the Inventor environment itself. This enables the translation of calculated design data directly into geometric entities, effectively building the 3D model through code.
2. Implementation of the Parametric Design Module
This module automates the traditional design procedure for screw gears. The user inputs the basic operational requirements, and the module executes the necessary calculations to determine all critical dimensions.
2.1 Design Input Parameters
The system requires the following primary input parameters to initiate the design process for the screw gears:
| Parameter Category | Specific Parameters |
|---|---|
| Power & Kinematics | Transmitted power (kW), input speed (r/min), desired gear ratio. |
| Durability & Service | Required service life (hours), duty cycle, load characteristics (steady, shock). |
| Material Selection | Material grade for the worm (typically hardened steel) and the worm wheel (typically bronze or cast iron). |
| Initial Geometry | Preferred module, number of worm threads/starts (z1). |
2.2 Automated Design Flow
The module follows a logical, iterative design flowchart. It begins with input validation, proceeds through preliminary sizing based on surface durability (pitting resistance) and tooth strength, performs necessary verification calculations, and finally outputs all definitive geometric parameters. A key feature is the automatic handling of tabular and graphical data found in engineering standards.
2.3 Processing of Tabular and Graphical Data
Standard design procedures for screw gears often require looking up values such as the tooth form factor (YF) or zone factor (ZH) from discrete tables or graphs. To automate this:
For tabular data: The discrete values are stored in structured data files or arrays within the code. When an interpolation is required (e.g., for a number of teeth not explicitly listed), the program performs a linear interpolation between the two nearest data points.
For graphical data (line charts): The curves are first digitized into a set of discrete points. Then, a curve-fitting technique, such as the method of least squares, is applied to derive an approximate empirical equation (linear or polynomial). This equation is then implemented in the code for continuous and accurate value retrieval. This method ensures high precision in automated factor selection.
2.4 Design Output Parameters
The final output of this module is a comprehensive set of dimensions that fully define the geometry of both the worm and worm wheel. These parameters serve as the direct input for the 3D modeling module.
| Worm Parameters | Worm Wheel Parameters |
|---|---|
| Axial module (mx) | Transverse module (mt) |
| Number of threads/starts (z1) | Number of teeth (z2) |
| Diameter factor (q) | Reference diameter (d2) |
| Reference diameter (d1) | Throat diameter (da2) |
| Tip diameter (da1) | Tip diameter (da2) |
| Root diameter (df1) | Face width (b2) |
| Lead angle (γ) | Throat form radius (rg) |
| Axial pitch (px) |
3. Implementation of the 3D Parametric Modeling Module
This module translates the calculated parameters into accurate 3D solid models. It involves the mathematical definition of curves and surfaces and their construction using the Inventor API.
3.1 Worm Modeling
For an Archimedean worm, the thread profile is a trapezoid (defined by the module and pressure angle), and the thread is generated by sweeping this profile along a helical path.
3.1.1 Mathematical Model of the Worm Helix
The central path for sweeping the tooth profile is the helix on the worm’s reference cylinder. Its parametric equations in 3D space are:
$$ x = \frac{m_x q}{2} \cos\theta $$
$$ y = \frac{m_x q}{2} \sin\theta $$
$$ z = \frac{m_x z_1}{2} \theta $$
where $\theta$ is the angular parameter (in radians), and the other parameters are as defined in Table 3.
3.1.2 Generating the Helical Curve
Since the Inventor API requires geometric entities, the continuous helical path defined by the equations above must be approximated by a spline curve. The algorithm calculates the 3D coordinates for a series of closely spaced points along the helix by incrementing $\theta$ with a small step (e.g., $\Delta\theta = 0.005$ rad). A high-degree interpolation spline is then fitted through these points using the `AddByFitPoints` method, resulting in a curve that is visually and geometrically indistinguishable from a true helix for modeling purposes.
3.1.3 Worm Modeling Procedure
The modeling procedure is systematic: 1) Create a new part document. 2) Calculate and draw the worm reference cylinder. 3) Generate the helical spline on this cylinder as the sweep path. 4) On a perpendicular plane, sketch the trapezoidal tooth profile based on the module and pressure angle. 5) Perform a sweep operation of the profile along the helical path to create one thread. 6) Use a circular pattern feature to create the complete set of threads along the worm’s length. This process ensures a fully parametric and feature-based model.
3.2 Worm Wheel Modeling
Modeling the worm wheel is more complex due to its involute tooth profile in the transverse section and the arched shape of its tooth body to envelop the worm.
3.2.1 Mathematical Model of the Involute Profile
The tooth profile on the transverse plane (perpendicular to the wheel axis) is an involute of a circle. Its parametric equations in a 2D sketch plane are:
$$ x = R_b (\cos\phi + \phi \sin\phi) $$
$$ y = R_b (\sin\phi – \phi \cos\phi) $$
where $R_b$ is the radius of the base circle ($R_b = \frac{m_t z_2 \cos\alpha_t}{2}$), $\alpha_t$ is the transverse pressure angle, and $\phi$ is the roll angle parameter. The maximum roll angle $\phi_{max}$ corresponding to the tip diameter is given by:
$$ \phi_{max} = \sqrt{ \left( \frac{d_{a2}}{d_{b2}} \right)^2 – 1 } $$
where $d_{b2}$ is the base diameter.
3.2.2 Generating the Tooth Profile
To create a single tooth: 1) The base circle is drawn. 2) Points on the involute curve are calculated for $\phi$ from 0 to $\phi_{max}$ with a small increment. 3) A spline is fitted through these points to form one side of the tooth. 4) The symmetrical side is created by mirroring this spline about a line. The position of this mirror line is determined by the base circle thickness $s_b$, calculated as:
$$ s_b = d_{b2} \left( \frac{\pi}{2 z_2} + \text{inv}(\alpha_t) \right) $$
The angle $\psi$ of the mirror line from the tooth centerline is therefore $\psi = \frac{s_b}{d_{b2}}$ radians.
3.2.3 Generating the Wheel’s Throat Helix and Final Model
The worm wheel teeth are not straight; they are curved to match the worm’s lead angle. This is achieved by sweeping the 2D tooth profile along a helical guide curve defined on the wheel’s throat cylinder. The parametric equation for this helix is:
$$ x = \frac{d_{a2}}{2} \cos\beta $$
$$ y = \frac{d_{a2}}{2} \sin\beta $$
$$ z = \frac{P_z}{2\pi} \beta $$
where $P_z$ is the lead of the worm ($P_z = \pi m_x z_1$), and $\beta$ is the angular parameter. This helix is generated using the same spline-fitting method described earlier. The final 3D model is created by: 1) Sweeping one tooth profile along this helix to form a single, solid tooth. 2) Creating a circular pattern of this solid tooth around the wheel axis to generate all teeth. 3) Adding the web, hub, and other structural features based on the selected design.
4. System Integration and Programming Details
The seamless operation between the design and modeling modules is facilitated by Inventor’s VBA environment and the systematic use of the API. The design module stores its output (Table 3) into a data structure or file. The modeling module reads these values and assigns them to the corresponding variables within the VBA code. These variables are then used to drive the geometric calculations (e.g., for helix points, involute points) and to define sketch dimensions and feature parameters (e.g., cylinder diameters, sweep angles).
The programming involves extensive use of key Inventor API objects:
- Application and Document Objects: For controlling the Inventor session and part files.
- TransientGeometry Object: For creating geometric entities like points and vectors used in calculations.
- Sketch and Feature Objects: For programmatically adding sketches, lines, splines, and creating features like extrusions, sweeps, and patterns.
- Parameters Collection: For accessing and modifying model parameters, allowing for future easy updates.
For example, the core of the involute generation routine in VBA involves creating collections of 2D points and fitting a spline:
Dim oFitPoints As ObjectCollection
Set oFitPoints = ThisApplication.TransientObjects.CreateObjectCollection
Dim NumPoints As Integer: NumPoints = 50
ReDim Points(0 To NumPoints) As Point2d
For i = 0 To NumPoints
    phi = (i / NumPoints) * phi_max
    Points(i).X = Rb * (Cos(phi) + phi * Sin(phi))
    Points(i).Y = Rb * (Sin(phi) - phi * Cos(phi))
    oFitPoints.Add Points(i)
Next i
Call oSketch.SketchSplines.AddByFitPoints(oFitPoints)
This approach ensures precise and programmatically controlled geometry creation for the screw gears.
5. Advantages and Conclusions
The developed system integrating parametric design and 3D modeling for screw gears offers substantial advantages over conventional methods. First, it drastically reduces design time by automating complex calculations and eliminating manual lookups. Second, it enhances accuracy and consistency by removing human error from repetitive calculations and enforcing design rules through code. Third, it ensures model precision and associativity; the 3D model is a direct, unerring manifestation of the calculated dimensions, and changes to input parameters can quickly propagate to an updated model. Finally, it creates a digital thread, providing a ready-for-analysis 3D model that can be directly used for Finite Element Analysis (FEA), motion simulation, and Computer-Aided Manufacturing (CAM), thereby shortening the overall product development cycle.
In conclusion, by harnessing the power of the Inventor API, this work successfully establishes a robust, efficient, and accurate system for the design and modeling of screw gears. It demonstrates the significant productivity gains achievable by integrating engineering calculation with CAD automation, providing a practical template for the digitalization of other complex mechanical component design processes.
| Component | Curve | Parametric Equations | Key Variables |
|---|---|---|---|
| Worm | Helix (Path) | $$ \begin{aligned} x &= R_1 \cos\theta \\ y &= R_1 \sin\theta \\ z &= \frac{P_z}{2\pi}\theta \end{aligned} $$ | $R_1 = d_1/2$, $P_z = \pi m_x z_1$, $\theta$: angle param. |
| Tooth Profile | Trapezoid in sketch (defined by $m_x$, $\alpha_n$, $h_{a}^*$, $c^*$). | Module, pressure angle, addendum, clearance. | |
| Worm Wheel | Involute (Tooth) | $$ \begin{aligned} x &= R_b (\cos\phi + \phi \sin\phi) \\ y &= R_b (\sin\phi – \phi \cos\phi) \end{aligned} $$ | $R_b$: Base radius, $\phi$: roll angle ($0 \le \phi \le \phi_{max}$). |
| Base Circle Thickness | $$ s_b = d_{b2} \left( \frac{\pi}{2z_2} + \text{inv}(\alpha_t) \right) $$ | Determines mirror axis for tooth symmetry. | |
| Throat Helix (Guide) | $$ \begin{aligned} x &= R_{a2} \cos\beta \\ y &= R_{a2} \sin\beta \\ z &= \frac{P_z}{2\pi} \beta \end{aligned} $$ | $R_{a2} = d_{a2}/2$, $\beta$: angle param. |