
The pursuit of manufacturing excellence in power transmission components has consistently driven the evolution of metal forming technologies. Among these components, the spur and pinion gear stands as a quintessential element, ubiquitous in applications ranging from automotive transmissions to industrial machinery. Its operational environment, often characterized by continuous cyclic loading and impact, mandates exceptionally high standards for齿形质量 (tooth profile quality) and structural integrity. Traditional manufacturing methods often involve machining from bar stock or near-net-shape forging followed by extensive finish machining of the tooth flanks. However, these approaches can sever the natural grain flow, potentially creating stress concentration points and compromising the component’s fatigue life and overall mechanical performance.
This has led to the focused development of齿轮精密成形技术 (gear precision forming technology), a branch of near-net-shape manufacturing aimed at producing a complete or nearly complete tooth profile directly through forming processes like precision die forging. The primary advantage of精密模锻 (precision die forging) for spur and pinion gears lies in the creation of continuous metal flow lines that meticulously follow the contour of the tooth. This uninterrupted grain structure significantly enhances the gear’s strength, wear resistance, and durability compared to machined counterparts. However, the practical implementation of cold precision forging for complex shapes like gears presents a significant challenge: balancing complete die cavity filling with the minimization of required forming pressure. Excessively high pressures accelerate tool wear, increase energy consumption, and risk premature die failure, while insufficient pressure leads to incomplete filling and defective parts. Therefore, a core research question revolves around defining the “formability window” or “forming range” for a given gear geometry under specific process conditions.
The concept of a forming range is crucial for process design and feasibility assessment. It delineates the combinations of key geometric and process parameters—such as gear thickness, preform dimensions, and applied pressure—that will result in a sound, fully formed component without exceeding the safe load limits of the tooling system. This study delves into this critical area, employing advanced numerical simulation to map the theoretical forming range for a specific class of spur and pinion gears. We focus on gears with a standard module (m=2), a pressure angle (α=20°), and a zero profile shift coefficient (x=0), while systematically varying the tooth count and analyzing the process under a constrained maximum pressure. The objective is to establish a predictive curve that serves as a practical guide for selecting feasible preform geometries and optimizing the冷精锻 (cold precision forging) process for spur and pinion gears.
Fundamental Principles of Spur and Pinion Gear Forging
The successful cold forging of a spur and pinion gear hinges on mastering controlled metal flow. Unlike simple axisymmetric parts, a gear’s tooth spaces represent deep, narrow, and intricate cavities that must be filled completely. The resistance to metal flow increases dramatically as it progresses into the tooth corners (fillet and tip regions). The core challenge is to ensure this complete filling while keeping the total forming force within the capacity of the press and the endurance limit of the die materials, often constructed as multi-layer prestressed assemblies to withstand pressures exceeding 2000 MPa.
The forming load, $P$, in a closed-die forging operation can be conceptually related to the flow stress of the material, the geometry of the part, and friction by a simplified relation:
$$ P = Y_f \cdot A \cdot K $$
where $Y_f$ is the flow stress of the workpiece material, $A$ is the projected area of the forging in the direction of the press stroke, and $K$ is a dimensionless multiplying factor that accounts for shape complexity and friction. For a spur and pinion gear, $K$ becomes very large due to the complex tooth profile. Therefore, strategies to reduce the effective $K$ factor are essential. The most effective strategy employed in this context is the use of a hollow分流 (shunt) or overflow cavity. By providing an alternative, easier path for the metal to flow (into a central hole or an overflow chamber), the pressure required to force material into the final, most difficult-to-fill sections of the tooth cavity is significantly lowered. This is the principle behind the闭式镦锻-空心分流 (closed-die upsetting with hollow shunt) process.
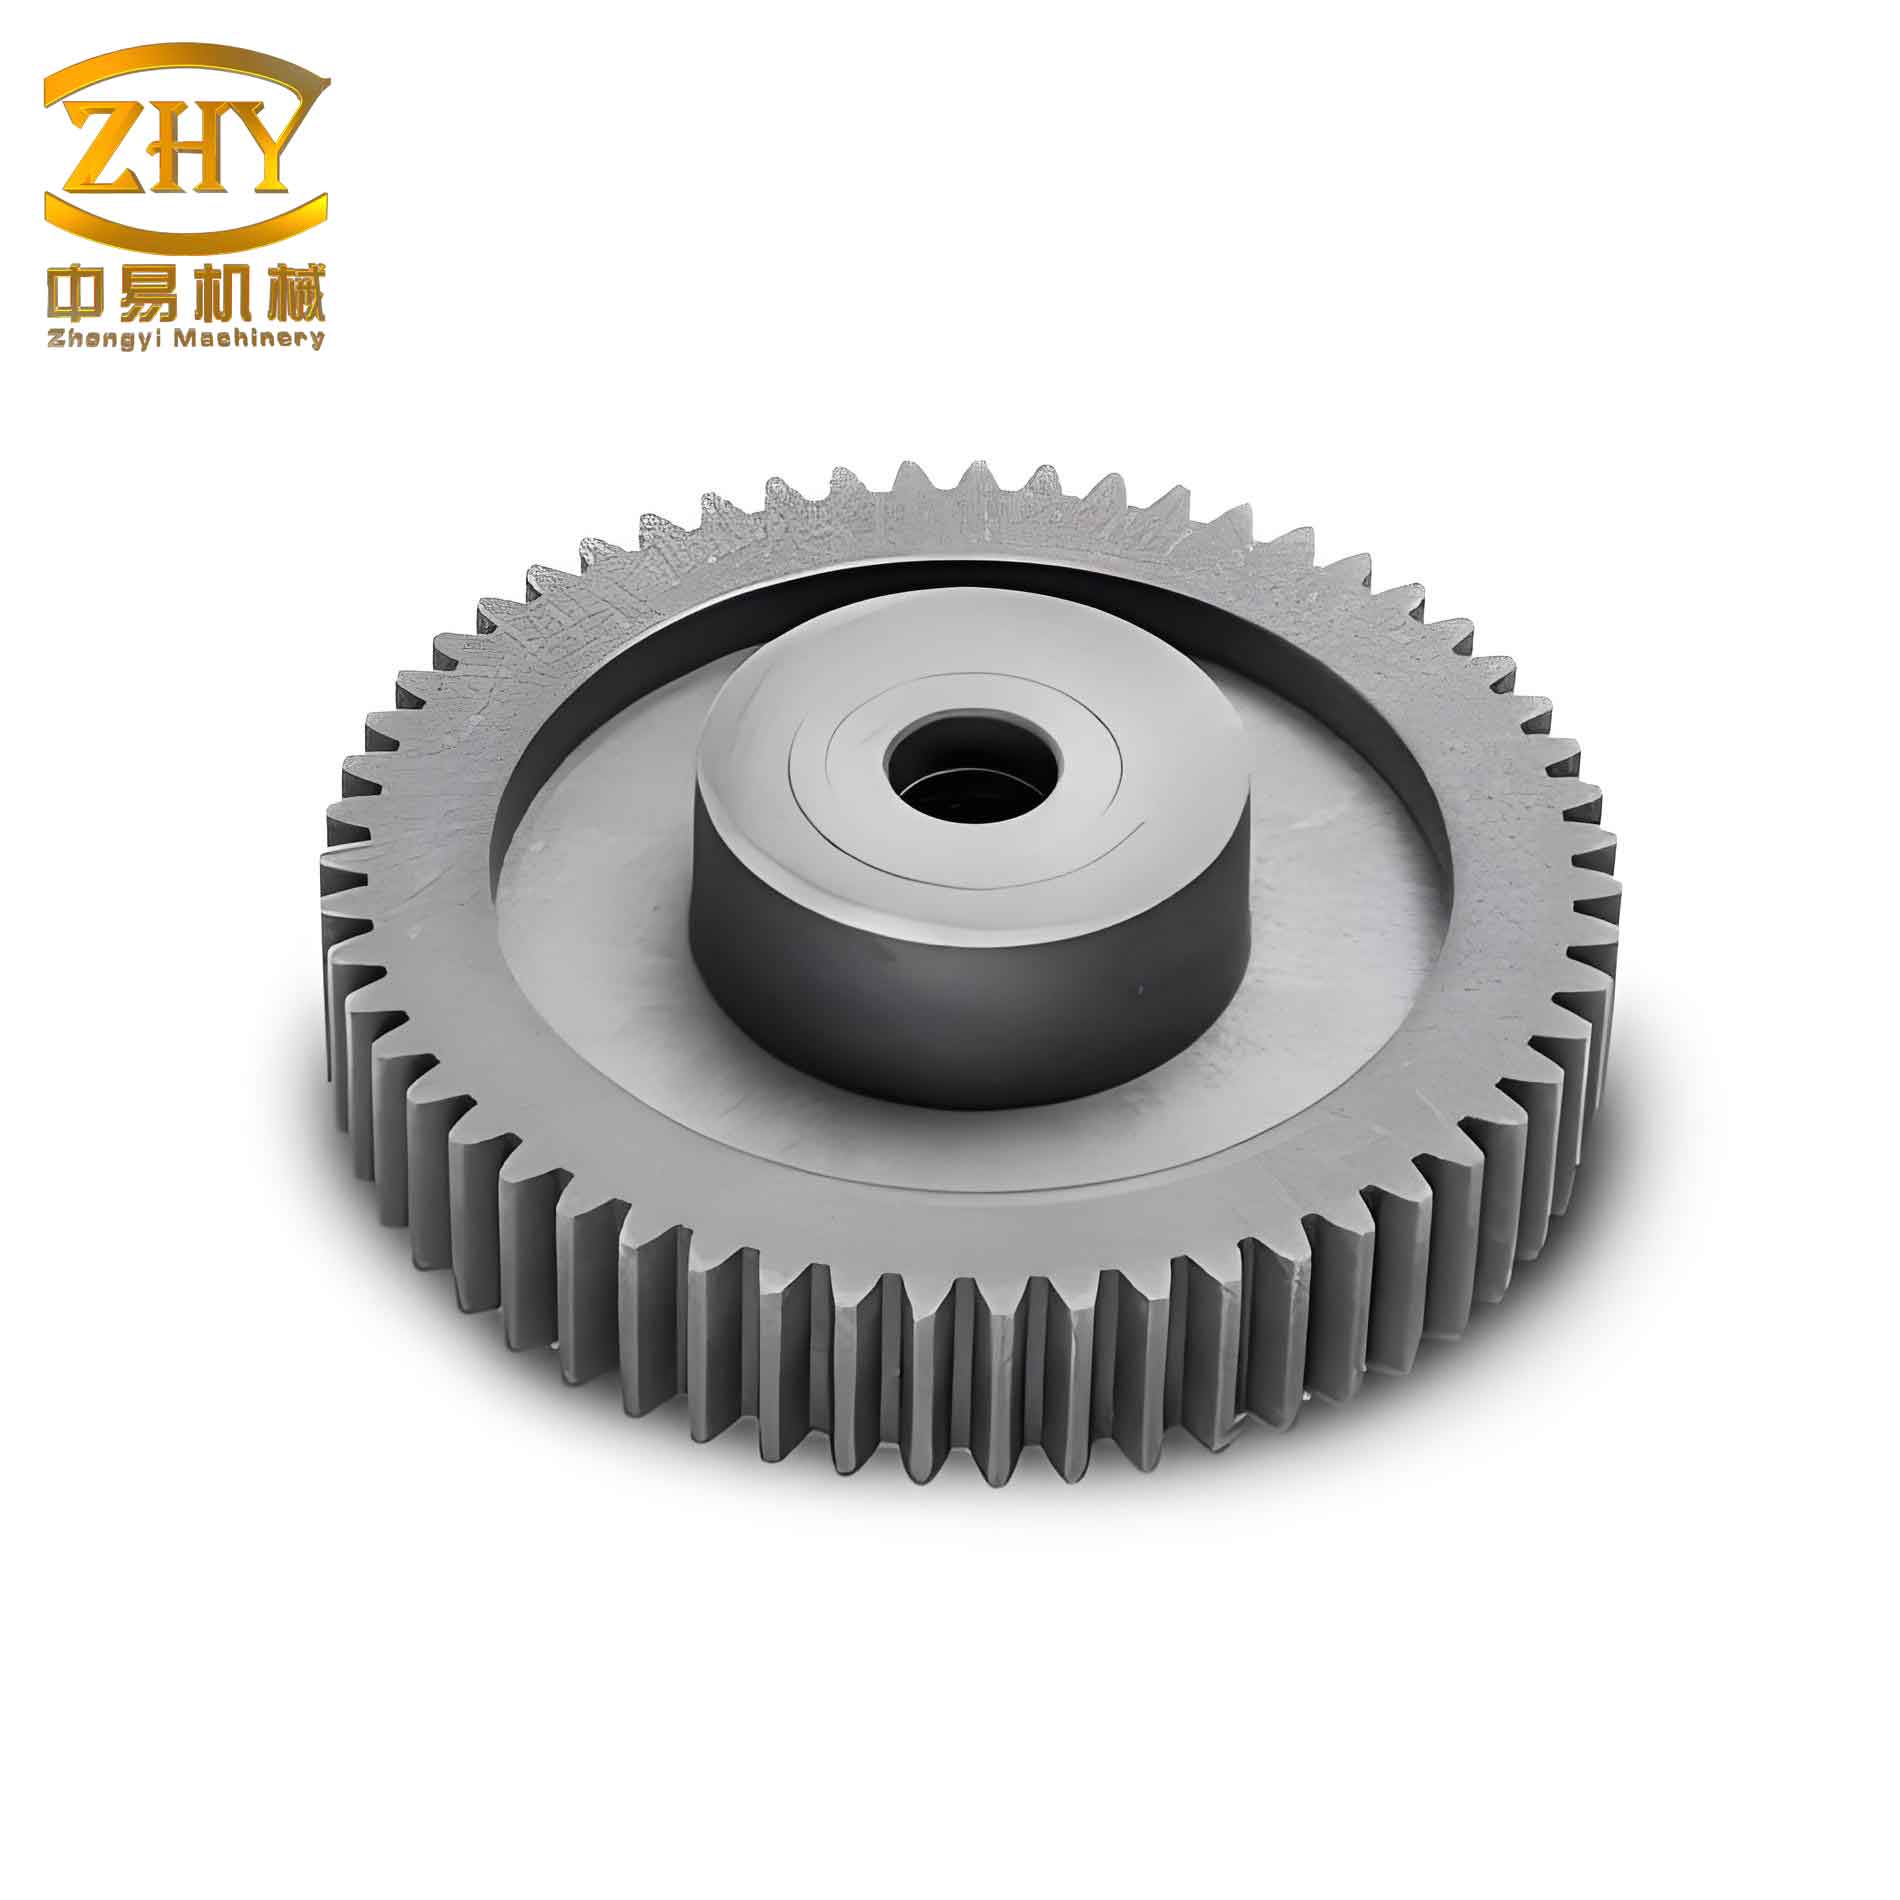
The geometry of the preform, specifically the diameter of the initial hollow (shunt hole), $D$, and the initial gear blank thickness, $H$, are the primary variables governing metal flow. Their relationship to the final gear’s dimensions, particularly the root circle diameter $D_f$, is critical. The ratios $H/m$ (thickness-to-module) and $D/D_f$ (shunt-diameter-to-root-diameter) emerge as key dimensionless parameters defining the forming range for a spur and pinion gear. A small $D$ offers too little volume for easy分流, causing excessive pressure build-up before the teeth fill. An excessively large $D$, while lowering pressure, may starve the tooth cavities of material, leading to incomplete filling, especially at the tooth tips. Similarly, a very thick blank ($H/m$ large) requires more absolute displacement to fill the teeth, potentially requiring higher loads, while a very thin blank may not contain enough material volume to begin with.
Numerical Simulation Methodology
To investigate the forming range without the cost and time of extensive physical trials, we employ the Finite Element Method (FEM) using the DEFORM-3D software. This powerful tool allows for the virtual modeling of the plastic deformation, providing detailed insights into stress, strain, temperature, and material flow patterns throughout the process.
Process Design: The study adopts a innovative “one-die, two-stroke” closed-die upsetting with hollow shunt process. The sequence is as follows:
- First Stroke (Hollow Shunt Formation): The upper punch and a centrally located mandrel descend together. The mandrel contacts the lower punch and stops. The upper punch continues, compressing the hollow billet. When the pressure on the punch reaches a pre-set limit (here, 2300 MPa, chosen to be within the safe limit of a triple-layer prestressed die assembly), the punch pauses. The mandrel is then retracted, creating an open shunt hole.
- Second Stroke (Final Tooth Filling): The upper punch continues its descent. With the shunt now open, material can flow more freely. The punch stops when the pressure again reaches the 2300 MPa limit, completing the forging of the spur and pinion gear.
- Ejection: The upper punch retracts, and the part is ejected, typically with the aid of a floating die element and a knock-out system.
This two-stroke approach with active mandrel control is highly effective. The first stroke builds pressure to initiate tooth filling, and the second stroke, with the shunt active, allows for the final, complete filling of the tooth corners at a controlled pressure.
FEM Model Setup: A 3D model is constructed. Due to the symmetry of the spur and pinion gear, only a sector corresponding to one tooth space (1/32 of the full model for a z=32 gear) is analyzed to save computational time. The key model parameters are summarized in the table below.
| Component | Material Model | Role in Simulation | Key Settings |
|---|---|---|---|
| Workpiece (Billet) | AISI-4120 (Plastic) | Deforms plastically | Room temperature (20°C). Automatic remeshing with a minimum element size step of 0.12 mm. |
| Upper Punch, Lower Punch, Die | Rigid | Impose boundary conditions and shape | Velocity: 10 mm/s. Elastic deformation neglected. |
| Interface Conditions | Coulomb Friction | Governs material-tool interaction | Friction coefficient, μ = 0.08 (lubricated cold forging). |
| Process Conditions | Isothermal | Simplifies thermal analysis | Heat transfer between workpiece and tools is neglected for this cold forging study. |
The main variables in the simulation series are the initial billet dimensions: the outer diameter (constant), the initial shunt hole diameter $D$, and the initial height/thickness $H$. The target is to observe whether, under the 2300 MPa pressure limit, the tooth cavity of the spur and pinion gear is completely filled.
Analysis of Metal Flow and Forming Stages
The simulation provides a vivid, step-by-step visualization of the metal flow, which is essential for understanding the forming range. The process can be divided into distinct stages, illustrated here for a case with shunt diameter $D = 20.65$ mm.
Stage 1: Initial Filling and Pressure Build-up. As the punches move, material begins to flow radially outward into the tooth spaces. The tooth tips start to fill, creating a sealed cavity at the top and bottom of the die. This confinement causes a rapid increase in forming pressure. The分流点 (flow division point), where material chooses between flowing into the tooth or along the axis, is initially located around the mid-height of the internal hole wall.
Stage 2: Pre-Shunt Condition. The tooth cavities become nearly filled up to the tip regions. The pressure on the punch approaches the preset limit of 2300 MPa. This is the critical moment to activate the shunt. If the mandrel were not retracted, the next increment of punch stroke would generate dangerously high pressure with minimal further filling, risking die damage.
Stage 3: Shunt Activation and Pressure Relief. The mandrel is retracted. Instantaneously, according to the principle of least resistance, material finds an easier path to flow into the now-open central hole. The forming pressure drops sharply. The flow division point shifts downwards, now located near the tooth root region. This stage marks the beginning of the final tooth filling phase under a more favorable pressure regime.
Stage 4: Final Corner Filling. With the shunt active, continued punch displacement forces material to completely fill the challenging tip and fillet corners of the spur and pinion gear teeth. Simultaneously, excess material continues to flow into the shunt hole. The pressure begins to climb again as these final corners are filled.
Stage 5: Process Completion. The upper punch stops when the pressure once more reaches 2300 MPa. At this point, the tooth profile is fully formed. The forged part requires only minimal secondary operations, such as trimming flash from the parting line and machining the shunt hole to its final size, truly embodying the near-net-shape ideal for the spur and pinion gear.
The effectiveness of this process for the spur and pinion gear is entirely dependent on choosing the correct initial $(D, H)$ combination. A poorly chosen combination will either fail to fill the teeth or will cause the process to abort prematurely (when pressure hits the limit before filling is complete).
Determination of the Theoretical Forming Range Curve
By running a comprehensive series of simulations with different initial billet dimensions (varying $D$ and $H$) for a gear with m=2, z=32, and a constant pressure limit of 2300 MPa, we obtain a dataset mapping successful and unsuccessful forming outcomes. A subset of this data is presented below.
| Case | Initial Billet (Øout × Øin (D) × H) mm | Final Formed Gear Thickness (Hf) mm | Hf / m | D / Df* | Forming Outcome |
|---|---|---|---|---|---|
| 1 | Ø59 × Ø17.70 × 25 | – | – | 0.35 | Failed (Tooth filling incomplete) |
| 2 | Ø59 × Ø18.24 × 25 | 19.75 | 9.88 | 0.36 | Success |
| 3 | Ø59 × Ø20.65 × 25 | 19.00 | 9.50 | 0.41 | Success |
| 4 | Ø59 × Ø23.60 × 25 | 18.30 | 9.15 | 0.47 | Success |
| 5 | Ø59 × Ø26.55 × 25 | 17.00 | 8.50 | 0.52 | Success (Borderline) |
| 6 | Ø59 × Ø28.91 × 25 | 15.42 | 7.71 | 0.57 | Success |
| 7 | Ø59 × Ø29.50 × 25 | – | – | 0.58 | Failed (Tooth root unfilled) |
| 8 | Ø59 × Ø19.47 × 10 | – | – | 0.38 | Failed (Insufficient material) |
| 9 | Ø59 × Ø20.06 × 10 | 7.75 | 3.88 | 0.40 | Success |
| 10 | Ø59 × Ø23.60 × 10 | 7.37 | 3.69 | 0.47 | Success |
| 11 | Ø59 × Ø26.55 × 10 | 6.80 | 3.40 | 0.52 | Success |
| 12 | Ø59 × Ø29.50 × 10 | 6.32 | 3.16 | 0.58 | Success (Borderline) |
| 13 | Ø59 × Ø32.45 × 10 | 5.74 | 2.87 | 0.64 | Success |
| 14 | Ø59 × Ø34.81 × 10 | 5.30 | 2.65 | 0.69 | Success |
| 15 | Ø59 × Ø35.40 × 10 | – | – | 0.70 | Failed (Tooth tip unfilled) |
* $D_f$ is the root circle diameter of the finished spur and pinion gear.
The key insight is that success or failure is not determined by $D$ or $H$ alone, but by their interplay and their ratio to the final gear geometry. To generalize the findings, we plot the successful and failed cases in the dimensionless parameter space of $H/m$ (formed gear thickness-to-module ratio) versus $D/D_f$ (initial shunt diameter-to-root diameter ratio). Applying a Quadratic B-Spline curve fit to the boundary between success and failure yields the theoretical forming range curve.
The resulting curve, shown conceptually, defines an enclosed region in the $(D/D_f, H/m)$ plane. Points inside this region represent $(D, H)$ combinations that will successfully produce a fully formed spur and pinion gear under the given 2300 MPa pressure constraint. Points outside the region will lead to forging failures. The curve reveals several critical guidelines for the cold forging of this spur and pinion gear:
- Optimal Thickness Zone: The most robust forming conditions, where the range of acceptable $D/D_f$ values is widest, occur when the final $H/m$ ratio is between approximately 5 and 7. This indicates a preferred gear thickness for this module under the specified process.
- Thickness Limits: Forming becomes challenging or impossible when $H/m$ is below about 4.0 or above about 8.5. Very thin gears ($H/m$ low) may lack the necessary material volume to fill the teeth before the shunt hole becomes dominant. Very thick gears ($H/m$ high) require excessive reduction, leading to high pressures that hit the limit before filling is complete.
- Shunt Diameter Limits: The shunt diameter must be carefully chosen. If $D/D_f$ is too small (left side of the curve), the分流 effect is insufficient, causing premature pressure build-up and incomplete tooth tip filling. If $D/D_f$ is too large (right side of the curve), too much material flows easily into the hole, “starving” the tooth cavities and preventing full filling, especially at the tooth roots. The curve suggests $D/D_f$ should generally be kept below approximately 0.52 for this specific gear to avoid root-filling issues, although this interacts with the $H/m$ value.
- Material Efficiency: While a larger $D/D_f$ within the successful range may facilitate forming, it results in more wasted material extruded into the shunt hole, which must later be machined away. Therefore, for economic production of spur and pinion gears, selecting a $(D, H)$ point towards the left side of the successful region is often desirable, minimizing shunt volume while still ensuring formability.
The generalized forming load during the final stage can be related to these parameters through an empirical relationship that captures the effect of the shunt:
$$ P_{final} \approx Y_f \cdot \left( \frac{\pi}{4}(D_{out}^2 – D^2) \right) \cdot Q\left(\frac{H}{m}, \frac{D}{D_f}, z, \alpha \right) $$
where $Q$ is a complex function of the dimensionless geometric ratios, tooth number $z$, and pressure angle $\alpha$. The forming range curve effectively defines the domain in $(H/m, D/D_f)$ space for which $P_{final} \le P_{limit}$ (2300 MPa) when $Q$ is evaluated for a fully filled spur and pinion gear cavity.
Engineering Implications and Conclusion
The determination of a theoretical forming range curve via numerical simulation represents a powerful tool for the process engineer. For the cold precision forging of spur and pinion gears, this curve transitions process design from a trial-and-error endeavor to a science-based selection. When designing the forging process for a new spur and pinion gear, engineers can first calculate the target $H/m$ ratio based on the final part print. They can then refer to the appropriate forming range chart (which would be developed for different $z$ and $m$ values) to select an initial shunt diameter $D$ that lies safely within the successful region for that $H/m$. This directly informs the design of the preform billet.
This methodology significantly reduces development time and cost. It allows for the upfront identification of unfeasible geometry combinations, preventing costly die manufacturing for a process that is doomed to fail. Furthermore, it guides optimization; by choosing parameters in the center of the success region, the process gains robustness against normal variations in material properties, lubrication, or press speed. The study conclusively demonstrates that for the specific case of a spur and pinion gear with module m=2, 32 teeth, and a forming pressure limit of 2300 MPa, a well-defined forming window exists. The optimal preforms yield final gears with a thickness between 5 and 7 times the module, using a shunt hole diameter strategically sized relative to the gear’s root diameter.
In summary, the integration of advanced finite element simulation with the analysis of key dimensionless geometric parameters provides a clear pathway to define and exploit the forming range for cold forged spur and pinion gears. This approach ensures the reliable production of high-strength, near-net-shape gears with controlled material flow, minimized forming loads, and maximized tool life, representing a significant step forward in the precision manufacturing of these critical power transmission components. The principles established here for the spur and pinion gear are readily adaptable to other gear types and forging processes, underscoring the general value of formability mapping in metal forming engineering.