
The pursuit of net-shape manufacturing for power transmission components represents a significant frontier in advanced forming technology. Among these components, the spur and pinion gear is ubiquitous, and its production via precision cold forging offers compelling advantages in terms of material savings, superior mechanical properties, and enhanced production efficiency. However, the practical implementation of cold forging for complex geometries like a spur and pinion gear is fraught with substantial technical challenges. The primary obstacles are the exceptionally high forming loads required to plastically deform the material at room temperature and the inherent difficulty in completely filling intricate die cavities, particularly at the tooth corners. This article, based on my extensive numerical and analytical investigations, delves into the profound influence of floating die techniques on the cold precision forging process for a specific case study: a cylindrical spur and pinion gear featuring a central hexagonal through-hole. I will systematically explore and compare several floating die strategies, employing finite element analysis (FEA) to elucidate their mechanisms and quantify their impact on cavity filling and load reduction.
The fundamental challenge in forging a spur and pinion gear arises from the mechanics of radial flow. The process can be conceptually likened to a radial extrusion. During the initial stages, axial friction between the billet and the punch/die surfaces dominates the resistance to material flow. As the deformation progresses and the teeth begin to form, the situation shifts dramatically. The material must flow radially outward into the narrow, deep channels of the tooth cavities. Here, radial friction becomes the predominant resisting force. Critically, this friction is not uniform across the tooth width. The material in the central layer of the gear’s face width only contends with the frictional resistance from the cavity sidewalls. In contrast, the material layers in direct contact with the upper and lower punch surfaces suffer from a compounded resistance: the cavity wall friction plus the punch surface friction. This creates a gradient in forming pressure, mathematically described by the shear friction stress model often used in simulation:
$$ \tau_f = m \cdot \frac{\sigma_s}{\sqrt{3}} $$
where \( \tau_f \) is the frictional stress, \( m \) is the friction factor (0 ≤ m ≤ 1), and \( \sigma_s \) is the current flow stress of the material. This frictional gradient directly leads to non-uniform filling, where the central portion of the tooth fills more readily than the top and bottom corners, creating the classic “unfilled corner” defect.
This is where the floating die concept provides an elegant and powerful solution. In a conventional forging setup for a spur and pinion gear, the upper punch moves downward at a velocity \( V_s \) while the main die (containing the tooth profile) is stationary. The frictional force \( f \) on the billet from the stationary die acts upward, opposing the punch motion. This results in a net axial pressure distribution that is highest near the moving punch and decays towards the stationary bottom punch. Consequently, the material near the top punch yields and deforms more easily, leading to better filling in the upper regions of the teeth while the lower corners lag.
The principle of the floating die reverses this dynamic. In its basic form, the die containing the tooth cavity is no longer stationary. Instead, it is designed to move synchronously with the upper punch at the same velocity (\( V_f = V_s \)). Now, the frictional force \( f \) from the die on the billet acts downward, adding to the forming pressure rather than subtracting from it. This results in a reversed pressure gradient: the axial pressure is now lowest near the top punch and highest near the bottom punch. This promotes initial deformation and filling from the bottom of the tooth cavity upward, which can significantly improve the filling of the lower corners that were problematic in the conventional setup. The effectiveness of this technique for forging a spur and pinion gear hinges on precisely controlling this pressure distribution to balance filling across the entire tooth profile.
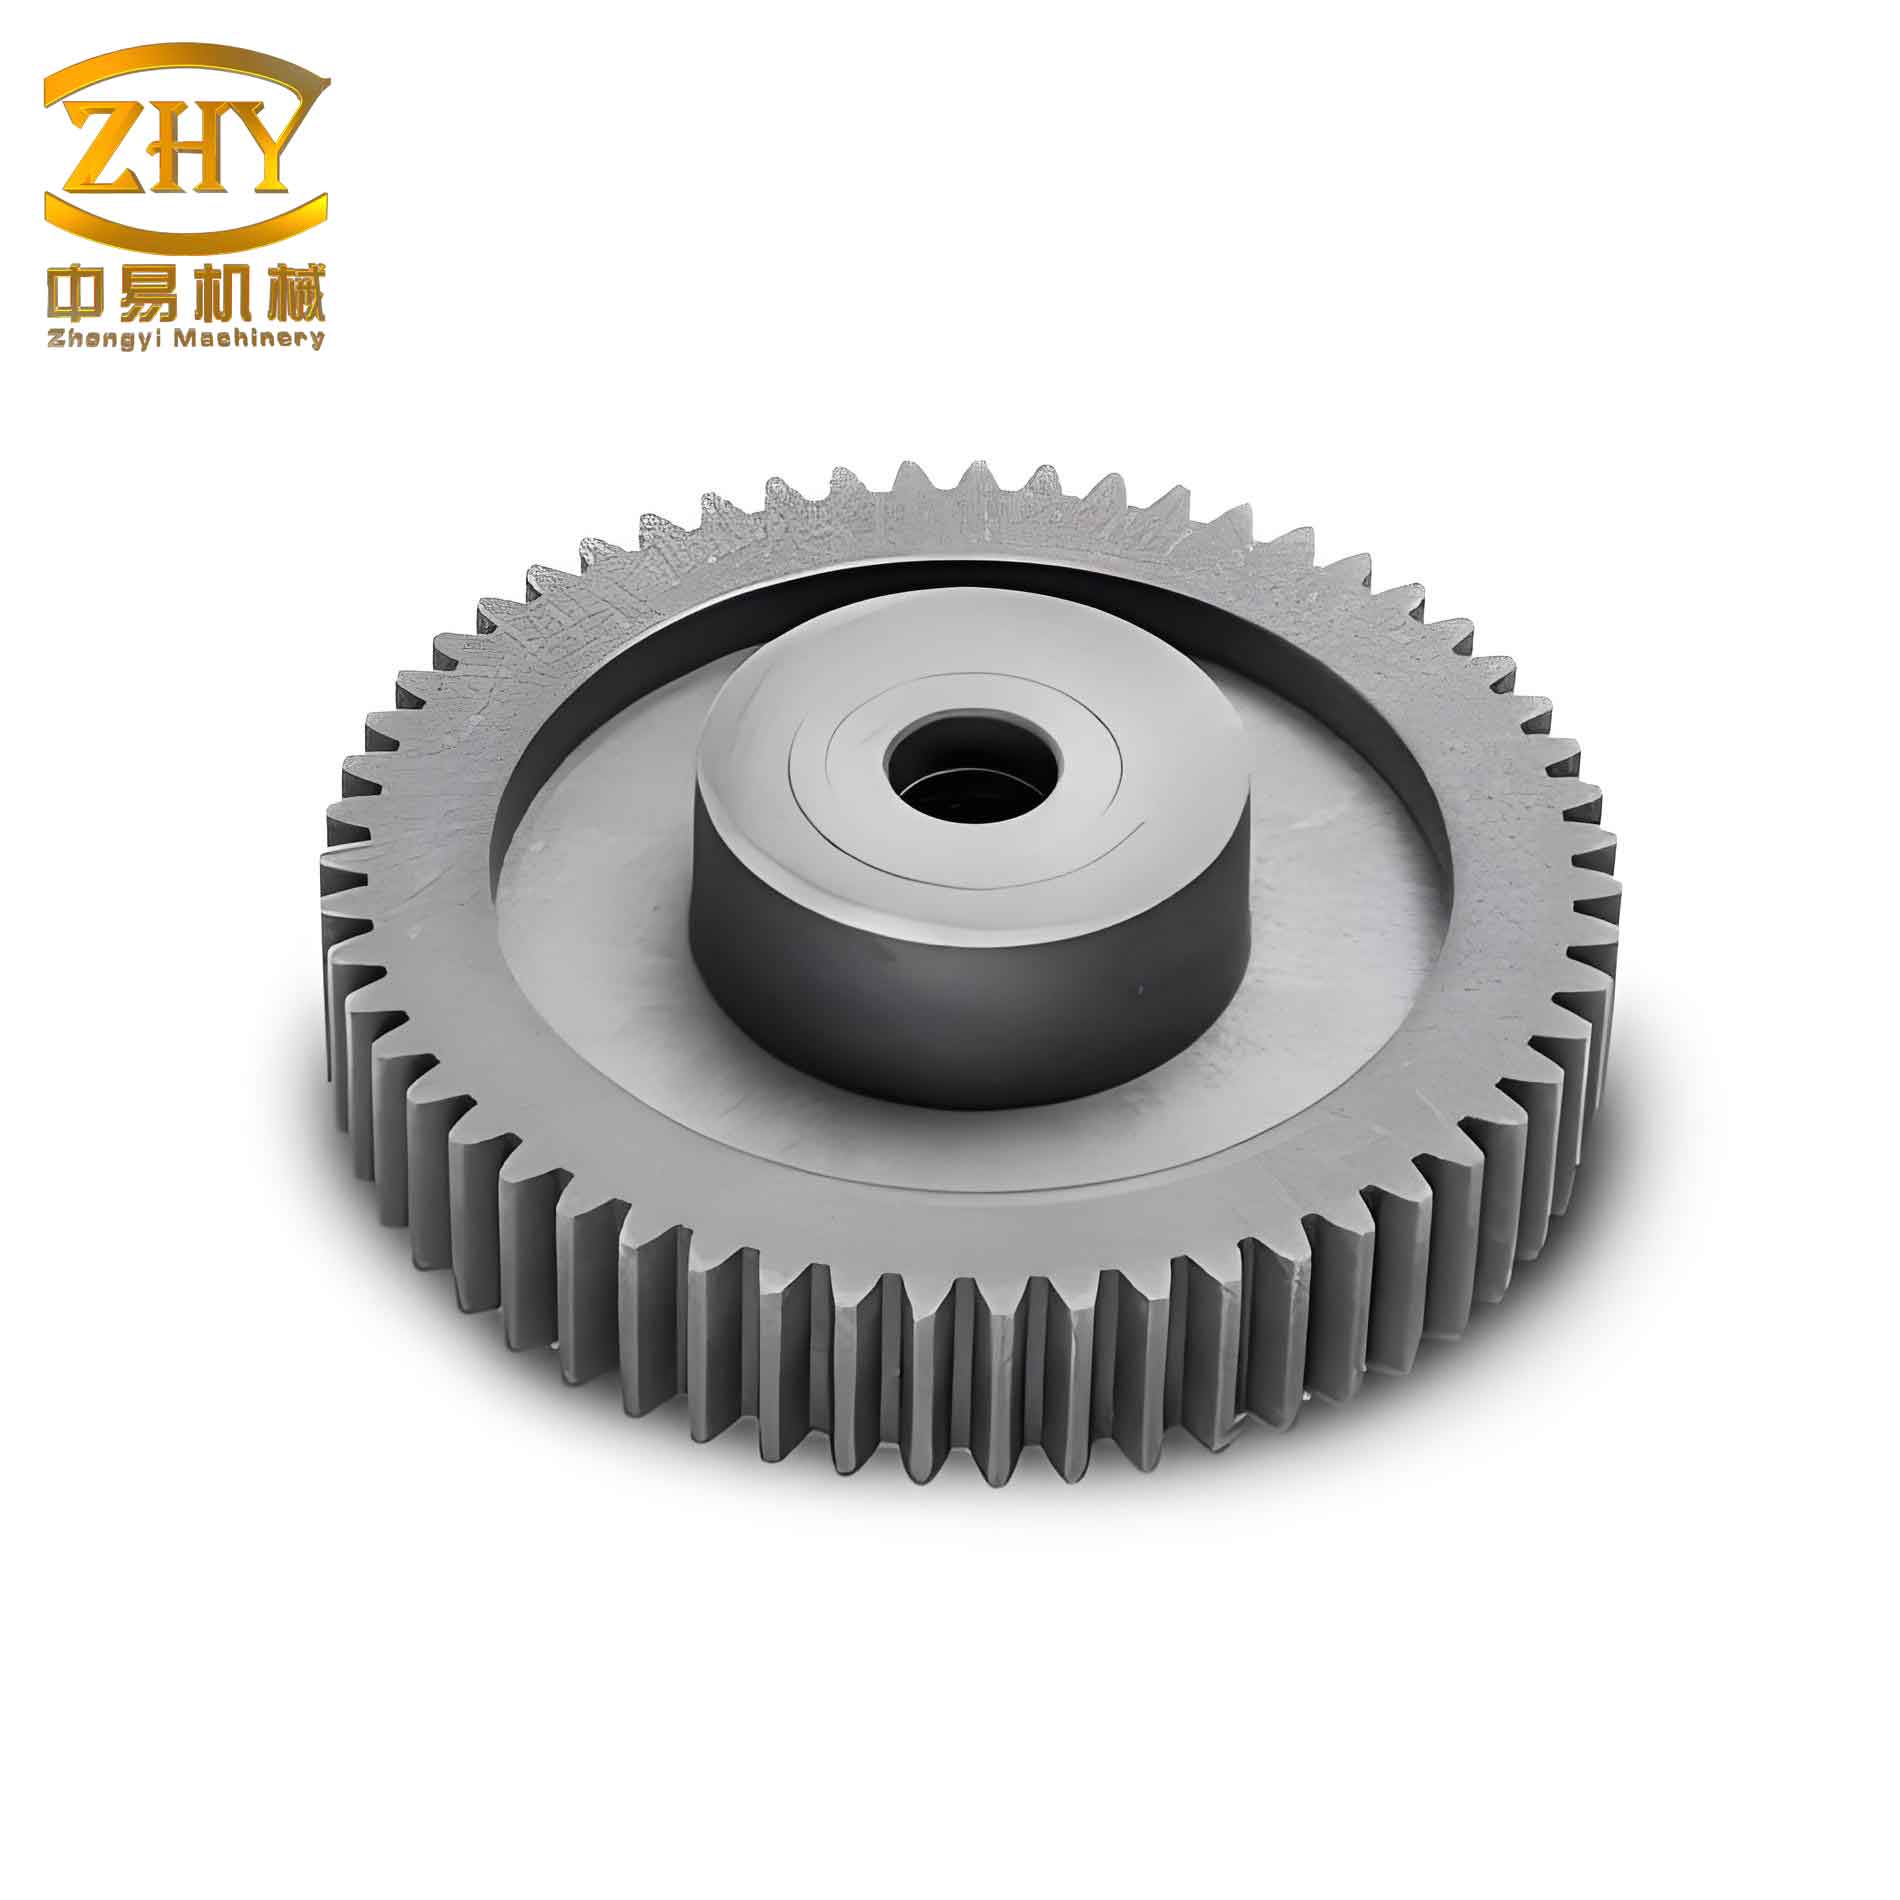
To comprehensively evaluate the floating die technique for our target spur and pinion gear with a hexagonal bore, I formulated and analyzed three distinct process schemes through detailed 3D finite element simulation. The gear specifications were a module of 2.5 mm and 18 teeth. The initial billet was an annular ring with an outer diameter of 38 mm, an inner diameter (matching the hexagonal circumcircle) of 24 mm, and a height of 19.5 mm, calculated based on volume constancy. The material was defined as AISI-1045 steel, modeled as a rigid-plastic body at room temperature (20°C). All tools (punches and dies) were treated as rigid bodies. A shear friction model with a factor of \( m = 0.12 \) was applied. To reduce computation time, I exploited the symmetry of the spur and pinion gear and modeled only one-half of the geometry, with appropriate symmetry boundary conditions. The mesh was locally refined in the peripheral region where severe deformation was anticipated. The common forging speed for both the upper punch and the floating die was set to 5 mm/s.
Process Scheme 1: Basic Floating Die. This is the foundational scheme where the upper punch and the floating die move downwards together at identical speeds. There is no dedicated relief cavity for excess material. The goal is to achieve complete filling solely through controlled radial flow enhanced by the floating die’s friction effect.
Process Scheme 2: Floating Die with Axial Relief (or “Shunt”). This advanced scheme builds upon Scheme 1 by incorporating a pressure-relief feature. A cylindrical hole (25 mm diameter) is machined into the center of the upper punch. This hole acts as an “escape route” or shunt for excess material. The principle is that while the floating die guides material into the teeth, material is also allowed to flow axially upward into this hole. This local unloading effect can dramatically reduce the overall forming load required to fill the peripheral teeth of the spur and pinion gear.
Process Scheme 3: Two-Stage Forging (Floating Die Preform + Floating Die with Axial Relief Finish). This is the most sophisticated strategy, involving two sequential forging operations. The first stage is identical to Scheme 1 (basic floating die). However, the process is intentionally stopped before the load peaks, at a predefined load limit (corresponding to 2,940 kN for the full gear in my simulation). This produces a preform where material is partially formed and, more importantly, has been strategically accumulated in the tooth cavity regions. This preform is then inverted (rotated 180°) and placed into a second die for finish forging. The finish forging die uses a floating die with an axial relief hole in the upper punch (28 mm diameter in my model). The inversion is crucial: the well-filled bottom of the preform (from the first stage) becomes the top of the finish forging billet, promoting excellent filling in the final upper corners.
The distribution of effective strain provides deep insight into the severity and localization of deformation in each scheme for the spur and pinion gear. In Scheme 1, the maximum effective strain was concentrated uniformly along the tooth root fillet regions. The material forming the core of the teeth and the web undergoes simple upsetting with minimal flow direction change, resulting in lower strain. In contrast, the material at the outer periphery must undergo severe radial flow, negotiating sharp corners to fill the tooth tips, leading to the high strain observed at the roots.
In Scheme 2, the strain distribution shifted. The peak effective strain was located in the transition zone between the forming teeth and the axial relief hole. Here, the material is subjected to a complex flow pattern: part flows radially to form the teeth, while another part is extruded upward into the shunt hole. The severe friction and shear in this constrained transition zone result in the highest strain values.
Scheme 3 presented a hybrid pattern. The maximum strain remained primarily at the tooth roots from the preforming stage. The finish forging stage, with its larger 28 mm relief hole, caused less severe secondary straining in the transition zone compared to Scheme 2, as the material encountered less resistance flowing into the larger hole. This two-stage approach effectively manages and distributes the total strain imparted to the spur and pinion gear.
The primary metric for success in forging a spur and pinion gear is complete die cavity filling. Scheme 1, while benefiting from the floating die, still exhibited a minor but clear under-fill at the upper tooth corners (the end opposite the moving bottom punch). The tooth profile also appeared slightly less full. This aligns with the theoretical prediction: even with a reversed gradient, achieving perfect balance across the entire face width is challenging with a single-action floating movement.
Scheme 2 demonstrated excellent filling of the complete tooth form. However, the mechanism was different. The presence of the relief hole created a local loading condition. The material nearest to the moving punch (the top of the billet in this setup) experienced the highest direct pressure and thus began to fill the upper teeth first. The sequential filling was visually confirmed in the simulation steps: the upper tooth corners filled completely around step 47, followed by progressive filling down to the lower corners, which were fully formed by step 53. The trade-off was a significant upward extrusion of material into the relief hole.
Scheme 3 delivered the most optimal filling result. The preform stage created a billet with significant material pre-accumulation in the tooth areas. Inverting this preform for the final stage meant that the originally well-filled lower region was now at the top, adjacent to the punch with the relief hole. This, combined with the floating die action, ensured superb filling at both the upper and lower tooth corners in the final spur and pinion gear. Furthermore, because the preform was near-net-shape, the amount of material forced into the relief hole during finish forging was substantially less than in Scheme 2.
The forming load is a critical practical concern, dictating press capacity and tooling life. The load-stroke curves from the simulations reveal dramatic differences. Scheme 1, the basic floating die process, required the highest load, peaking at approximately 5,280 kN for the full gear. The curve showed a characteristic sharp rise in the final stage as the free surface of the billet diminished rapidly, increasing the relative area reduction \( R \). The forming pressure \( P \) in such an idealized deformation can be estimated by:
$$ P = Y \cdot \ln\left(\frac{1}{1-R}\right) $$
where \( Y \) is the flow stress. As \( R \) approaches 1, the pressure and thus the load escalate dramatically.
Scheme 2 successfully mitigated this issue. The axial relief hole provided an alternative flow path, preventing the relative area reduction \( R \) from reaching the extreme values seen in Scheme 1. Consequently, the peak load dropped significantly to about 3,680 kN, a reduction of approximately 30.3%. The load-stroke curve rose more gradually, especially in the final filling phase.
Scheme 3 achieved the most substantial load reduction. By splitting the deformation into two stages and using a large relief hole in the final stage, the peak load during the critical finish forging operation was only about 3,000 kN. Compared to the peak load of Scheme 1, this represents a remarkable reduction of 43.2%. The load curve for the finish stage remained relatively flat and low, indicating a very efficient forming process for the final spur and pinion gear geometry.
| Process Scheme | Description | Peak Load (Full Gear) | Load Reduction vs. Scheme 1 | Tooth Filling Quality | Effective Strain Concentration |
|---|---|---|---|---|---|
| Scheme 1 | Basic Floating Die | 5,280 kN | — | Good, but minor upper corner underfill | Tooth root region |
| Scheme 2 | Floating Die + Axial Relief | 3,680 kN | 30.3% | Excellent, sequential filling | Tooth-to-relief-hole transition zone |
| Scheme 3 | Two-Stage (Preform + Finish) | 3,000 kN (Finish Stage) | 43.2% | Optimal, full and balanced | Tooth root (from preform) + moderate transition zone strain |
In conclusion, the application of floating die technology fundamentally transforms the cold precision forging process for a cylindrical spur and pinion gear. My analysis confirms that while the basic floating die principle (Scheme 1) improves filling over conventional fixed-die forging, it does not fully resolve the high-load challenge. The introduction of an axial material shunt, as in Scheme 2, is a highly effective strategy, offering an excellent compromise between superior cavity filling and a substantial (~30%) reduction in required press tonnage. For the most demanding applications where minimizing load is paramount for tool life and equipment selection, the two-stage process (Scheme 3) emerges as the superior solution. By strategically combining floating die preforming with a floating-die relief finish forging, it achieves the best possible filling integrity for the spur and pinion gear while dramatically cutting the peak forming load by over 40%. These findings provide a clear technological pathway for the efficient and reliable net-shape manufacture of high-quality spur and pinion gear components through advanced cold forging processes.